One very interesting side quest in Baldur’s Gate 3 is Investigate the Selunite Resistance. This quest takes place within the Shadow-Cursed Lands and involves players exploring a decent chunk of the region to uncover ancient secrets.
Although the Selunite Resistance quest may not offer significant loot for you or any of your party members, it provides an in-depth history of the Shadow-Cursed Lands and gives you further details on what happened to the region. You have to follow several steps throughout this quest, and it’s easy to get lost. Here’s a detailed walkthrough on how to complete Investigate the Selunite Resistance quest in BG3.
Table of contents
How to start Investigating the Selunite Resistance in BG3

Investigate the Selunite Resistance is an Act Two quest found in the Shadow-Cursed Lands, and beginning this quest is one of the most difficult parts. You want to make sure you begin working on this before you close out Act Two with your attack Moonrise Tower. You won’t be able to access this quest during your playthrough if you do.
Alternatively, a good way to learn about this quest is to find the corpse of a Dark Justiciar. You can find them the Ruined Battlefield, at coordinates (X: -35, Y: -88). On their corpse is a book of Investigation Notes detailing how a potter’s workshop provided the cover for a Selunite Holdout, giving you a more specific direction. Reading these notes is optional to start the quest, but it certainly helps. When you arrive, this location is protected by a small group of Meazels, and you must defeat them before you can try searching the area.
Once you’ve found the old, crumbling building the chest is in, head to the back of the room and look up. There’s a raised section that contains a locked chest called Porter’s Chest. The section is a little tricky to access. A Shadow Step spell works, or you can destroy about 20 urns individually to clear a path to the chest. A high-Strength stat character who can jump up there is also a great choice. Afterward, pick up or throw the chest to a Dexterity-based character to unlock it.

Inside the chest is a note that references somebody named Halfred, the Moonmaiden (Selune), and the Last Light Inn. After reading this note, you will receive a quest marker at the Last Light Inn.
How to investigate the Last Light Inn in BG3

Upon returning to the Last Light Inn, approach the main building where the bar and refugees are. Just before entering, turn right, and you should see a set of stairs. Descend the stairs and reach the basement of the Inn. Inside the basement, you should see a door on the southern wall. Enter the door, which will bring you to a jailing area.
Inside, look for a small round table. The area isn’t big so it should be easy to find. On the table you will find the Last Light Detention Cell Key, which you can use to unlock the cell directly across from you. Behind the cell doors is a section of Cracked Wall that can easily be destroyed. Do so, and continue through.
The Cracked Wall will lead you to a cavern inhabited by Meenlocks. Take precaution, this is actually a difficult fight. The Meenlocks have an aura that inflicts Fear on everything in a close radius to them, preventing movement and imposing Disadvantage. If possible, you want to deal with these things from a distance.
After defeating the Meenlocks, venture to the back of the cavern, where you will find an altar on which Halfred’s Note rests. This note prompts you to continue your investigation at the Masons Guild. Don’t worry if you haven’t heard of that; you will receive a quest marker to guide you the way.

Before you make your way to The Mason’s guild, though, make sure to speak with Mattis on the top floor of the Last Light Inn. He has an important item available for you on sale, or the two of you can come to an arrangement.
Tower-Shaped Key in Baldur’s Gate 3: Should you buy the key from Mattis?
When talking to Mattis, approach him and ask if he has anything special available for sale. He’ll be partially reluctant to tell you about everything he’s holding back, but he shares that Mol found a random key when making her way to the Last Light Inn earlier in your BG3 playthrough. Because Mol found it, Mattis wasn’t supposed to sell it to just anyone. Unfortunately, he’s not quite sure what is and how you can use it to open something, but it’s a key to somewhere.
You can pay Mattis 1,000 Gold to purchase the key, or you can pass other skill checks to convince him that either Mol said the party could have it, or convincing him the key is worthless. If you succeed in these skill checks, Mattis gives you the key and you can take it with you. If you pay the money, though, that’s the quickest way for Mattis to give you t he Tower-Shaped Key. Regardless of how you get it, the key is important, and you do need it further in this quest, which we recommend grabbing to make your life easier in The Mason’s Guild.
How to find The Masons Guild

Upon reaching the Masons Guild, seek out the northwest corner of the first room. On the ground, you will see an Ornate Wooden Hatch. Enter the hatch, which brings you to a secret area beneath the guild. Once inside, move to the wall on the left. Upon doing so, your party will automatically perform Perception checks, revealing a Keyholed Herald on the wall.
The Keyholed Herald can be lock picked, or, if you spoke to Mattis, at the Last Light Inn. Because you grabbed the Tower-Shaped Key from Mattis earlier, it’s pretty easy to proceed through this door into the next area.
Once you’re past the Keyholed Herald, you’ll see a Mason’s Note on the wall, which will congratulate you for finding this secret chamber and inform you that you’ll now be dying. After reading this note, you and your party are attacked by Shadow Wraiths. This fight is significantly easier than the Meenlocks but helps ensure your party is ready for the encounter. It doesn’t hurt to have a Short Rest if you can take one.

Defeat the Wraiths, and continue forward into what looks to be a former dining hall of sorts. On the large rectangular table in the center of the room is a book called Mason’s Log. Reading this log is the last step in Investigate the Selunite Resistance.
All rewards for completing Investigate the Selunite Resistance
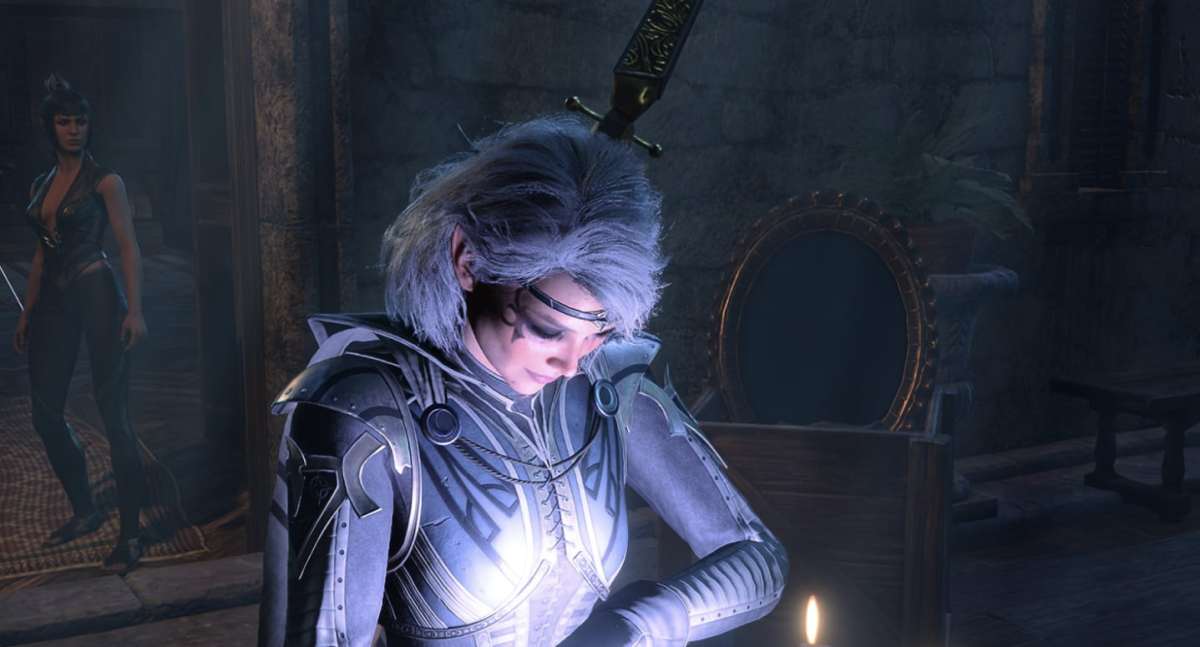
There are no direct benefits or rewards for completing this quest with your Baldur’s Gate 3 party. However, you do glean a good amount of insightful information about General Thorm and his past, namely how he fell from Selunte’s grace before residing in Moonrise Tower. We recommend bringing Shadowheart with you during this quest, as she has several comments to make throughout the journey.
Others Asked
What area becomes a major questing location in Act Three of Baldur's Gate 3?
The city of Baldur's Gate becomes a major questing area in Act Three of Baldur's Gate 3.

What is one of the main objectives in Baldur's Gate 3?
One of the main objectives in Baldur's Gate 3 is to find a cure for the tadpole infecting your character and fellow party members.

What is the quest in Baldur’s Gate 3 that players find irritating to complete?
The quest is Act Three’s "Find Dribbles the Clown" quest.


Published: Oct 29, 2024 05:42 pm