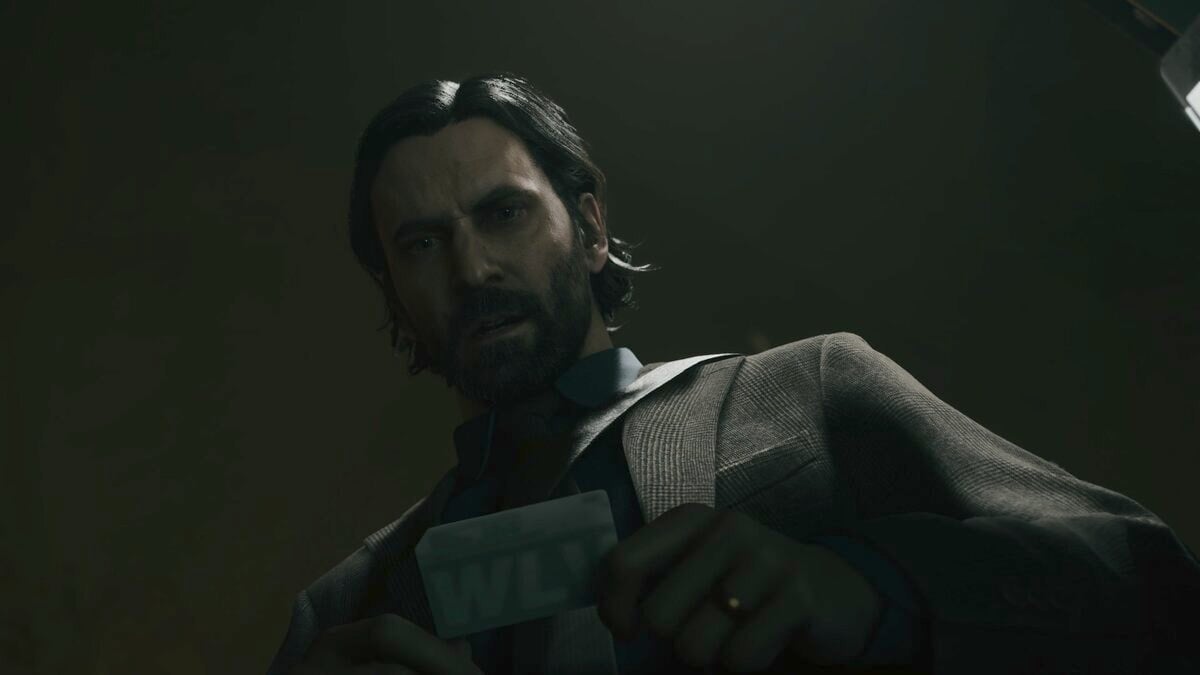
All words have meaning, and this is especially true in Alan’s case. You need the Words of Power if you want to increase your chances inside the Dark Place and make it out alive in Alan Wake 2.
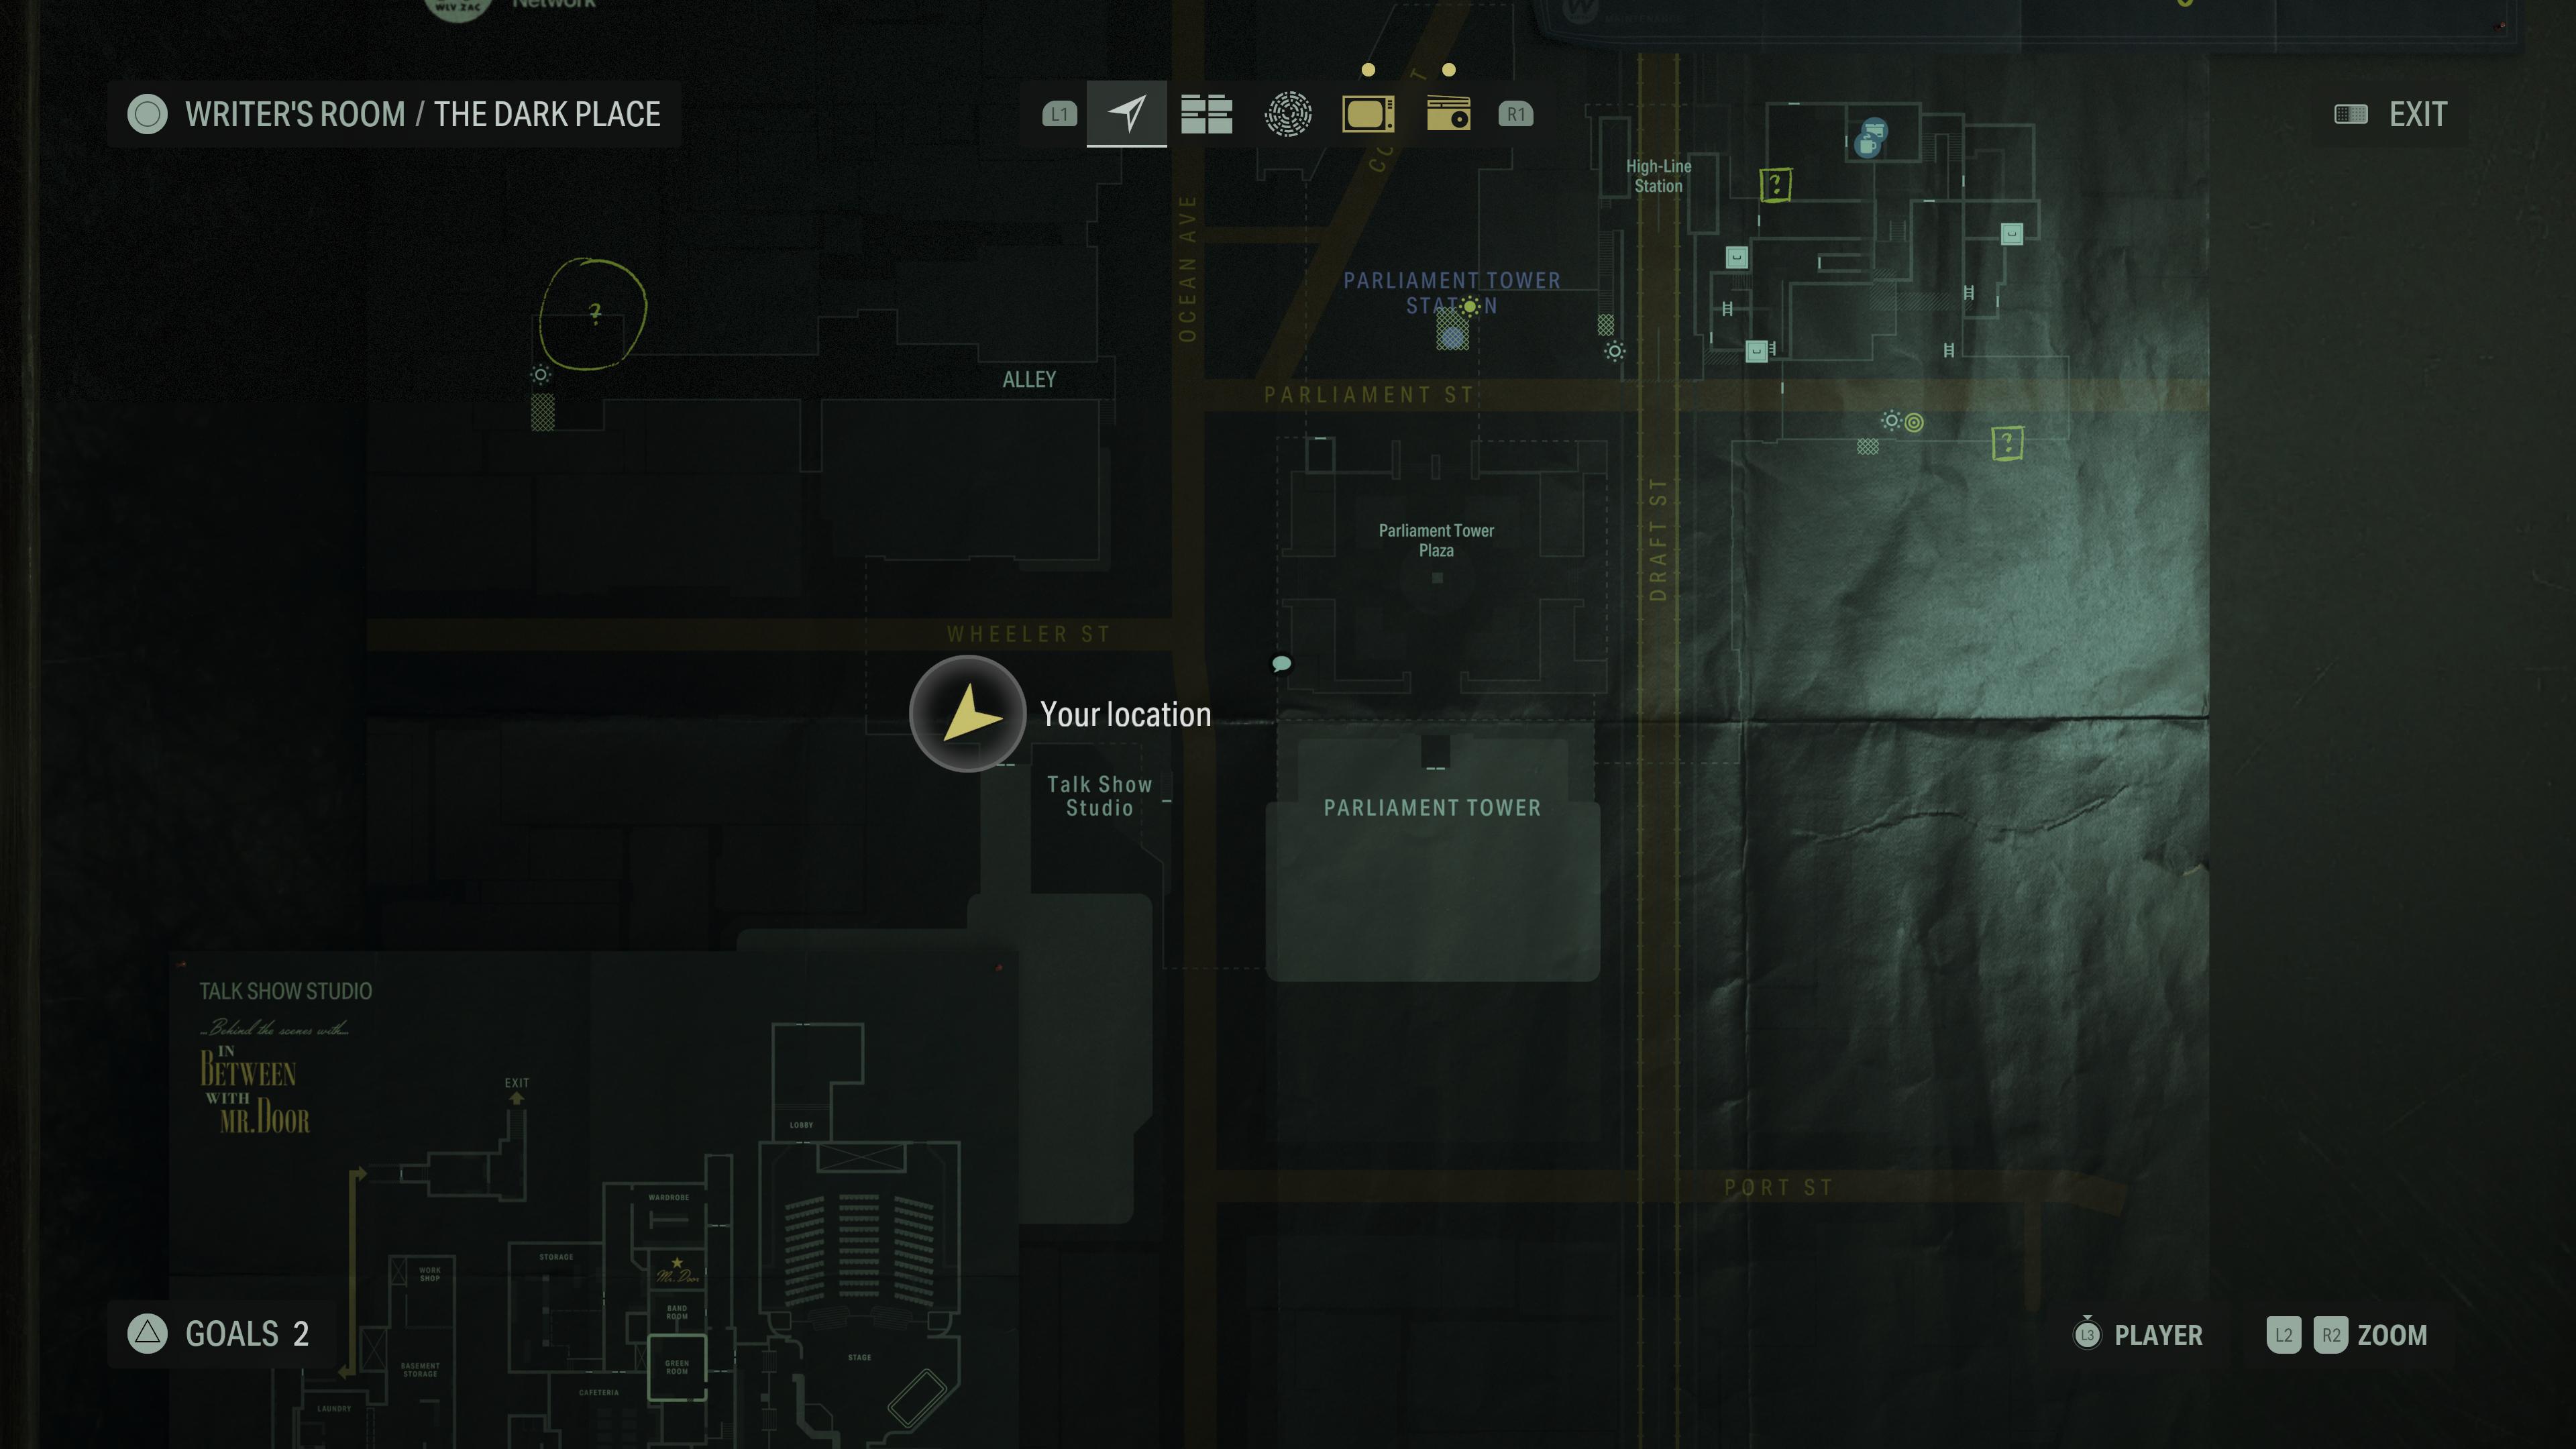
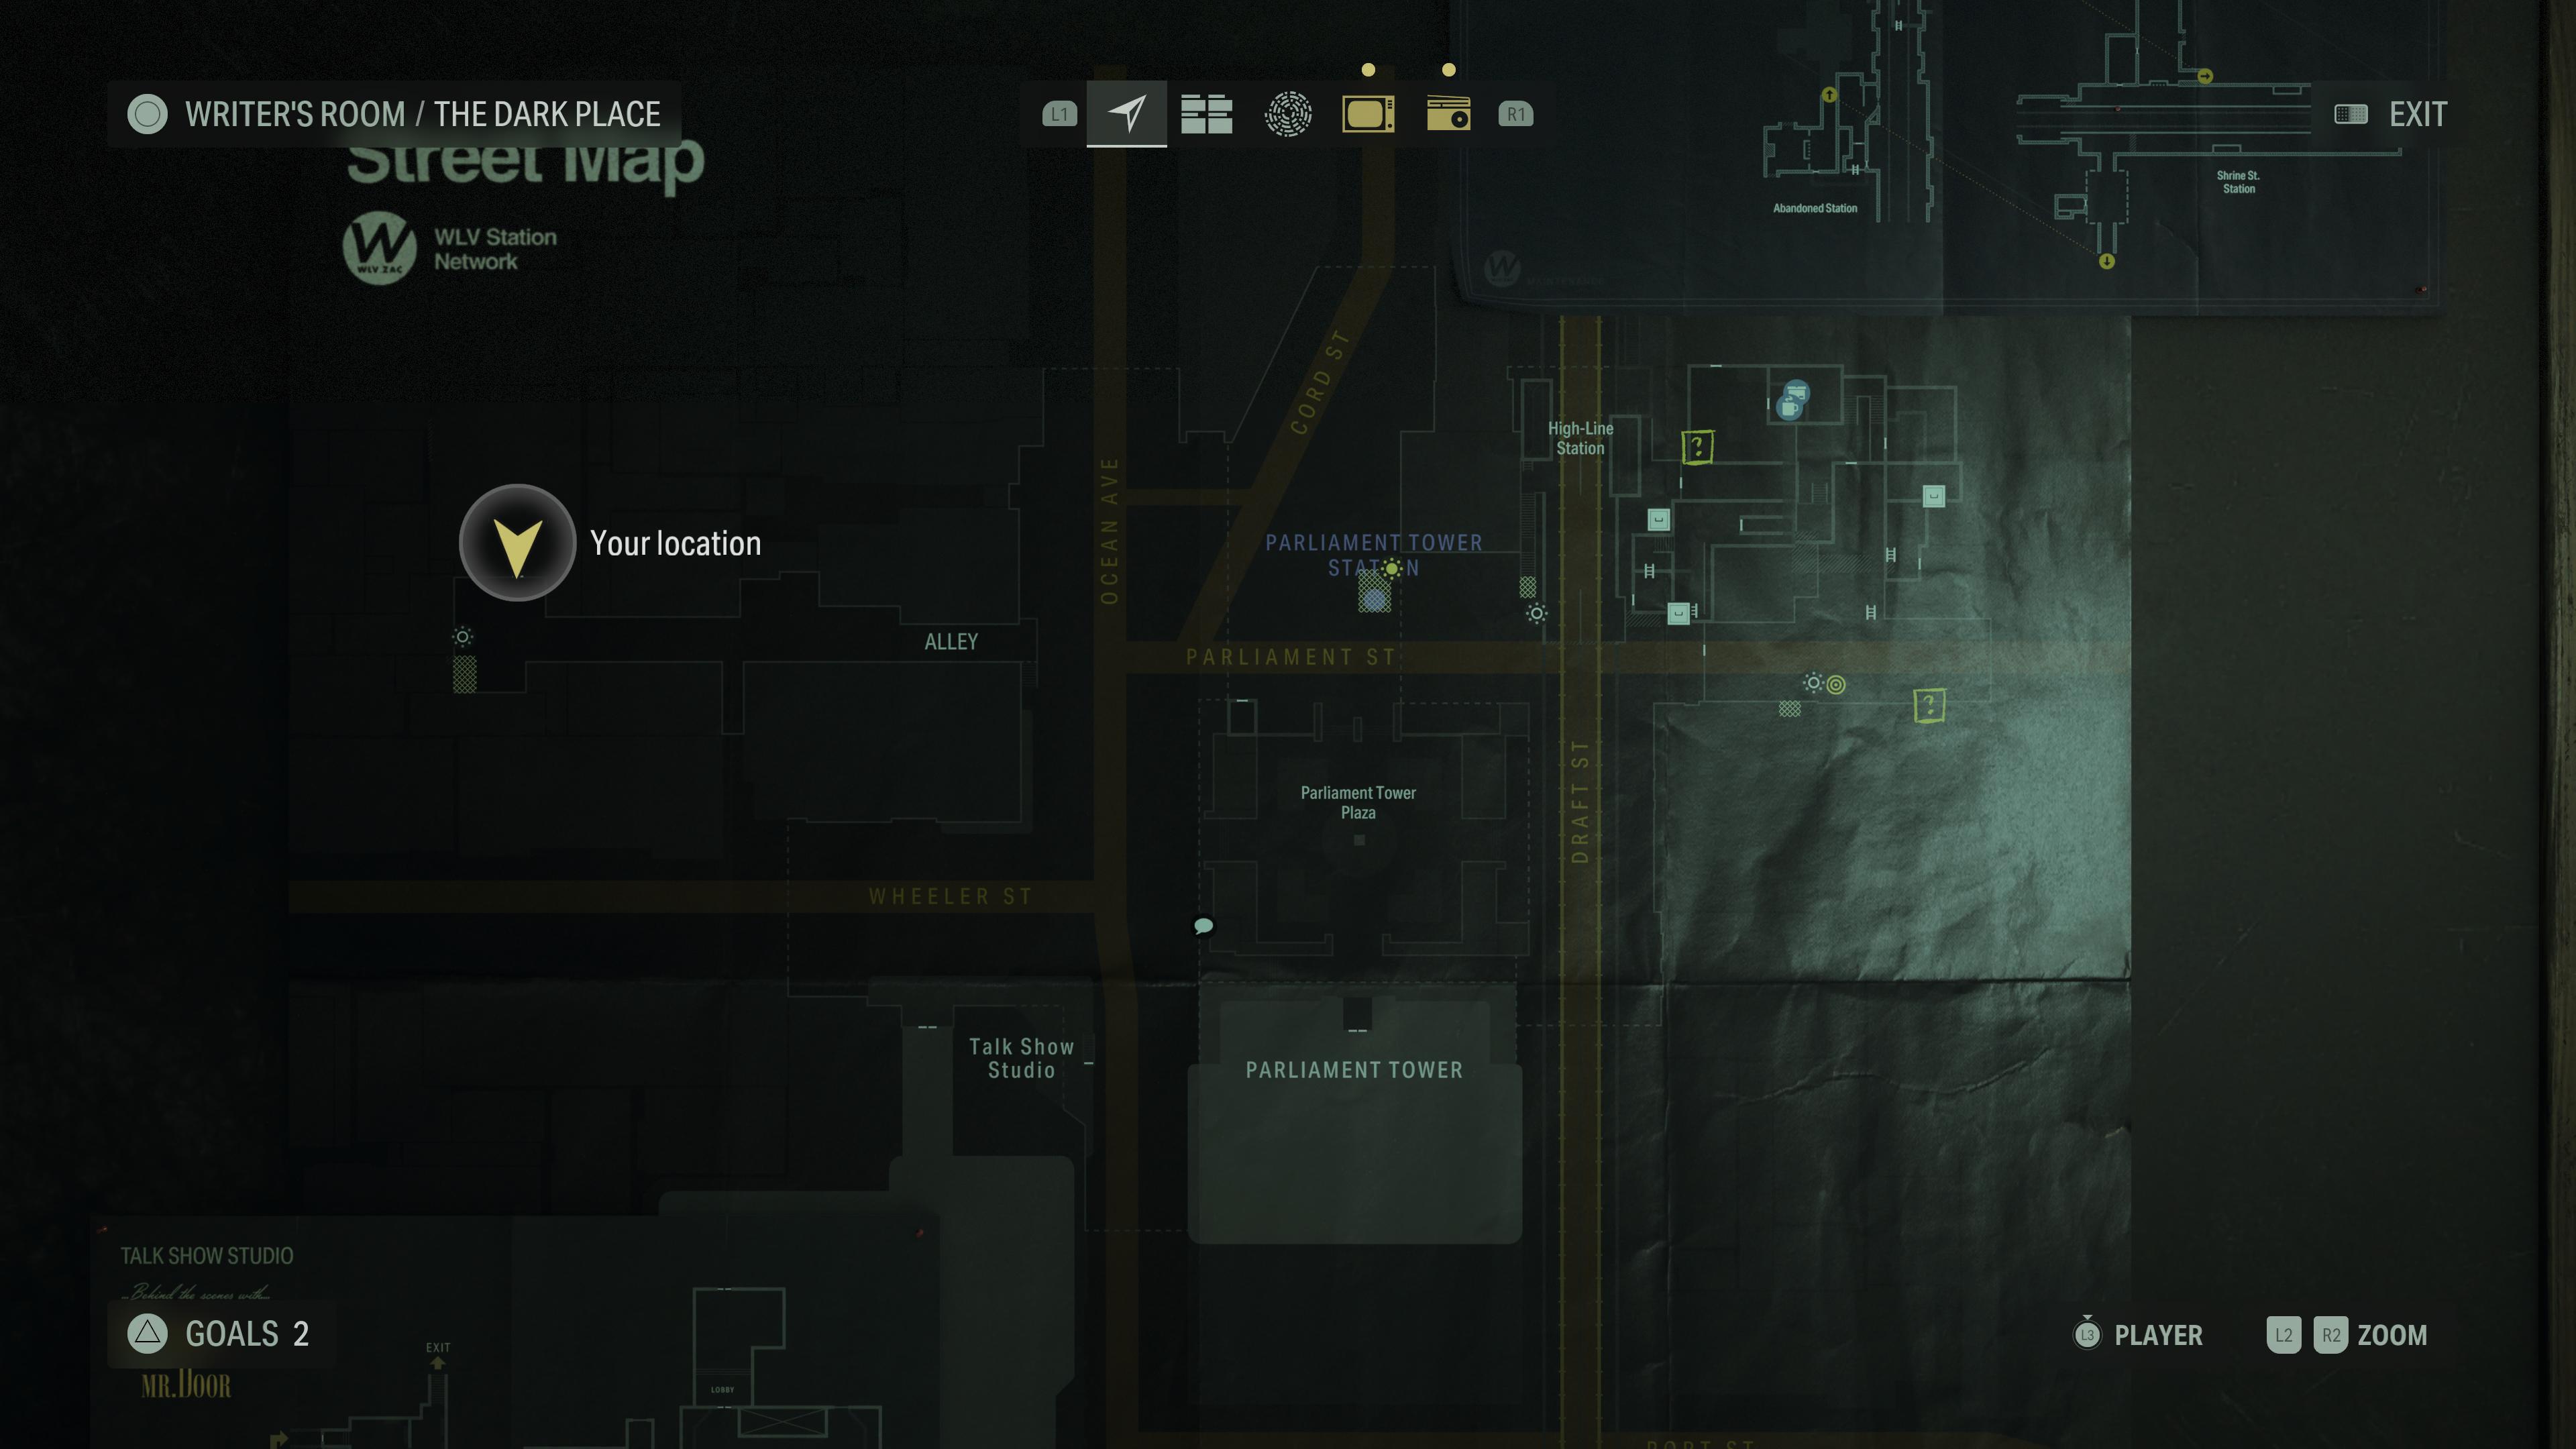
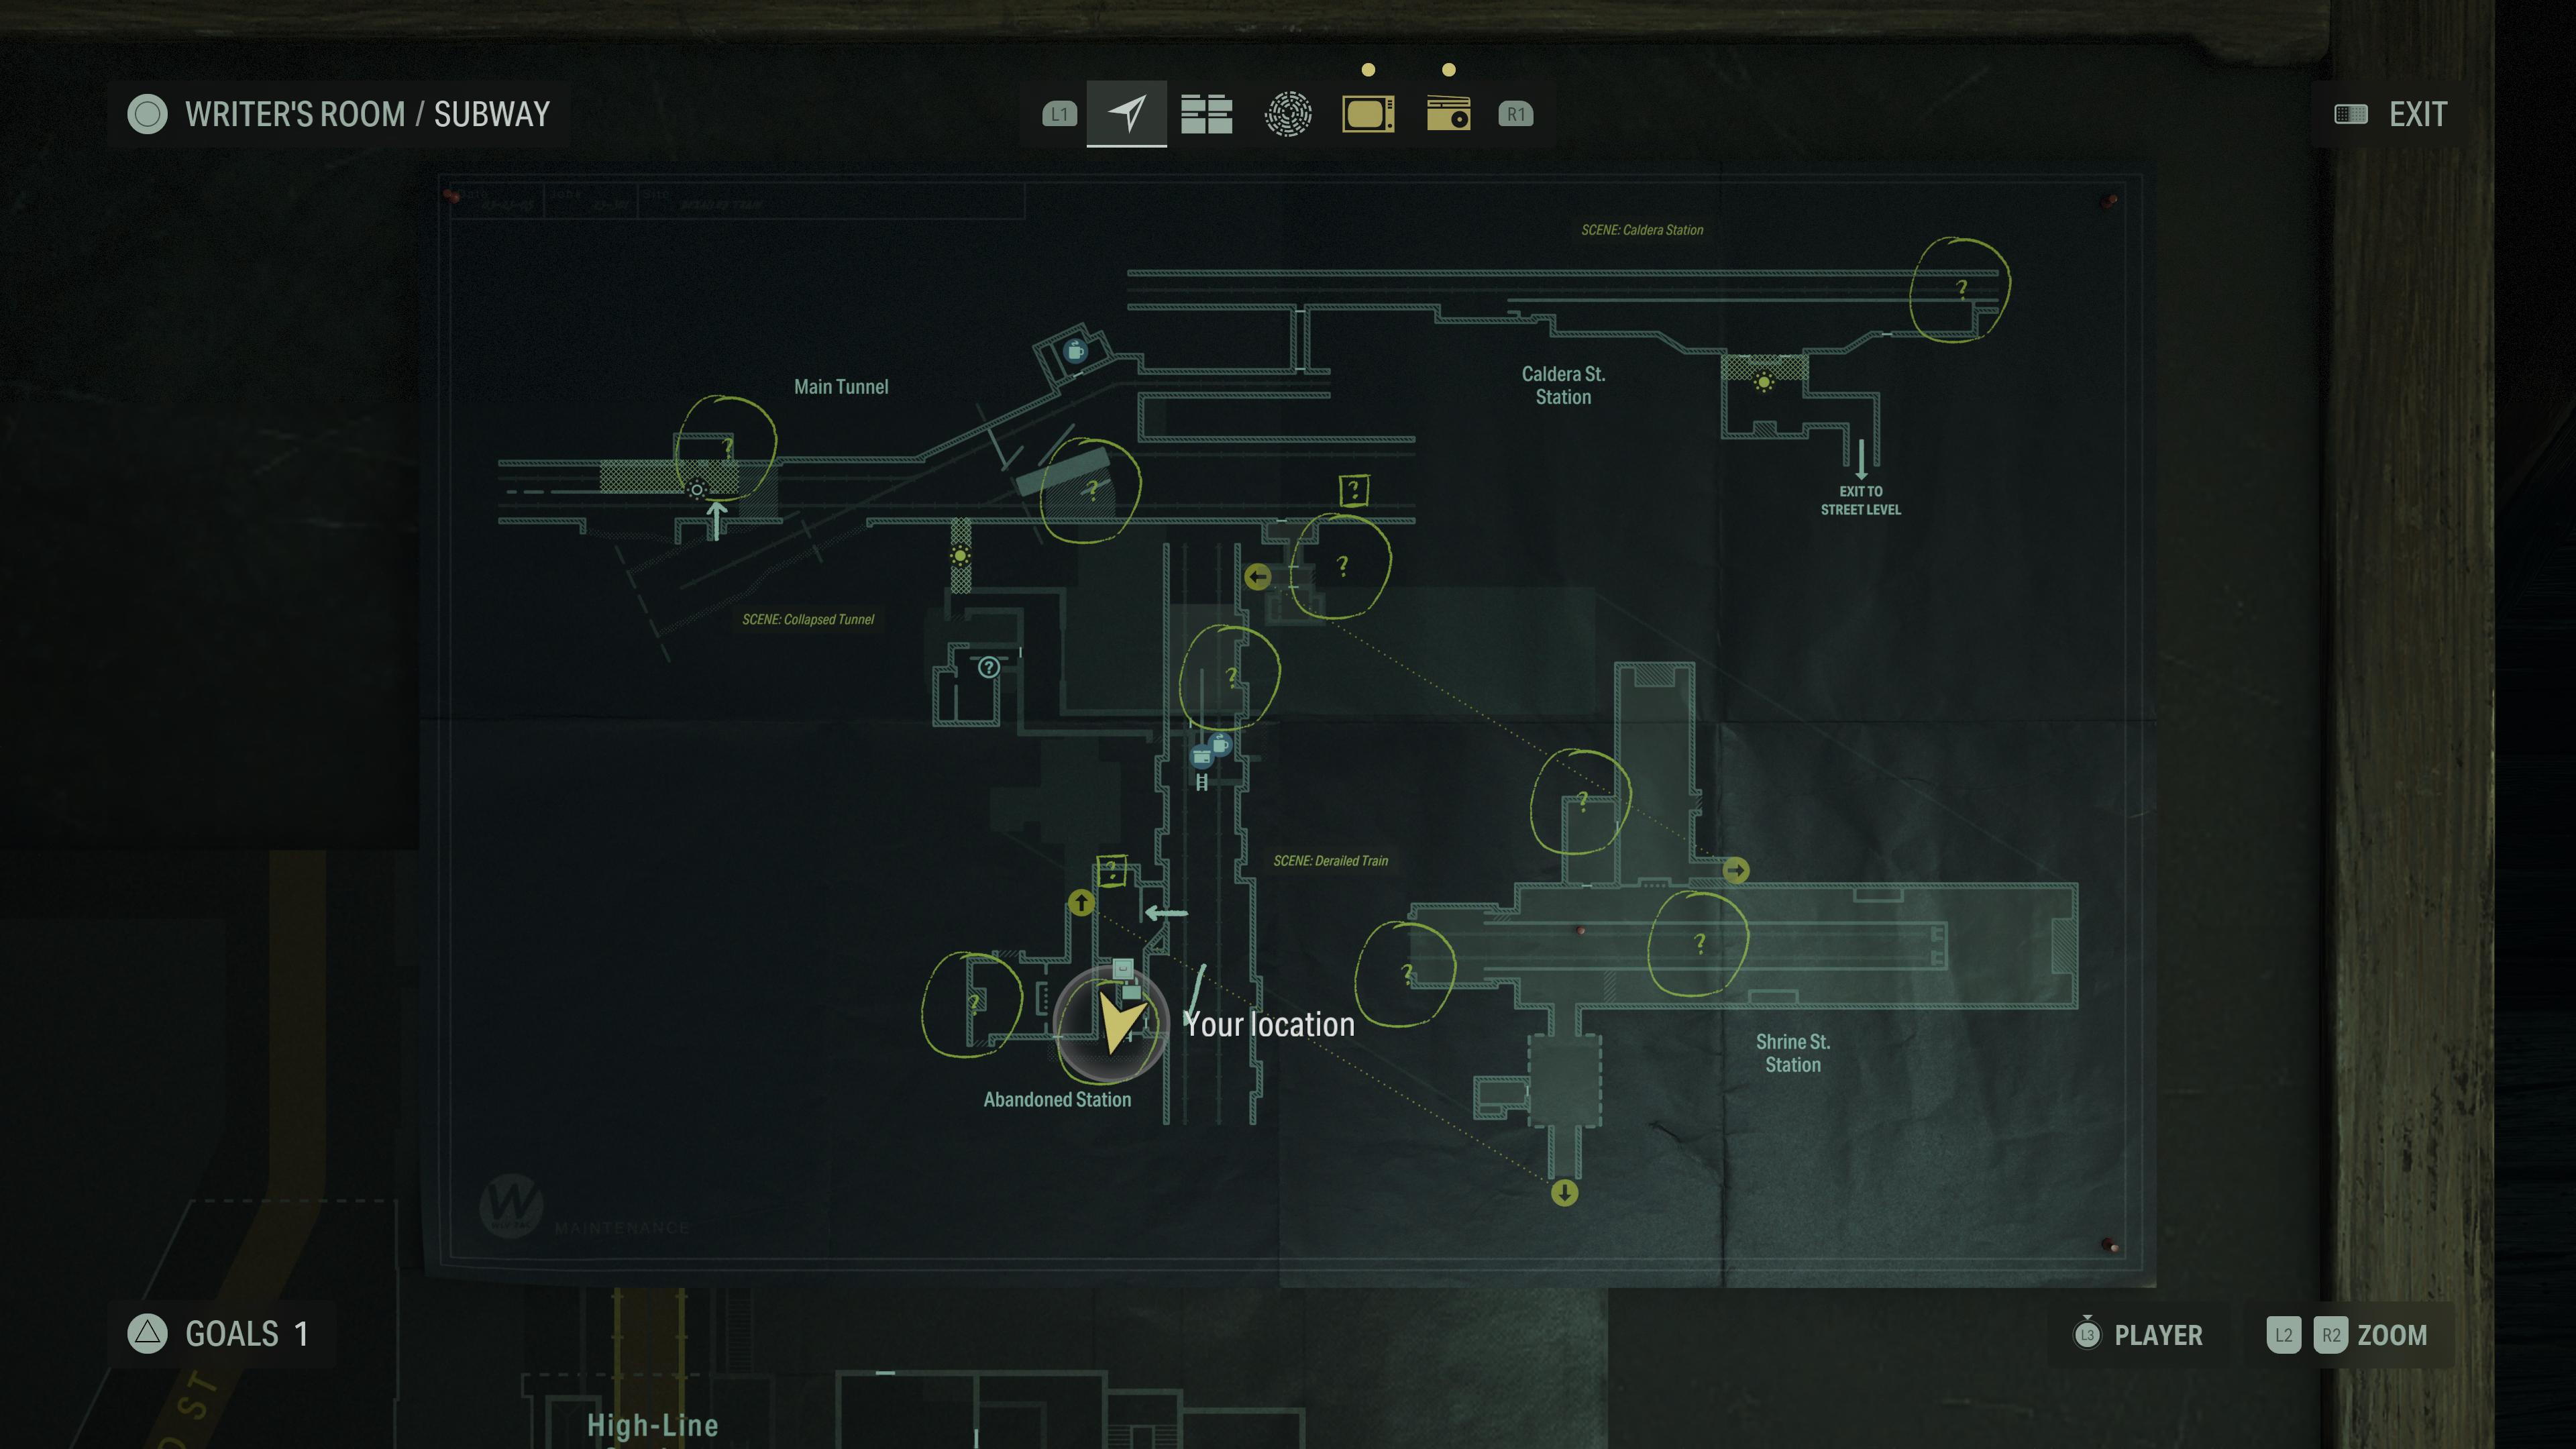
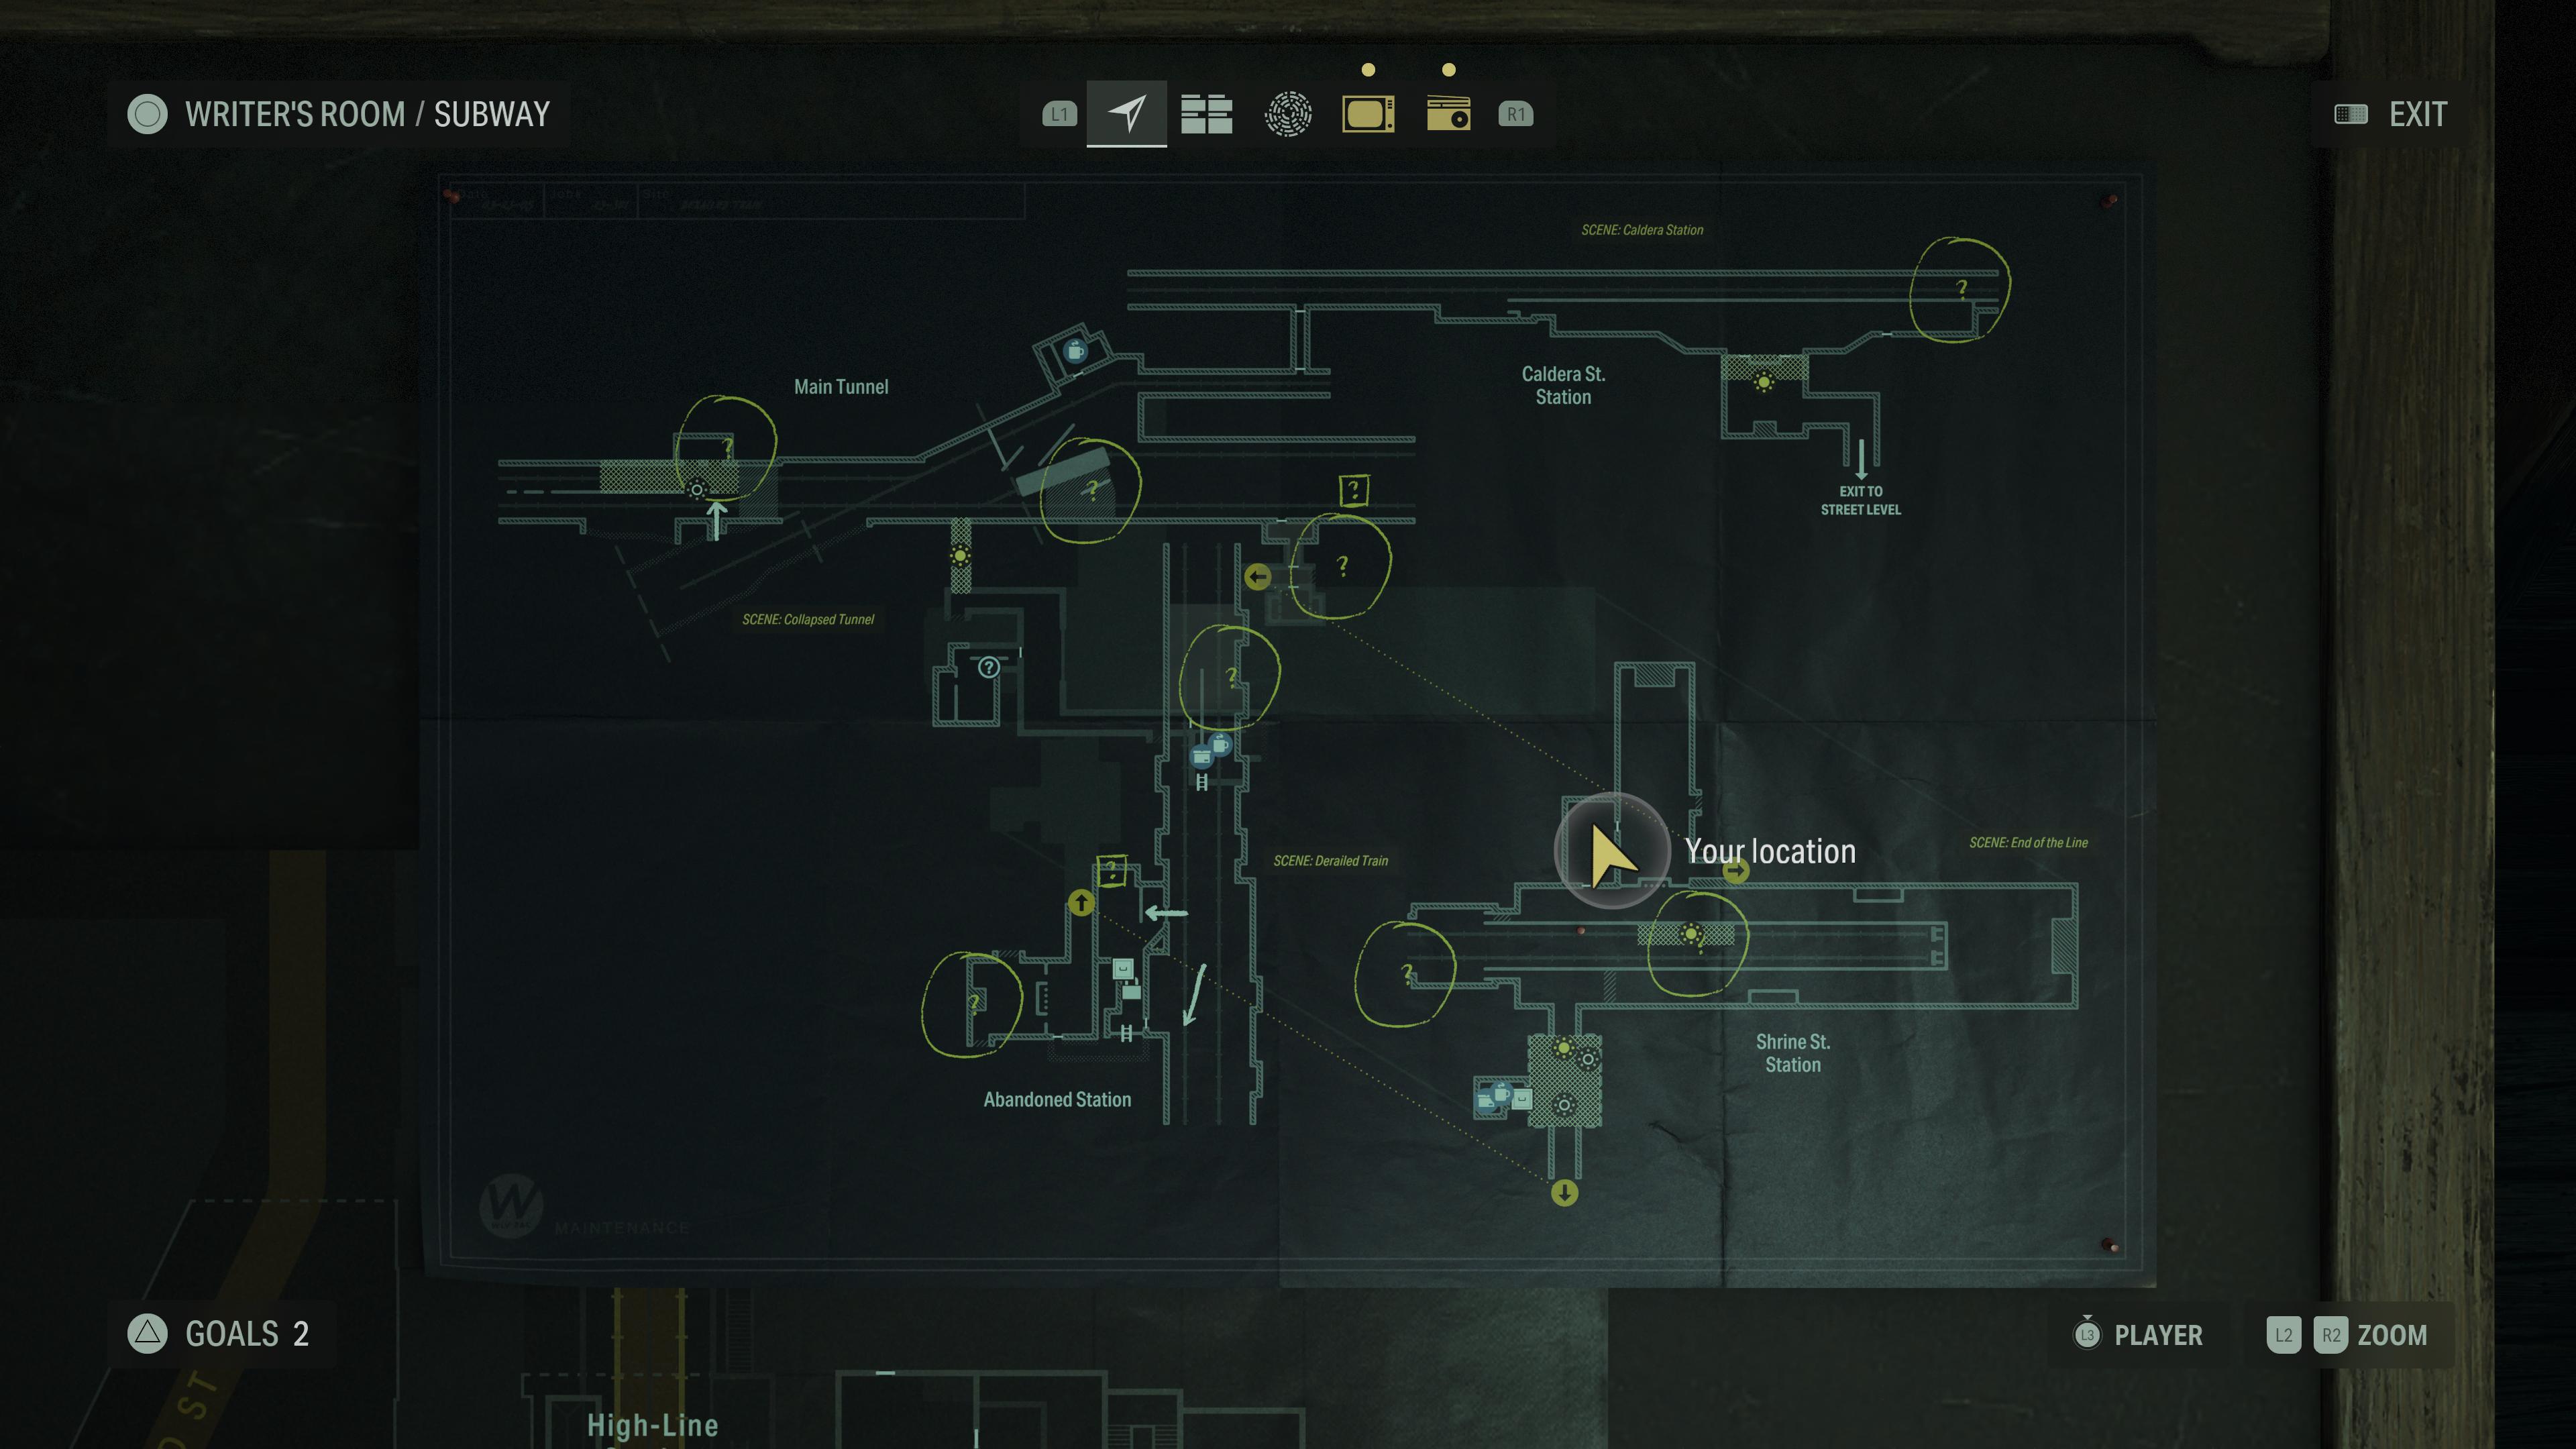
You need Words of Power upgrades for various purposes like increasing your damage, max health, inventory space, and flashlight charge in Alan’s story. Here are all the Worlds of Power locations in Alan Wake 2‘s Caldera Subway Station.
Alan Wake 2: All Words of Power location in Caldera Station
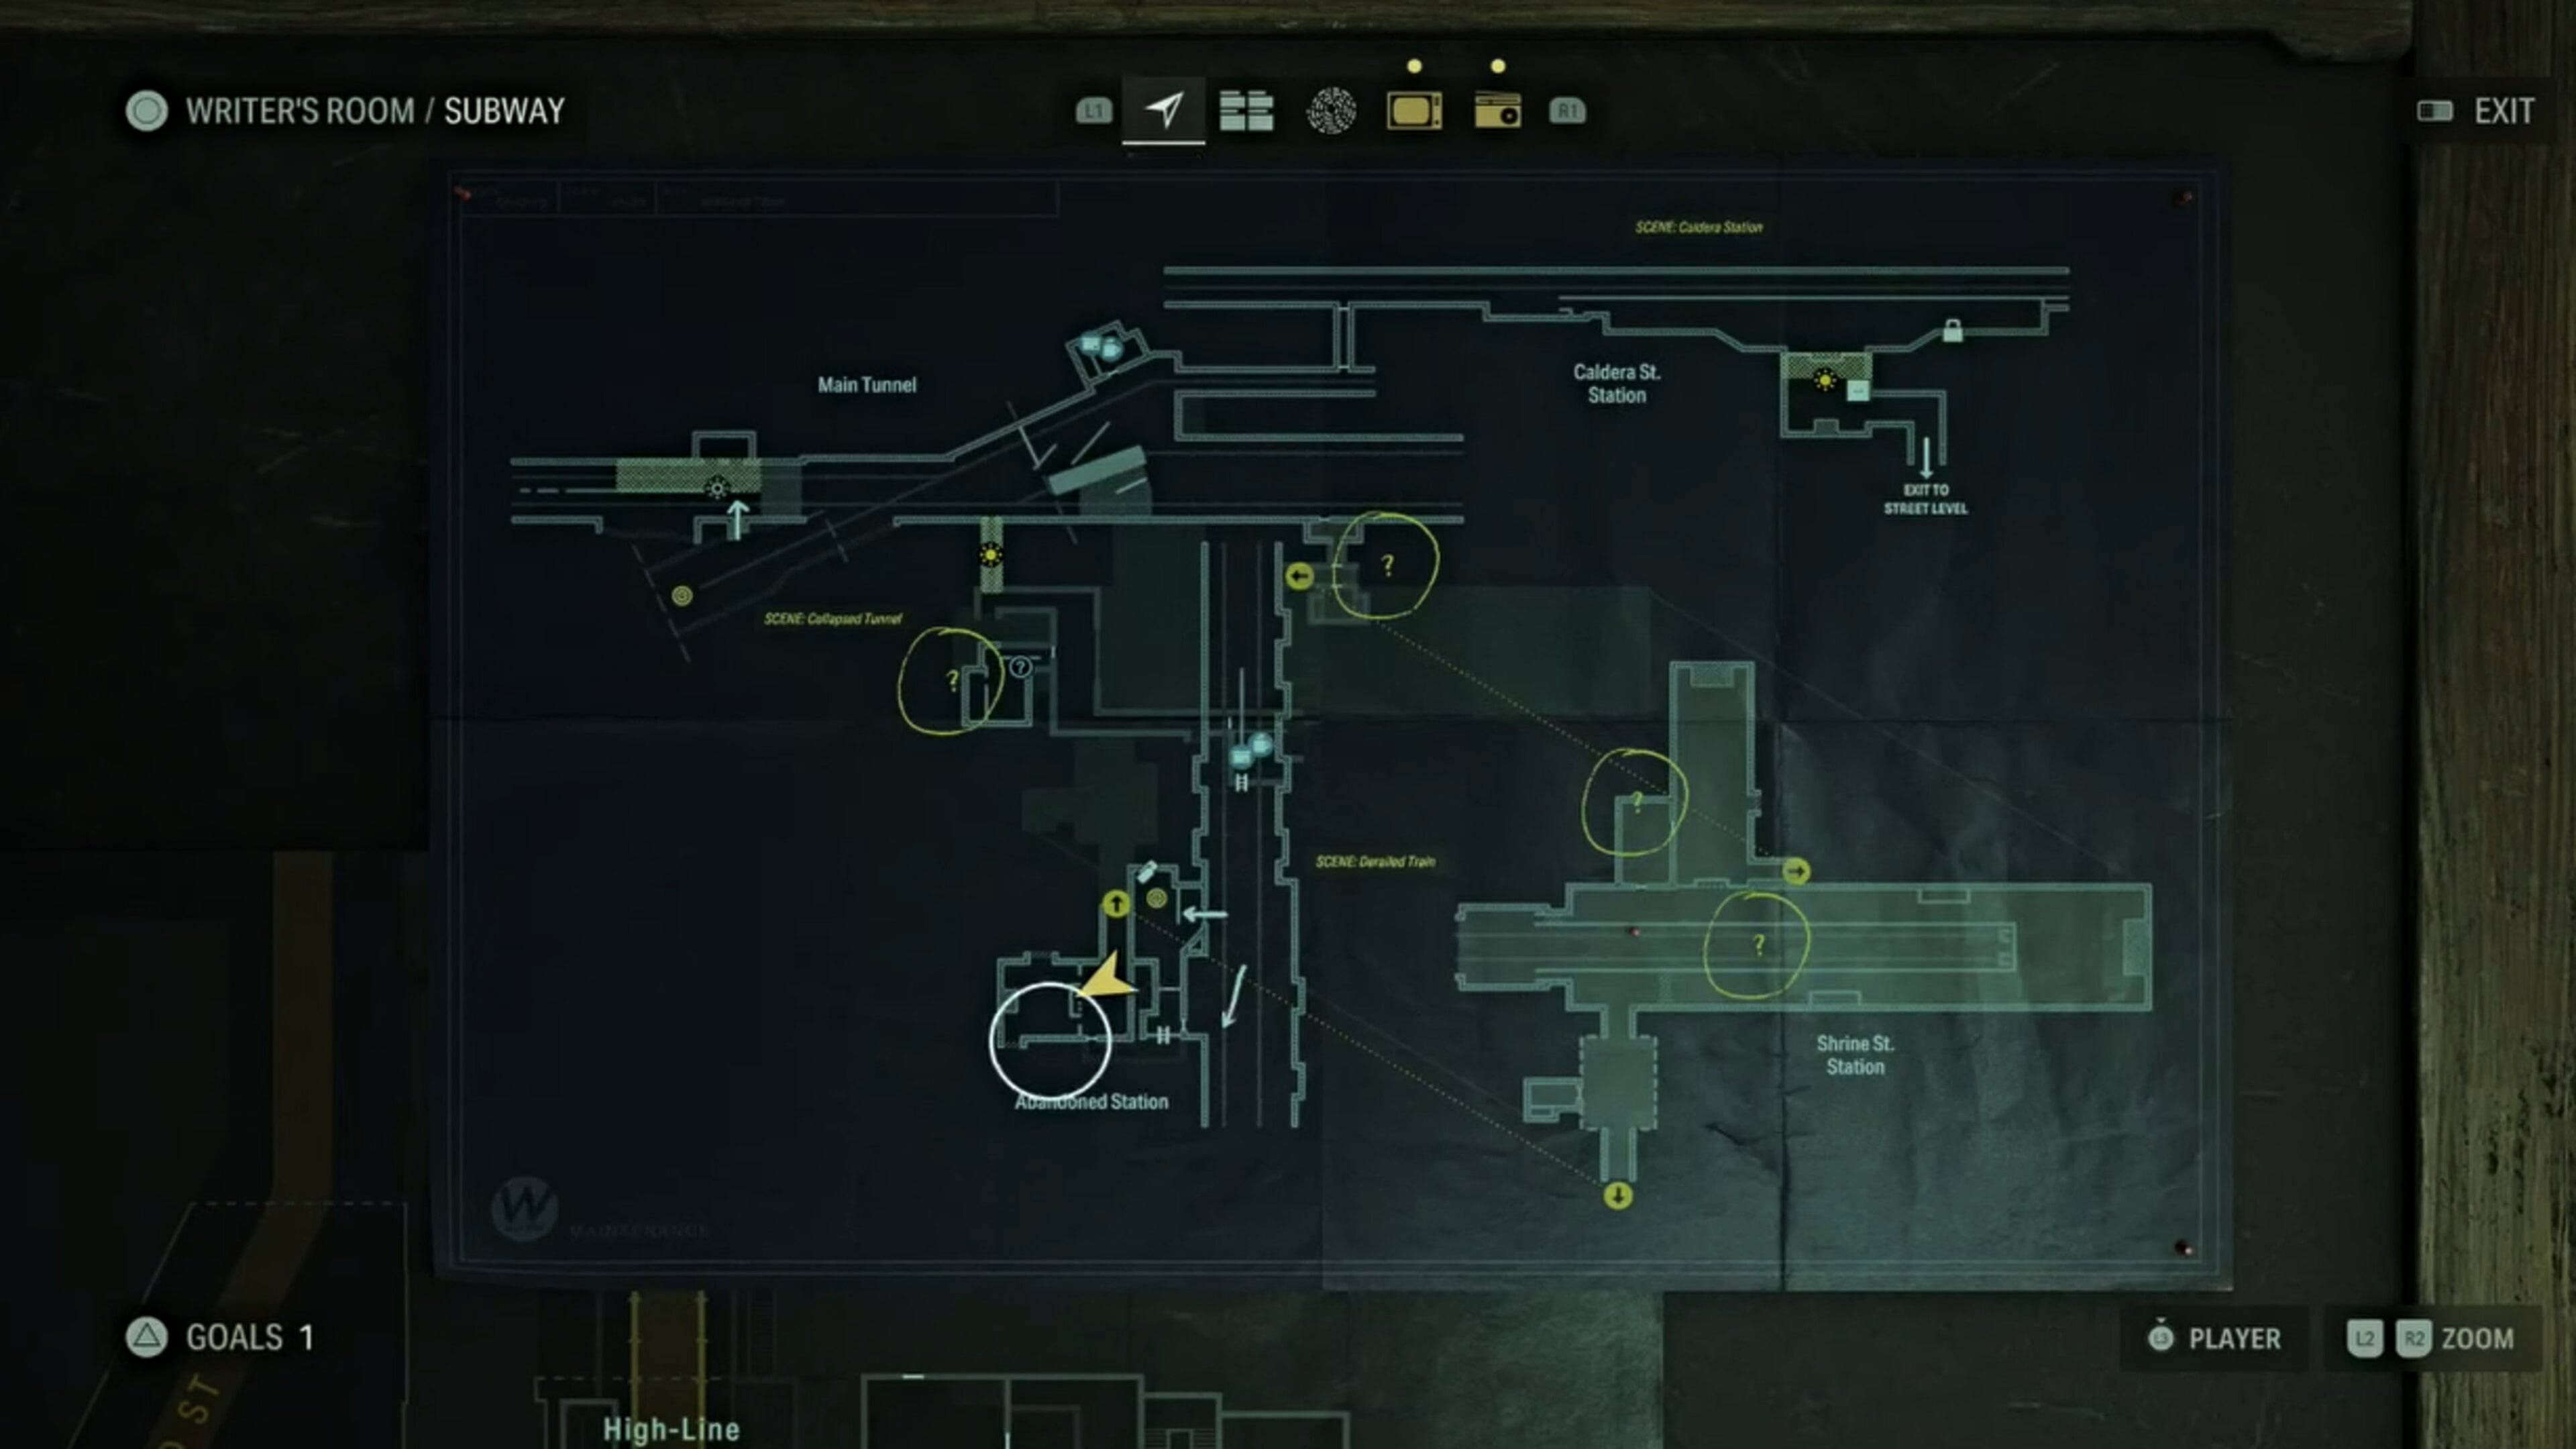
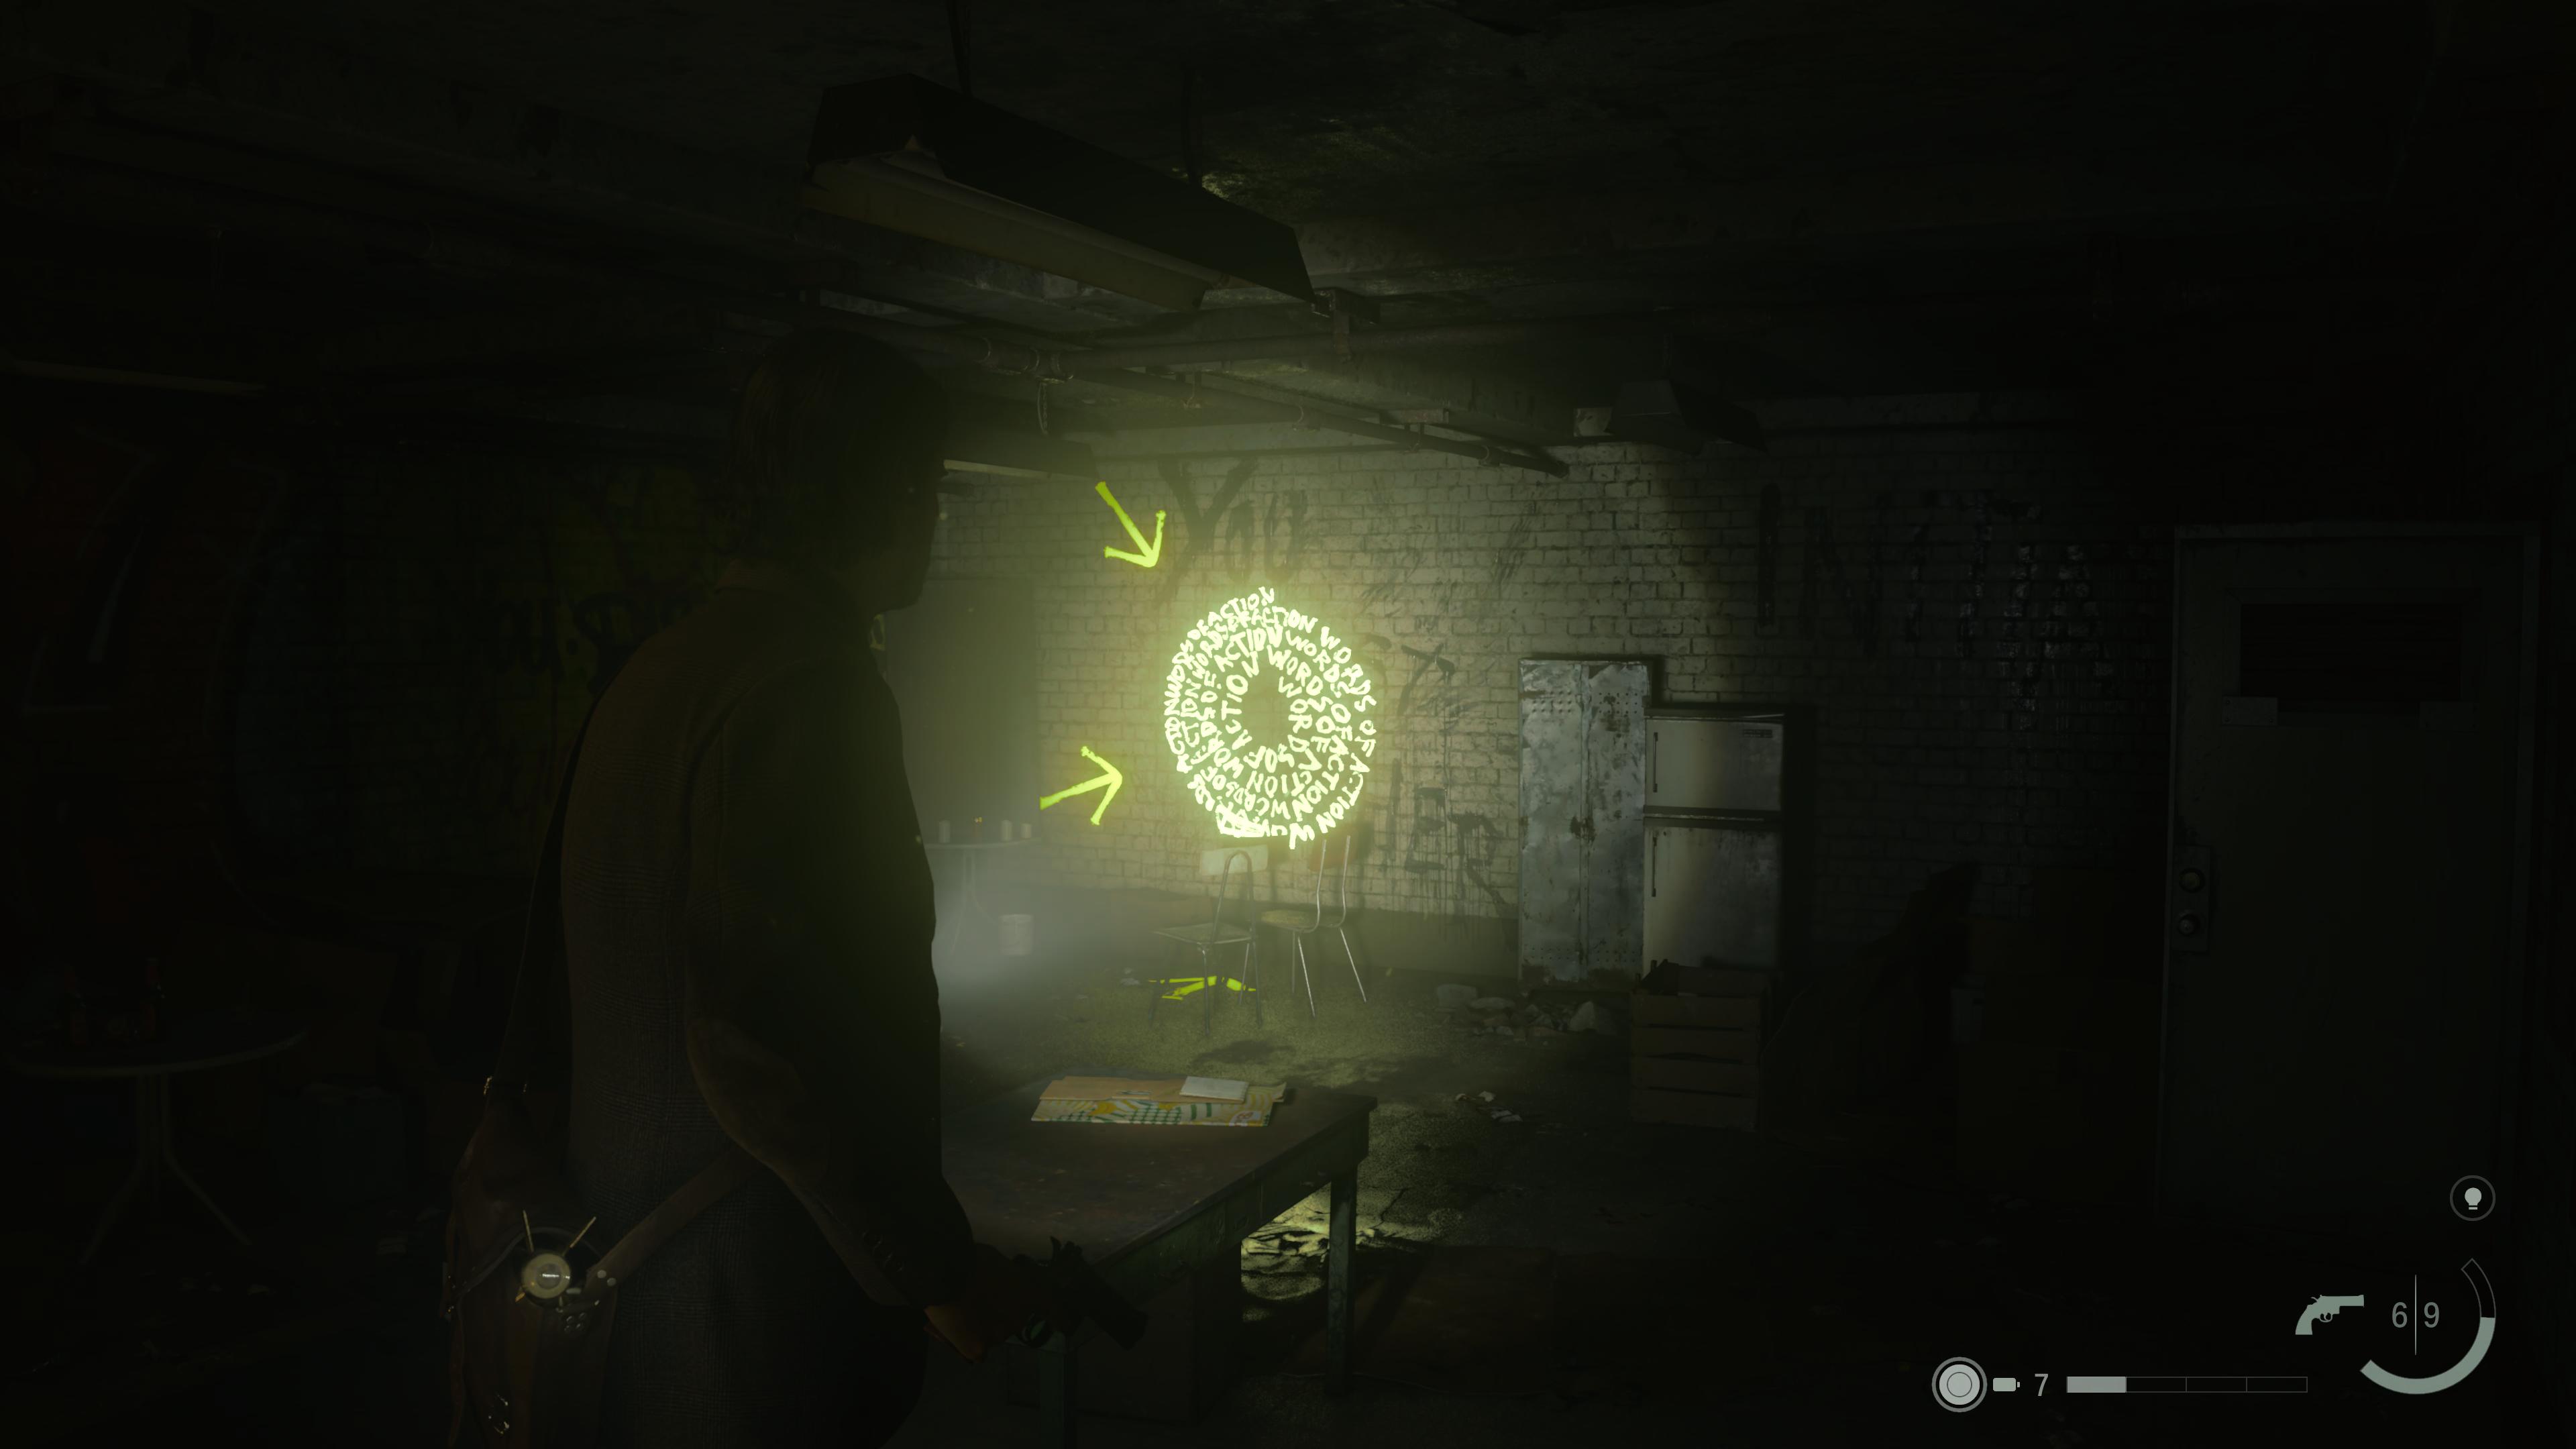
Like motivating yourself with the Alex Casey lunchboxes, Alan’s Words of power are there for combat buffs and to increase your survivability. You can upgrade any buffs you activate via a Words of Power spiral a further two times. There are a total of 15 Words of Power inside Caldera Subway Station.
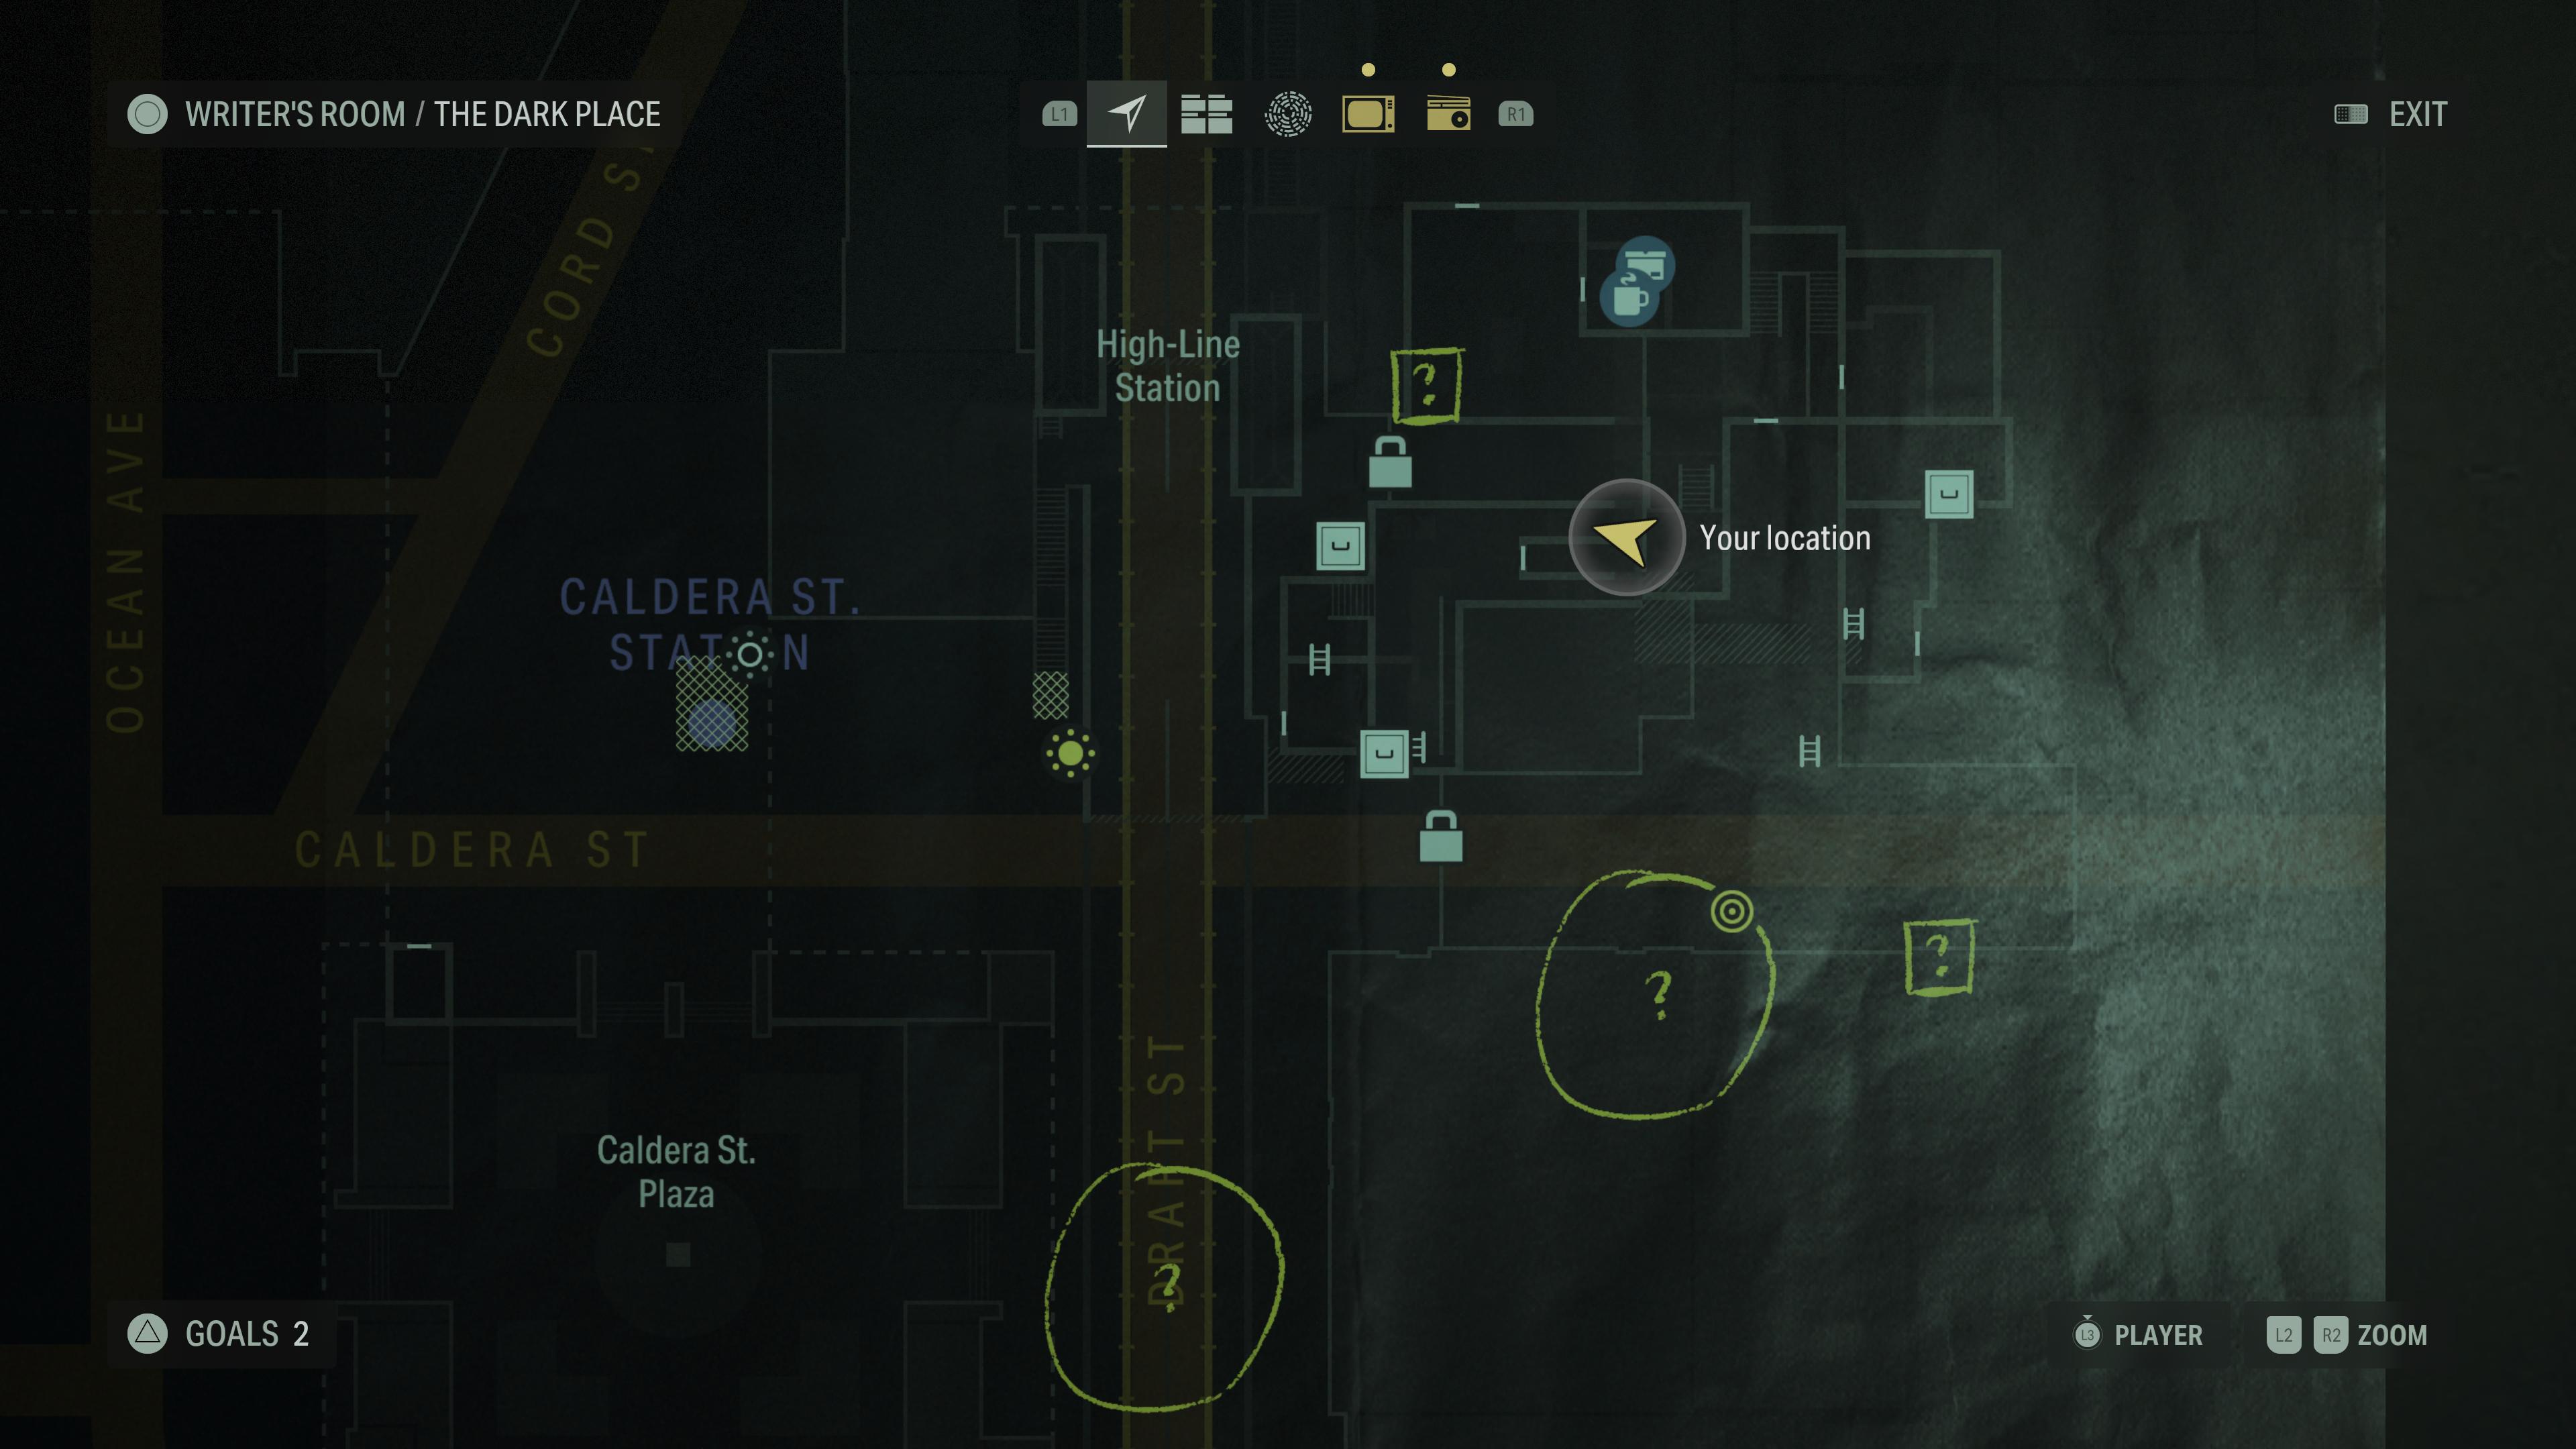
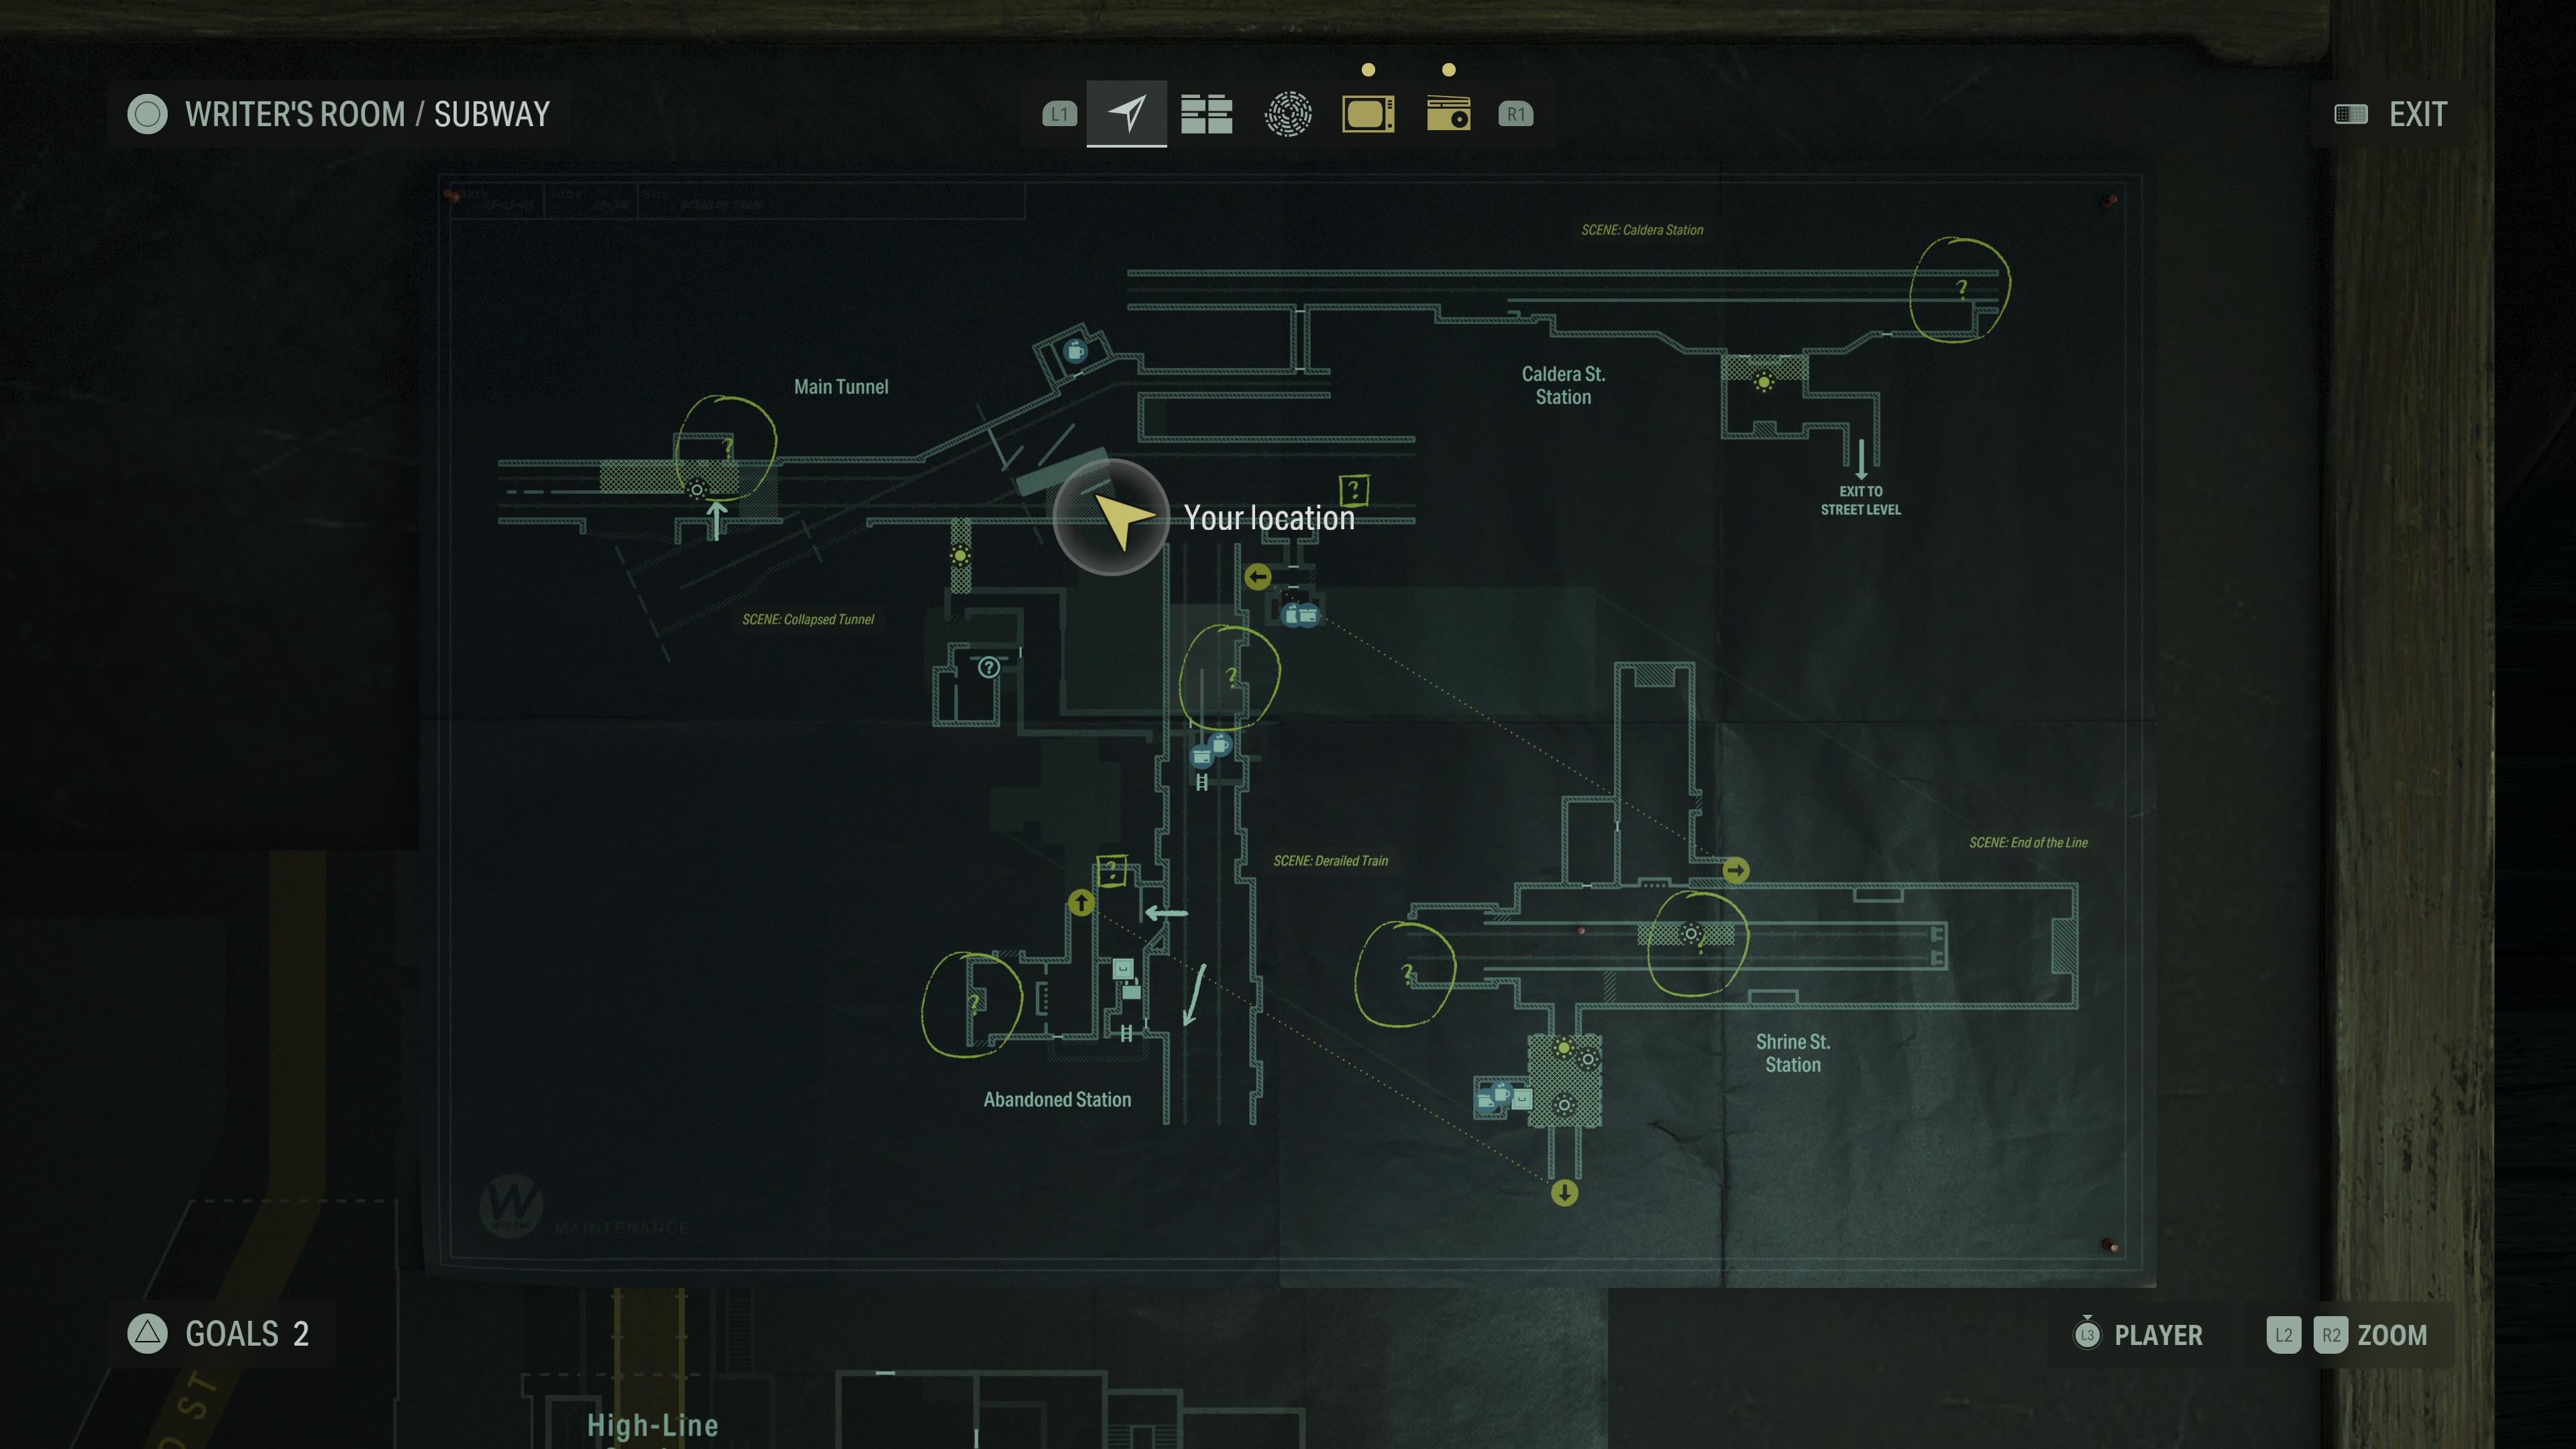
The main way to find these spirals is by following the yellow arrows. You can only see them using Alan’s flashlight. There are six outside the station and 10 inside the subway. We will show you where to find each spiral for Words of Power upgrades during the Initiation 2: Alex Casey part of Alan Wake 2.
Words of Lamp locations
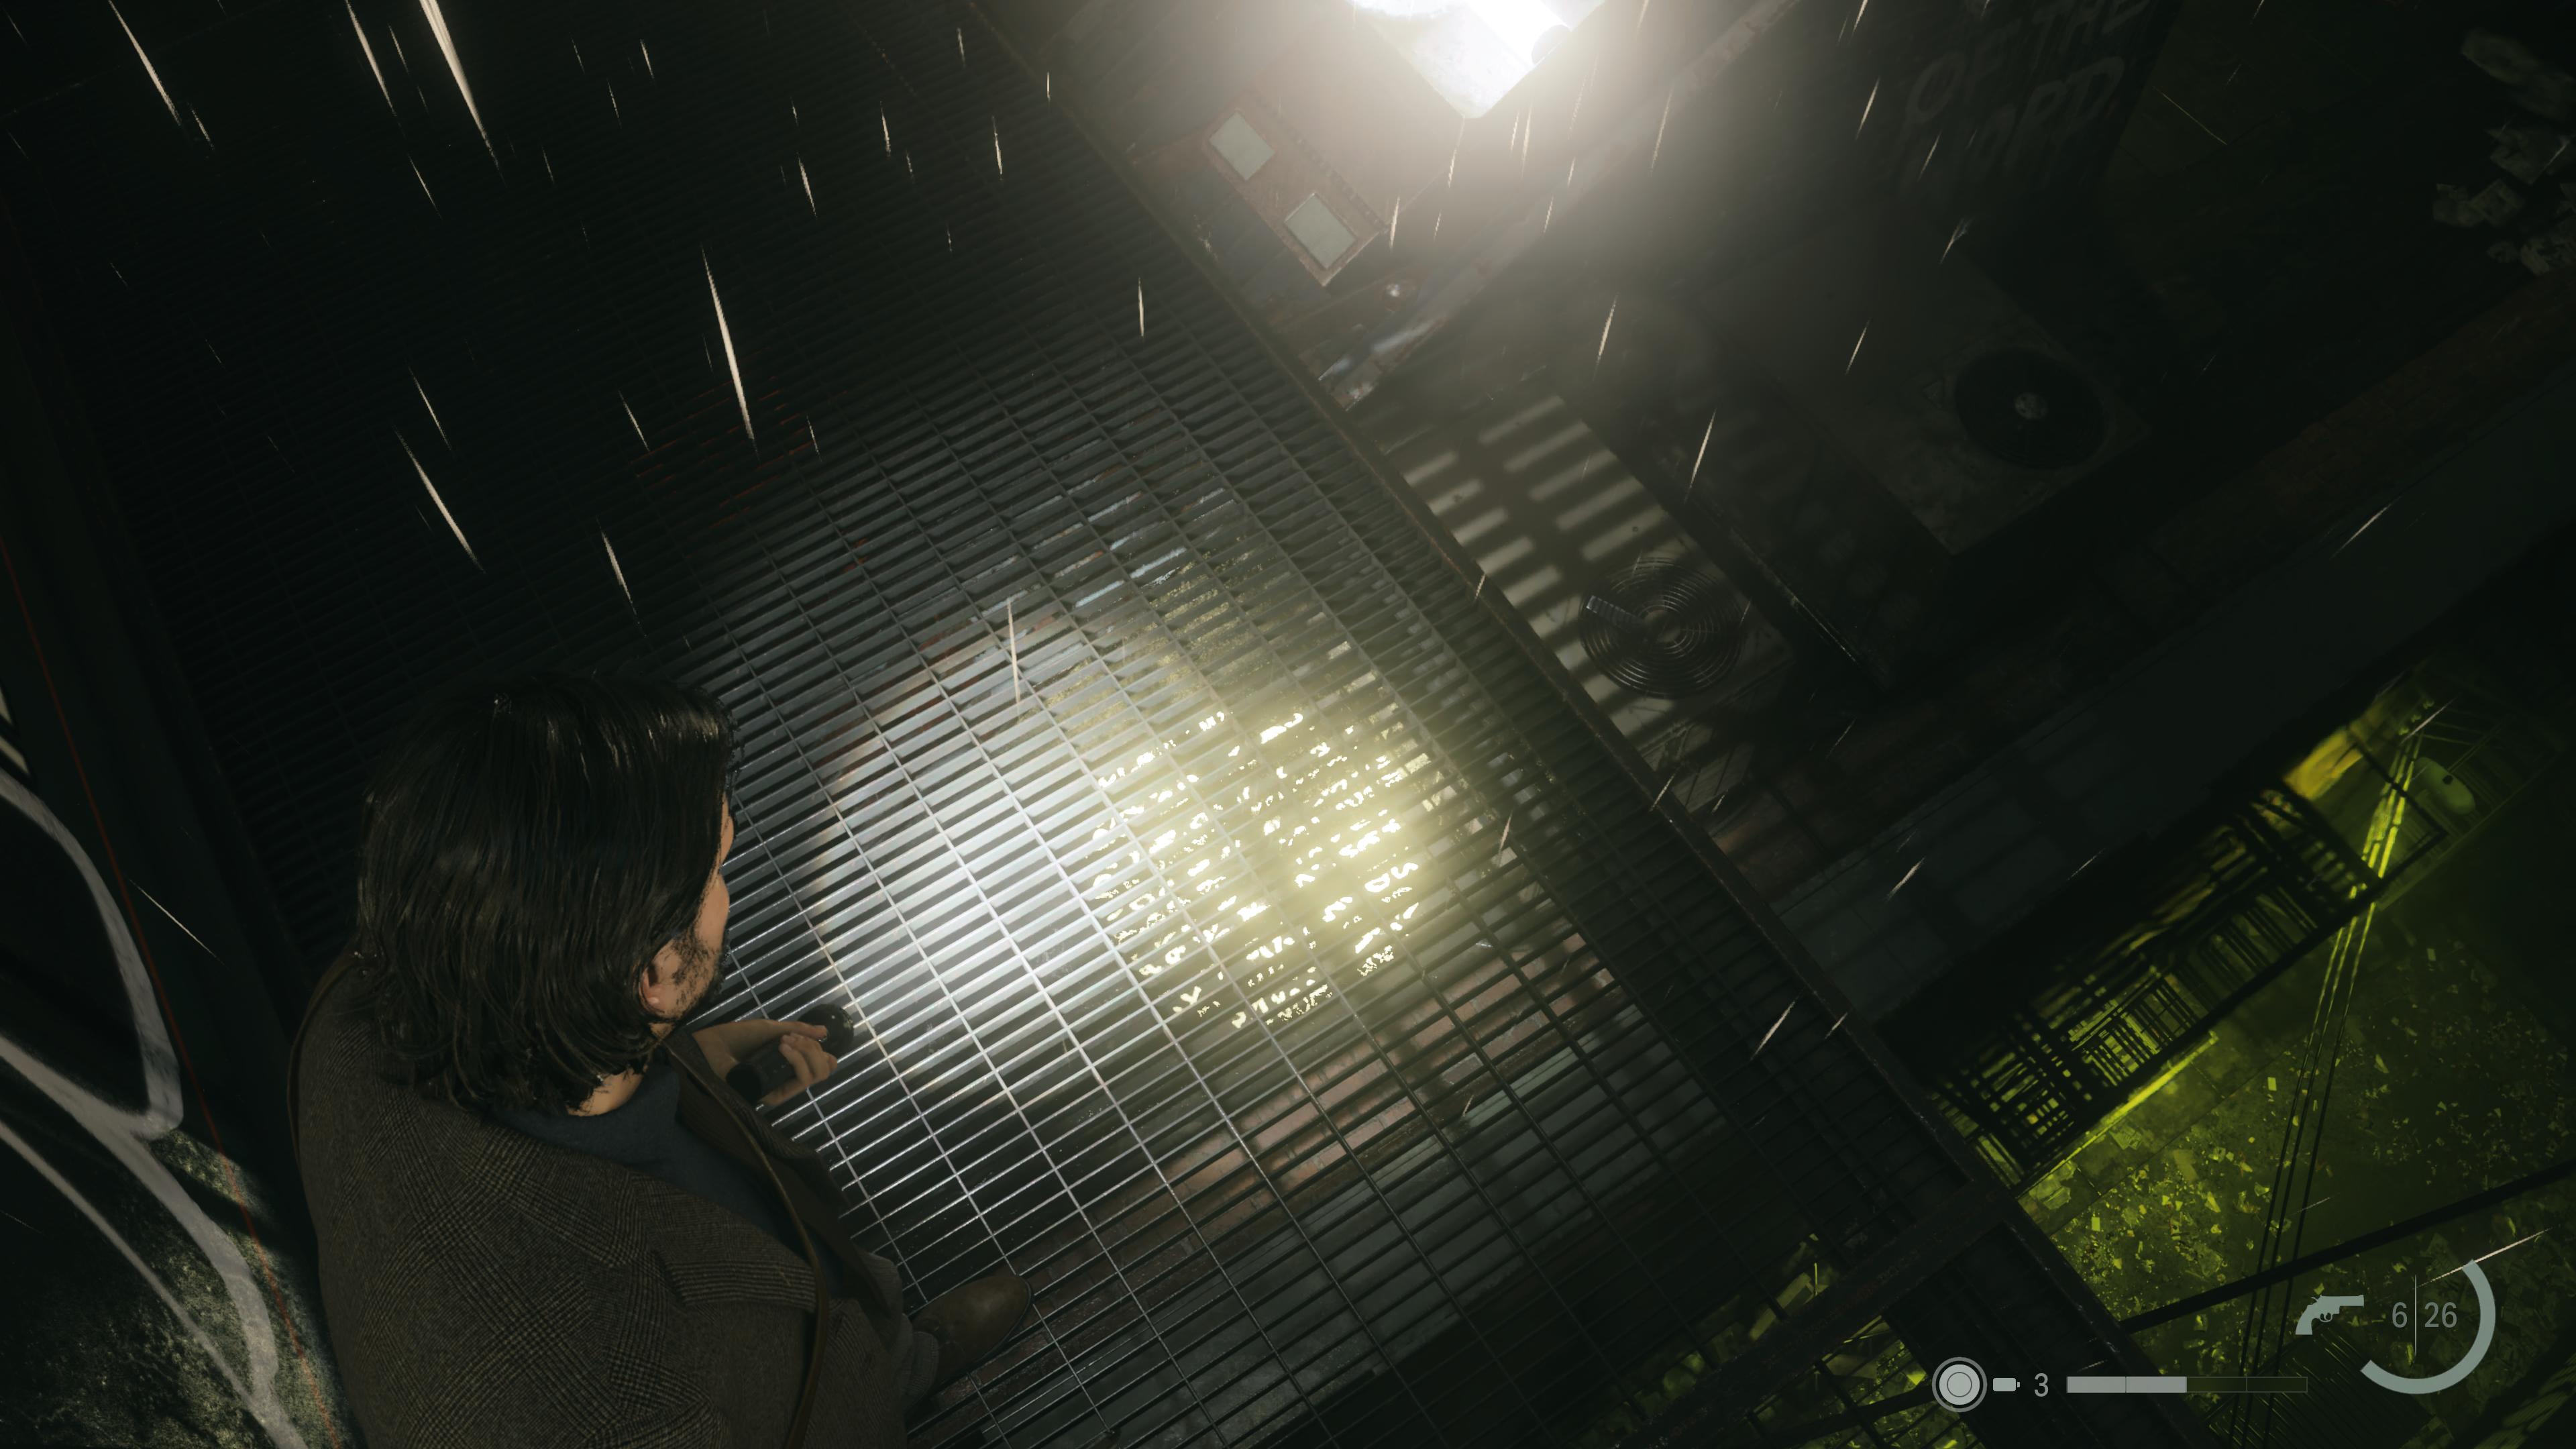
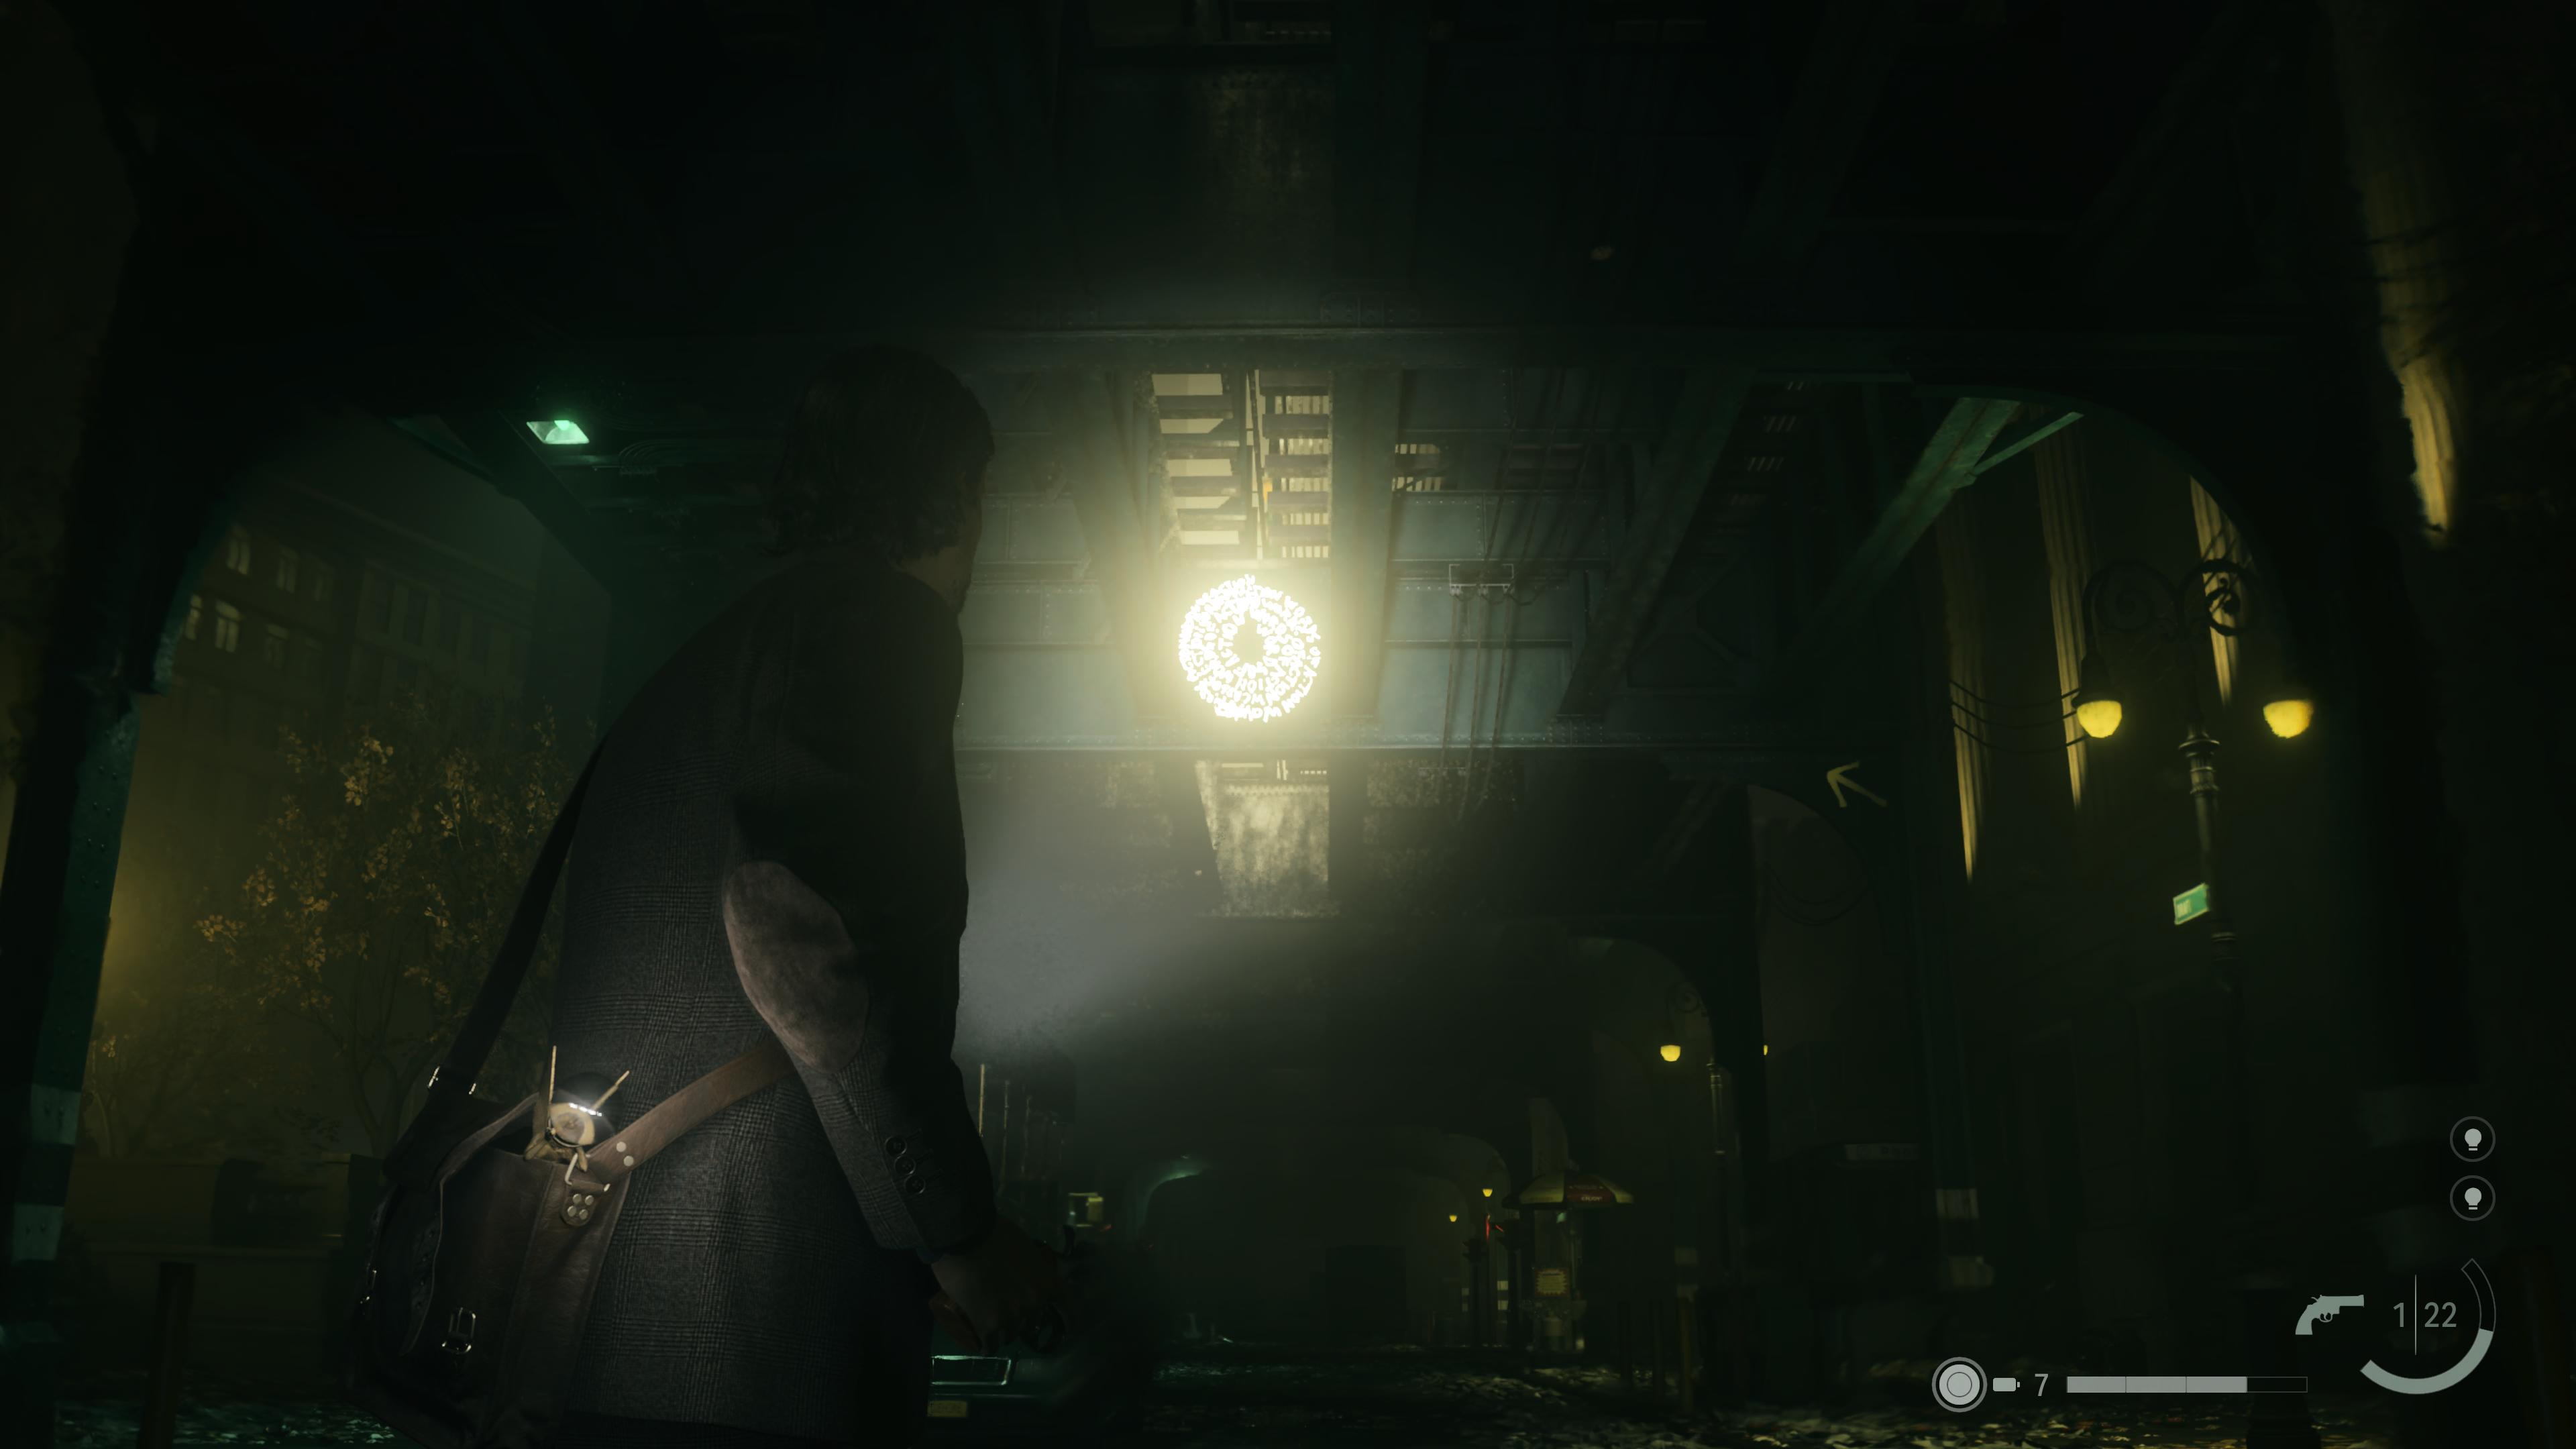
The first Words of Power you come across is on the High-Live Station rooftops. I found climbing onto the billboard helped get this one. This position allowed me to avoid taking any unnecessary damage from Taken down below. You will need to aim with your revolver pointing down through the walkway and onto the spiral.
Use the ladder close to the door to progress into the subway, walk over to the billboard and look down to see the spiral. Alternatively, you can stand next to the ramp and yellow arrows and point directly at the spiral after you pass it. Make sure you get it quick so that you can evade the Taken easily afterward.
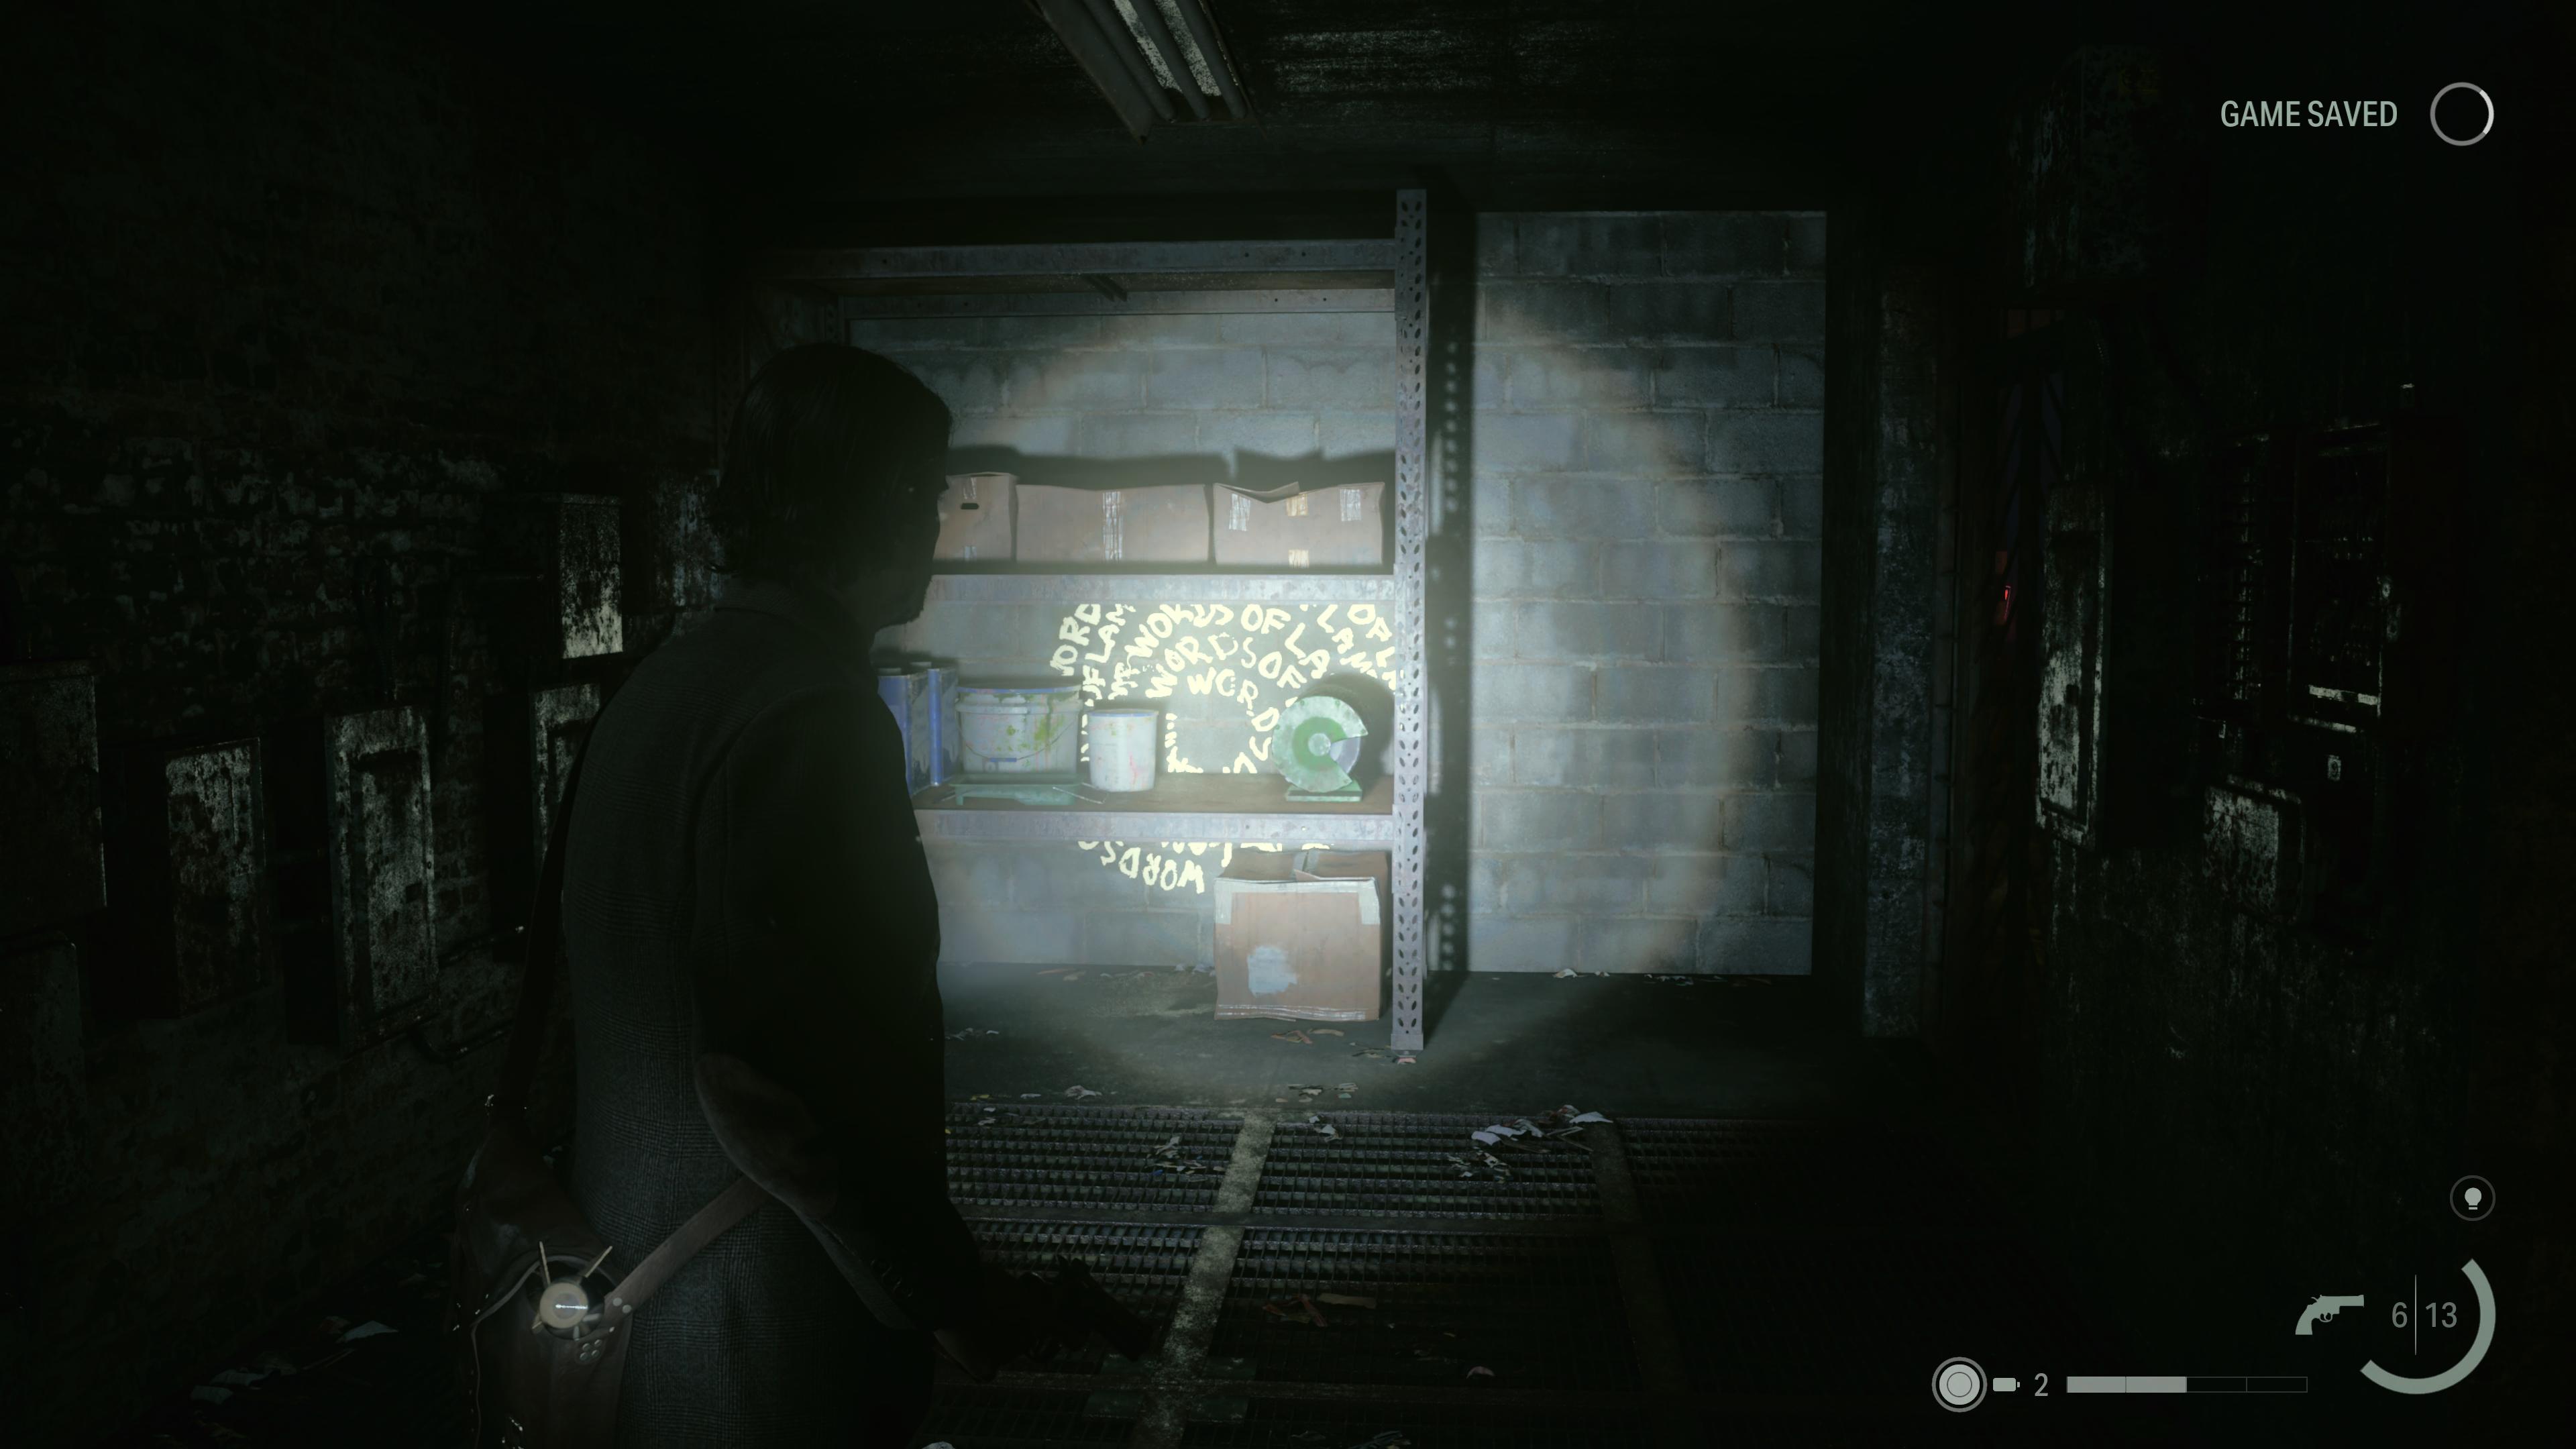

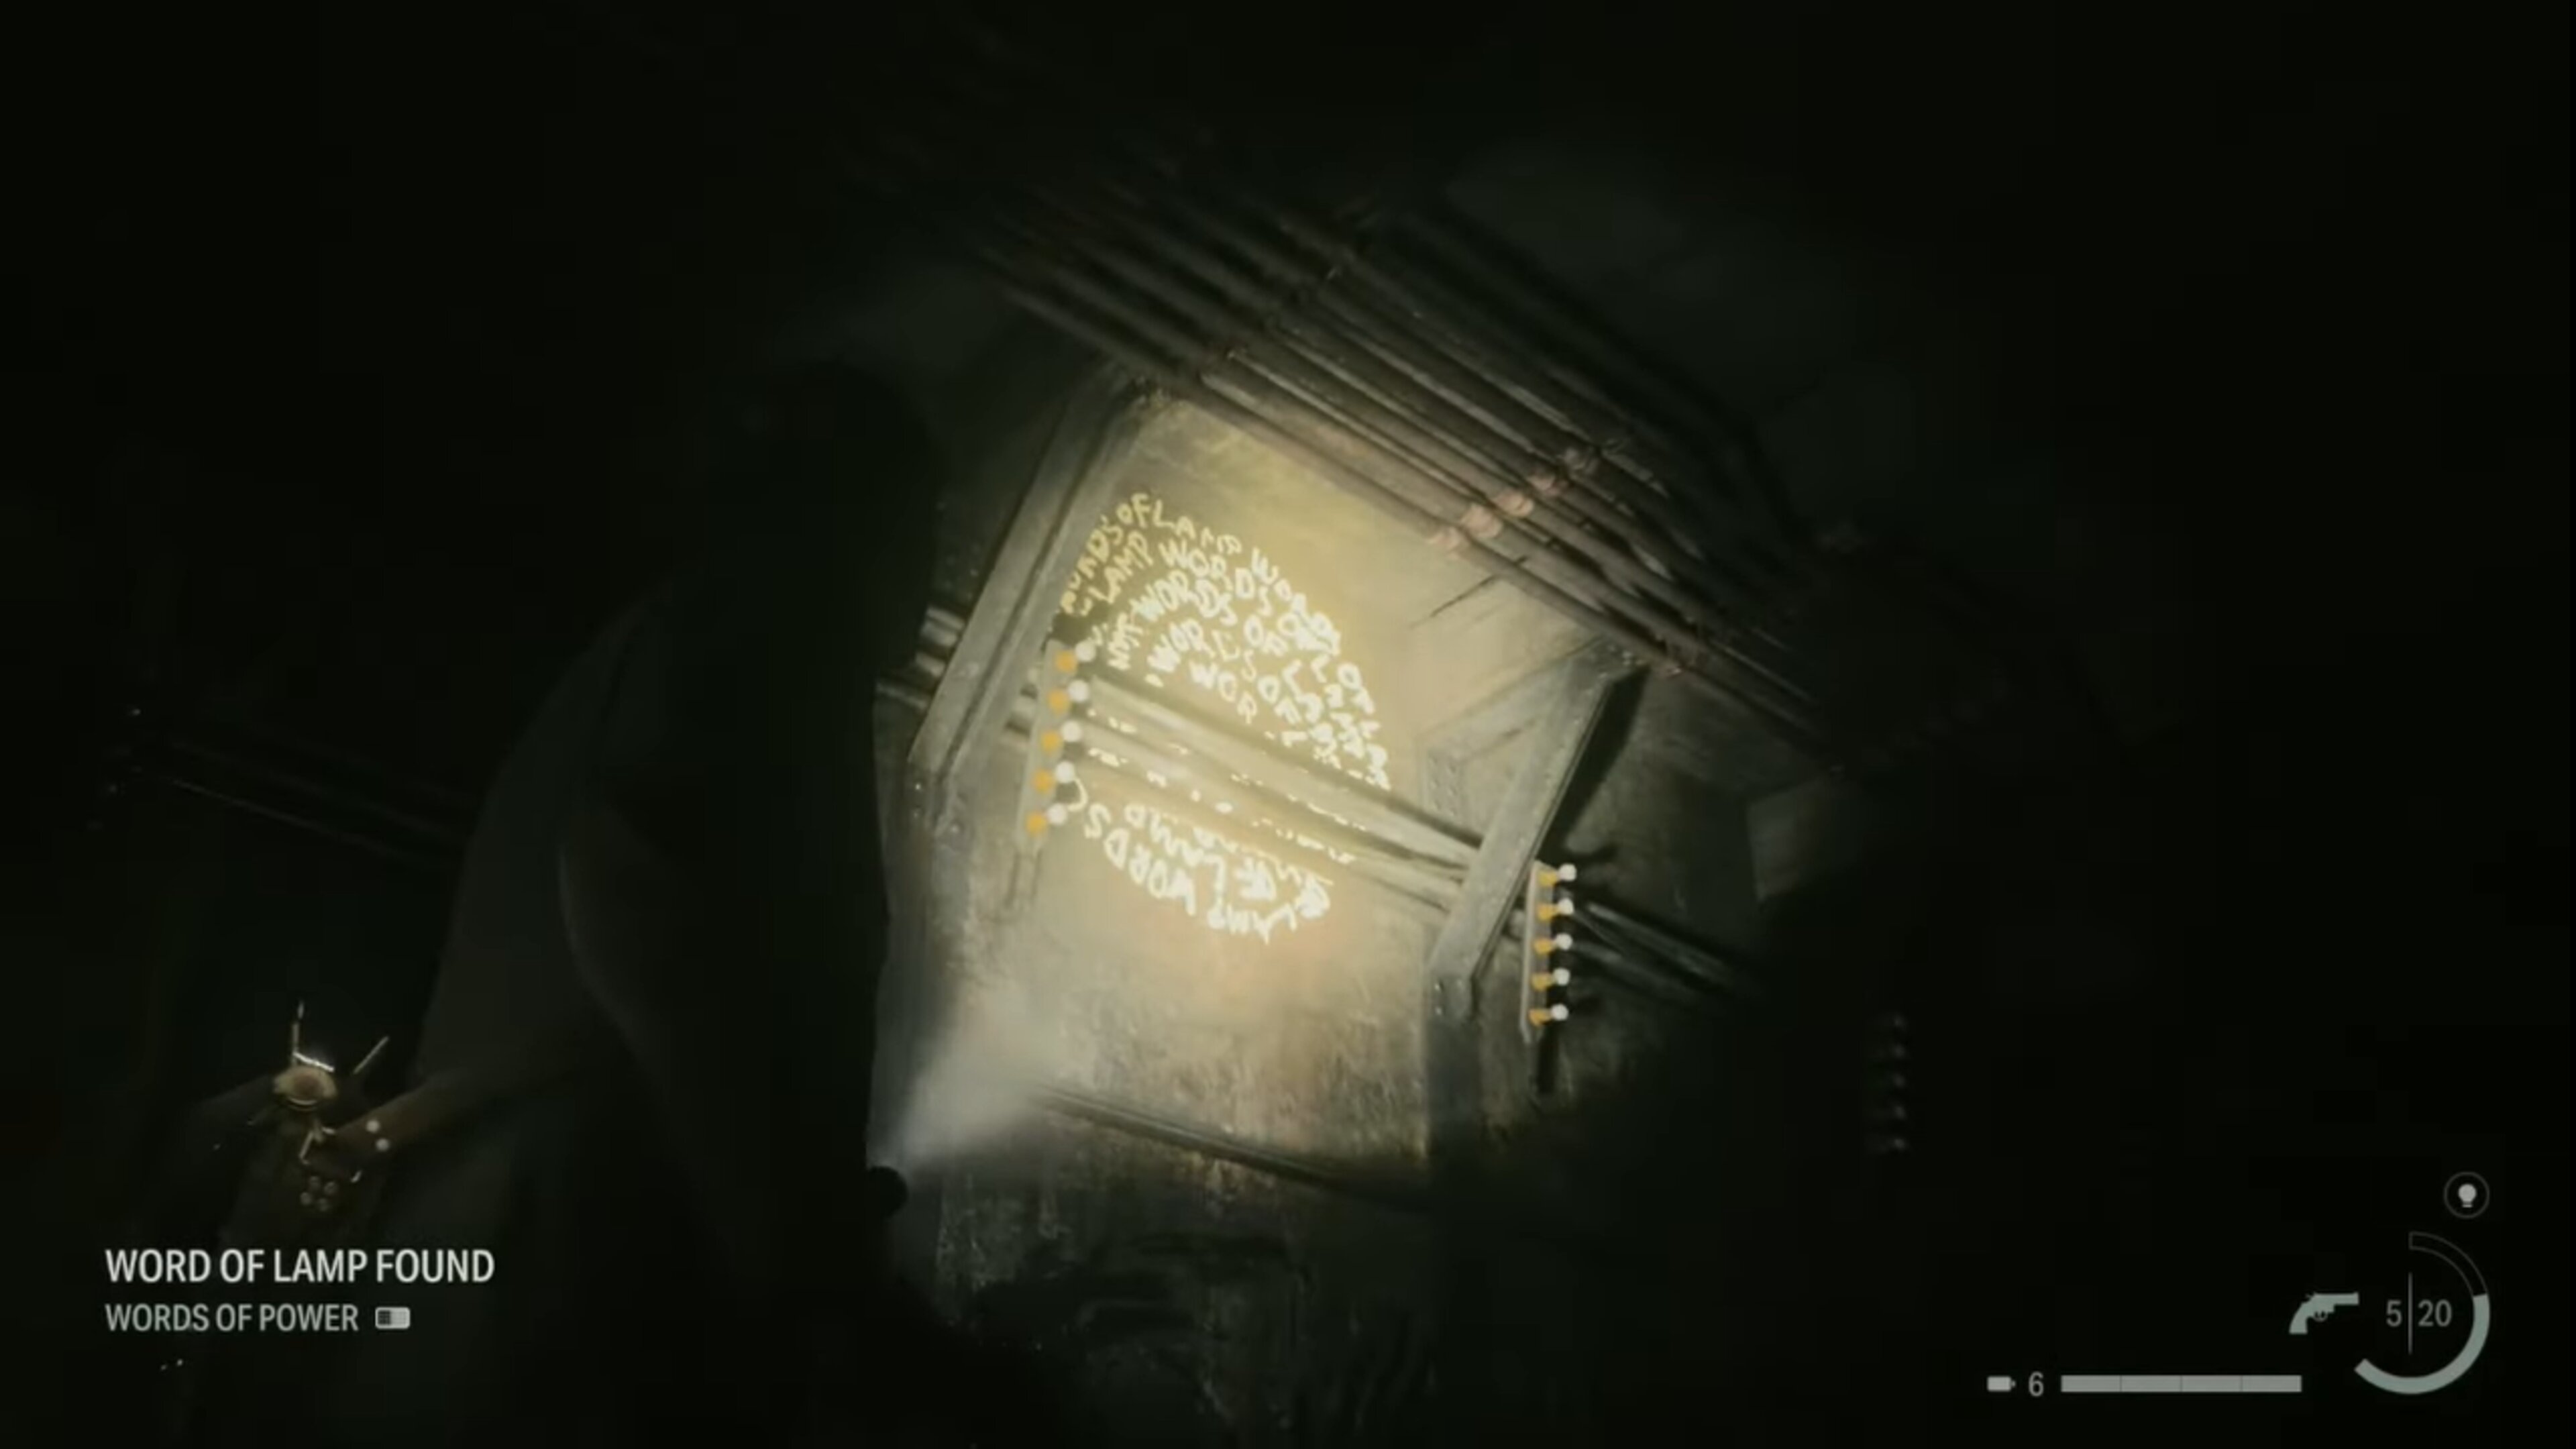
The next spiral is inside the far east room of the Main Tunnel. You can find this close to the Caldera Station entrance. After heading into the subway, follow the path all the way down until you reach a dead end. Enter the final room on the right and look at the shelving unit with your flashlight on. Aim down sights and point at the spiral’s center to pick this upgrade up.

Before entering the small section where you need to use multiple Light Shifts to pass through, go to the dead end of Shrine Station (on the east side). You need to drop into the flooded area of the Shrine St. Station and look at the wall on the left to find this Words of Power spiral. I found no way to backtrack to this Words of Lamp after completing the Subway Station route. For this reason, make sure to pick this up as you are progressing through Alan’s story inside the station.
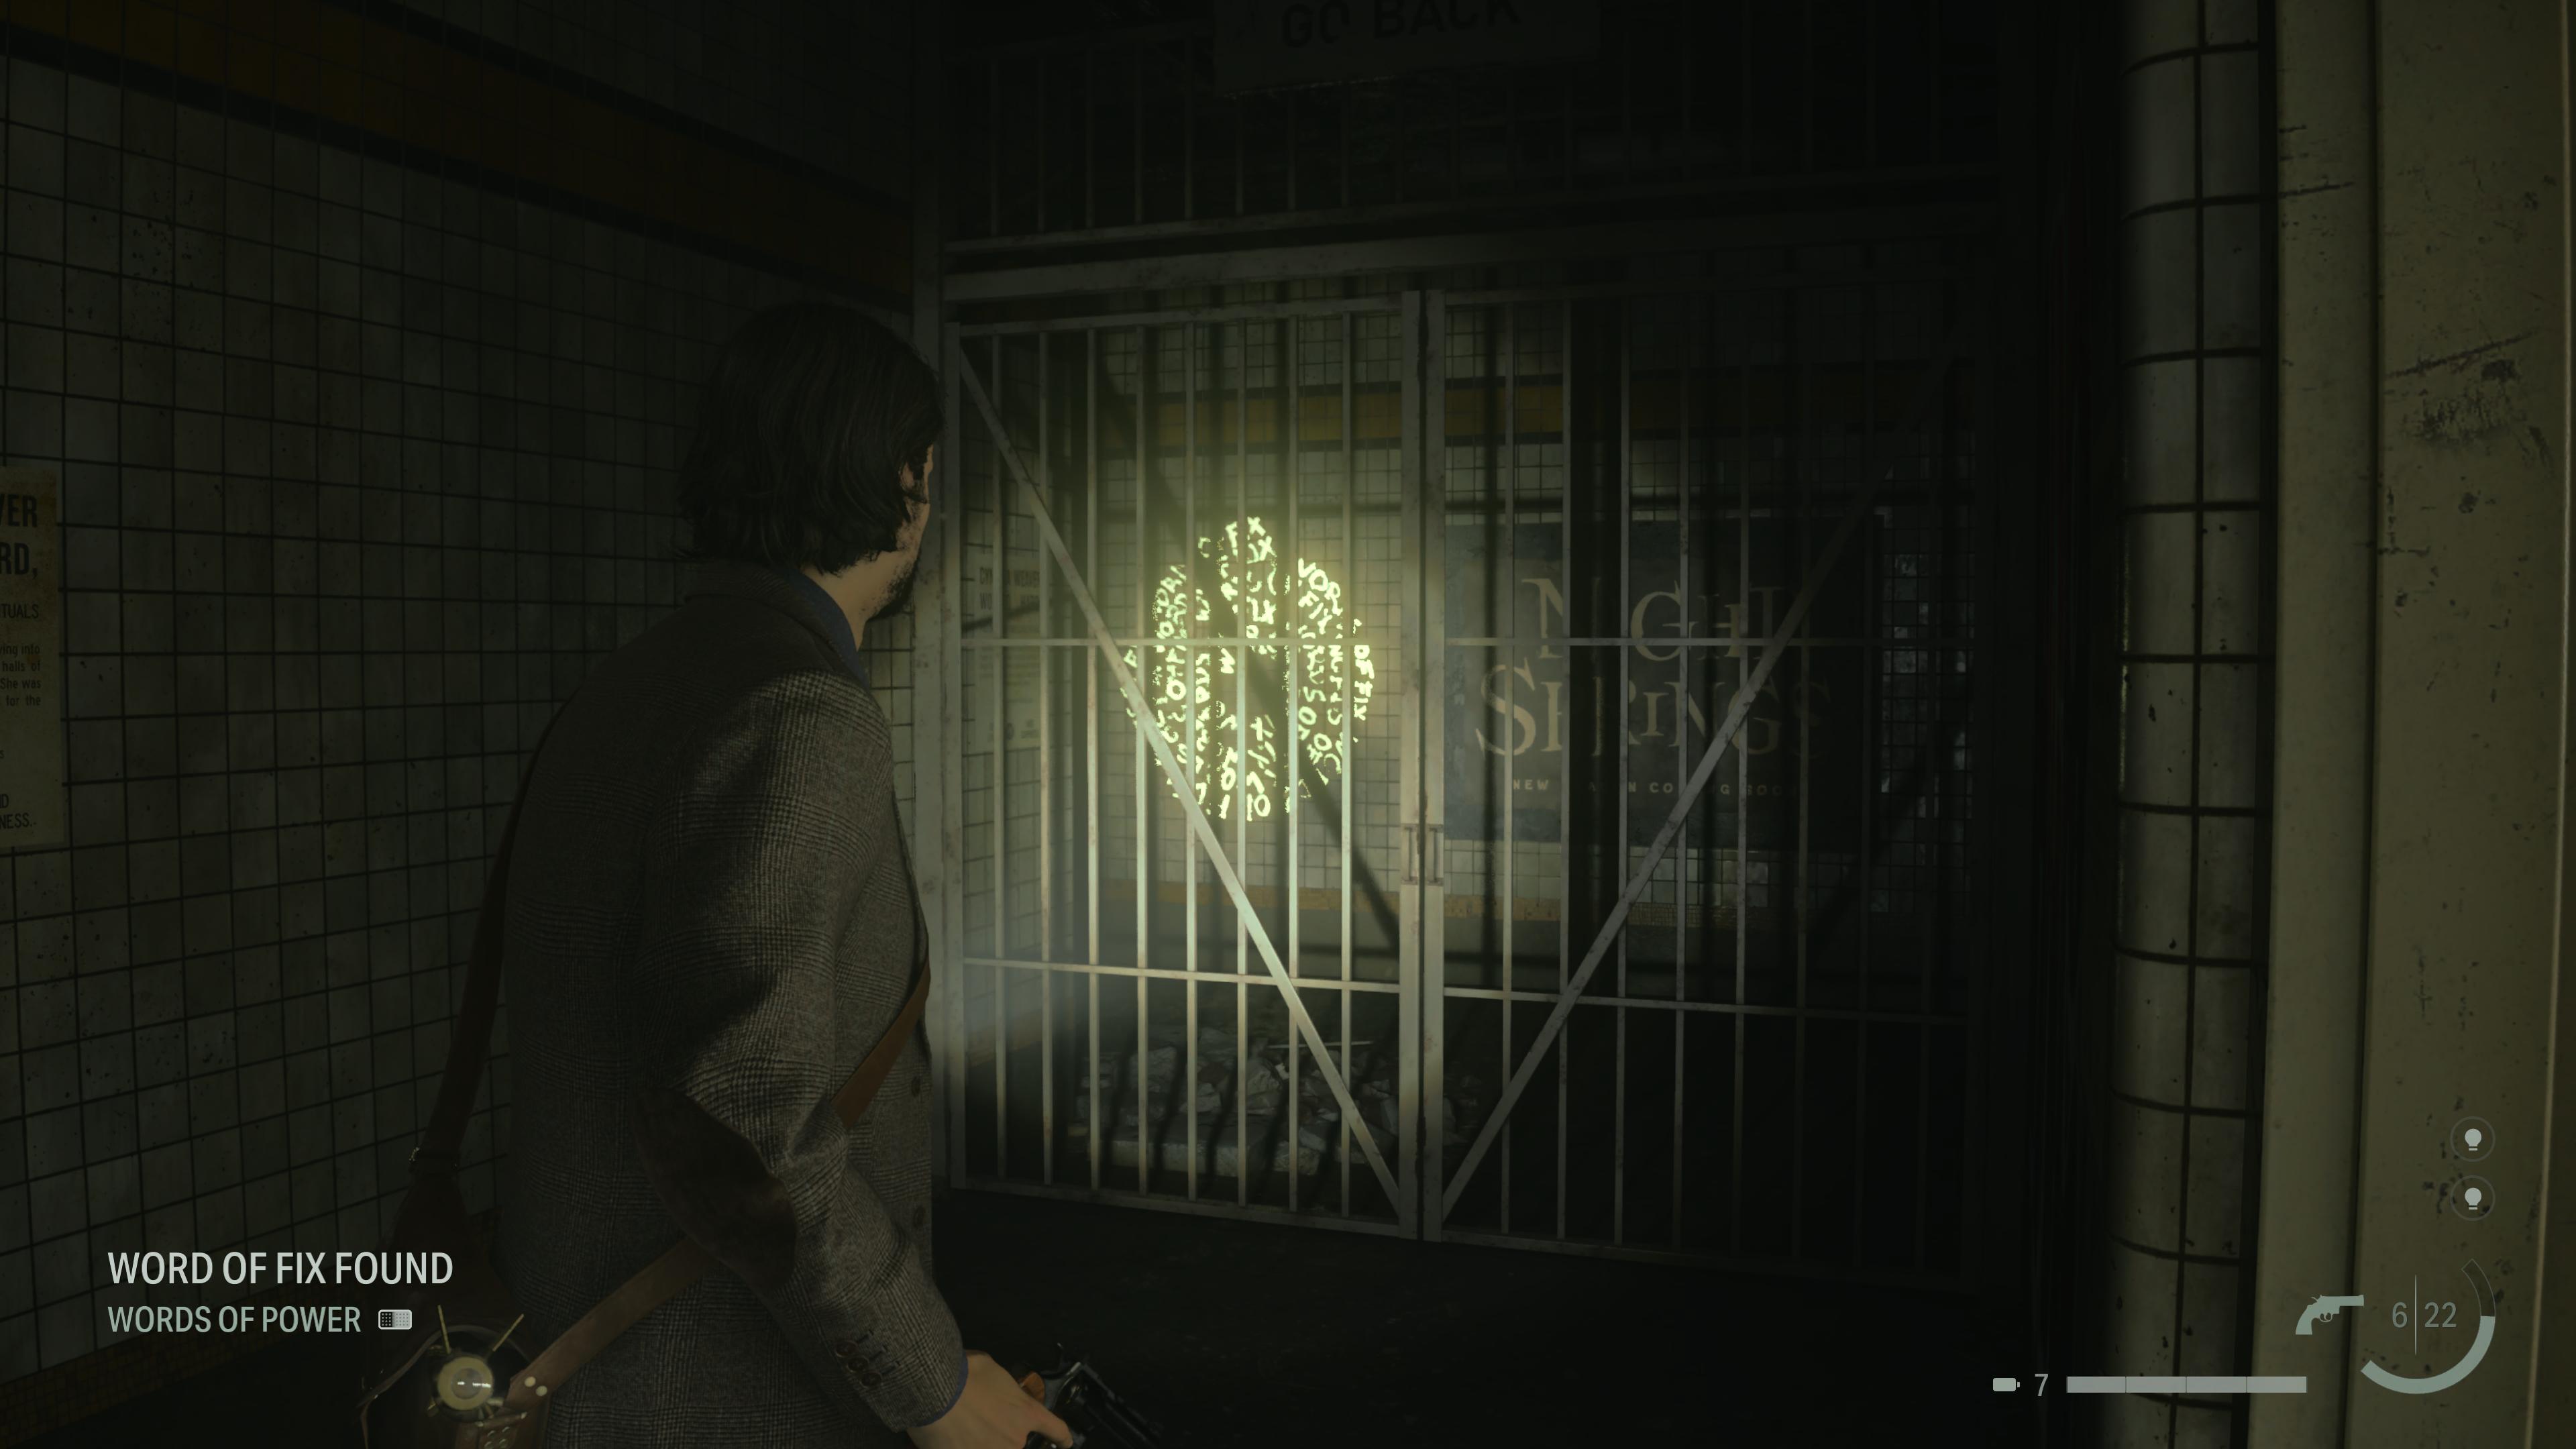
Words of Fix locations

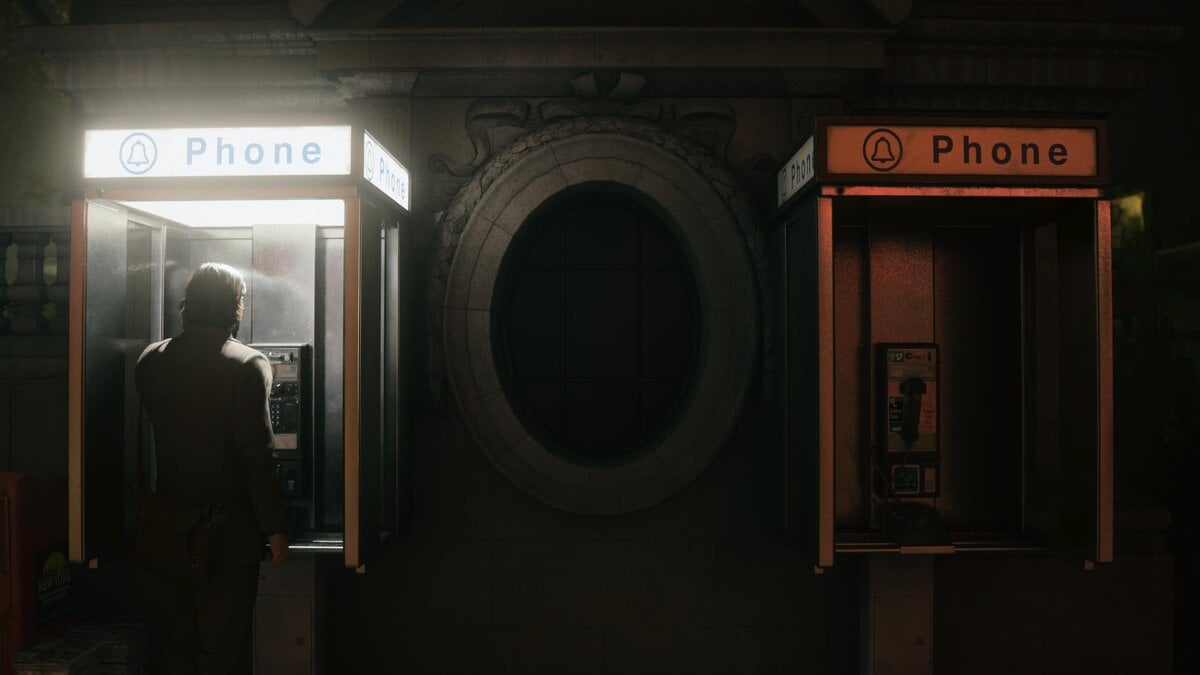
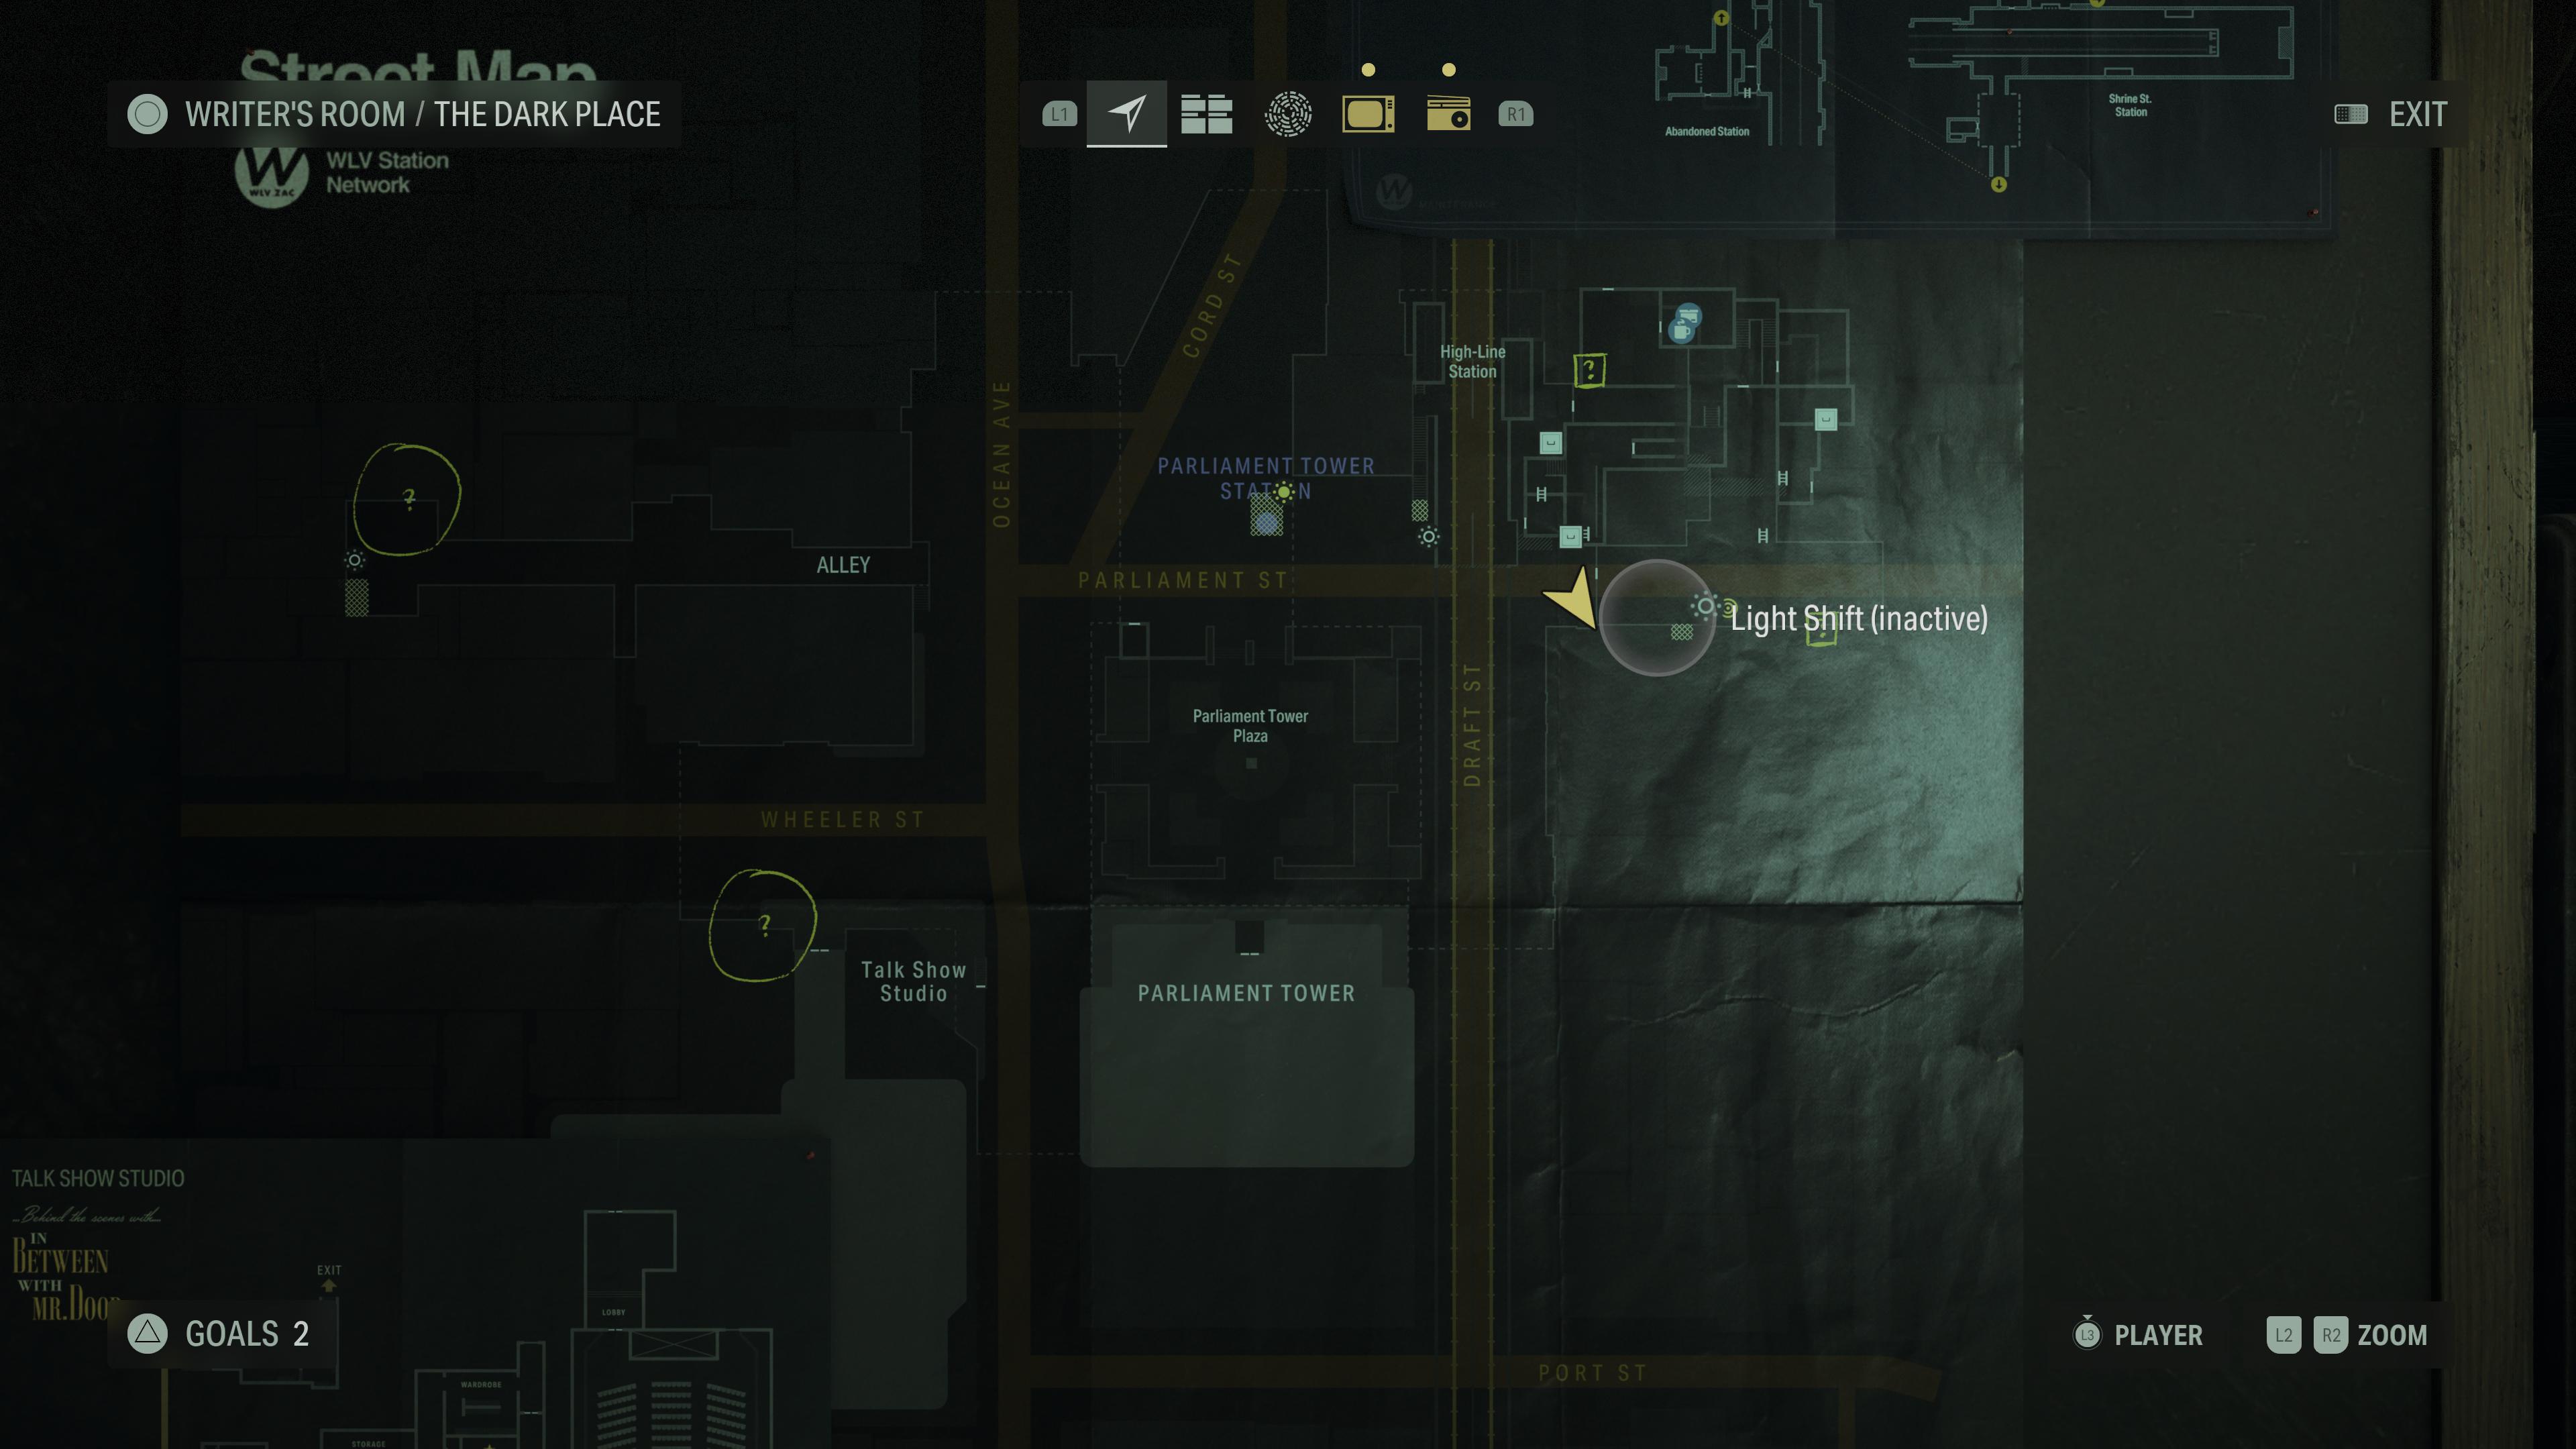
This Words of Fix spiral is between a broken-down phonebooth and a Cold Casey film poster. Head south and onto Wheeler Street from the subway or pick this up immediately after exiting the talk show. Look for the Cold Casey poster and trash bins next to it for this spiral’s location.

The next Words of Fix location is in the Ocean Ave alley where you briefly speak to Alex Casey in a short cutscene. To exit this area, you will go through the building at the back with a repeating alleyway. Before exiting the building’s corridors, look above the doorway for the Words of Fix spiral.
I couldn’t get a screenshot in this playthrough of the actual spiral, so you’ll have to only use the map unfortunately. You can find this by heading into the Derailed Train scene and opening this area using the Torchbearer plot. In my efforts to revisit this point at a later portion of my first playthrough, I found it impossible because I had not unlocked the door in the room next to the derailed train. You will not be able to get either Words of Power spirals in the area if you go through here without unlocking the door as the train will be blocked when you backtrack.
Use the fire exit door in this small room where you will have picked up the Words of Action on top of the ladder in the room. Turn left after bypassing the fire exit door and walk through the doorway of the barred wall. Beware, as there are Taken in the area. Quickly aim down sights in the center of the room, pointing directly above the ticket booth for the spiral’s location.

The final Words of Fix is at the very end of Caldera Station’s story route. It is the transitional spot taking you back to the Collapsed Tunnel scene. You will pick this one up as you are leaving the Station. It is directly outside a Break Room (a manual save room). Look right and through the barred gate for the spiral.
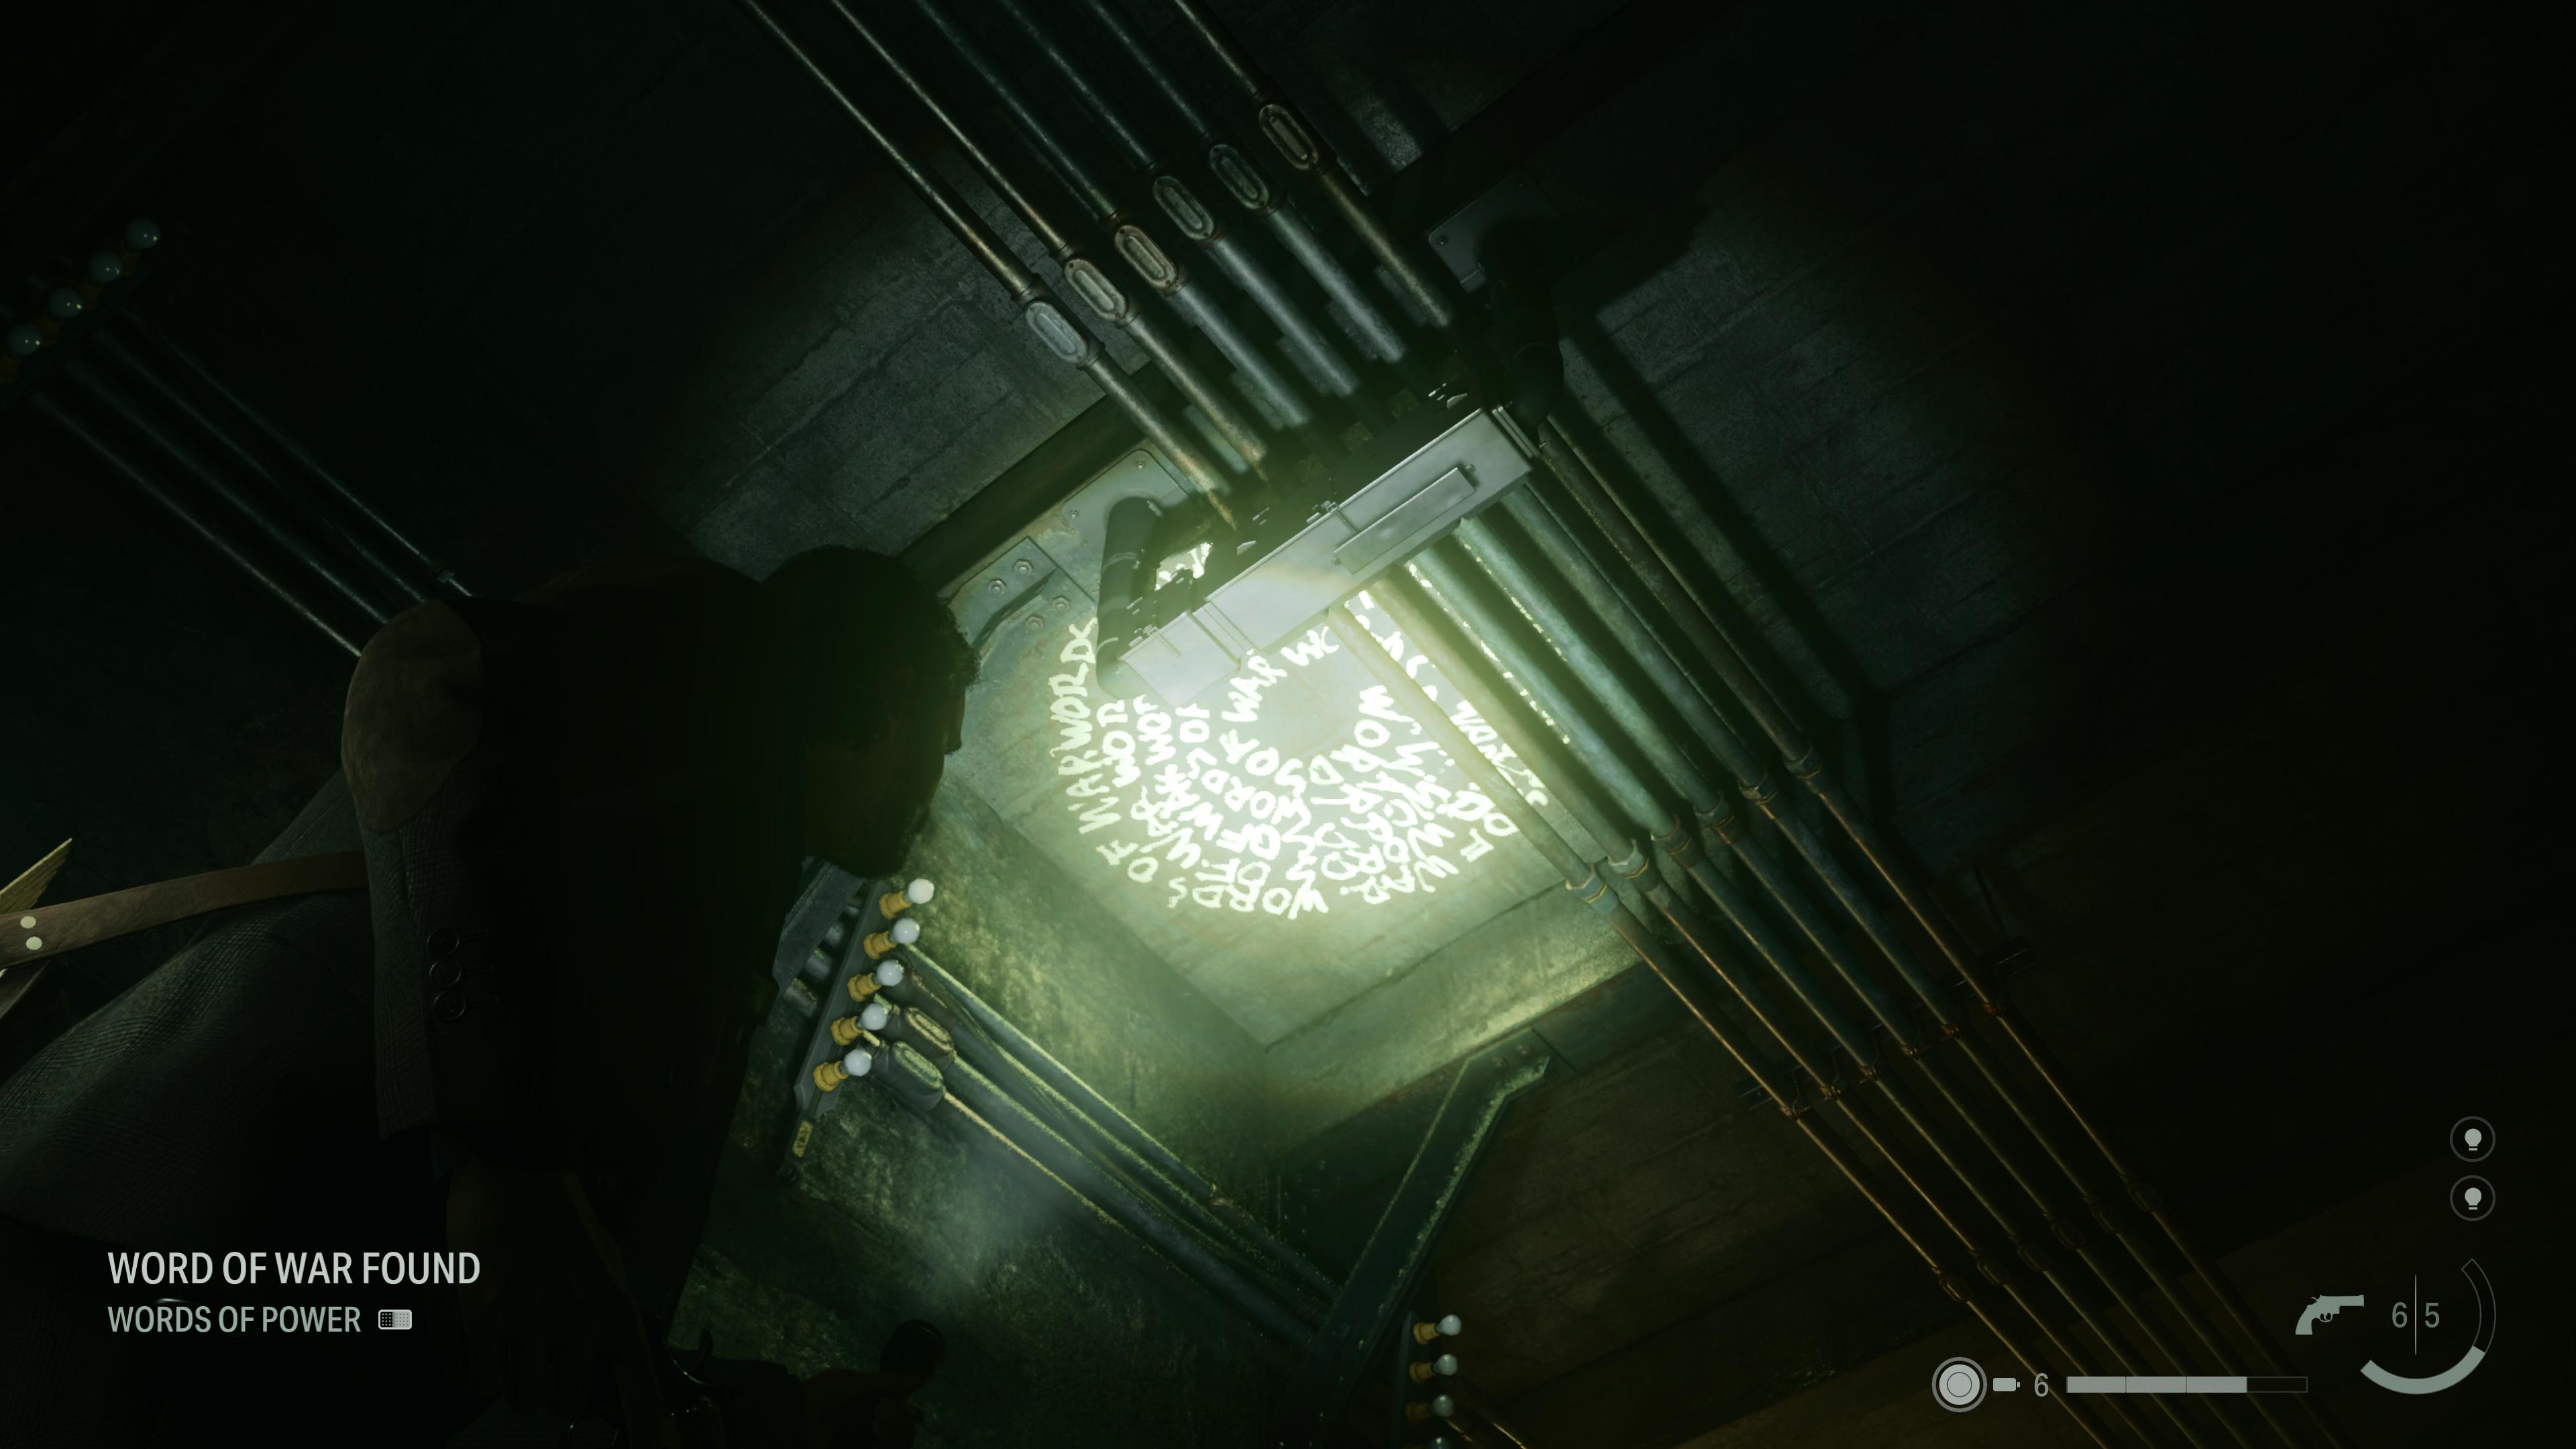
Words of War locations
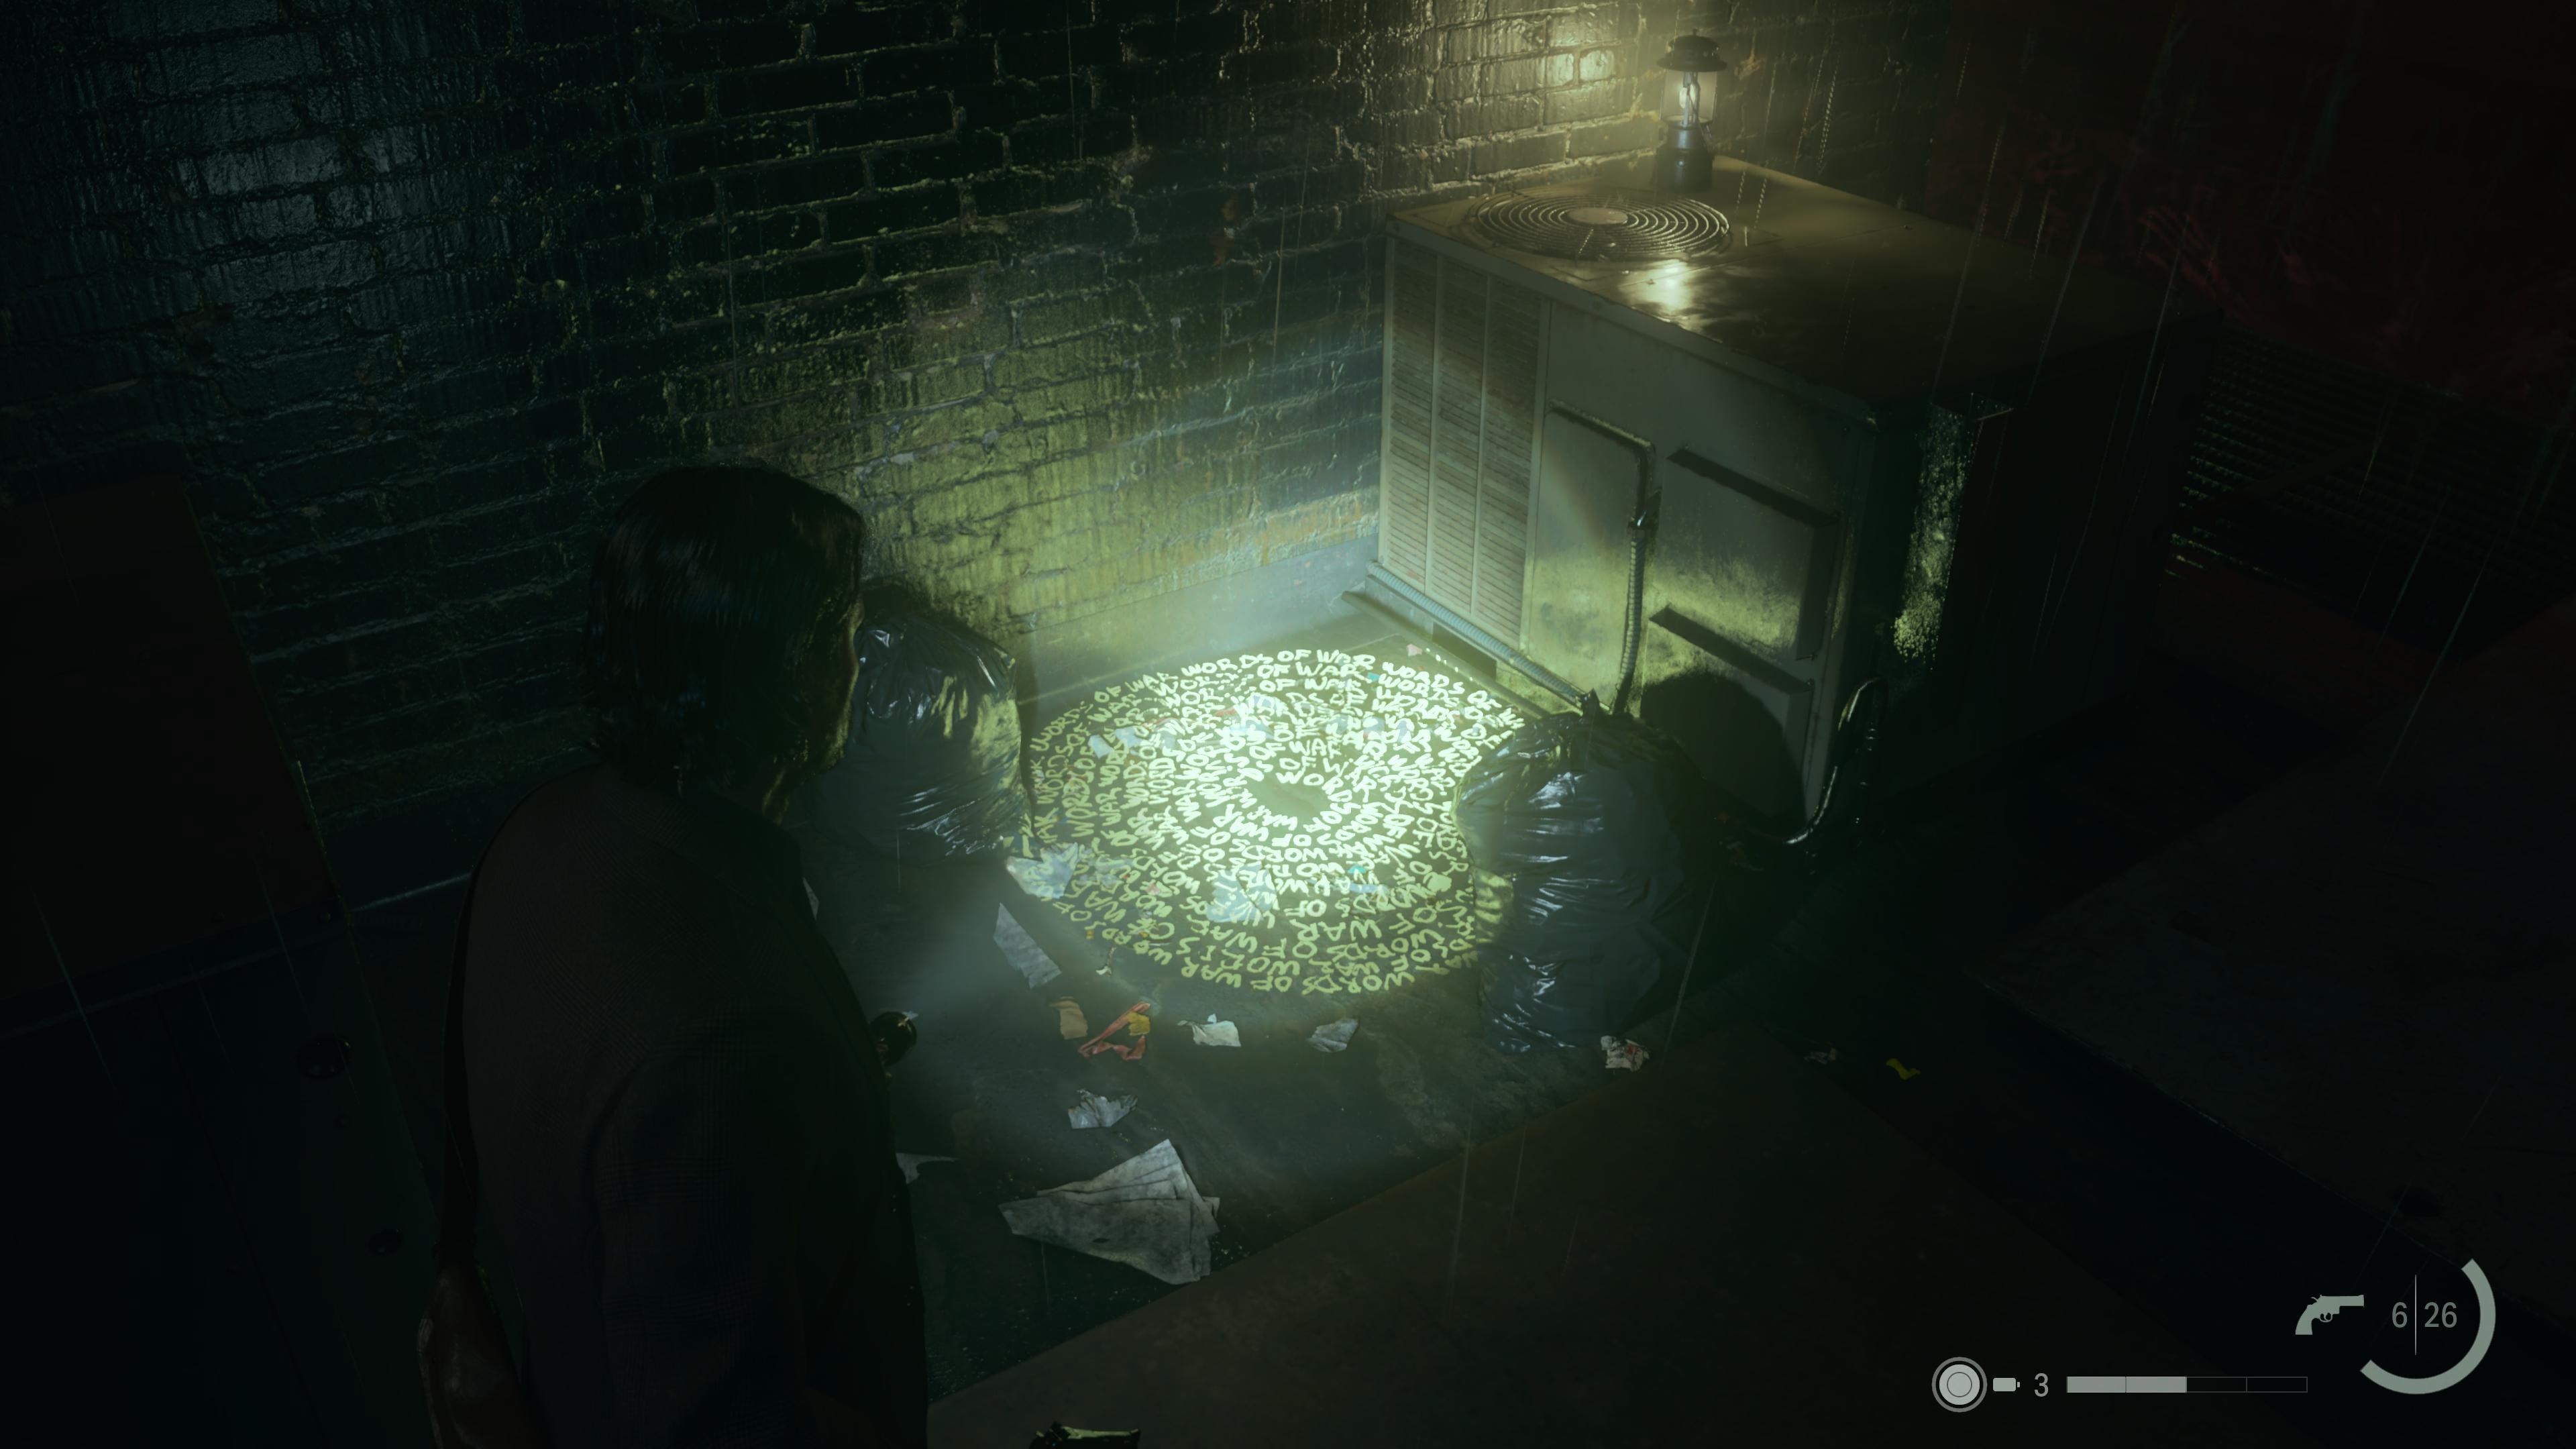
Head to High-Line Station and turn right onto Caldera Street. Go to the end of the line and climb up the ladder. Follow this path all the way to its dead end. Look back and over toward the trash bags. You can stand on top of this spiral to obtain its Words of Power.
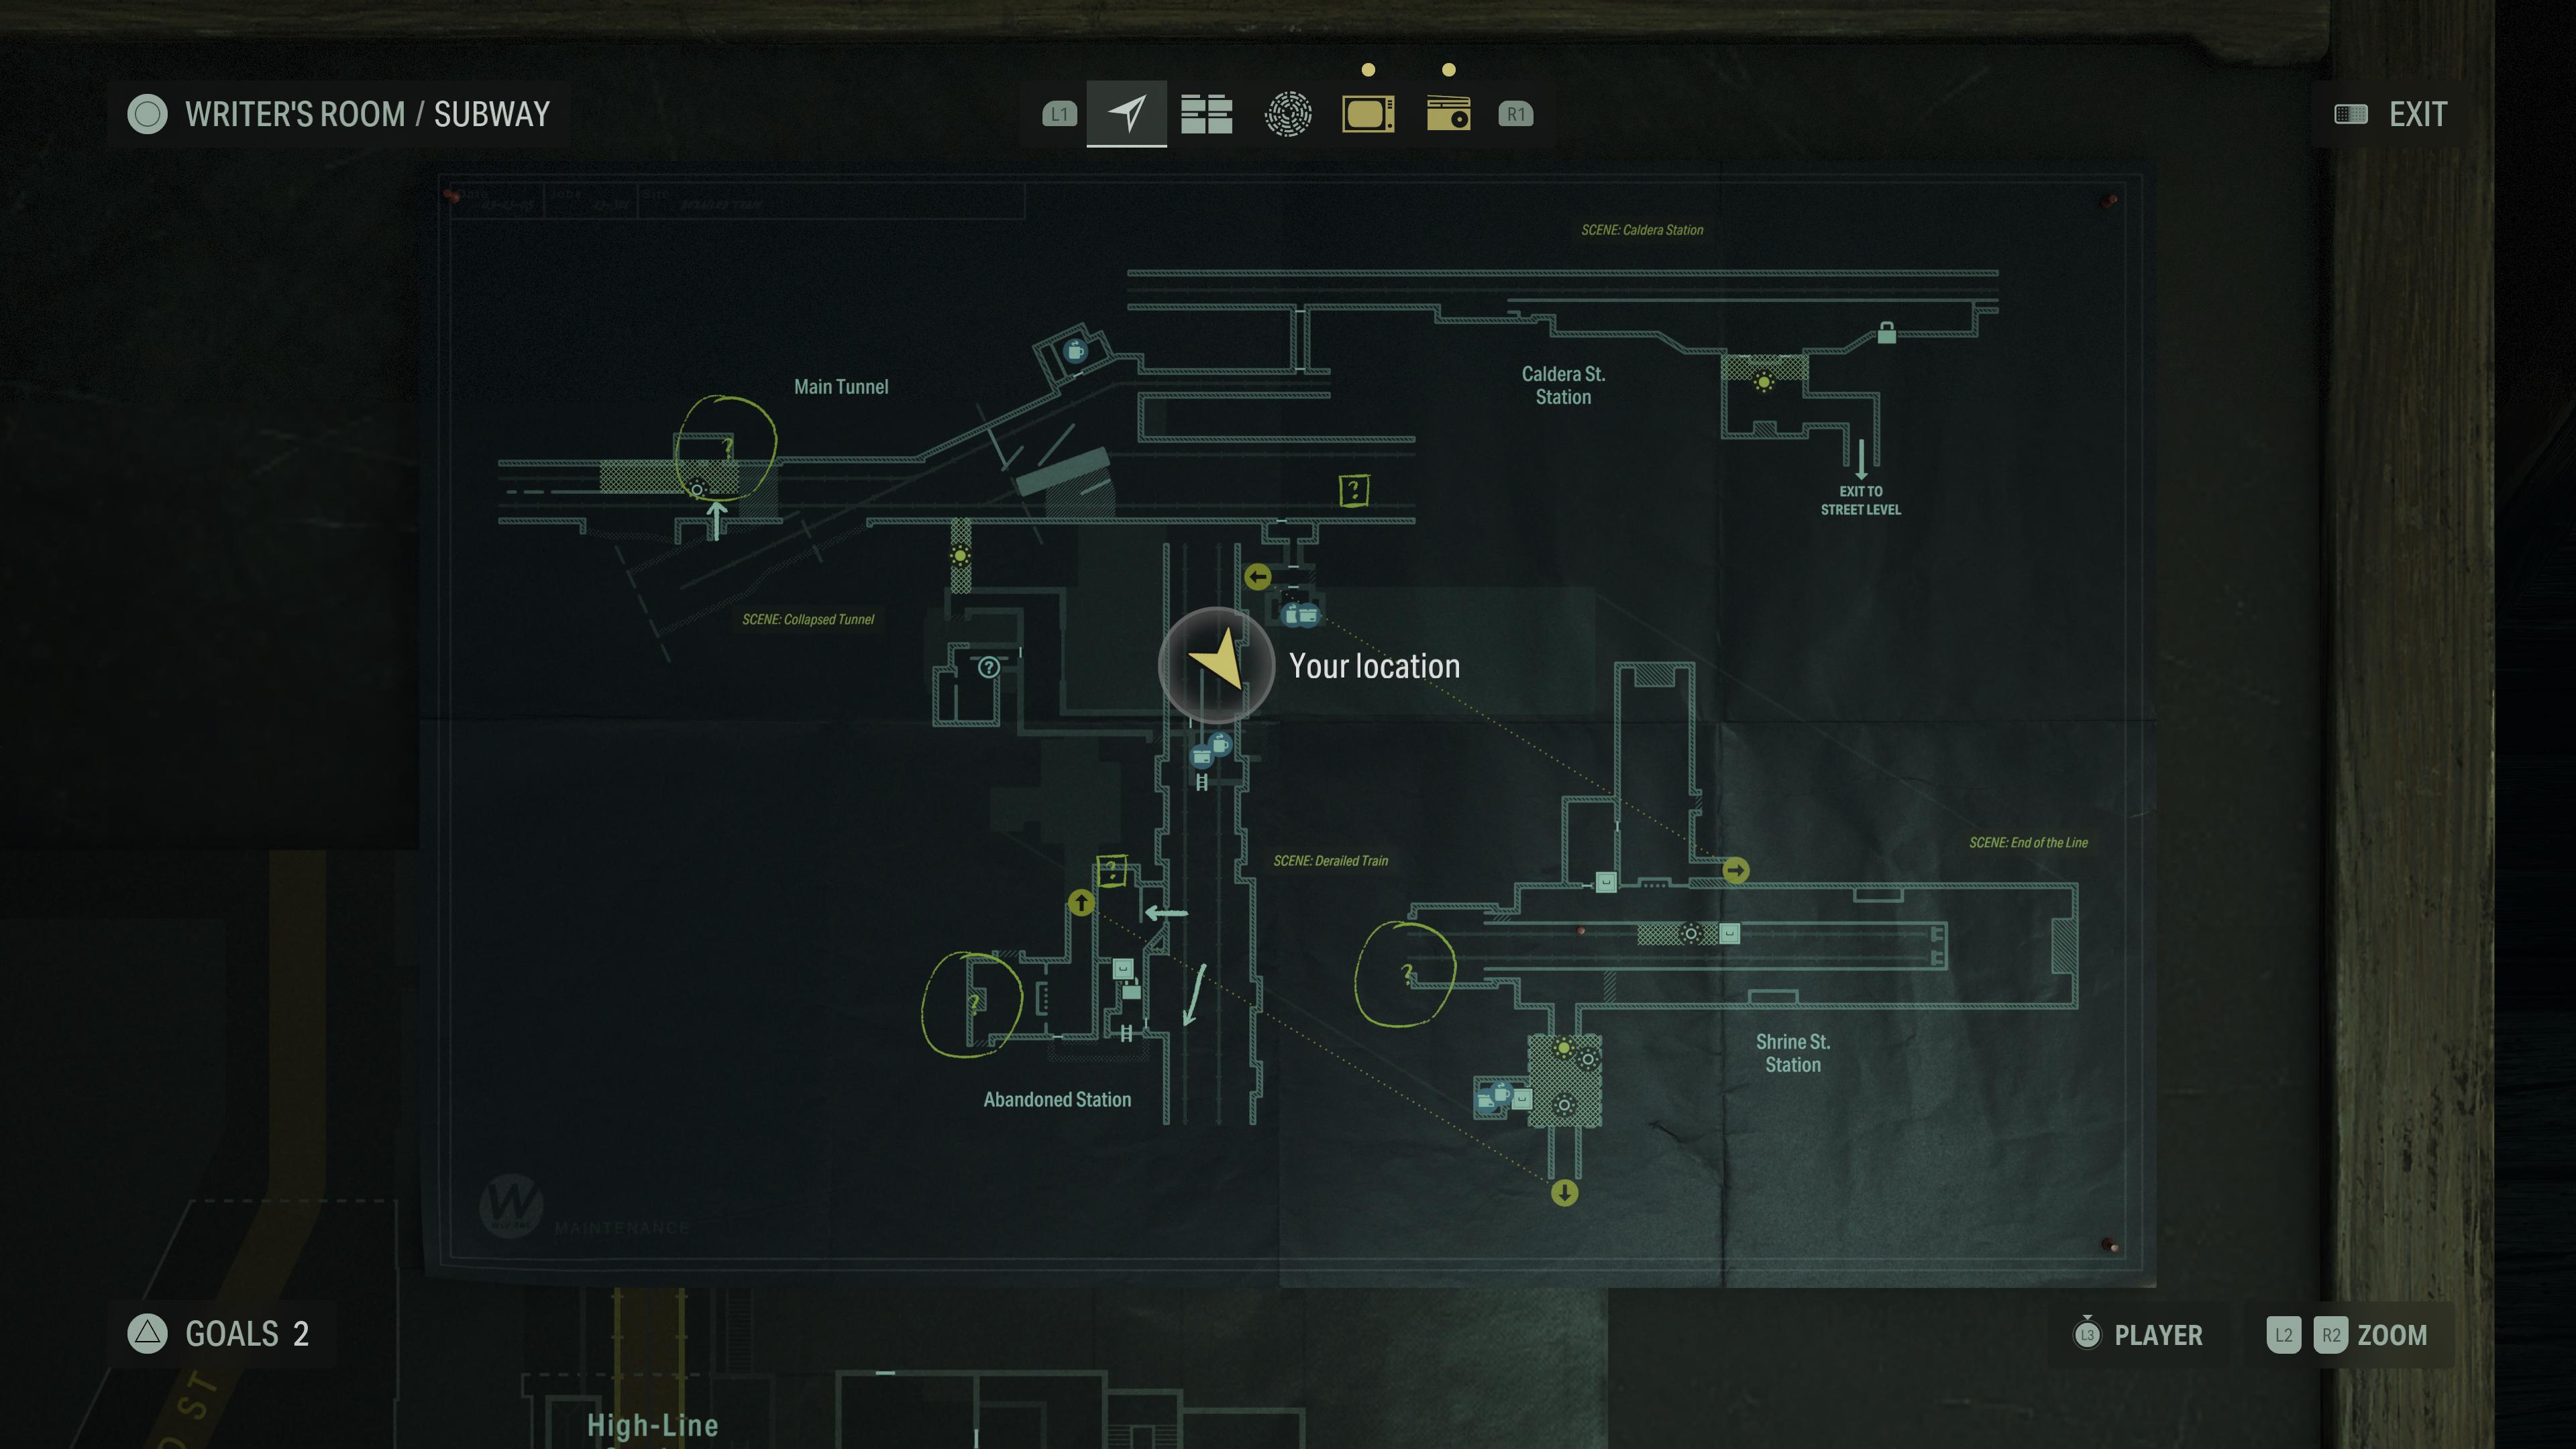
The final Words of Action spiral is inside the Caldera Subway Station. Progress through the story inside the station until you are inside the new scene: Derailed Train. The path on the right hand side is blocked by a wooden wall. Hug the left wall and circle around the center wall. Head toward the red ladder in the corner and look up. You will see the Words of Action spiral on the ceiling.
Words of Gun locations
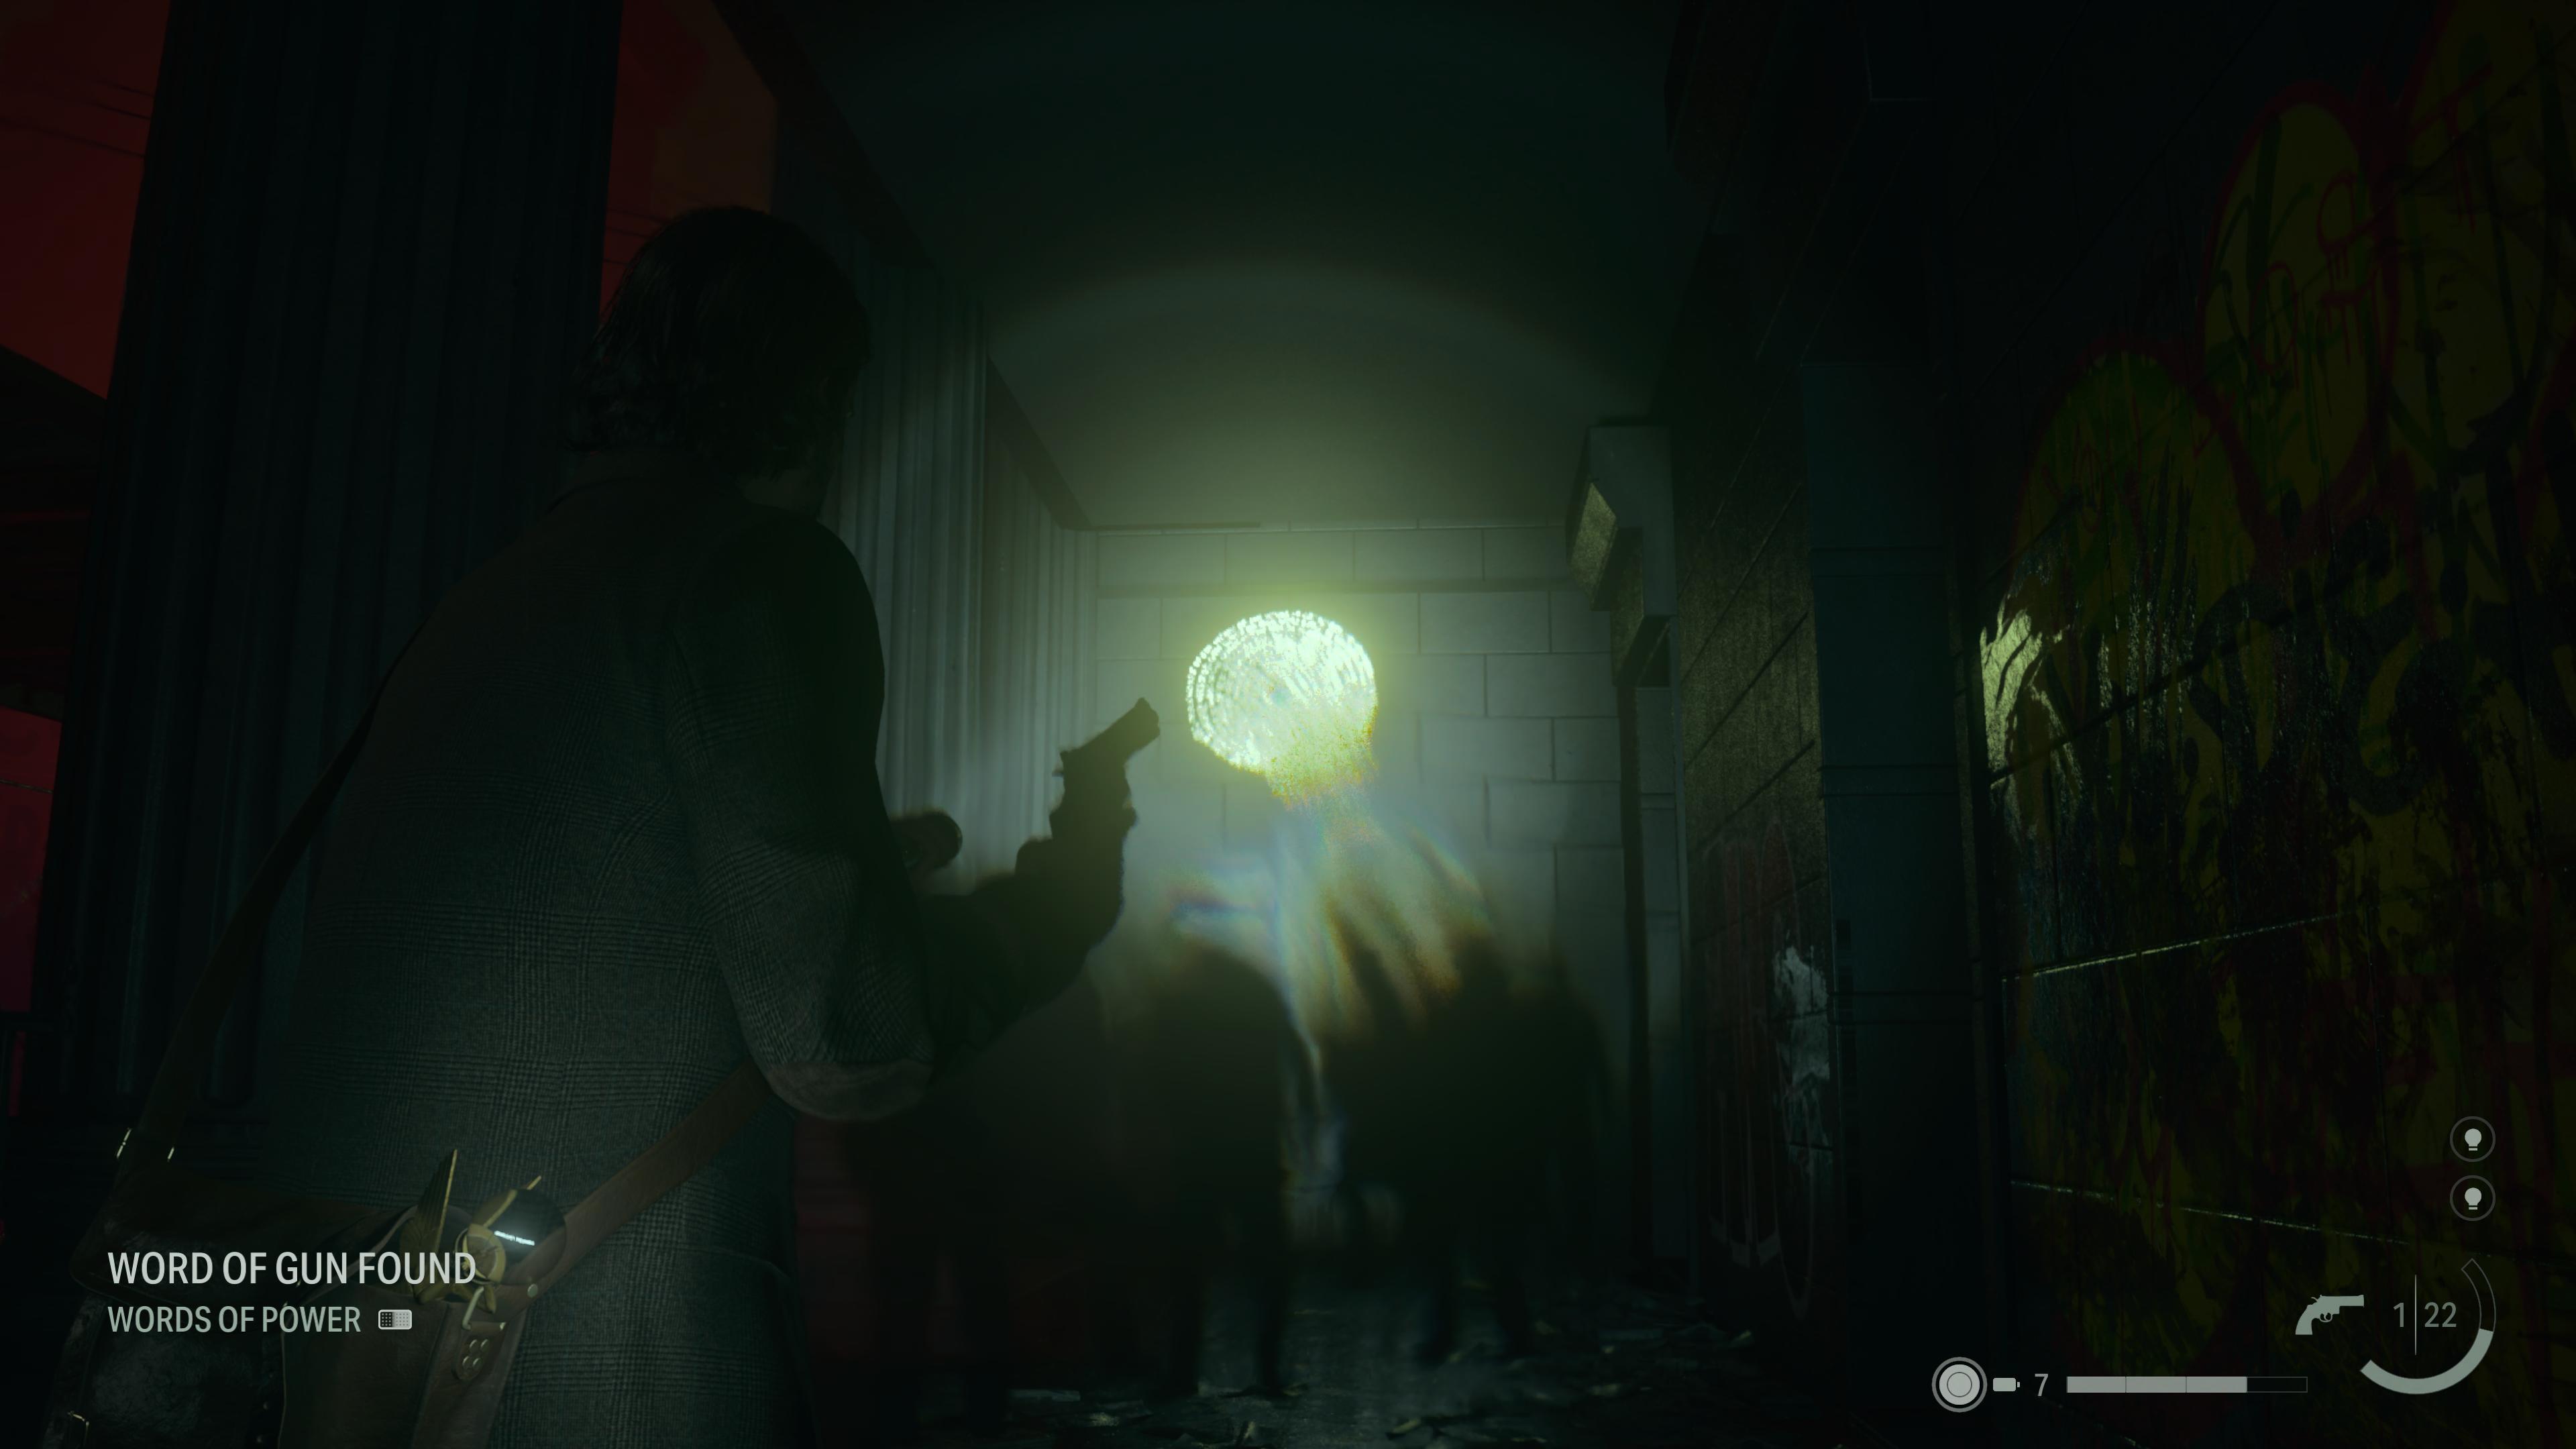
After picking up the Words of War spiral at the top of the ladder on Caldera Street, head back up the small set of stairs and past the scaffolding. There are a few Taken in this claustrophobic area so be ready for a fight to get this Words of Power. You can do what I did and exit the area without taking damage or wasting any bullets. I instead returned at a later point by aiming down sights and picking this spiral up from a distance.
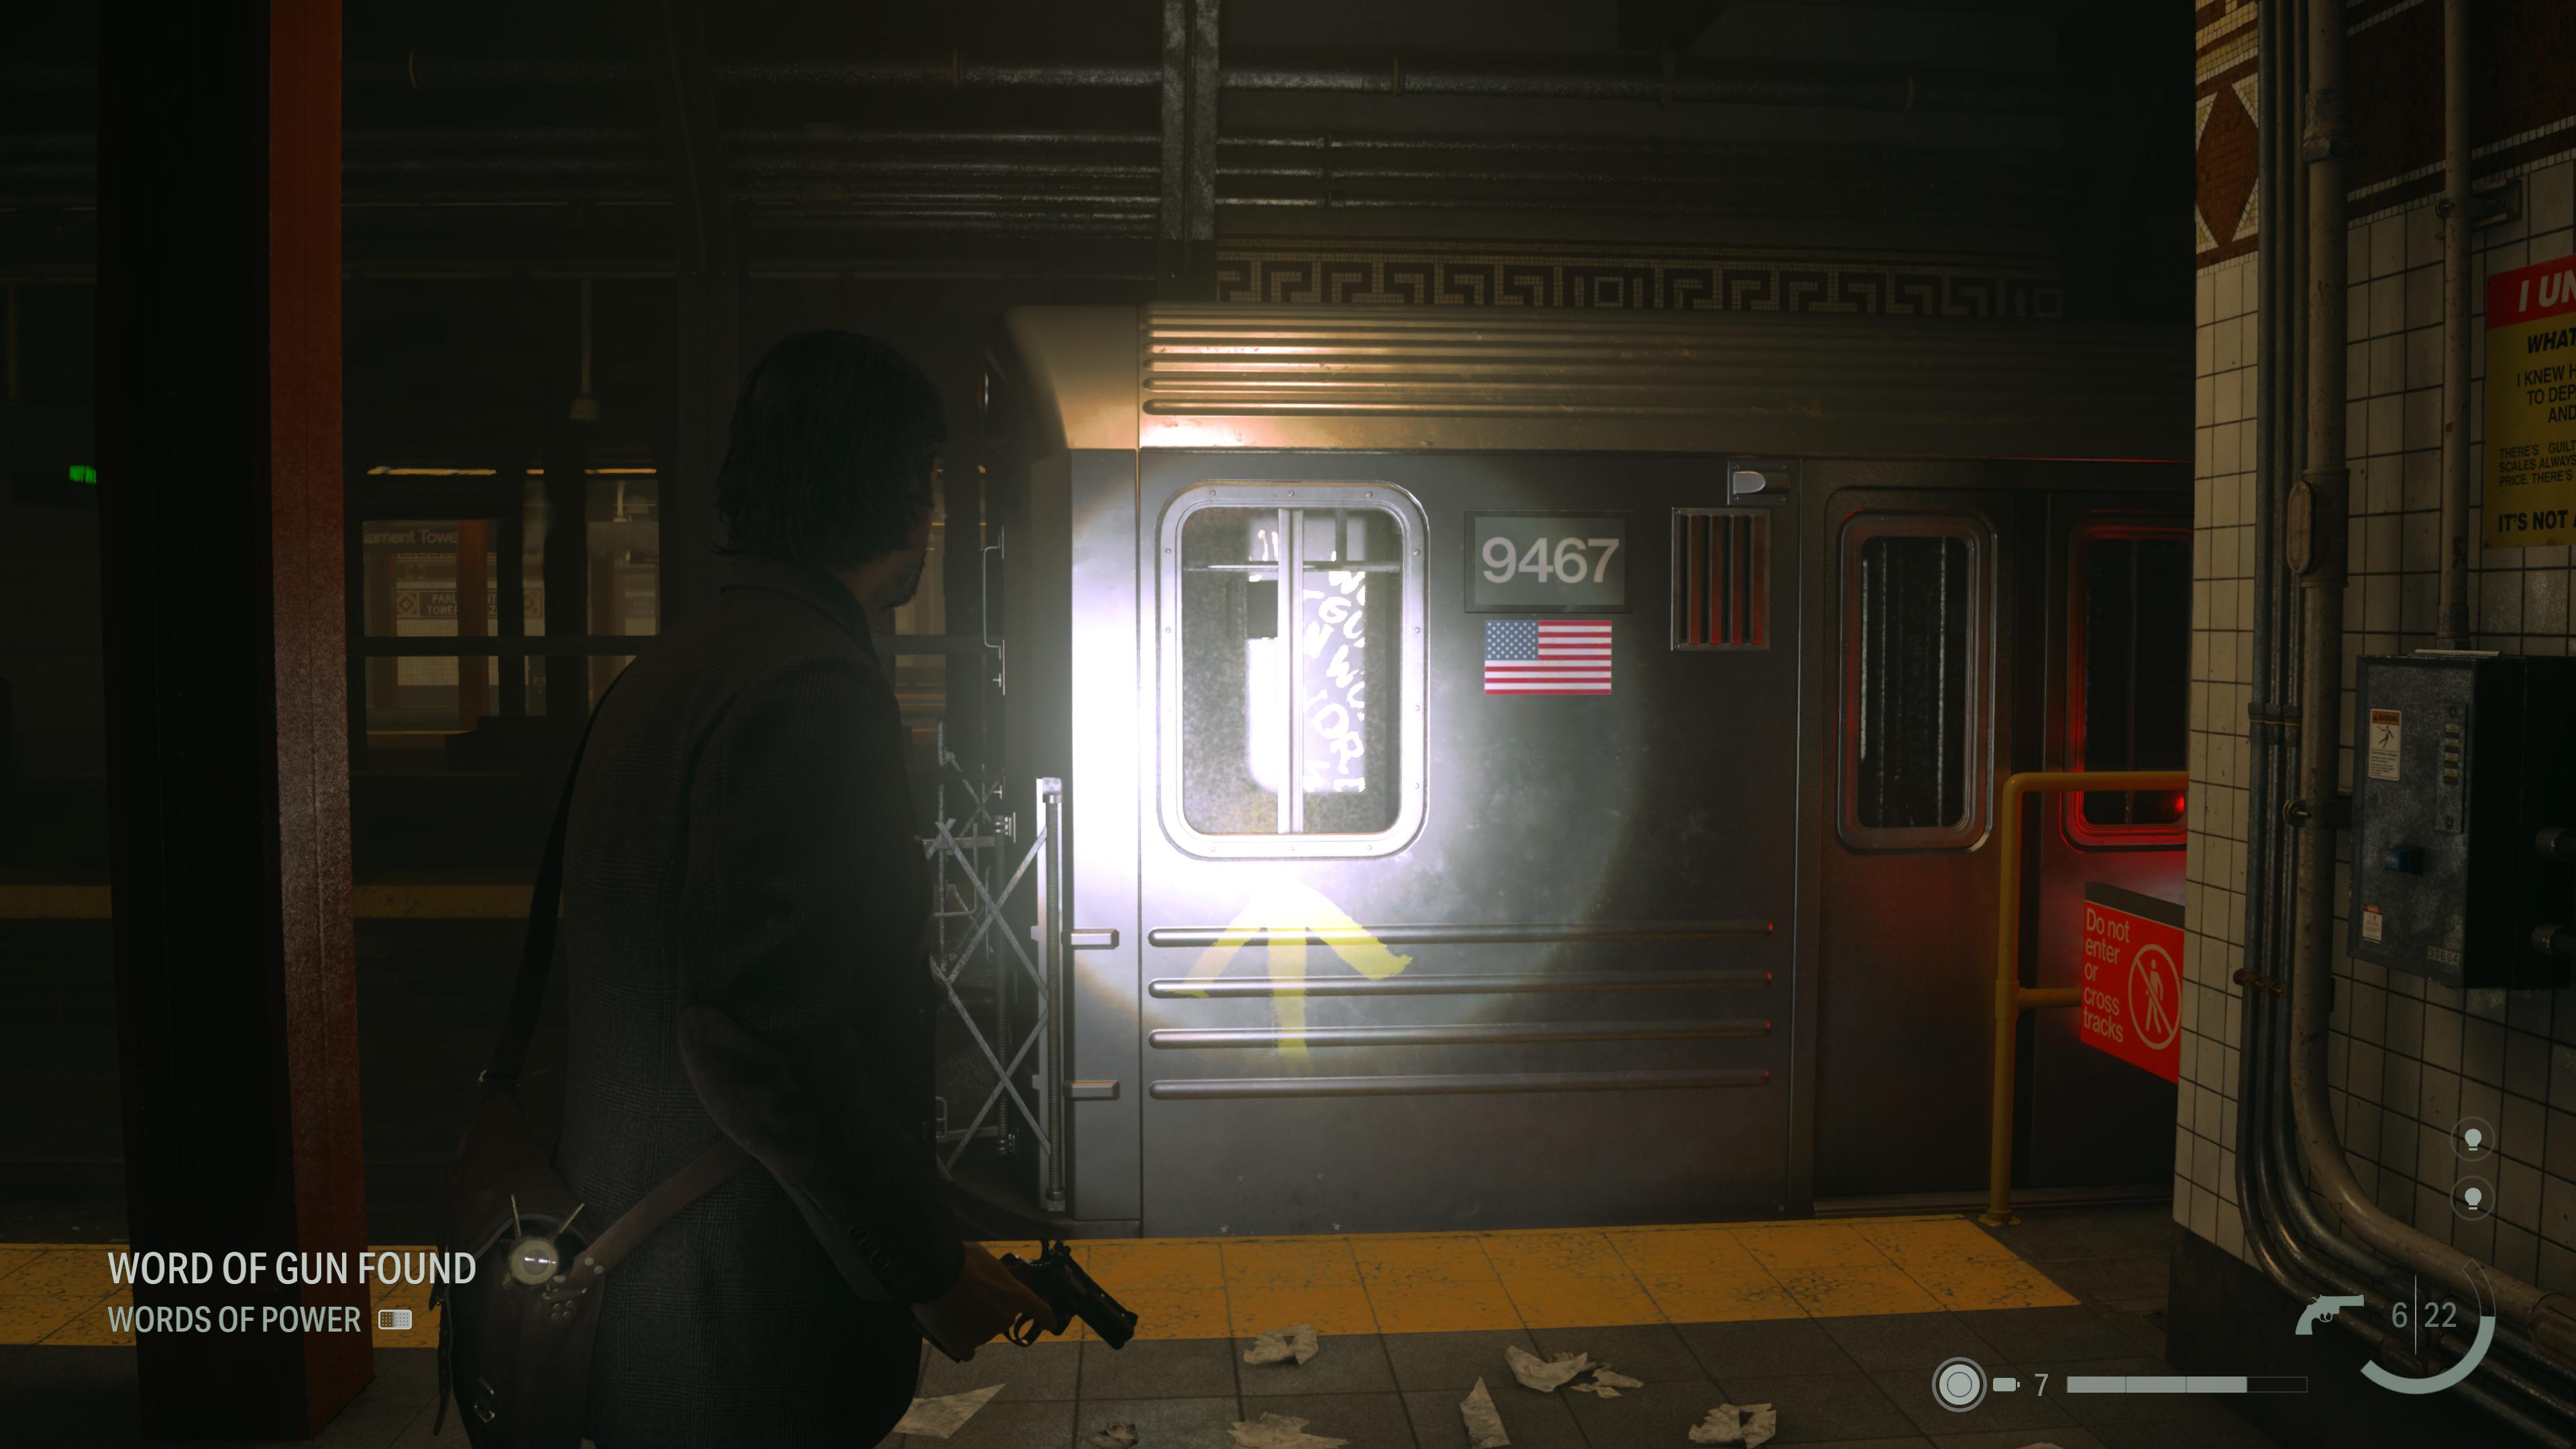

This Words of Gun spiral is to the right-hand side of the Caldera Station platform upon entering this landmark. Aim down sights through the train carriage at the end of the platform where you can pick up the spiral by peering through the window.
Words of Aid locations

The Words of Aid spiral is inside the Main Tunnel of the Caldera Subway Station. Face the wall with the train carriage behind it. Look over to the left and past the covered crates. You cannot enter this small area as it is cordoned off. Instead, look to the left of the top crate with a yellow arrow on it. The spiral can be seen here. A simple aim down sights with the revolver will pick this one up.
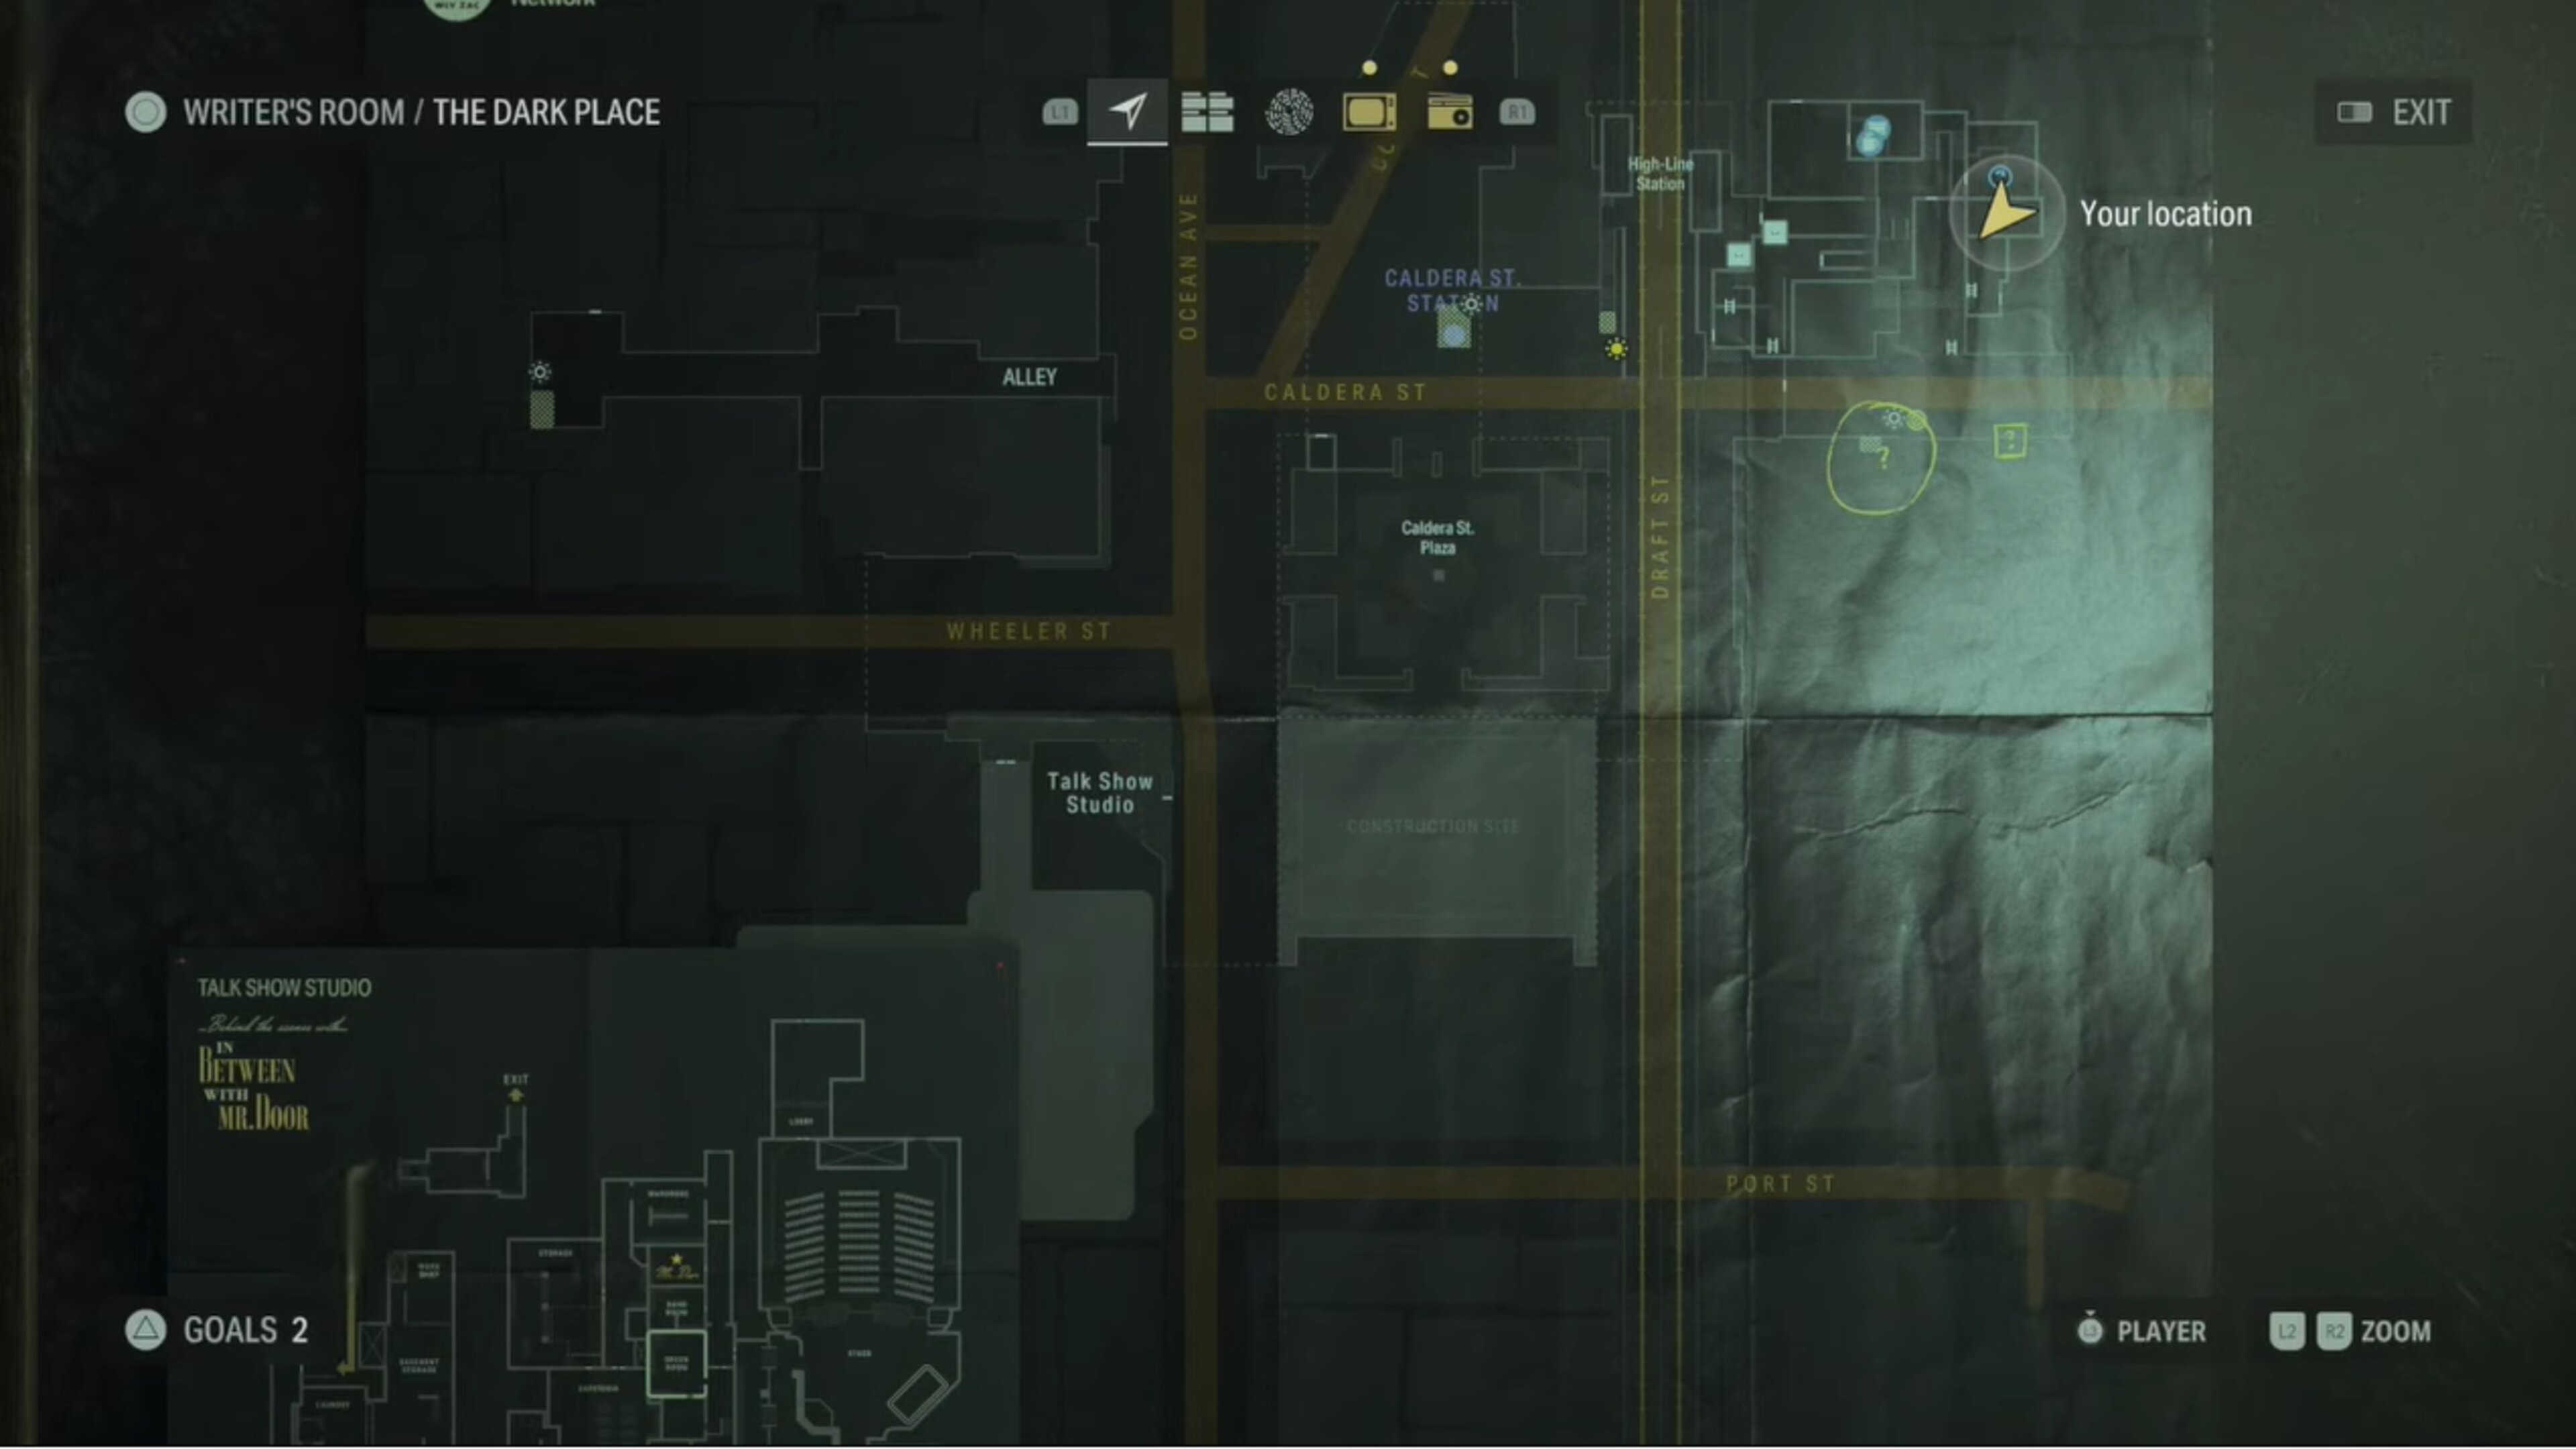
Words of Action locations

Head onto Draft Street, using the water fountain in the center to avoid any Taken. This one is best obtained before entering the Subway Station. I had to dodge two Taken when I picked this up. Look up and north toward the station, directly from the spot shown in the screenshot. The Words of Action spiral is underneath the bridge.
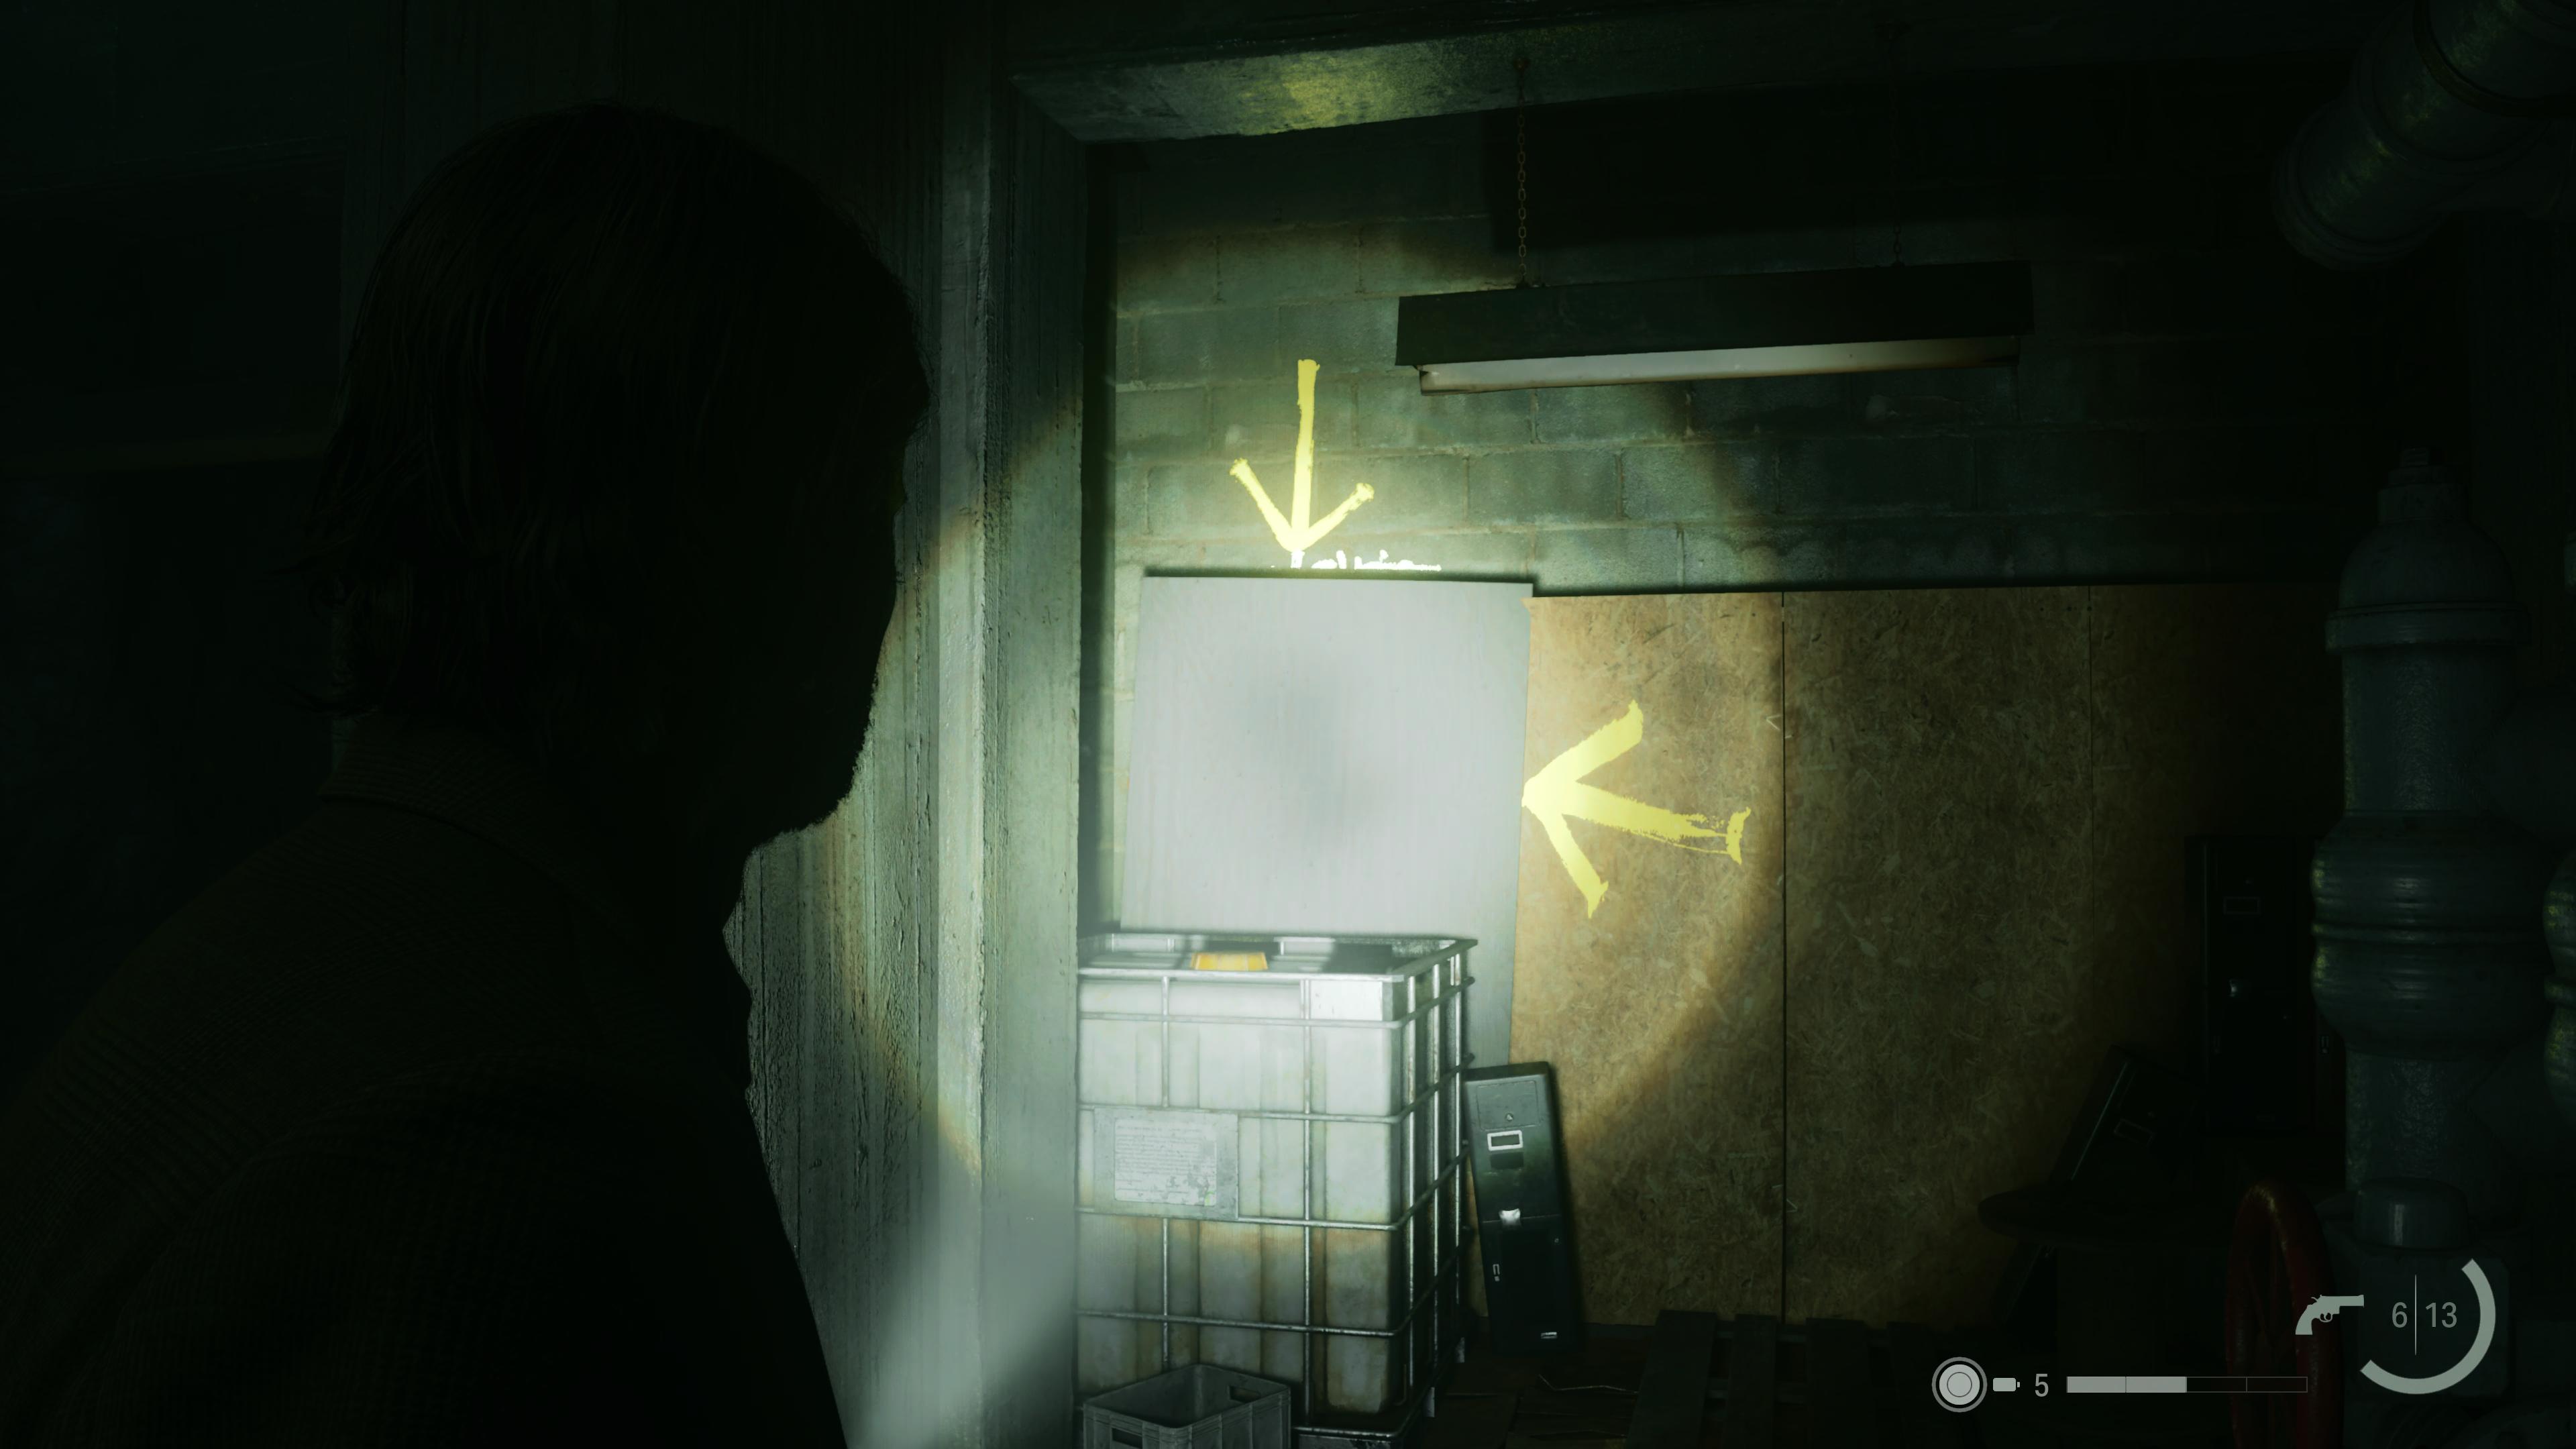
This Words of Action spiral is inside the small room adjacent to the Derailed Train scene. It’s accessible by using the Torchbearers plot point on the train. Make sure to unlock the door in this room before you use the ladder as you need it for another Words of Power spiral. After using the ladder, look at the white plank in the corner of the room and shoot it. You only need a single bullet to destroy the plank. The spiral is underneath.
Head into the room on the north side of the Shrine St. Station. There are lootable containers inside and a spiral to grab before you continue progressing through the Station to get back into the Caldera Subway Station. You need to head into this area for the End of the Line scene, and to also get back into the Collapsed Tunnel scene for the final part of the story.


Published: Nov 11, 2023 06:14 am