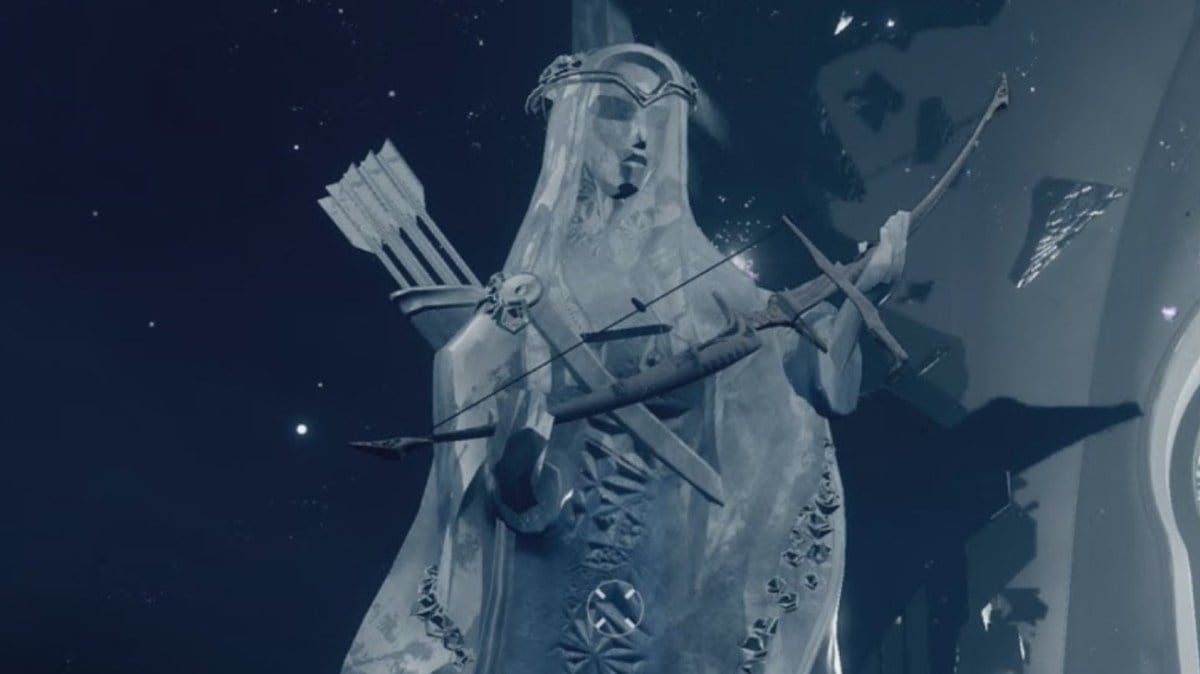
Despite how long it’s been since Destiny 2’s launch back in mid-2017, there still are plenty of old but powerful exotic items that players can access. One of the best exotic bows in the game, the Wish-Ender, is locked behind the Forsaken expansion pack and takes some effort to unlock.
Here is how to get the Wish-Ender exotic bow in Destiny 2.
How to get the Wish-Ender quest started in Destiny 2
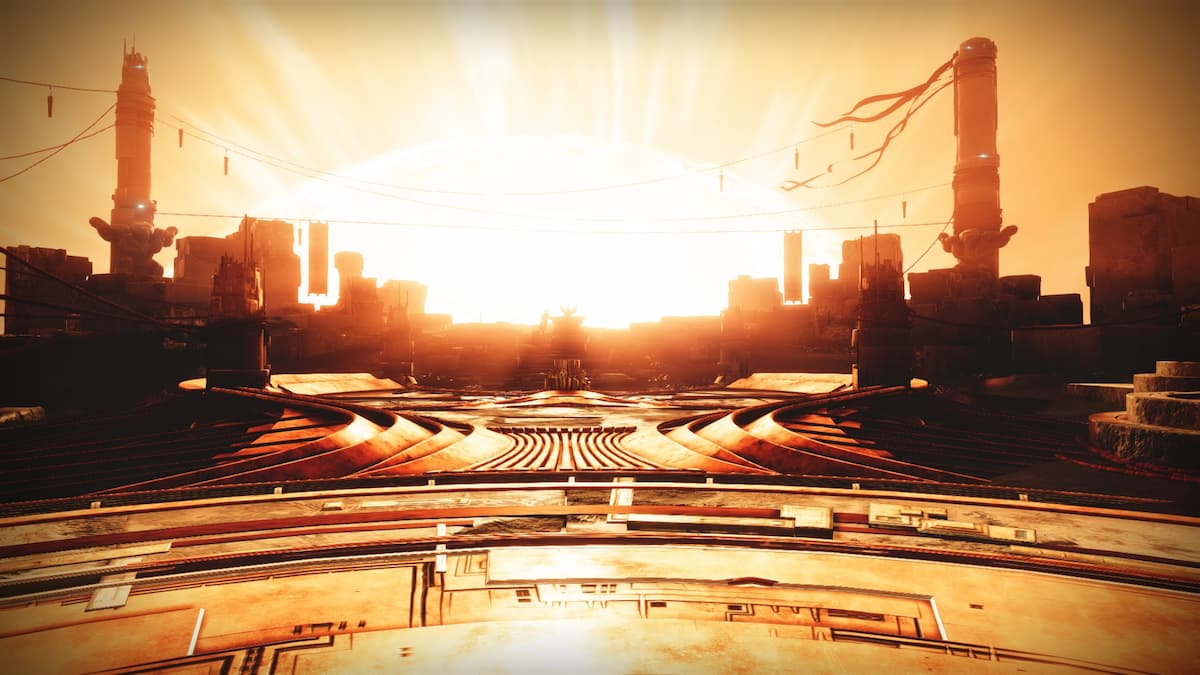
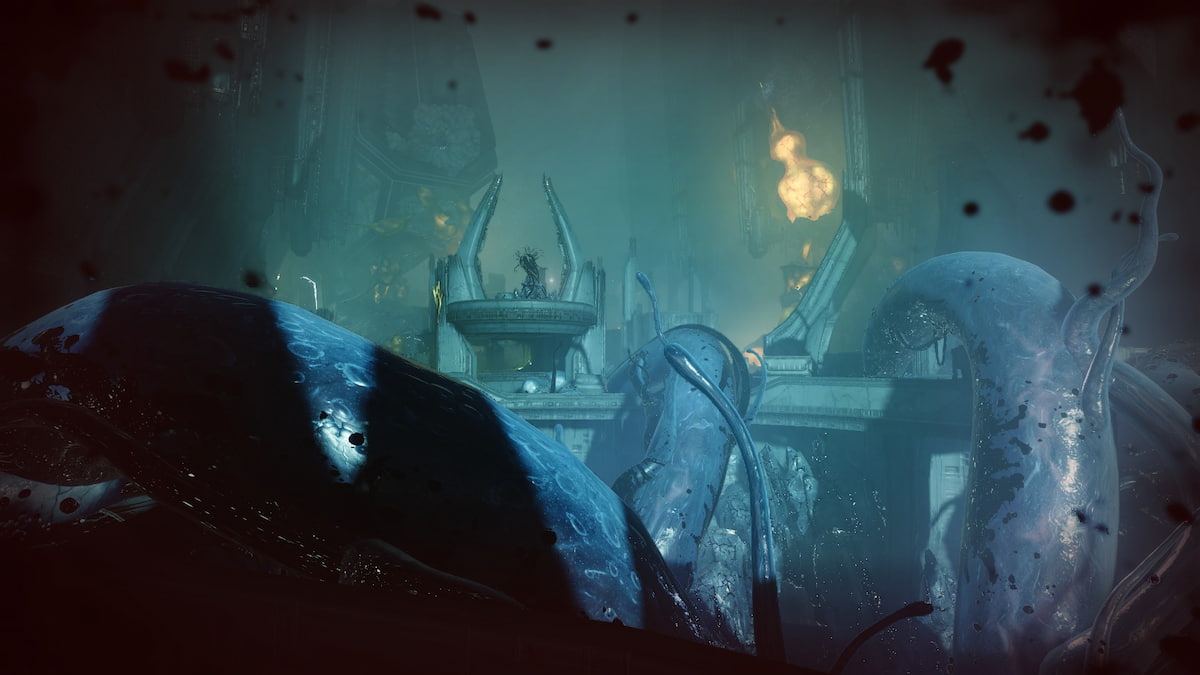
To start the Wish-Ender quest in Destiny 2, go to the Archive section at either the Tower or the H.E.L.M. After acquiring the quest, the first step is pretty easy: head to the Dreaming City and complete the Shattered Throne dungeon.
The dungeon is tough to do alone unless you’re a fully kitted-out Guardian, and is easier to do with a couple of friends or clan-mates. Either way, the dungeon has a lot of variety in it, but you’ll want to focus on looking around after defeating the Ogre boss in the third room. That will then lead to a statue, which will give the player three Dreaming Tokens.
Related: Upcoming Destiny 2 change in season 22 will save you from losing important materials
Each token is linked to an enemy you have to defeat—Erivikis, Querim, and Xavoth—but you need to cleanse them first by summoning each boss.
How to cleanse each token for the Wish-Ender exotic bow
Essentially, to summon each boss, you need to drop an arc charge (marked as a Relic) into a statue throughout the earlier points of the Shattered Throne. Each charge and statue has its own specific location, starting with the first on the upper floor of the Tower of the Deep. Getting up there requires some parkour, usually via tall rocks or statues nearby. Then, return to a rooftop in the middle area with the open statues, place the charge and Minotaurs will spawn. Killing both will cleanse the first token.
The second token requires a little bit more effort to cleanse. To start, the charge is at the part of the dungeon where you have to scale the high beams, sometimes known as the Ogre room. Make sure to kill all enemies nearby before even attempting to go for the charge, to avoid being knocked off. The charge will be behind a pillar on the right side from when you enter the area, and the statue to put it in is also on the right side, facing towards the exit.
The second charge is in the first Thrall section of the dungeon, immediately to the right when you enter the “Thrall room” corridor section in a tucked-away corner. Carry it all the way to the end, and when you drop it, the statue will be on the right. After putting it in, continue forwards and through the newly opened door to fight lots of creatures, including a boss, to cleanse the second token.
Lastly, the third token cleanse takes place when you fight the Vorgeth the Ogre in the dungeon. Instead of focusing on him, focus on killing the wizards and taking the buff they drop. After collecting four of those bonuses, you will gain a new buff, which you will then need to channel into a nearby well. Each time you do it, a Minotaur will spawn, and killing it should spawn an arc charge nearby. Then, place that in a statue that is on the left side of the room when you first enter it. Another Ogre will spawn, and defeating it will cleanse your third token.
Once that is complete, return to the same statue that offered those tokens and deposit them to complete the quest and get the Wish-Ender bow. If you need more of a visual aid, a guide video from content creator Datto shows each spot.
Tips to beat the Shattered Throne dungeon quickly in Destiny 2

As for the Shattered Throne dungeon, beating it alone is tough, but here are some quick tips to get through it easily, no matter who you play with.
First off, be very careful with pitfalls, or other areas of the map that could potentially kill you. Most dungeons are relatively set, with few pitfalls to worry about, but the Shattered Throne is a little more precarious, so just watch where you’re jumping to.
Next tip, get used to both using and getting shot by long-range weapons. Lots of Taken Hobgoblins are going to snipe from a distance, and their small invulnerability moment when they first take damage is a little frustrating to play around. Using a Sniper Rifle to shoot them down and getting Sniper Resistance Mods will help with that problem.
Last but not least, use whatever builds you have that are best against Taken foes. Whether you have weapons that are strong against Taken, or Taken Spec mods, those are the enemies you will face the most in the Shattered Throne dungeon to get the Wish-Ender bow.


Published: Jul 31, 2023 08:37 pm