The Tukarok Shrine is one of the trickiest puzzles players will come across early into their The Legend of Zelda: Tears of the Kingdom playthrough. While it’s quite easy to find, it hides a multistep trial in its depths, one that involves escorting a giant metal ball across all types of obstacles that can be fairly tricky to figure out.
Before completing this trial, you’ll want to make sure you’ve brushed up on your Ultrahand skills. We also used Recall a couple of times while completing this puzzle, although it seems as though players can complete this trial in a number of ways if they get creative enough.
Here’s how to find and complete the Tukarok Shrine in TotK.
Tukarok Shrine location in Tears of the Kingdom
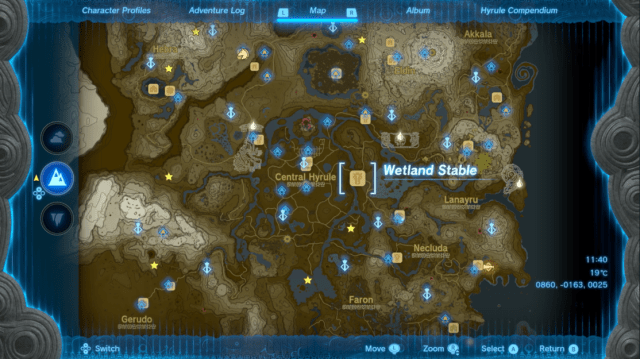
The Tukarok Shrine is located east of Central Hyrule in the Lanayru Wetlands near the Wetland Stable, as marked on the map below. It won’t be too far away from where players first step foot in Hyrule after completing the Great Sky Island, so you should be able to head there soon after landing on solid ground, especially if you have a horse.
How to get to the Tukarok Shrine in Tears of the Kingdom
Head to the Wetland Stable and look south while you’re facing the stable’s entrance. The shrine will be tucked behind some trees, but its green and blue glow should still be visible enough for you to easily find it.

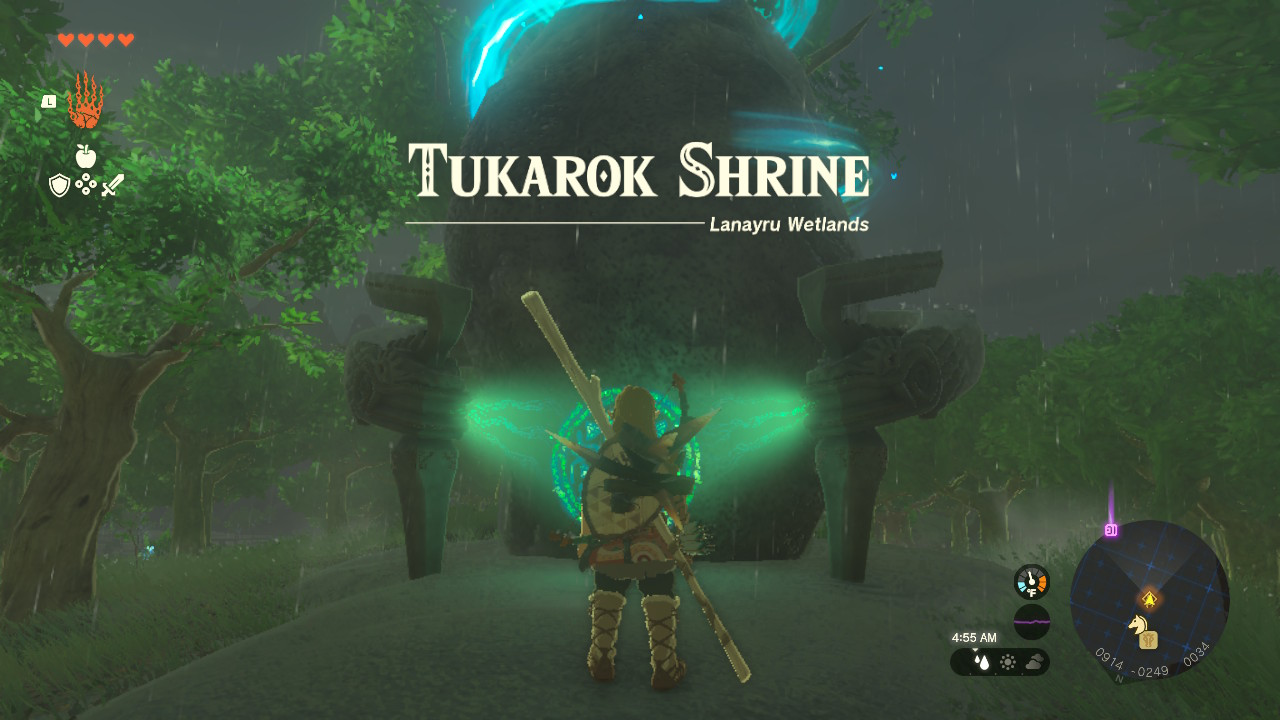
Make your way to the shrine, and you’ll be able to enter it when you interact with it.
How to complete the Forward Force trial in Tears of the Kingdom
The Tukarok Shrine’s puzzle is named the Forward Force, and it’s a tricky one. It has three steps that all involve transporting a giant metal ball from one location to the next.
Related: How to complete the Mayachin Shrine in Zelda: Tears of the Kingdom
Step one: Cross the lava pit
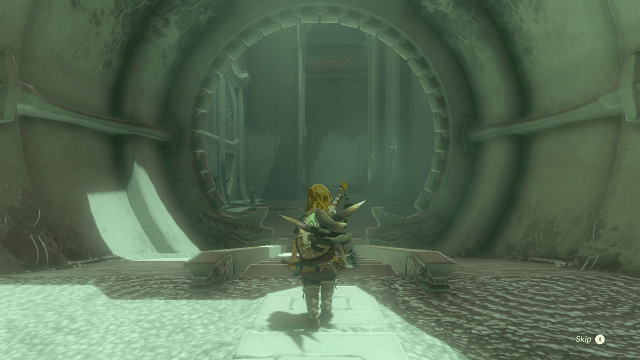
When you first enter the shrine, there will be a long hallway. Head straight until you reach a drop-off with a ladder leading back up to the starting area. Climb down the ladder, and you’ll see the metal ball with a car next to it.
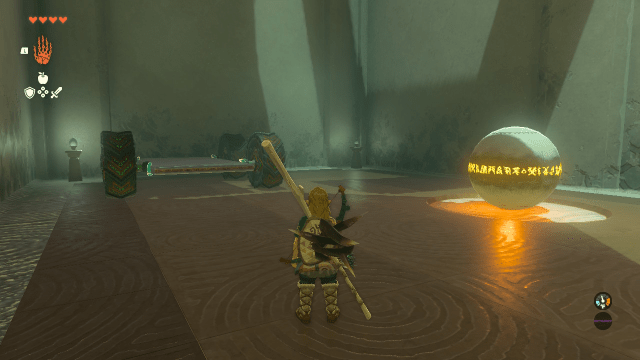
The goal of the puzzle’s first section is fairly simple: get the ball across the lava pit using the car. The vehicle is already built for you, so all you need to do is attach the ball to the car’s metal body, hop on board, and smack one of the wheels with your weapon to get it moving forward. Just make sure to rotate the car so its wheels are facing the direction you want to go. If you’re unsure, there will be a big green arrow on each wheel pointing in the direction it will move in.
Once you’re safely across the pit, detach the ball from the car and proceed to the next area.
Step two: Transport the ball using a sliding block
After crossing the lava, you’ll see a wooden plank, an extra wheel, a number of ascending platforms, and a sliding block. We were able to complete this second part of the puzzle without the extra wheel and wooden plank. Instead, we attached the metal ball to the sliding block and got Ultrahand at the ready.
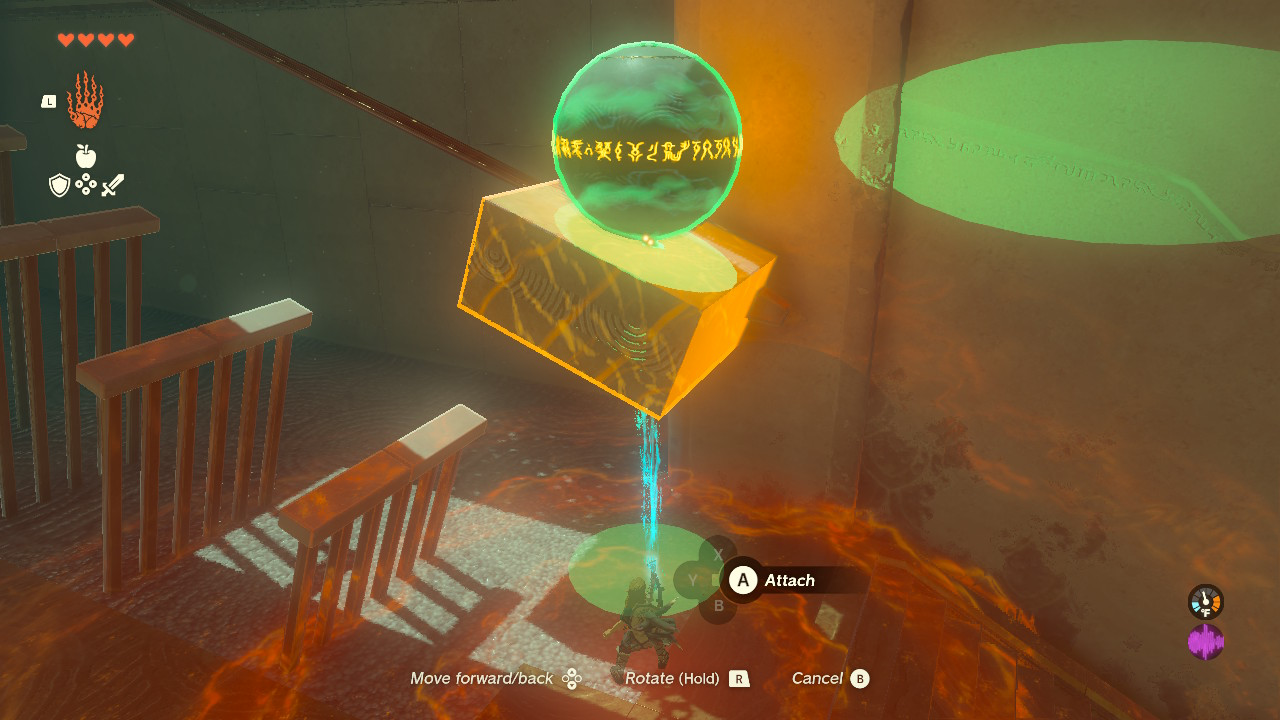
Using Ultrahand, slide the block with the ball on top over close to the ladder. Hold it there for at least 10 seconds. Then let the block go and run over to its starting location at the lower end of the sliding path. Quickly swap abilities to Recall, and use it on the block. The block will slide back up the pathway and stay where you held it, giving you enough time to run to the ladder, climb it, and switch back to Ultrahand.
You’ll want to be quick and precise with this next part. When you’ve climbed all the way up the ladder, turn around and use Ultrahand to grab the ball and detach it from the block. Pull it towards you, and you’ll be ready to advance to the next area.
Step three: Cross the water using the wheeled raft
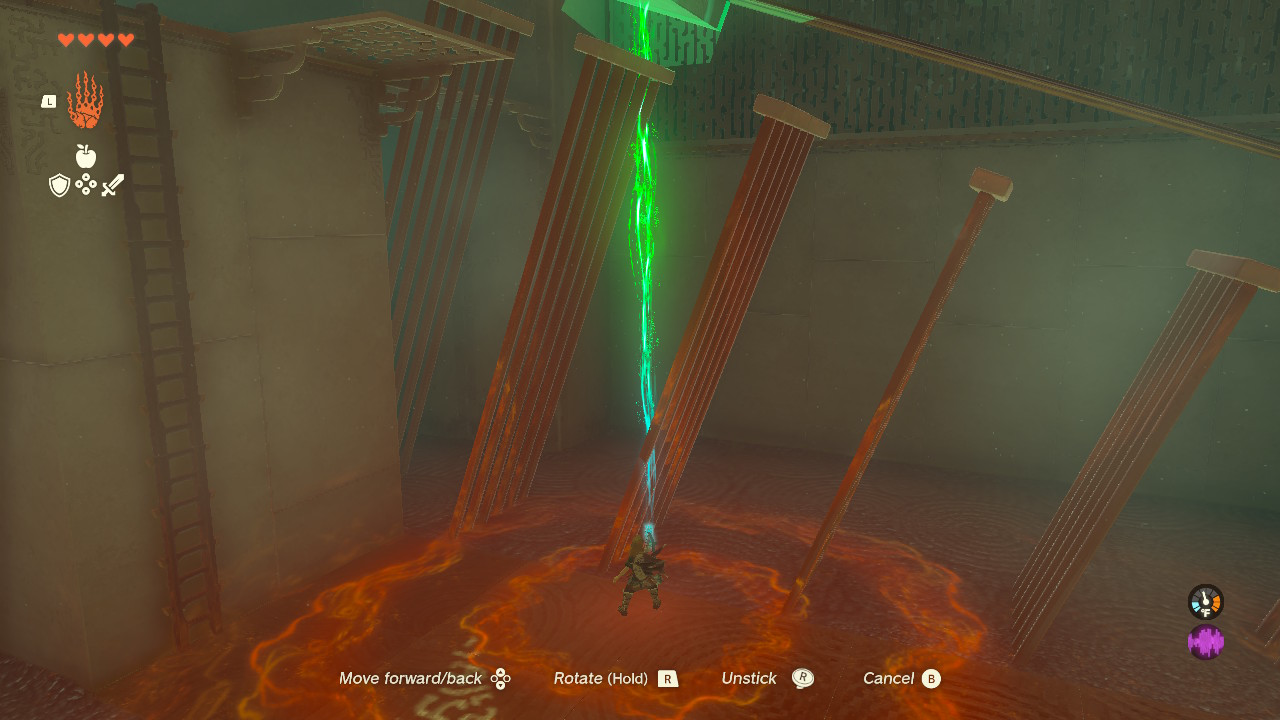
We found the last step in the trial to be the toughest. When you enter the third area, you’ll see a number of wooden planks, even more wheels, and a large body of water with a current headed towards you. There are also thin barriers that cut the body of water into sections.
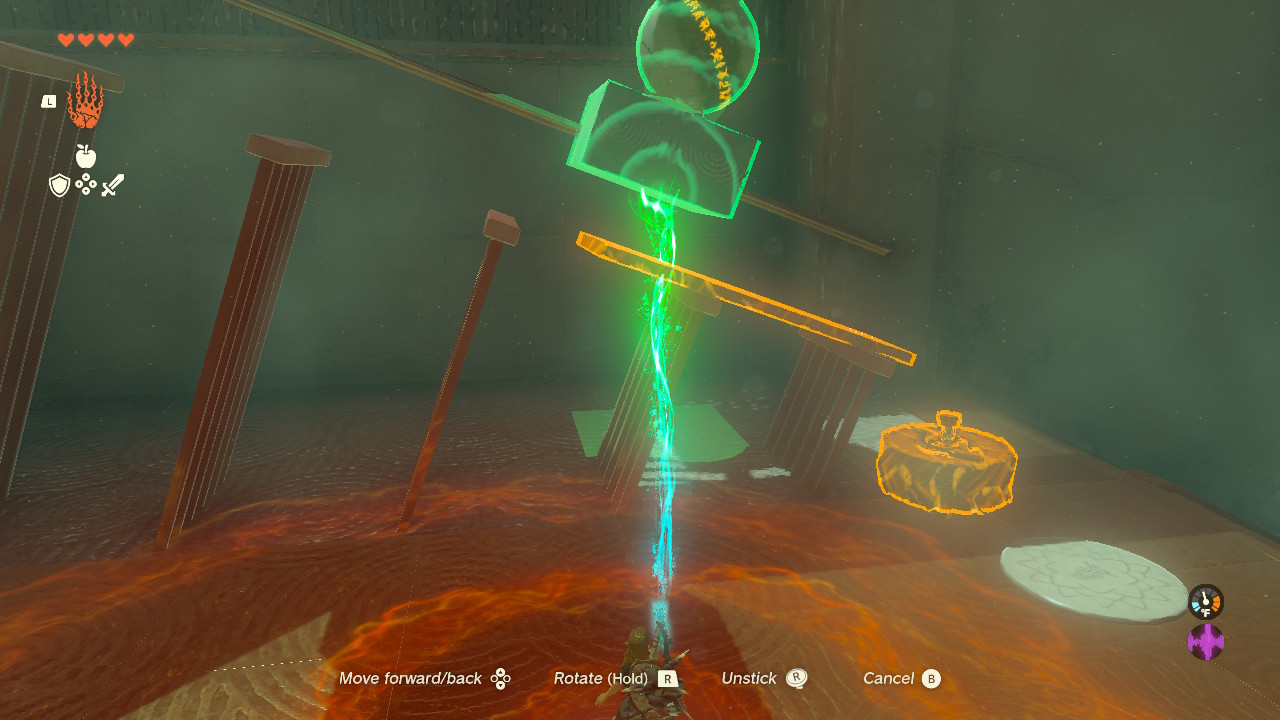
Grab the ball using Ultrahand and attach it to one of the wheeled wooden rafts floating in the water. Then lift the raft out of the water and place it on top of the thin barriers. It might take a couple of tries to get it lined up to where it doesn’t fall off. Once you have it balanced, the raft will begin swinging back and forth as it attempts to stabilize on only two wheels. (Note: You can add two additional wheels to the raft to balance it at this stage. It will take extra time, since you will have to readjust the original wheels, but it’s not necessary to have four wheels. Two will suffice.)
While it’s balancing on top of the barriers, throw one of your weapons at the wheels. This will cause the wheels to start moving forward, carrying the raft and the ball with them. If your raft isn’t lined up perfectly, it will fall off and get stuck between the barriers, like ours did in the video below. You should be able to easily grab it using Ultrahand, readjust it, and it will continue on.
Once it’s reached the other side, use the ladder on the left side of the room to climb up to the catwalk and cross to the other side.
How to get the Forward Force chest | Tukarok Shrine chest location
The trial’s chest is also in this third area of the trial. It sits at the bottom of the water and can be easily missed. While you’re in this area, use Ultrahand and look around. Anything that can be moved, like a metal chest, will be highlighted in red, making it easy to spot.
We recommend getting the ball across the water first, then using the same raft and the current to your advantage. Remove the wheels from the raft and plop it into the water in the same channel you used to transport the ball. As you’re drifting along the water, have Ultrahand at the ready, so you can quickly pull the chest to the surface and onto your makeshift boat.
Inside the chest will be a Strong Zonaite Sword. This sword “resonates with attached Zonai devices,” according to its in-game description, to increase its attack power. Once you’ve acquired the sword, you can cast Recall on your raft to go back to ball, or you can drift to the starting side, climb the ladder, and run across the catwalk again.
Step four: Complete the puzzle
We’re finally to the end of the trial. Now for the easy part.
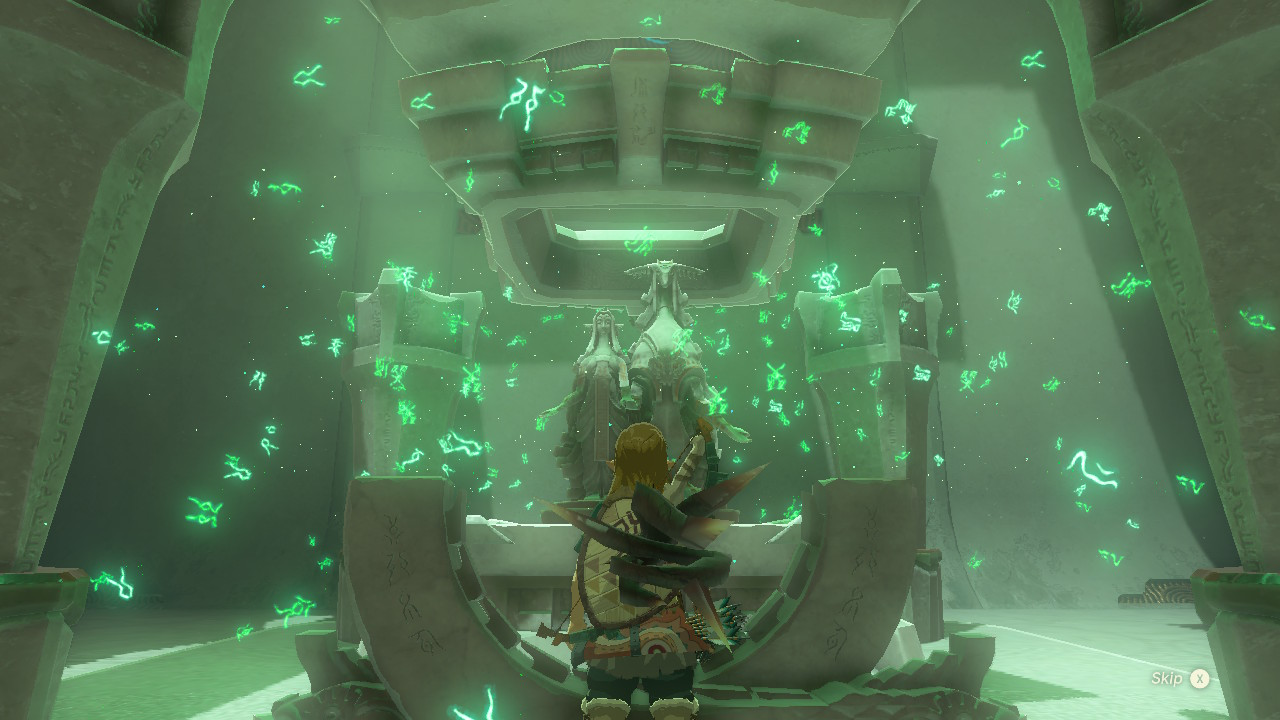
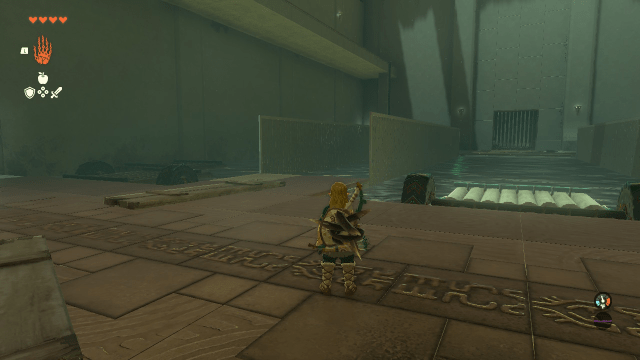
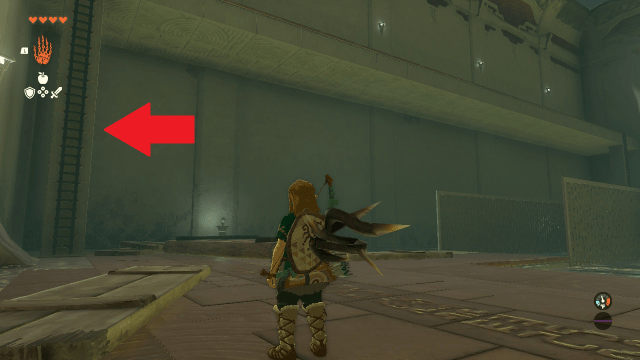
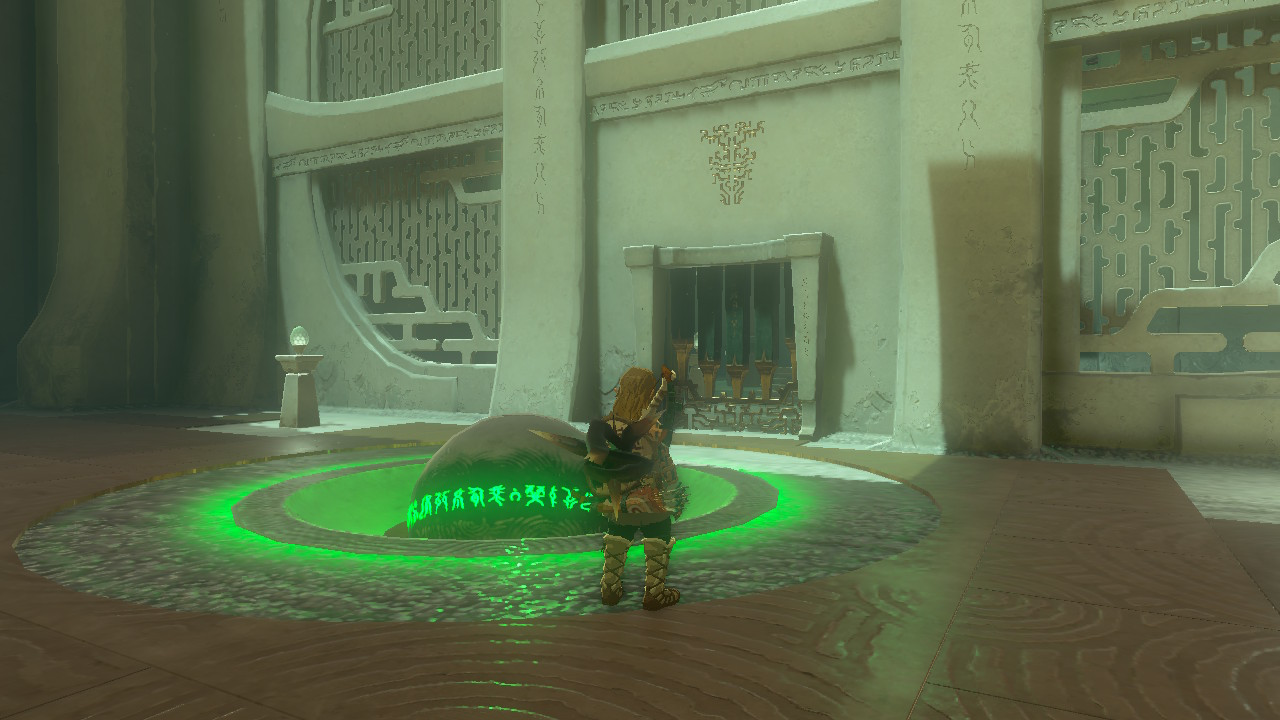
Step on the glowing orange tile on the floor to open the door. This will take you back to the long hallway at the start of the trial. Using Ultrahand, place the ball in the orange pit in the ground, and it will automatically turn green and open the gate in the wall, revealing the Zonai statues.
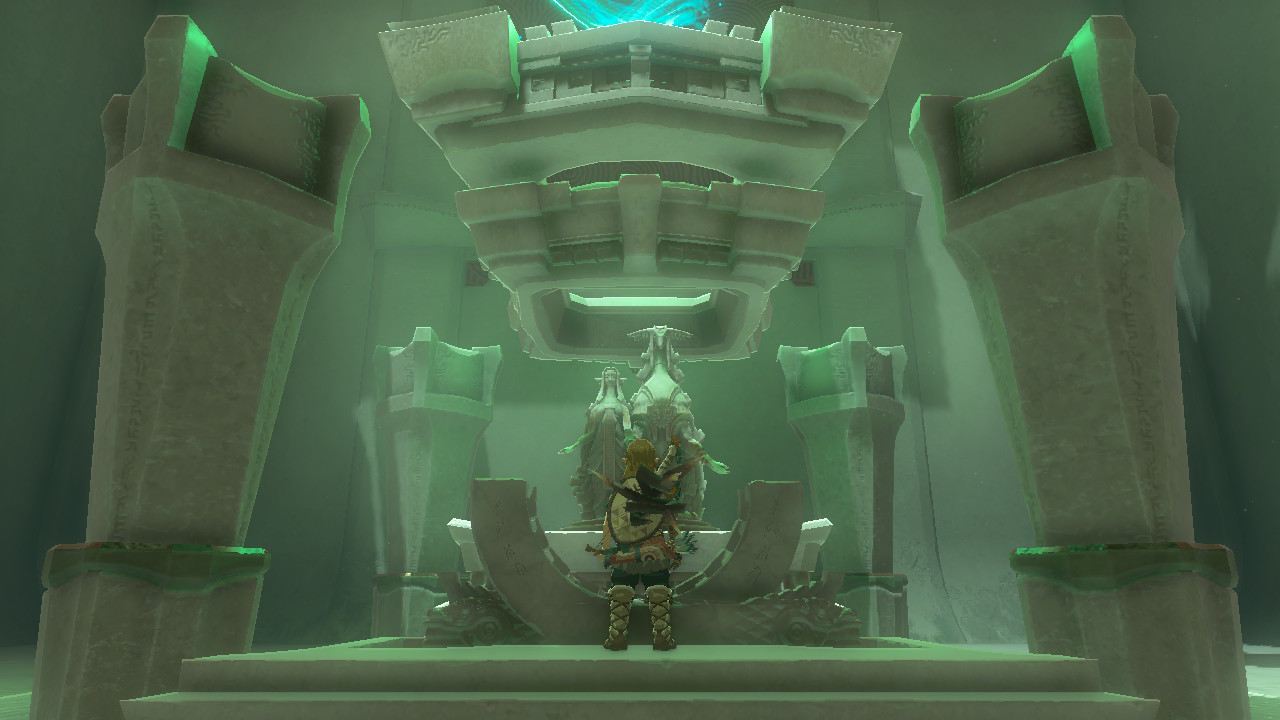
Speak to the Zonai statues, and they will reward you with a Light of Blessing, which you’ll be able to use to increase your health or stamina pools. Completing the shrine will also allow you to fast travel to its location, making traversing Hyrule throughout your journey much easier.


Published: May 13, 2023 12:23 pm