Shrines play a big role in The Legend of Zelda: Tears of the Kingdom, acting as a way for players to imbue Link with more power and fast travel to points on the map. Each Shrine contains its own set of trials to teach players about certain elements of the game or test their abilities.
Just like with most Shrines, the Mayachin Shrine has a specific purpose to its trial in that it is an early look at how devices and fusion will be used in puzzles throughout the game.
Completing the A Fixed Device trial will provide you with a Light of Blessing, which you can exchange four of to power up Link’s stamina or gain another heart—exactly like in Breath of the Wild.
Mayachin Shrine location in Zelda: Tears of the Kingdom
After you descend from Great Sky Island, you won’t need to travel far to find the Mayachin Shrine.
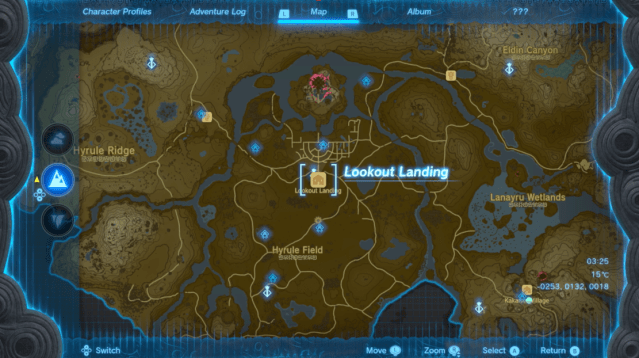
It is located just south of Lookout Landing and to the north of the Hyrule Field Skyview Tower, putting it right in an area most players will explore anyways. You can enter the Shrine without needing to complete any additional quests or objectives in the area.
How to get to Mayachin Shrine in Zelda: Tears of the Kingdom
Once you land at Lookout Landing, you are free to do whatever you want, but for this quest, you’ll need to head slightly southwest to the Mayachin Shrine. You don’t need to rush it though, since you will already have all of the tools necessary to complete it and the trial itself isn’t too taxing.
You might want to make a pitstop and grab the paraglider first though, just to be safe.
How to complete A Fixed Device trial in Zelda: Tears of the Kingdom
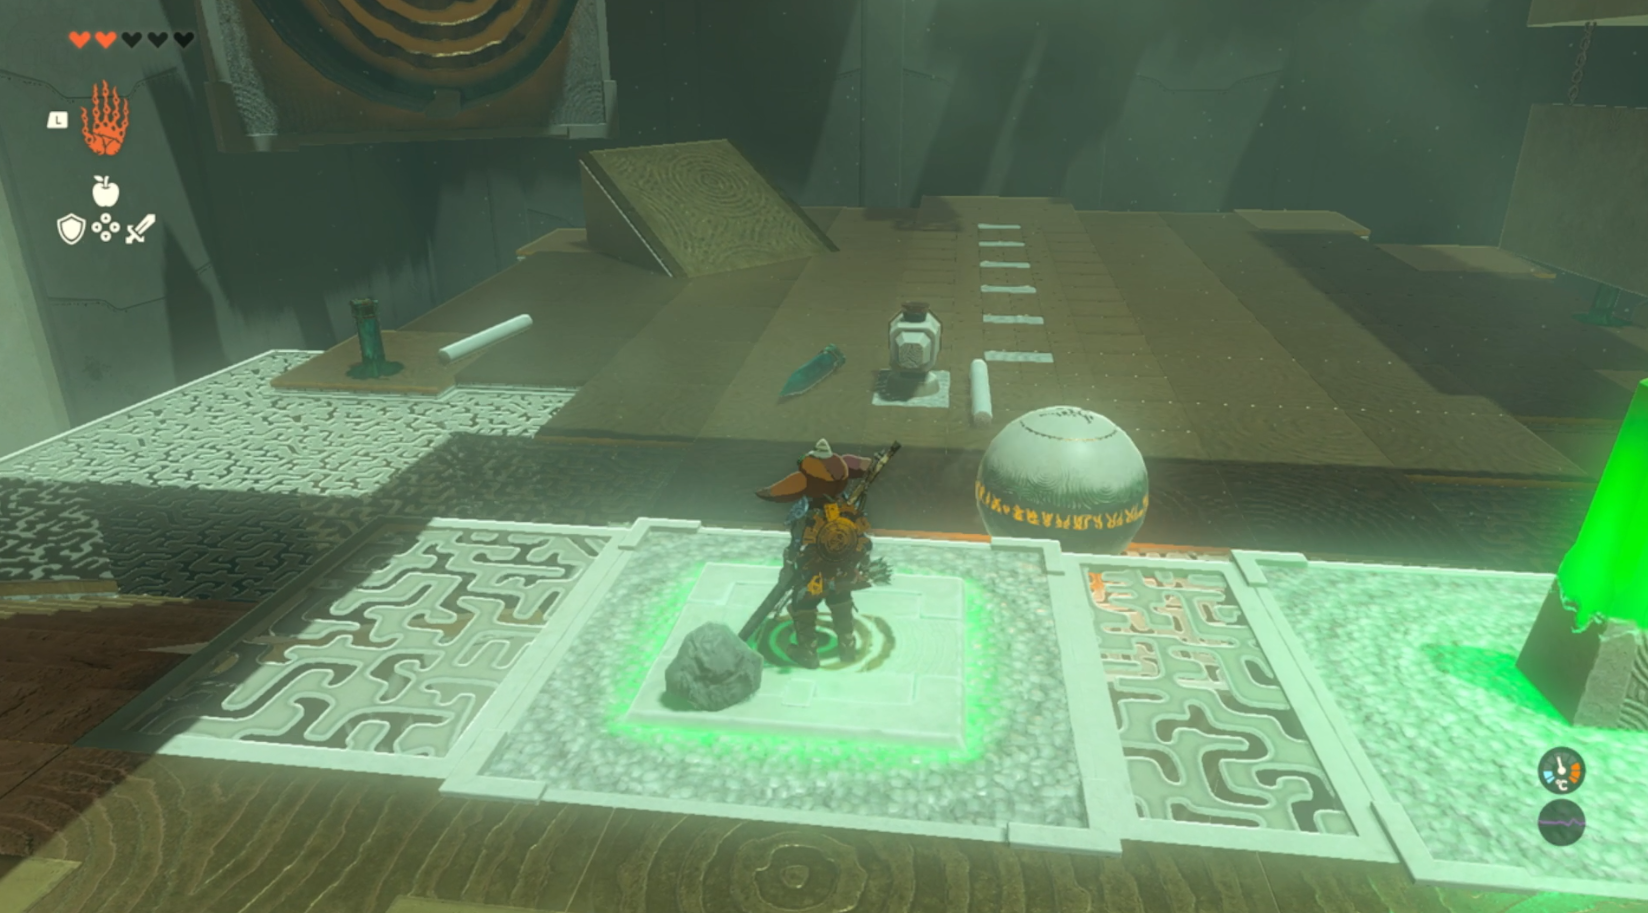
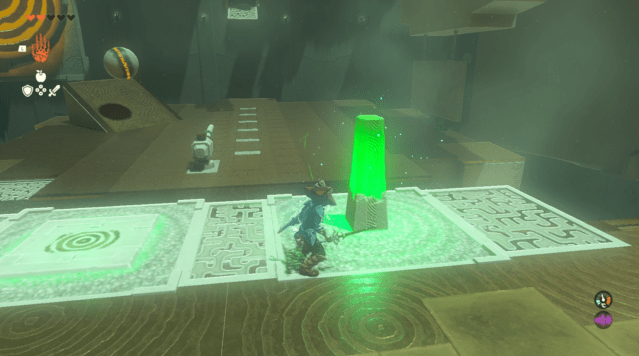
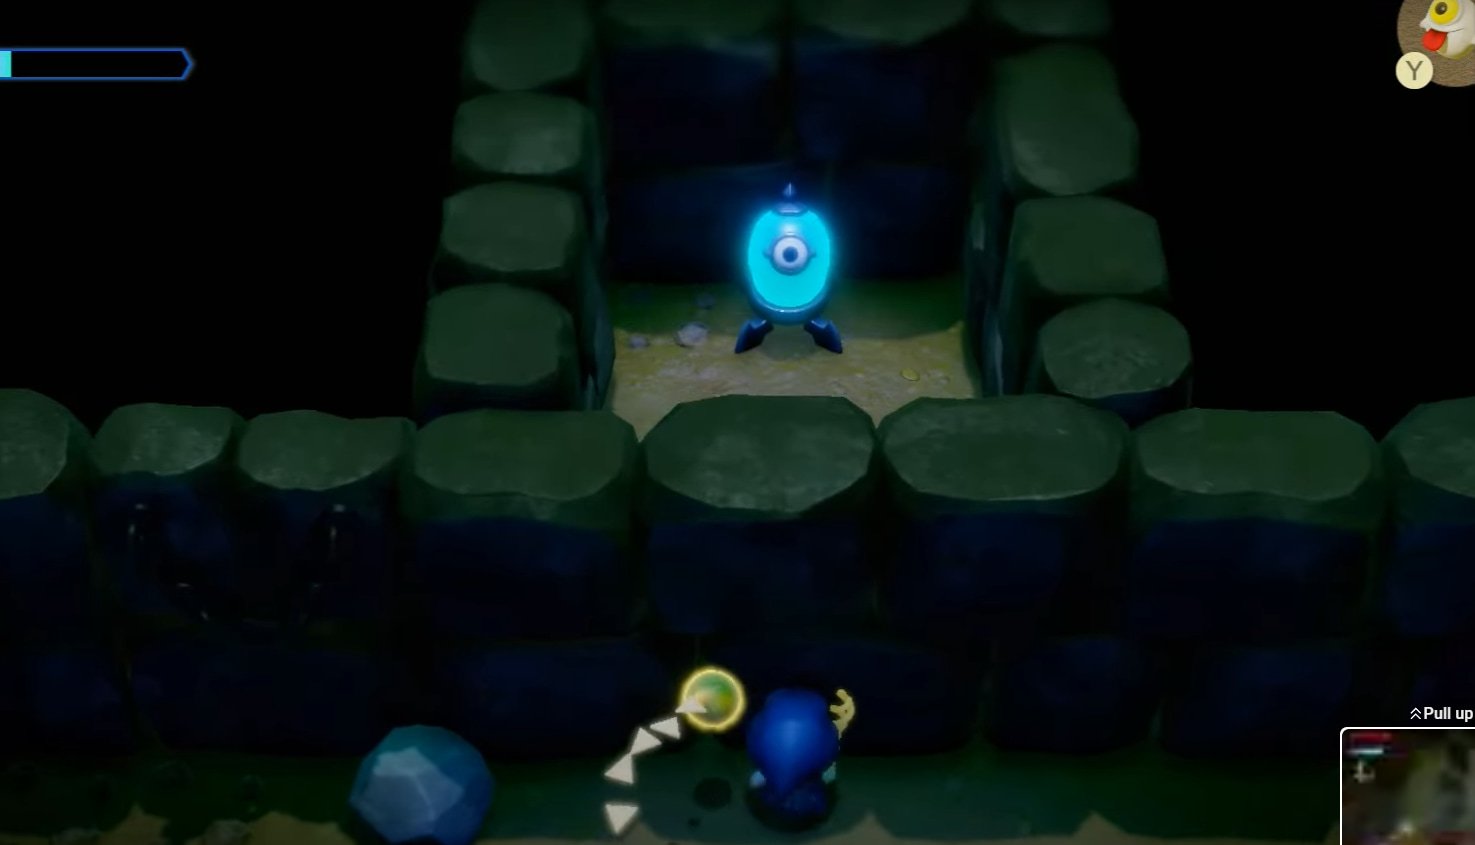
After entering the Mayachin Shrine, you need to jump over the first platform you see and make your way over to a glowing button in the large room.
Stepping on the button will reveal a large, glowing target on the wall to the left-hand side of the room. You will aim to hit this after you complete the next part of the trial.
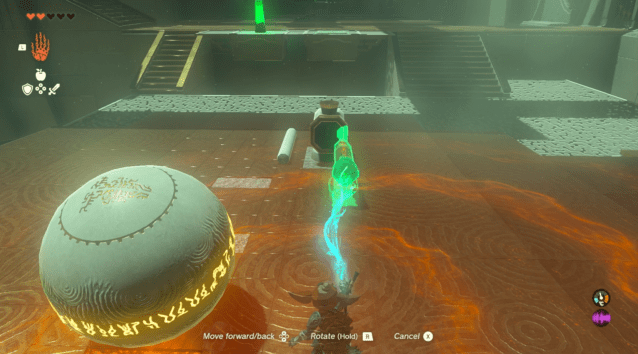
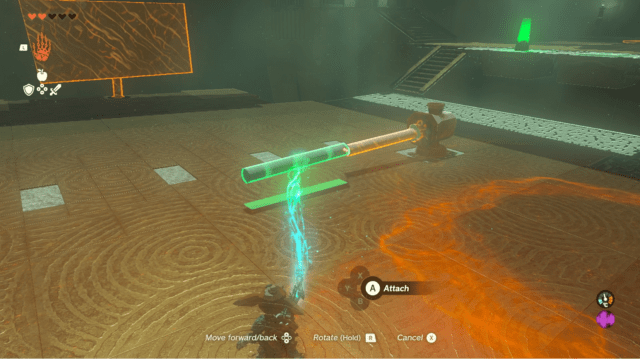
Head down to the lower level of the room and you should find a big rolling ball, various materials, and a ramp. Remove the spike from the ground and carry it over to the mechanism in the middle of the room—which you can fuse it to. Doing this will give you a base to extend the “hammer.”
There are two pipes to the left of the device in the ground which you can pick up and fuse to the extended spike. This should give you enough reach to finish the trial.
Once you complete those steps, head back up to where you stepped on the button. Wait for the ball to roll slightly past the start of the ramp and hit the pillar with your weapon. This will cause the hammer device to swing and knock the ball toward the target past the ramp. Keep trying until you nail any part of the target and it all turns green, this will unlock the exit to the Shrine on the left.
If you want to 100 percent the Shrine, walk back down to the lower level and to the right where the second target is located behind a panel. Remove a spike from the ground and lock it into the platform above the panel, then move the panel and lock it to the spike you just placed there.
Head back up to the pillar on the upper level and wait for the ball to roll to the just before the last marker on the ground before hitting it.
Related: How many Shrines are in Zelda: Tears of the Kingdom?
The hammer should swing it into the target on the right and unlock the room with a chest inside to your right, which contains an Energizing Elixir that I didn’t find worth the extra effort. There are secondary objectives in basically every Shrine, so while this one might not be worth your time, keep an eye out for the others.


Published: May 12, 2023 06:33 pm