
The Legend of Zelda: Tears of the Kingdom players might’ve thought they were done after freeing the Temple of Time statue from where it was trapped underwater. But after you speak to it, you’ll find out that rescue mission was just the prologue to the A Call from the Depths quest.
Once you start, you’ll learn that statue is sending you on a wild goose chase around the Great Plateau to find its eyes and deliver them to the Great Abandoned Central Mine in the Depths below.
After you’ve rescued the statue and spoken to it a second time, you’ll automatically unlock the A Call from the Depths quest. This quest requires you to visit four locations around the Great Plateau, locate the statue’s “eyes,” and chuck them into nearby chasms. Sounds simple, right? But wait—that’s not all. Finding the eyes and throwing them into giant holes in the ground is the easy part. You must then carry the eyes to an unmarked location in a pitch-black underground area. We weren’t kidding when we said it’s a wild goose chase.
Where to find and take the statue’s eyes in TOTK
Luckily for players, as soon as they start the quest, markers will appear on their map, showing them precisely where to find the eyes scattered around the Great Plateau.
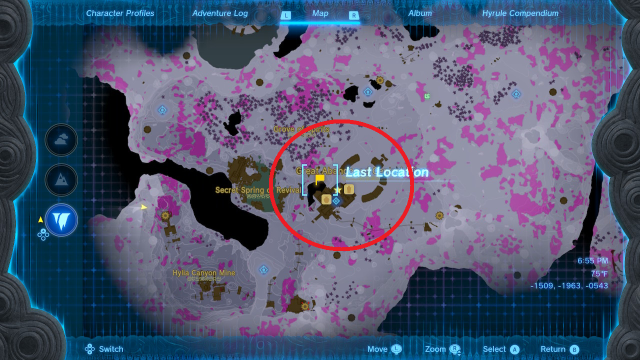
When you locate an eye, the game won’t exactly tell you what to do with it, outside of throwing it into a nearby chasm and delivering it to some place beneath the Temple of Time. More specifically, though, you’ll need to deliver the eyes to a second statue underground in a giant, aptly named ruin: the Great Abandoned Central Mine. The chasms surround this location, but we’ve marked it on the map below for your convenience.
Related: How to get to the Great Abandoned Central Mine in Zelda: Tears of the Kingdom
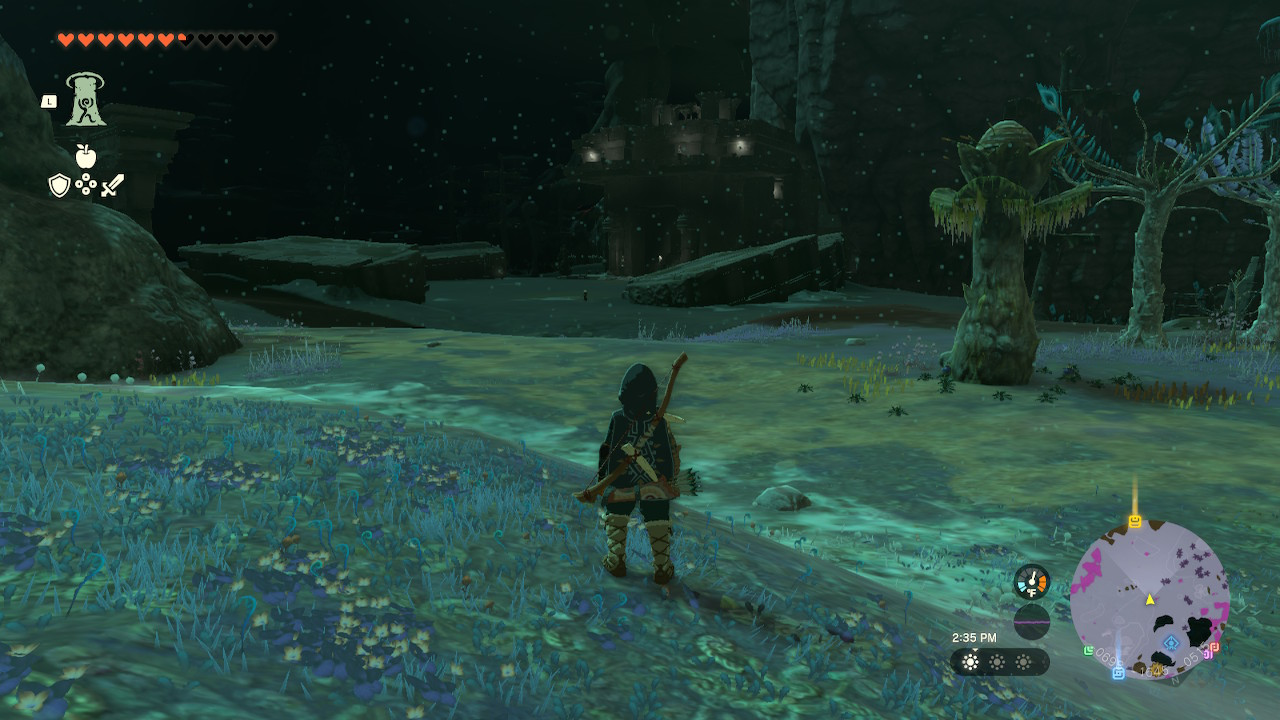
Before you set off to deliver the eyes, we recommend exploring the Depths beneath the Great Plateau and visiting the Lightroots below. This will illuminate the Depths surrounding the Great Abandoned Central Mine and prevent you from fumbling around in the dark as you attempt to deliver the eyes.
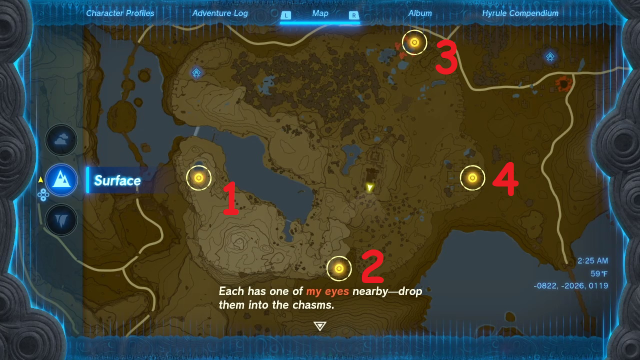
There are four eyes you’ll need to deliver, and their locations are shown in the image below. They can be found above surface, and can be delivered in any order.
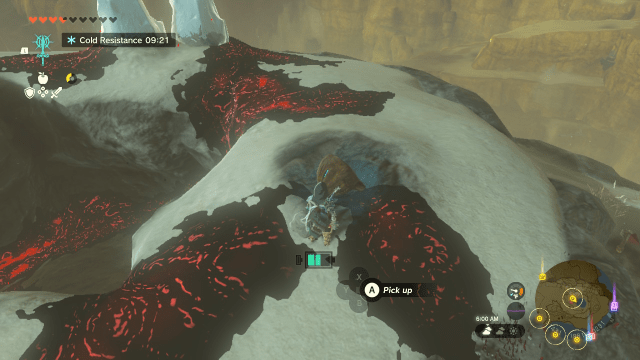
1) Great Plateau West Chasm
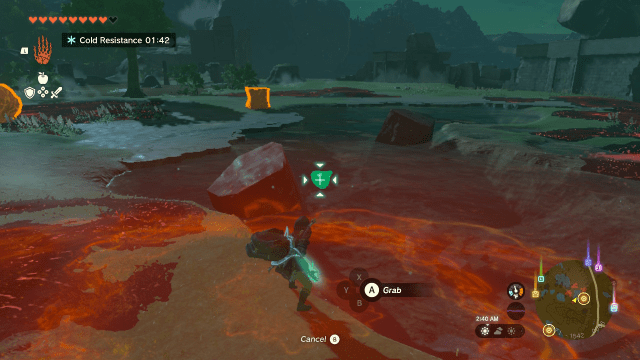
As you approach the first chasm, you’ll notice chunks of ice. Using either a Flame Emitter, a lit torch, or Fire Fruit, melt the ice and pick up the eye it deposits. Toss that sucker down the chasm, but don’t worry—it’ll be safe when it hits the ground below. Jump in after it and get your paraglider out before you hit the ground.
You’ll land in mine ruins and there will be an elevator in front of you. Carry the eye over to the elevator, hit the fans with a weapon to get them to start, and then lug the eye to the staircases you’ll see at the top of the elevator. There will be two different minecart tracks at the top of the stairs. The cart on the left will be fully built with a fan and a battery. Pick up that cart using Ultrahand, place it on the tracks, and put the eye in the cart.


Once you’ve settled into the cart, strike it with a weapon to get it to start moving forward. It will take you to another staircase and a second cart at the Hylia Canyon Mine. This cart won’t be built for you, unfortunately, so you’ll need to attach a fan and battery to it using Ultrahand.
Before you jump in the cart and take off, however, we recommend first taking a look around. At the Hylia Canyon Mine will be a piece of the Miner’s armor set, the Miner’s Trousers, which illuminate your surroundings. These trousers will be at coordinates -1286, -2249, -0707 in a nearby chest.
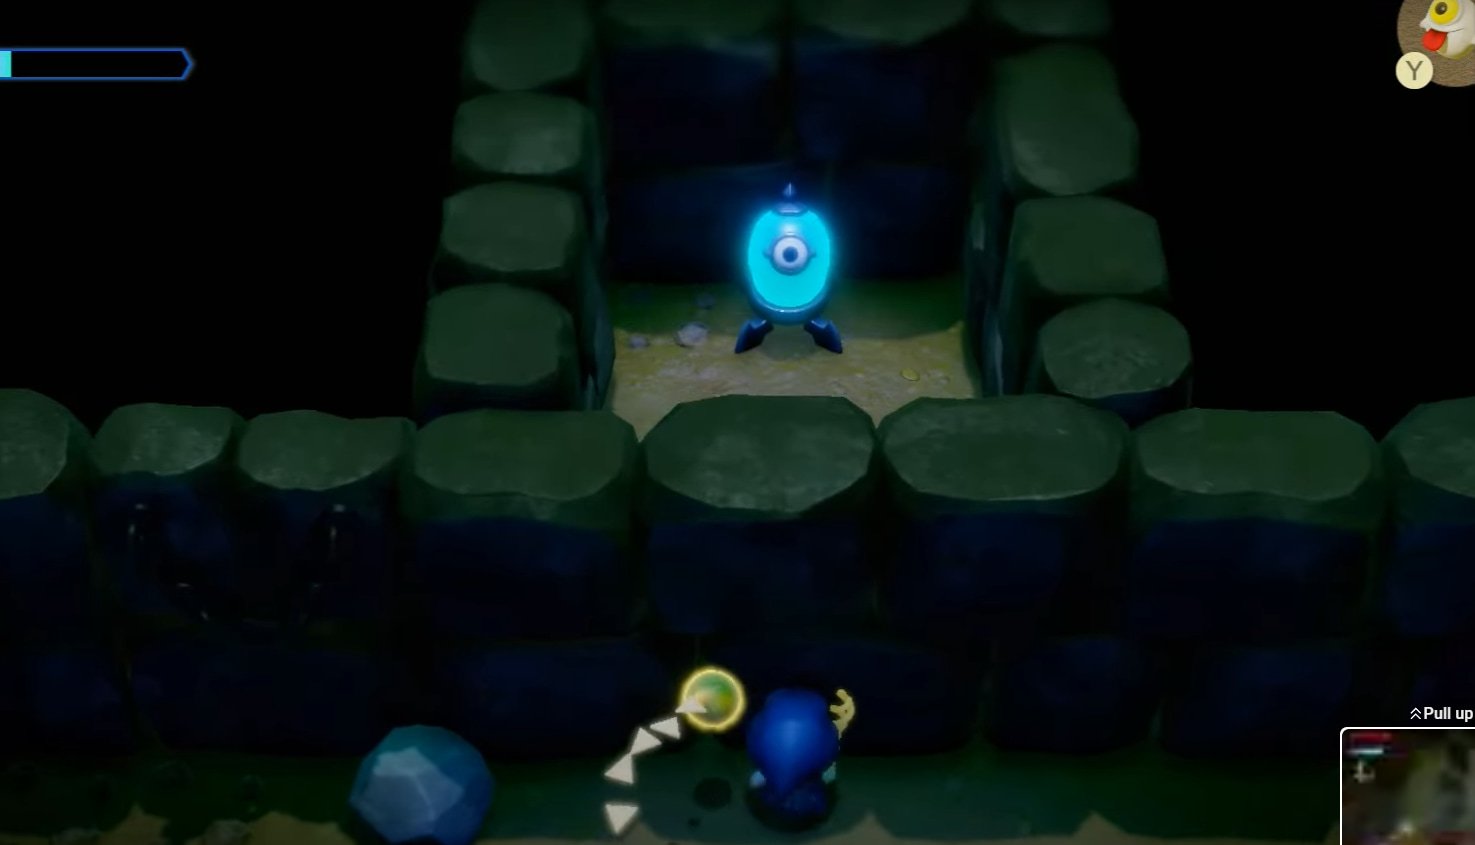
After you’ve picked up the pants, go back to the cart and ride it all the way to the Great Abandoned Central Mine. From there, take one of the elevators up, and deliver the eye to the brown statue in the middle of the room. It will look like dirt at first, but if you speak to it, it will request your aid and will be marked on your map as the “Bargainer Statue.”


Using Ultrahand once more, slot the eye into the statue’s eye socket, and the statue will tell you that you have three more eyes to deliver. Time to go back up to the surface and head to the next chasm.
Related: How to get out of the Depths in Zelda: Tears of the Kingdom
2) Great Plateau South Chasm
After you’ve arrived at the Great Plateau South Chasm, pick up the chunky block using Ultrahand. Underneath the rock will be the second eye.


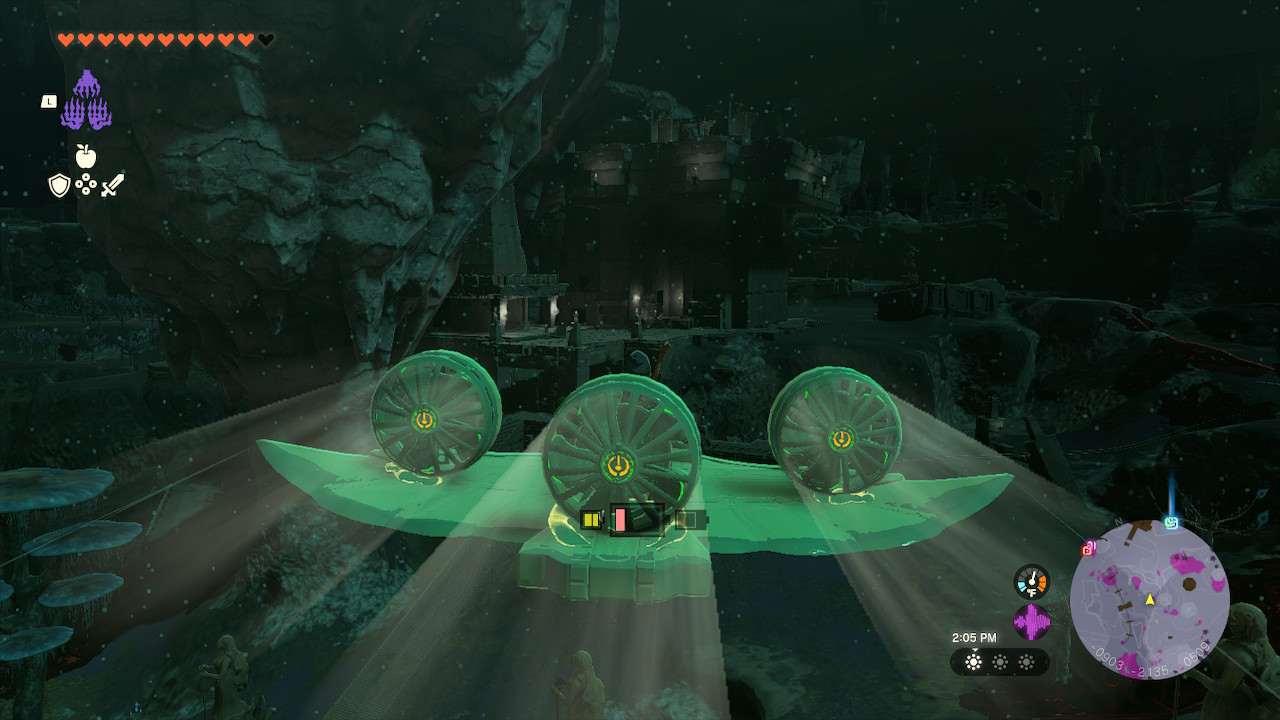

After you’ve thrown it into the chasm, jump in after it. You’ll land near a staircase, which leads to an open area where you can craft a plane as in the images above. Use the plane to then fly over to the Great Abandoned Central Mine, and make sure to fly into the lower level. Carry the eye up the stairs and slot it into the statue like you did for the first eye.
3) Great Plateau North Chasm
Although all four eyes are fairly easy to find, this one is the easiest. Near the Great Plateau North Chasm will be a body of water. Activate Ultrahand near this water to quickly find the eye and then lift it out of the water. Throw it down the hole and jump in after it.
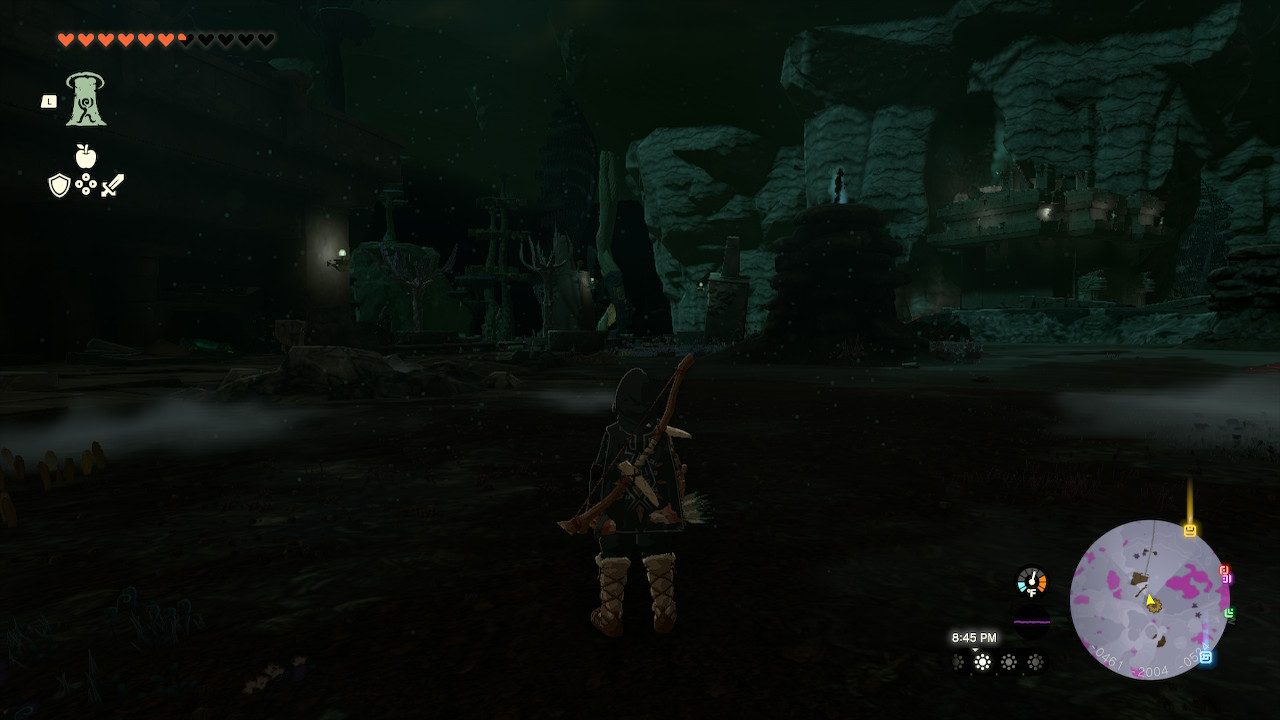
You’ll land fairly far north of the Great Abandoned Central Mine, so you better get a move on. You’ll need to cross an open area and make your way to the mine. Enter into the corridor, continue past the Steward Construct, and drop the eye down to the staircases underneath, as indicated in the images below.


From there, carry the eye up the stairs and down the corridor to the Bargainer Statue. Slot it into an empty socket in the statue and head back to the Great Plateau for the fourth and final eye.
4) Great Plateau East Chasm
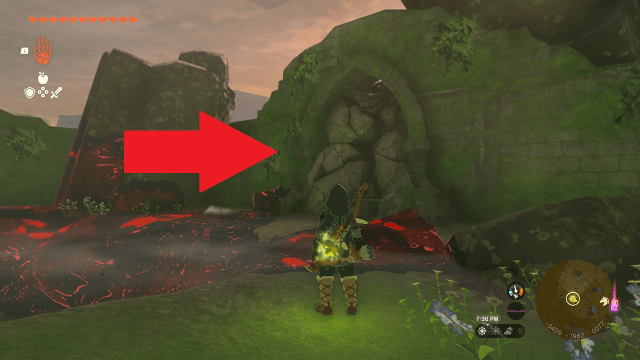
We’re finally nearing the end. As you approach the final chasm, the Great Plateau East Chasm, you’ll see a destructible wall near the chasm’s entrance. Destroy this wall with either Bomb Flowers, a rock hammer, or Yunobo’s Vow, and you’ll notice another blue eye in the rubble. Grab the eye and throw it down the chasm.
You’ll land east of the mine, as shown on the map below. To your left will be a minecart and a set of tracks. You can build a cart if you happen to have a fan in your inventory. We opted just to carry the eye, however, considering the tracks are broken and will only get you halfway.


Follow these tracks to the mine, and you’ll eventually reach the staircases leading to the chamber harboring the Bargaining Statue. Slot the final eye into the statue, and get ready to reap the rewards.
A Call from the Depths quest rewards
After you’ve inserted the fourth and final eye, the statue will commend you for your efforts. Gratitude isn’t the only thing you’ll get, though; the Bargainer Statue will also reward you with either a portion of a stamina wheel or a heart container, similar to a Goddess Statue. If you have completed your stamina wheel, you’ll only be able to receive another heart.
Once you’ve made your choice, the statue will then become a vendor that will sell you items for Poe, much like the one at Lookout Landing. You can purchase a variety of goods here, including clothing like the Dark Tunic, plants like Bomb Flowers, and Magic Rods.
This statue is also just one of many Bargainer Statues found around the depths, and the more of them you find, the more items you can buy.


Published: Jun 22, 2023 12:59 pm