
The seventh Mega Token in Roblox The Hunt: Mega Edition has been revealed, and it’s inside World Zero (World // Zero). This one should be a breeze if you’re used to action games like Dark Souls—if not, prepare for a tough battle. Here’s How to get World Zero Mega Token in Roblox The Hunt.
Table of contents
World Zero Mega Token guide
Before you go for this Mega Token, you need to get all six previous Mega Tokens. Thankfully, you don’t need to get the World Zero Badge, so you can jump straight into the game and go for the Mega one. Despite this being an MMORPG-like game, you don’t need to level up a lot to get this Token. But during this phase, you might have some difficulty if you aren’t used to Action-based games like this. We managed to finish this at level 10, but if you’re having trouble, you may want to do it at a higher level and with better equipment.
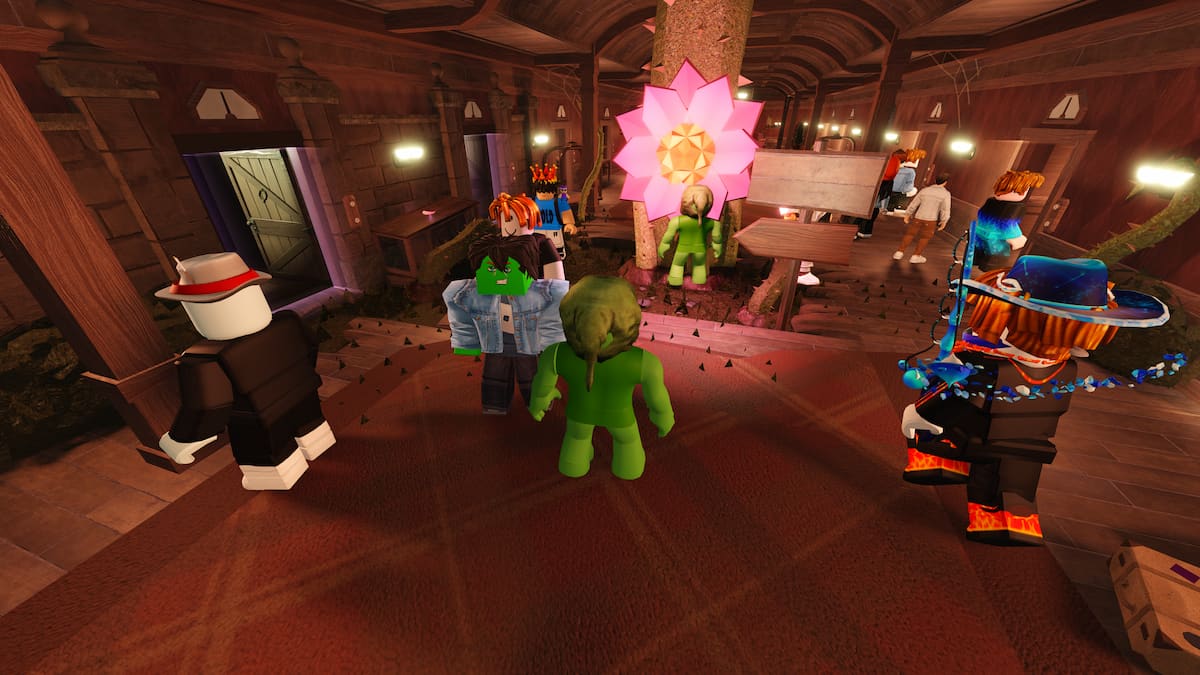
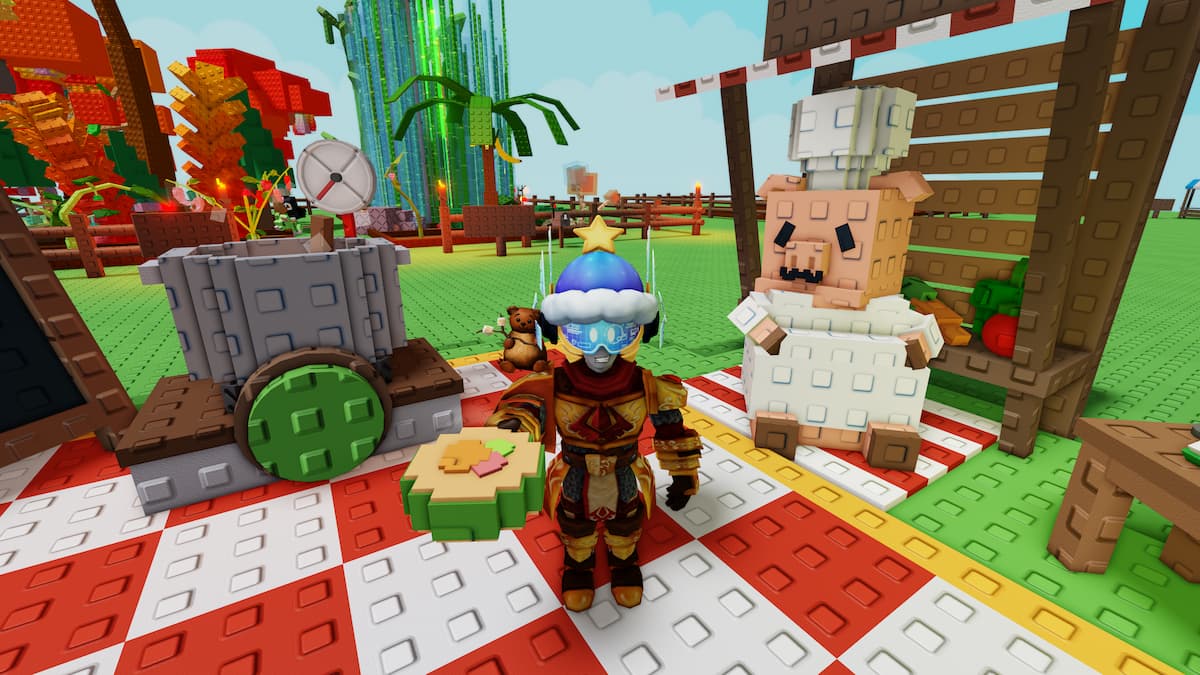
When you log in, finish the Cabbage gathering tutorial, beat the Tutorial boss, and you’ll be whisked away to the main spawn zone. If you haven’t already, do a couple of battles to get used to the controls.
If you’re playing on a PC or a smart device, we highly recommend you use a controller. It makes everything a lot easier. World Zero is beautifully optimized for dual analog controls.
How to get to the Crystal Room
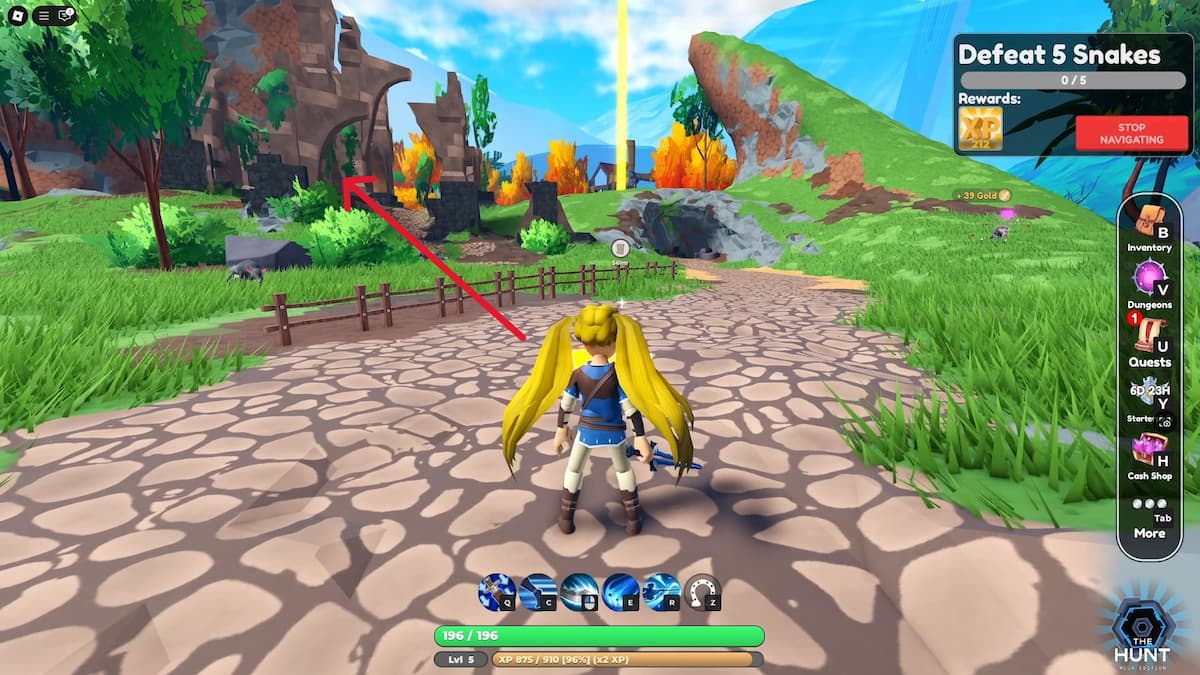
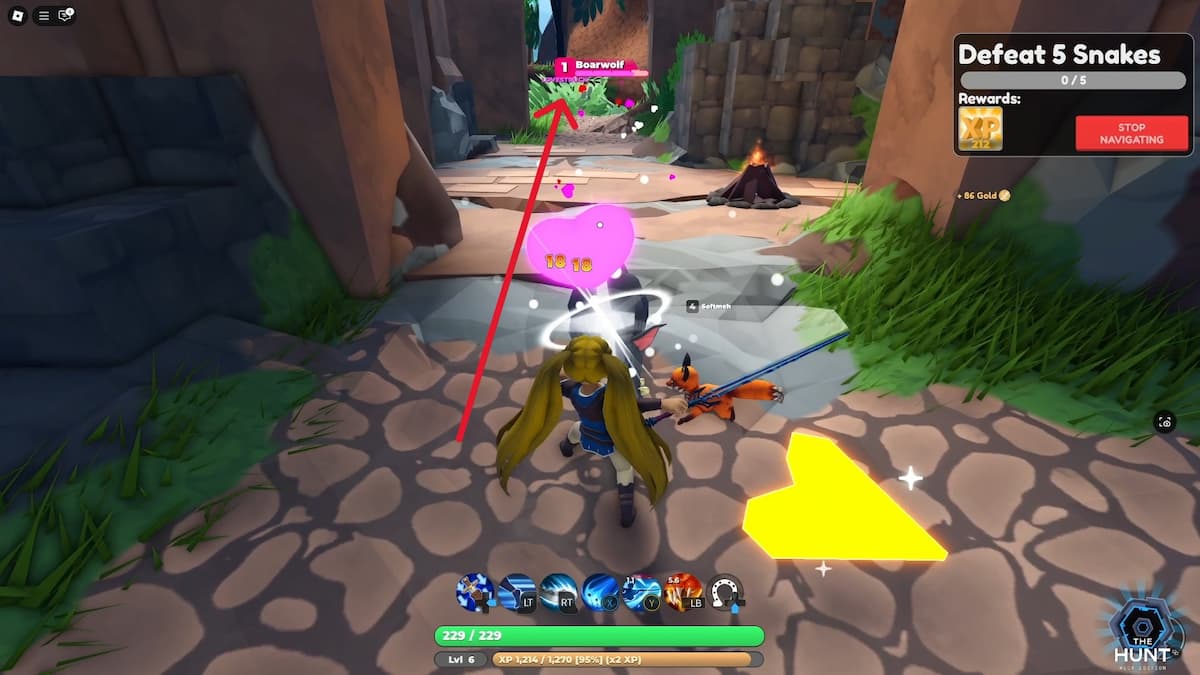
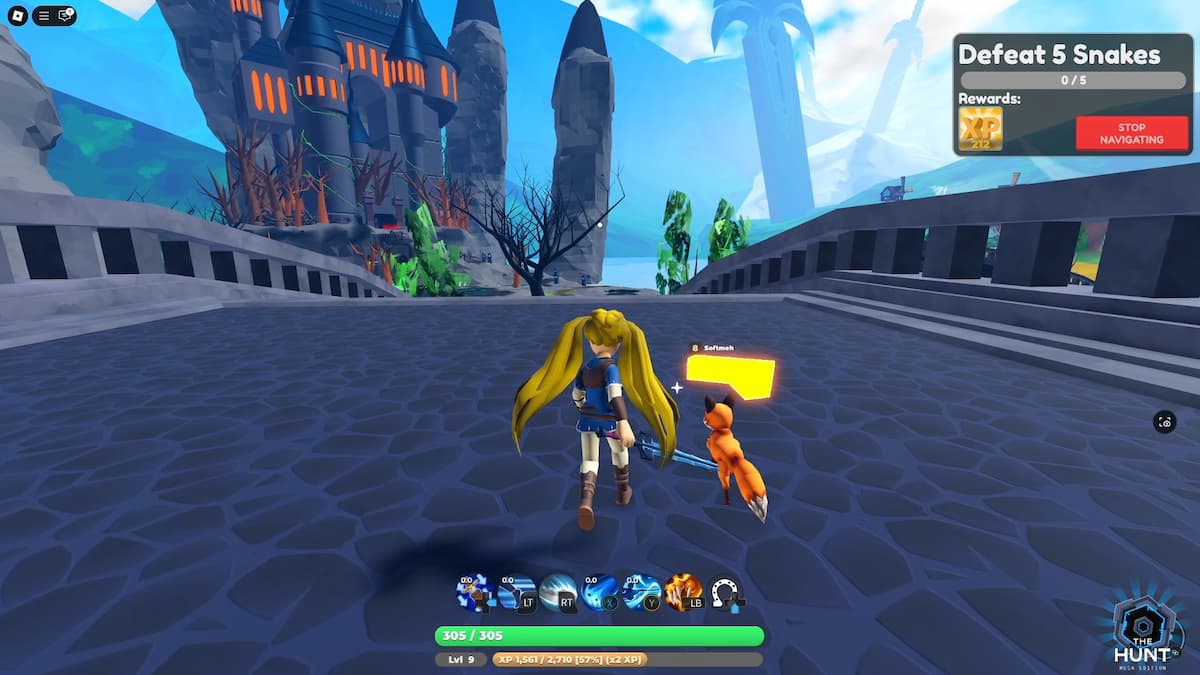
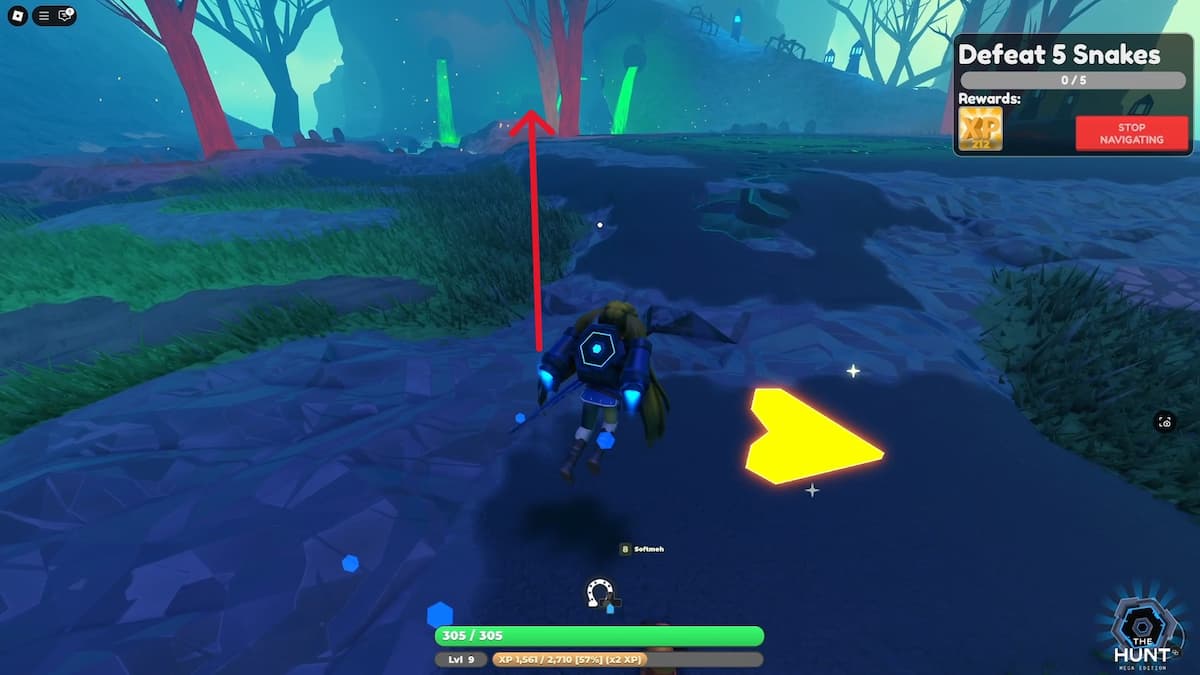
When you spawn into the starting zone, your first goal is to get the Crystal Room, hidden inside a mountain to the west. The way there isn’t difficult, but you definitely will encounter some mobs. We highly recommend finishing some Beginner Tasks (in the top right corner of the screen) along the way. These will award you with some gold and XP. You don’t need Gold, but you need the extra levels from all the XP. Don’t prioritize it, but if your Begginer Task asks you to kill Snakes, and there just happen to be Snakes around, there’s no reason you shouldn’t do it.
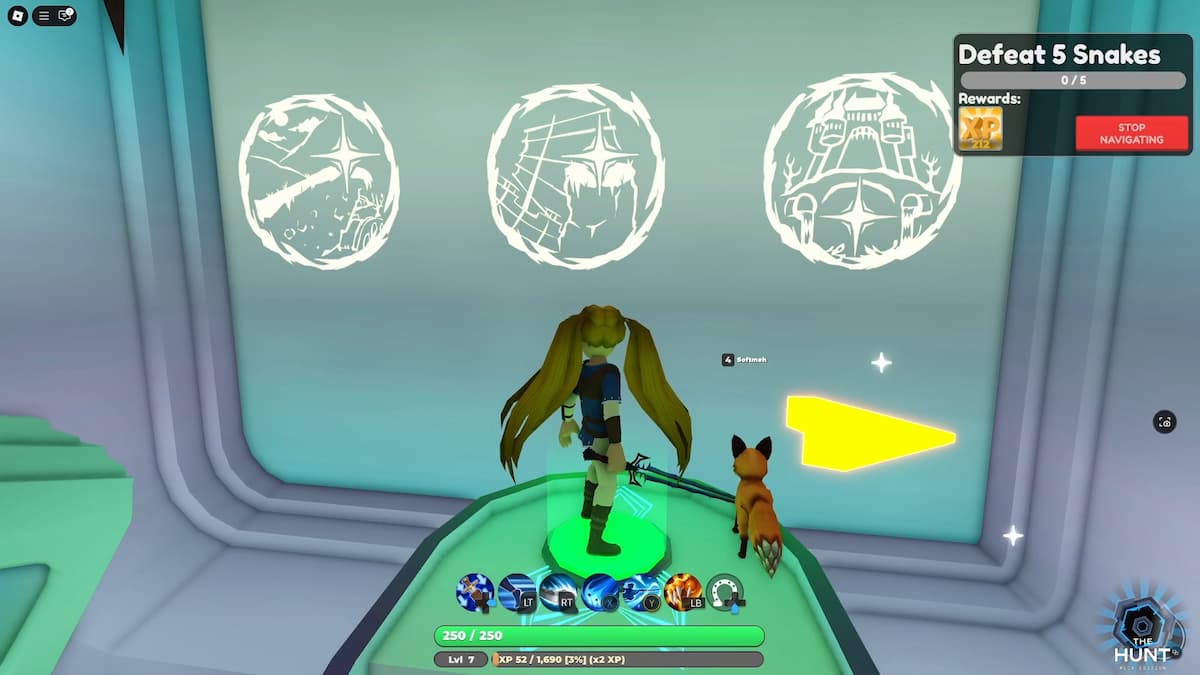
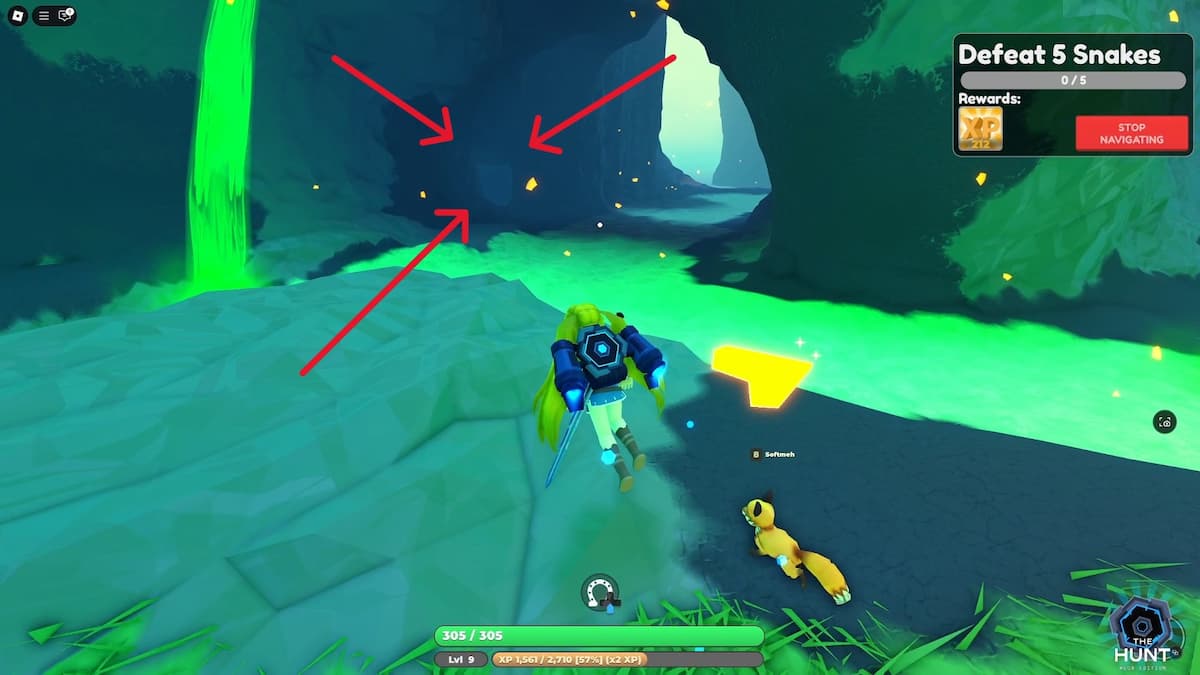
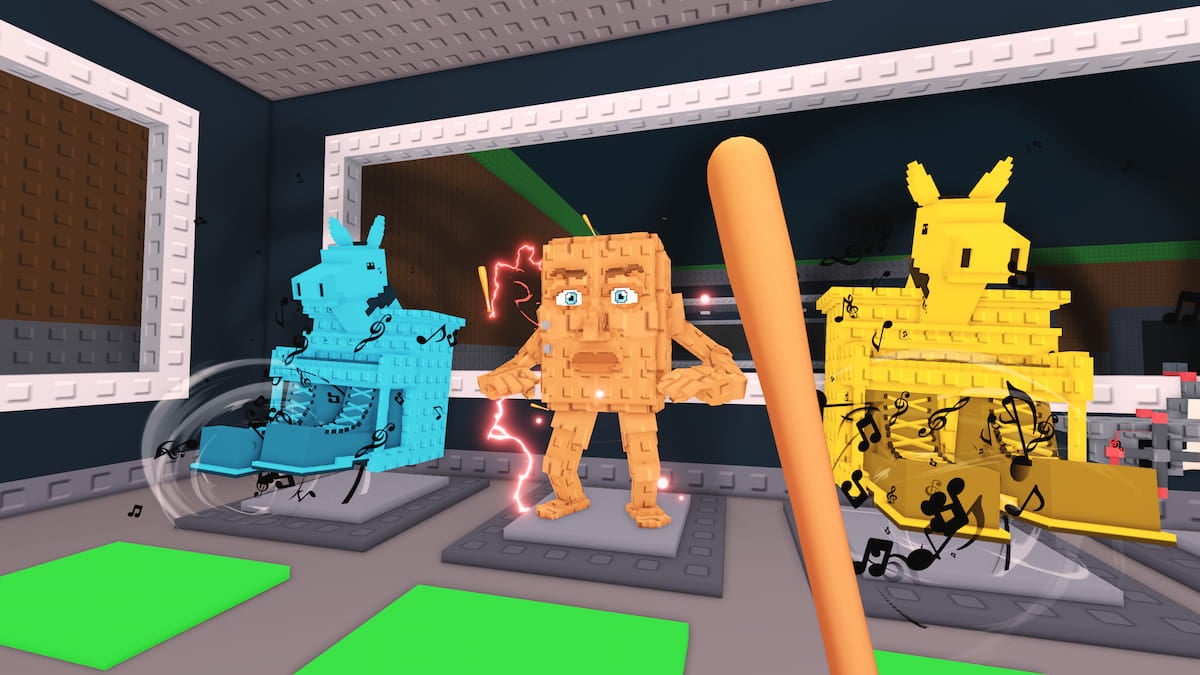
When you get to the Crystal Room (use our screenshots if you’re having trouble getting there), find a big bright Green button on the far end. Stand on it, and you’ll see the symbols of three locations (these are the same for all players). Each of these locations has a hidden crystal, and you need to collect them and bring them back to the Crystal Room.
How to get Three Crystals
Fortunately, getting the three crystals is super easy. All you really have to do is get to them and pick them up. No, there aren’t any tough enemies guarding them, and you don’t need to be an obby master to reach some of them. Here’s where to find each one:
Green Crystal
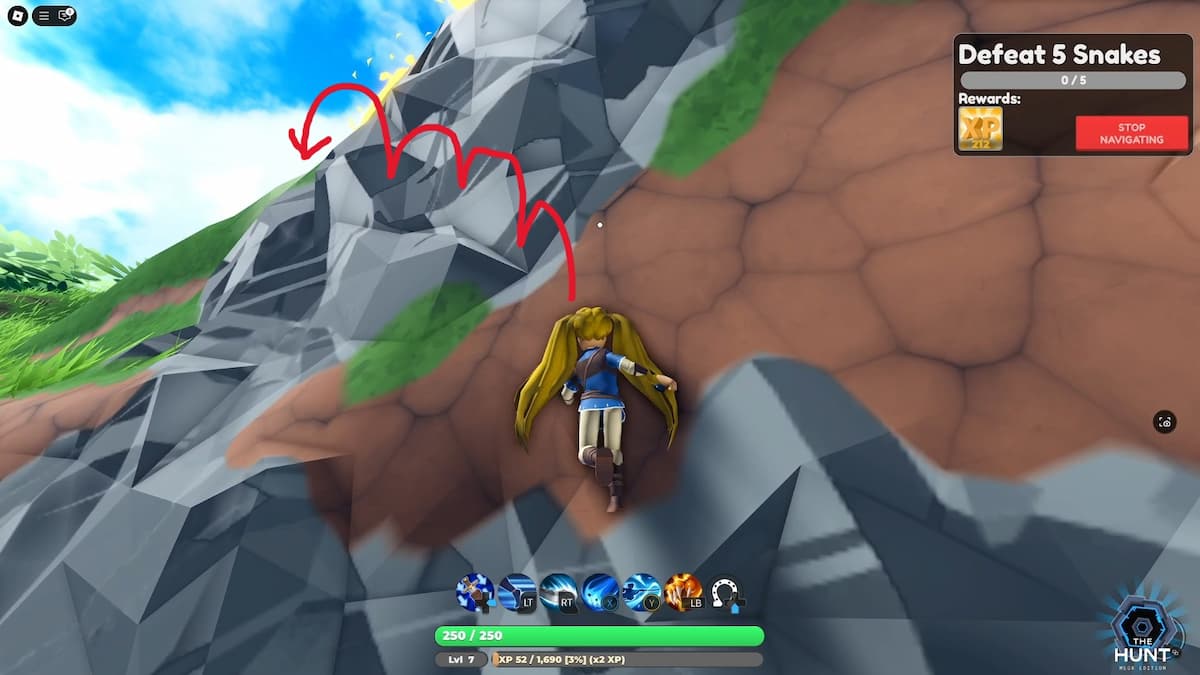

The Green Crystal is actually on the very peak of the mounting in which the Crystal Room is hidden. Simply exit the Crytal Room and start climbing up. Even though you’re supposed to take the long path to get there, you can actually get to the top quickly by gently hopping on the sides, like in the image above. Reach the top and pick up the crystal.
Blue Crystal
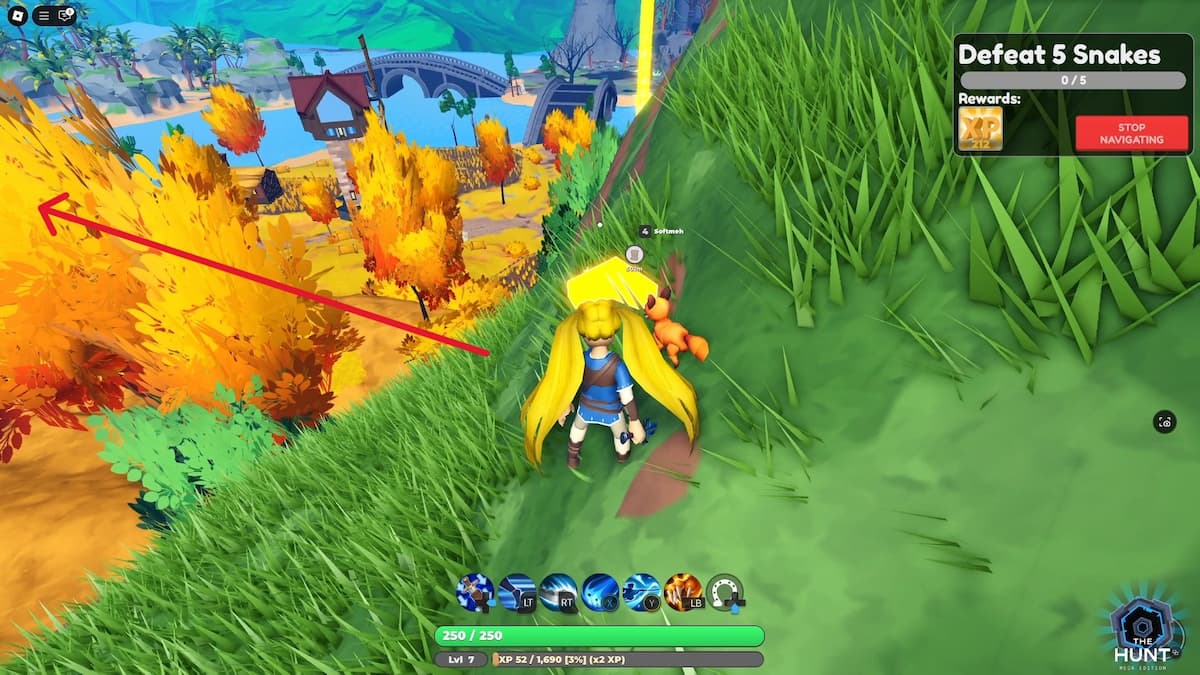

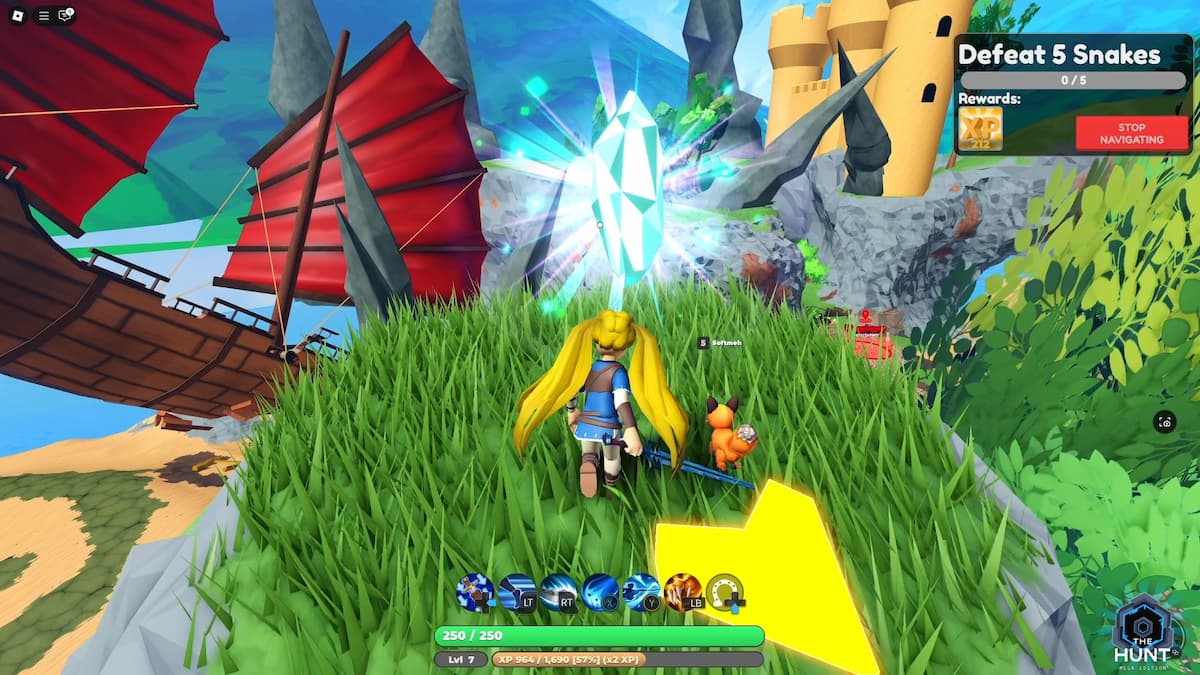
If you look to the right (from the peak where you picked up the Green Crystal), you should be able to see a yellow tower (almost looks like a sandcastle). This is where your next crystal is. Head there and fight some enemies along the way for some extra XP. In the area where you see a broken ship with large red sails, there are a couple of boulders on which you can jump. On one of these, a couple of wooden beams lead you to the Blue Crystal. Simply jump over these boulders, climb the beams, and grab your Blue Crystal.
Red Crystal
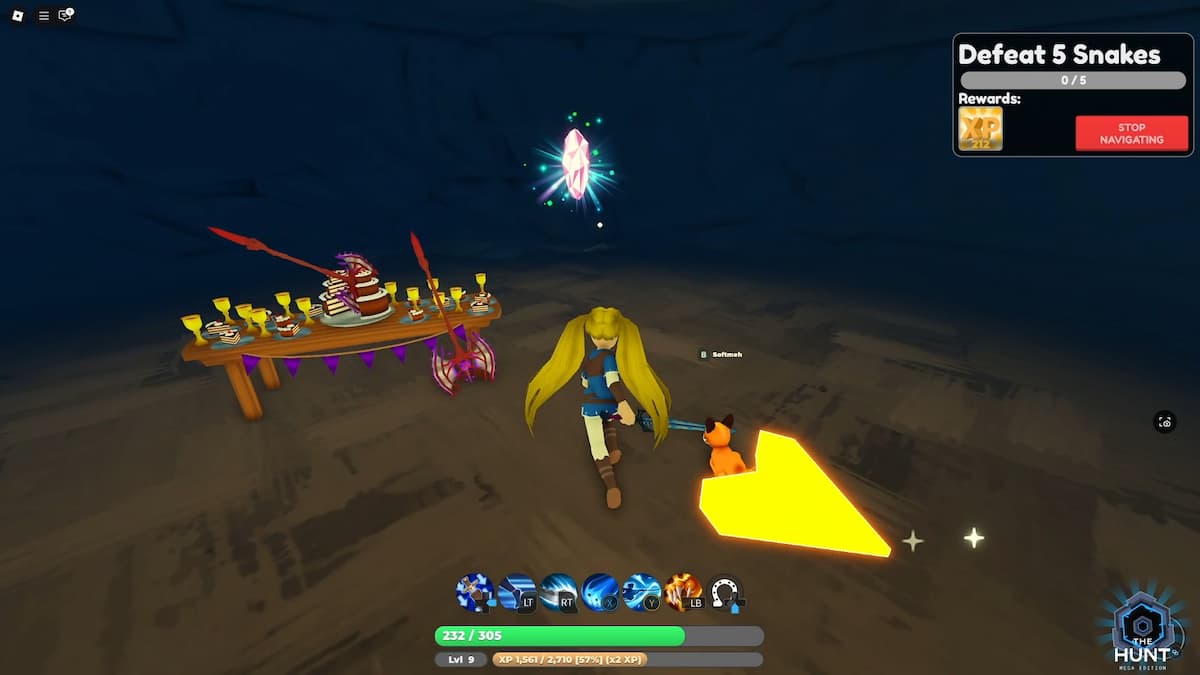
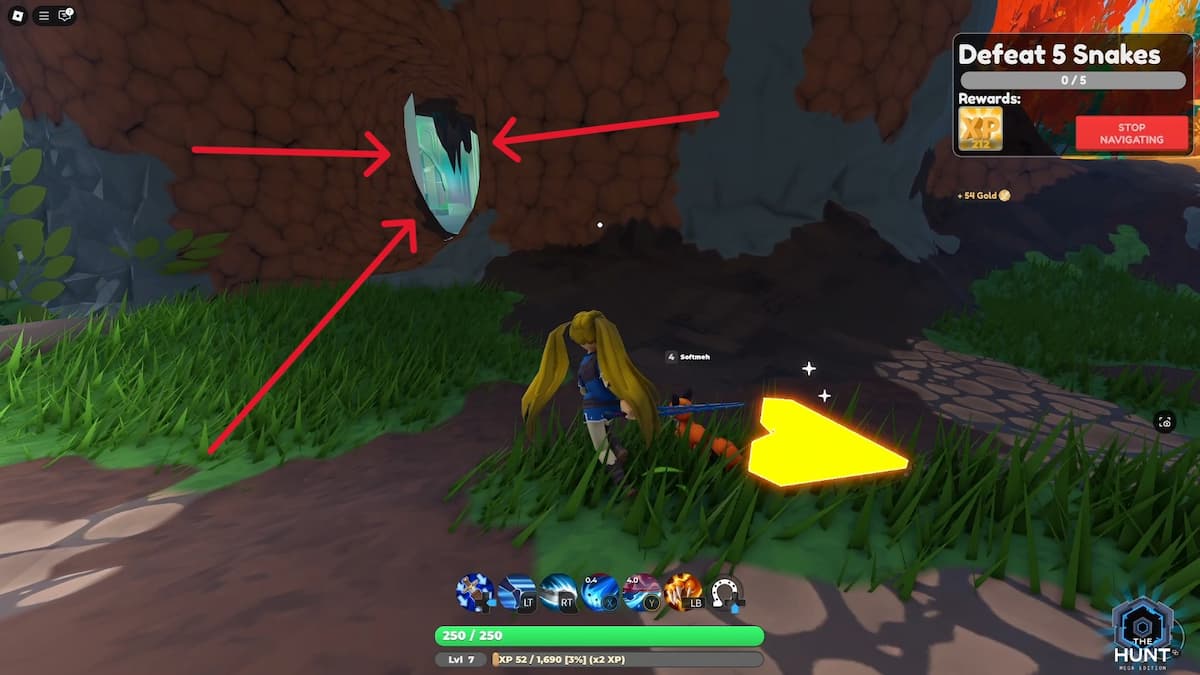
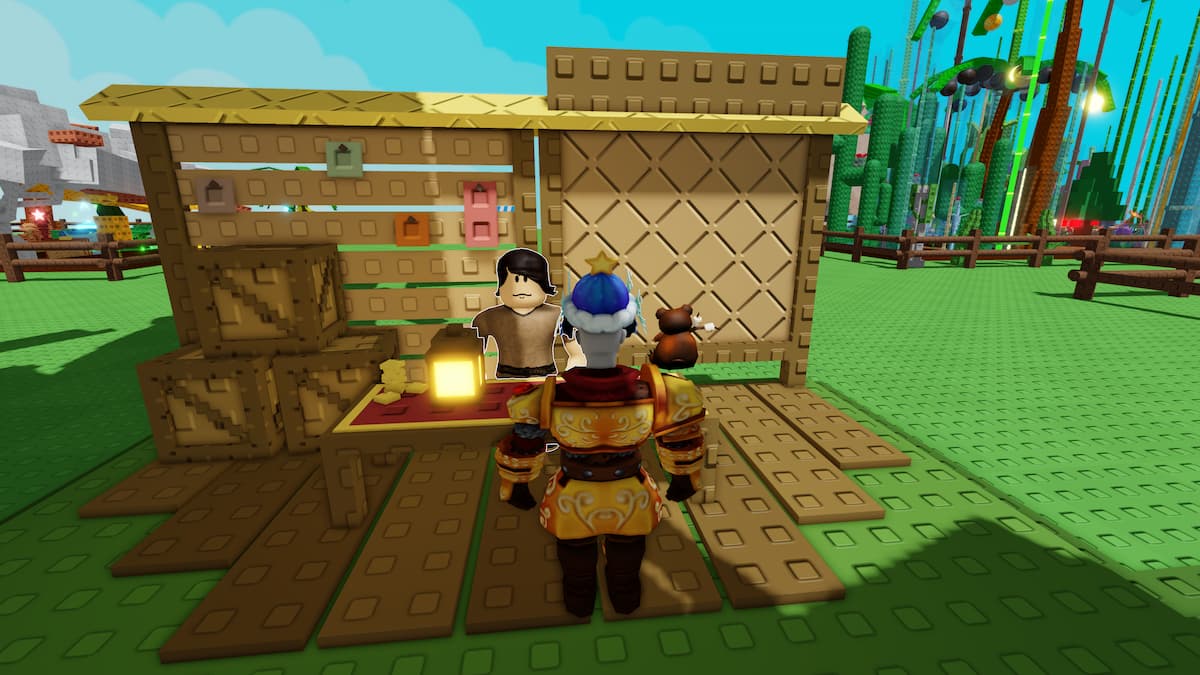
From the Blue Crystal, look to your right, and you’ll spot an ominous dark castle in the distance. This is where to get the final Red Crystal. Well… it’s underneath it, to be exact. When you head there, you’ll cross a fancy bridge. On the other side, go through the swamp area on your left and find a cave-like opening. You’ll find a buffet table and the Red Crystal inside this cave. Pick it up and start heading back to the Crystal Room.
Opening the Portal
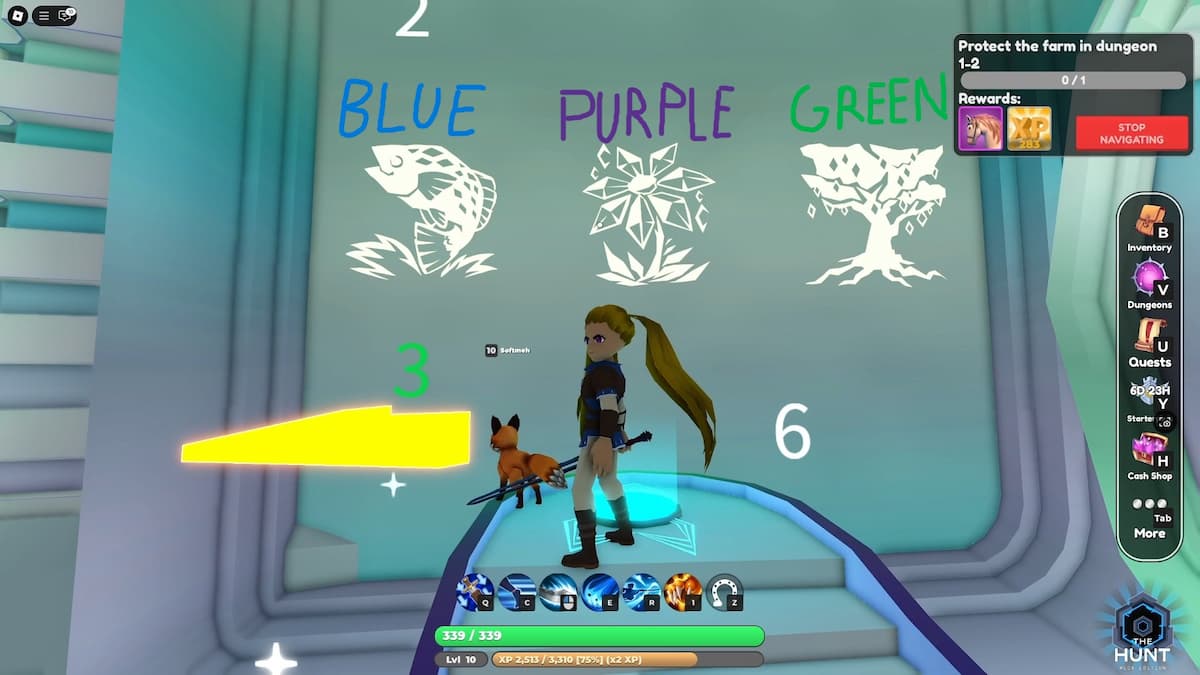
When you walk back to the Crystal Room, look for a blue button (opposite of the green button). You won’t see it unless you’ve gathered all three crystals. When you stand on it, you’ll get three symbols on the wall in front of you: a fish, a flower, and a tree. The order of the symbols will be different for every player, and so will the numbers that show up all over the Crystal Room.
Speaking of those numbers, the white numbers are decoys, so completely ignore them. What you need to look for are colored numbers.
When you step on the blue button, there will be two green, two blue, and two purple numbers somewhere in the Crystal Room. You need to use these numbers to get the portal code.
For us (and this is just our example; yours will be different), we found the following numbers around the room:
- Blue: 2 and 3
- Purple: 3 and 4
- Green: 3 and 3
Add the same colored numbers together to get your three numbers (for us, it’s Blue = 5, Purple = 7, and Green = 6).
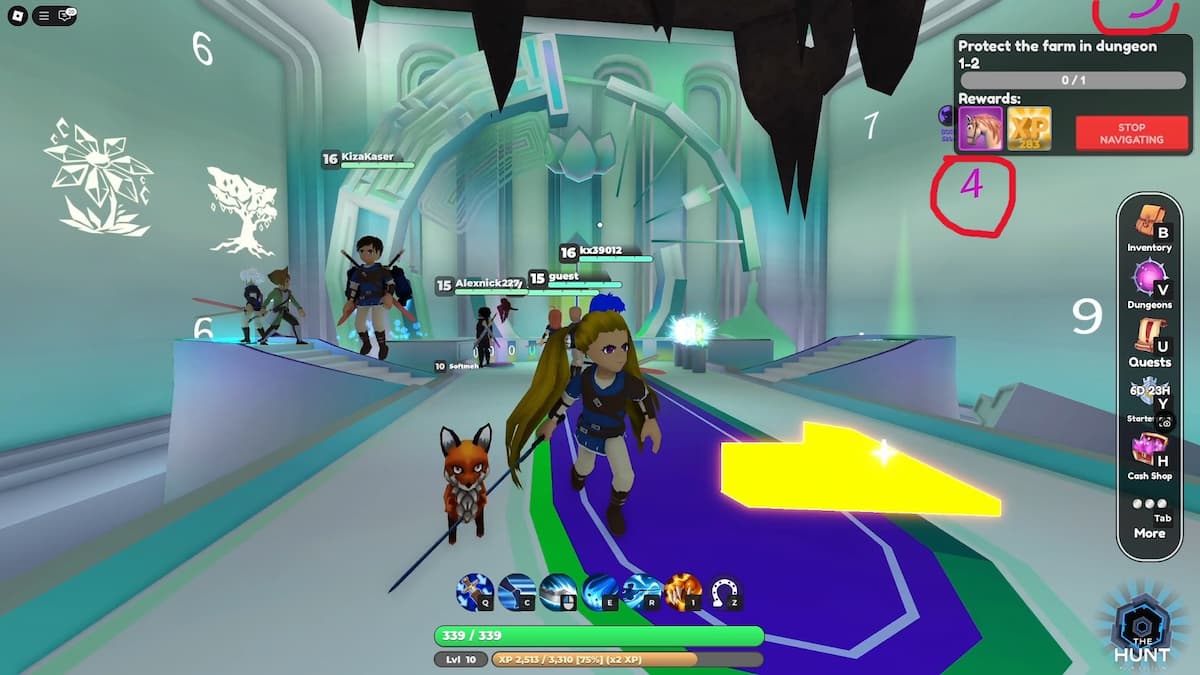
Now you just need to punch in those numbers to the console next to the blue button you stood on earlier (there is also a purple button next to it, that’s the reset button in case you need it). The order in which you need to enter your three numbers is the same as when the pictures appeared when you stood on the green number.

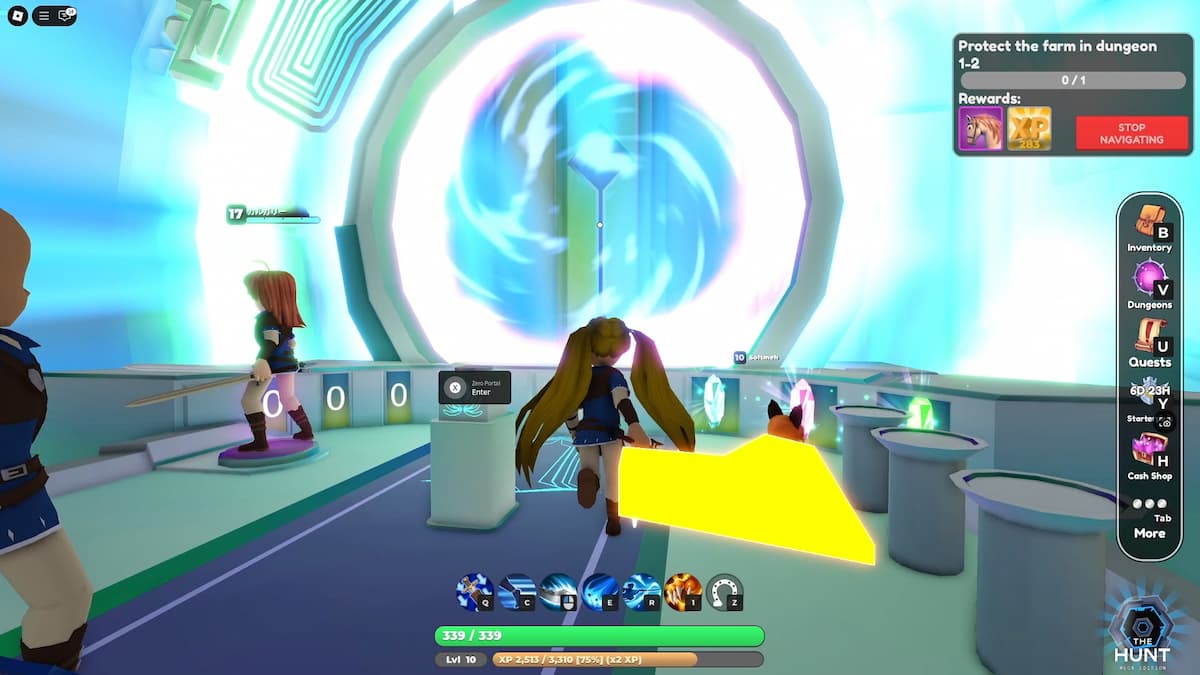
In our case, we got Fish (Blue), Flower( Purple), and Tree (Green). So our code would be 5, 7, 6 (ignore the blue “0,” which is the fourth number). Once you enter all the numbers, you need to pick up the crystals on the opposite side and place them in the same order as the images (in our case, from left to right, Blue, Purple, and Green Crystal). Once you do all this, press the button on the pedestal, and if you did everything correctly, a portal will open in front of you. Now, you just need to enter and beat the boss.
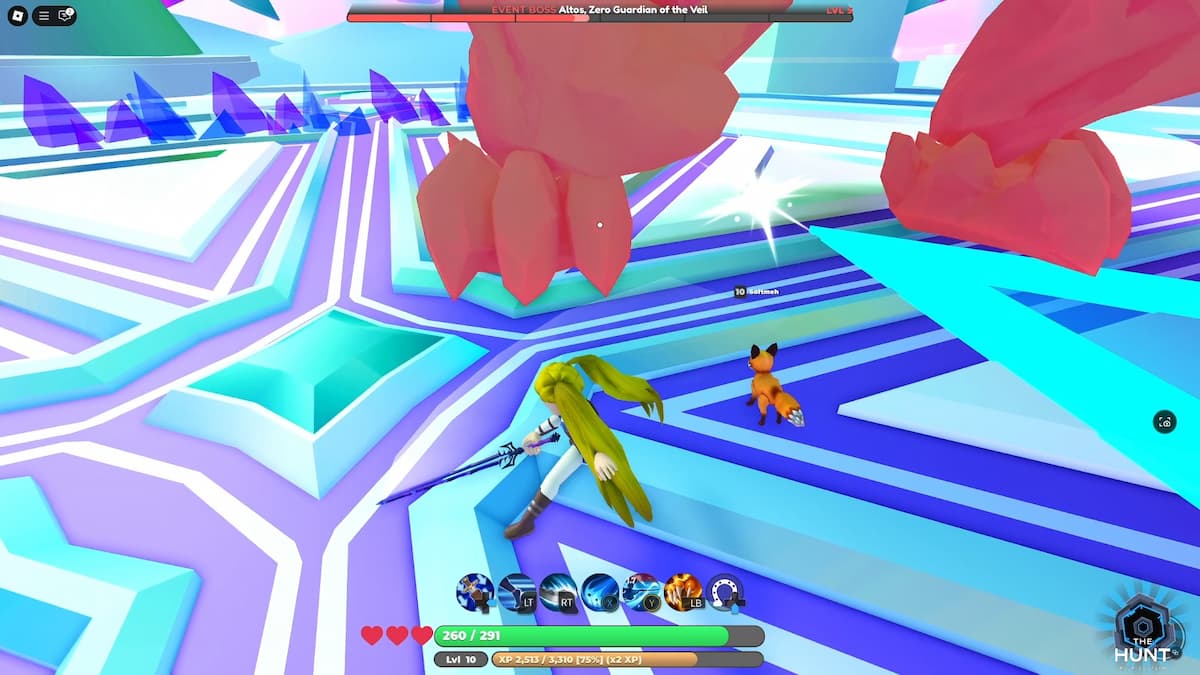
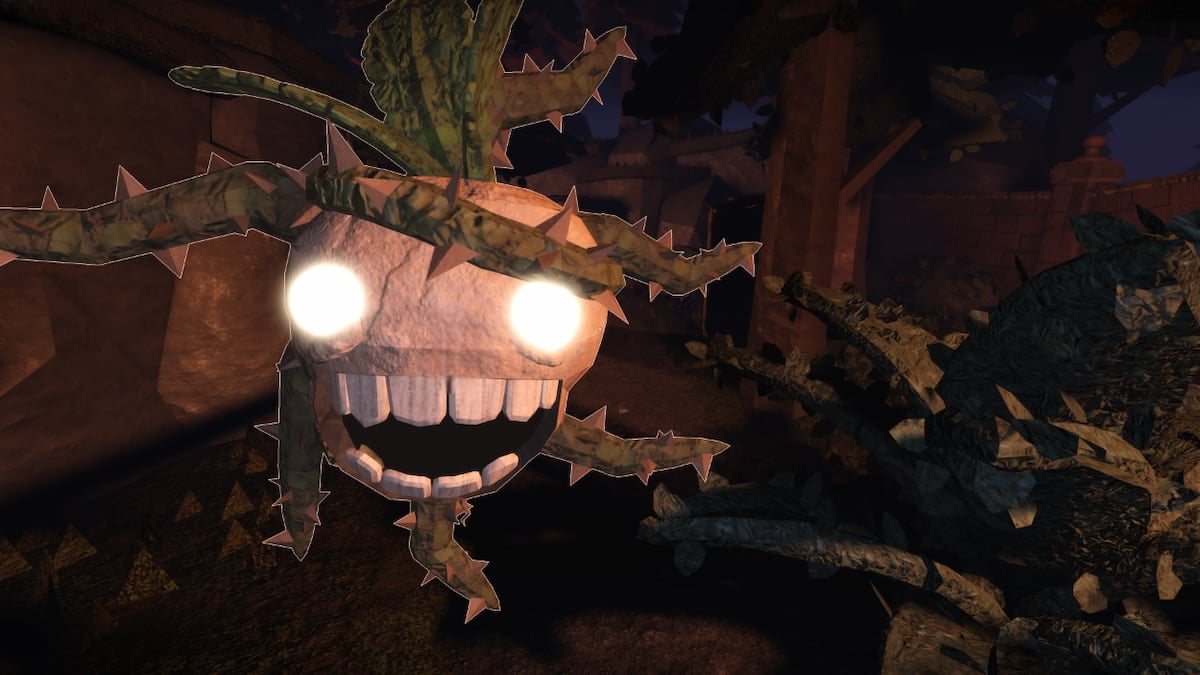
How to beat Altos, Zero Guardian of the Veil
Seeing how this is an Action RPG, it’s only fair we fight a boss at the end. Altos, Zero Guardian of the Veil may look threatening and tough (and in a way, it is), but if you follow our guide, you should be able to beat him super easy (we did it on our first try, and we were only level 10).
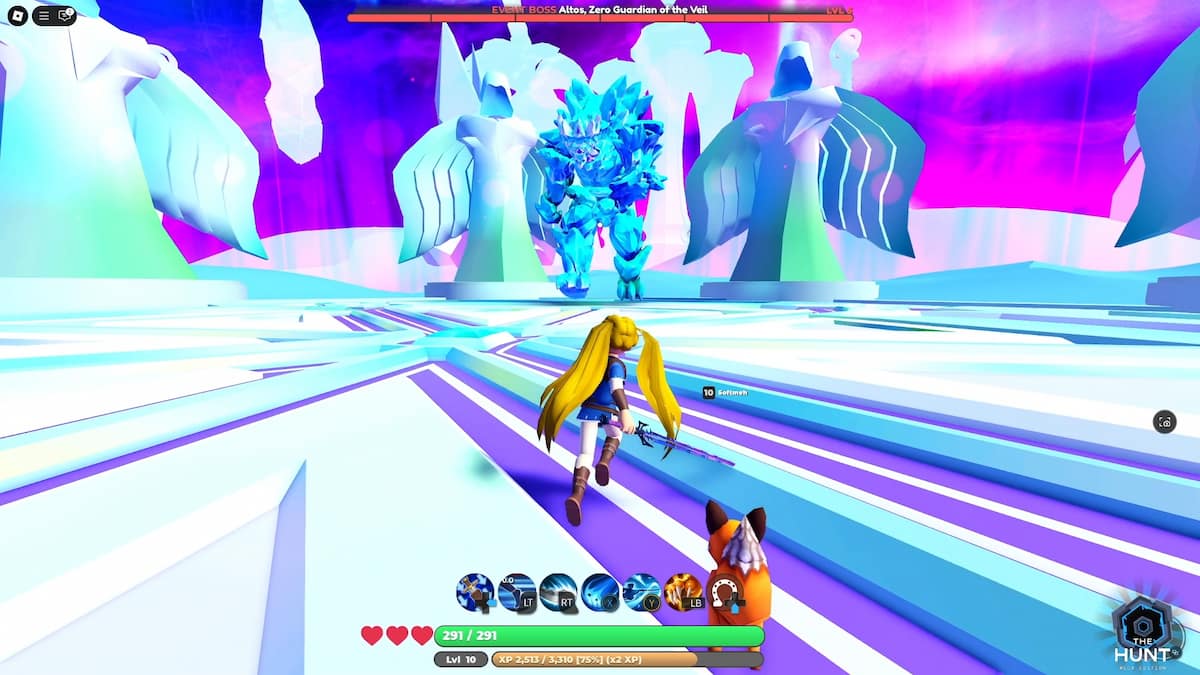
Altos will use 3 area attacks to try and hit you. The most common one is its cone-shaped Icycle attack. The trick is to get super close to the boss and to move to the side (not away) whenever he does his Icycle cone attack. Simply move to the side and continue hitting him. Definitely use your abilities and your pet (if you have one) for extra damage. It’s very easy to tell where Altos will attack because of its telegraphed attacks, visible using the blue lines on the floor.

Occasionally, Altos will also use an area-wide attack (it appears as an ever-expanding circle on the ground). When this occurs, either dash to the very edge of the arena or (even better) use your mount to get there faster (everyone gets a Token-shaped jetpack during this event, so you may as well use it here).

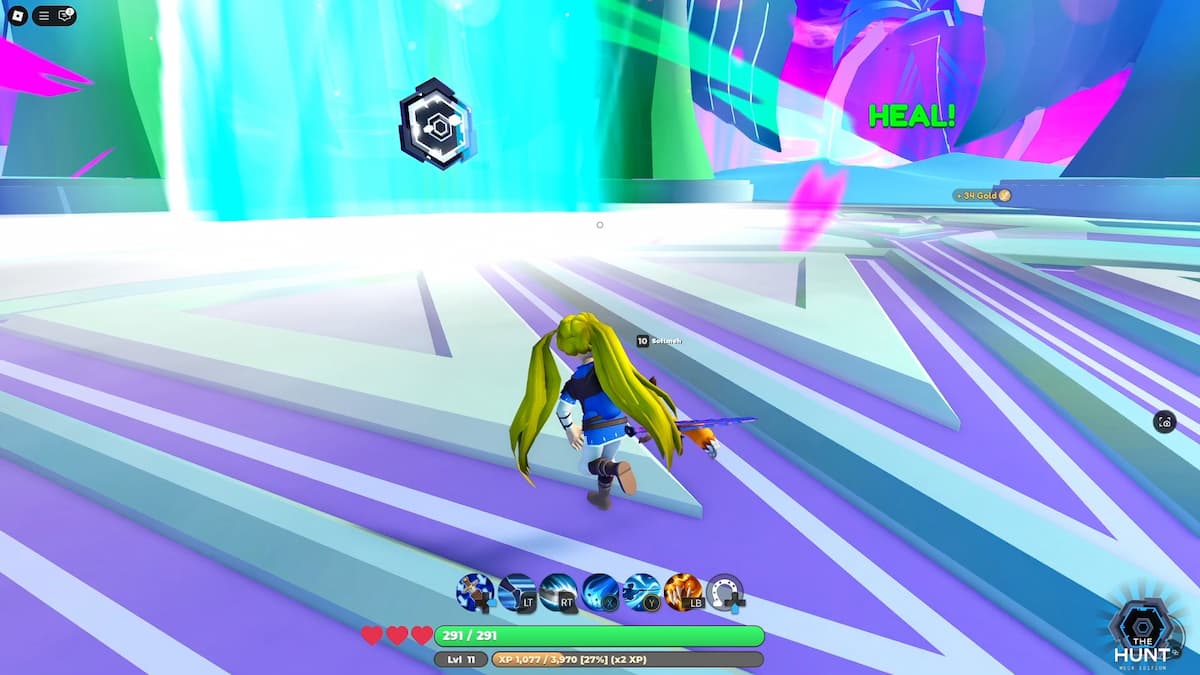
When you get Altos to 50 percent health, it will draw a sword from the ground. From this point on, Altos can build a powerful attack and send a shockwave across the entire arena. Conveniently, each time it does this, a shield appears somewhere in the arena (even an arrow guiding you to where it is), and all you need to do is stand behind it to avoid any damage.
Simply keep avoiding and damaging these attacks until you destroy Atlos. If you are a low-level, like us, it will take a few minutes, but even if you die, you have three lives, so use them if you need to. Once you beat the boss, a message will appear telling you that you aren’t worth it (bummer), but you’ll still get your Mega Token. Congrats!
That’s all there is to it. If you haven’t already, check out our The Hunt: Mega Edition codes to get some freebies.


Published: Mar 18, 2025 08:52 am