The Enshrouded world is a large one to explore, and there are several hidden puzzles for you to solve as you expand your reach. The Sun Temples are a series of puzzles you need to solve and are notable locations you can find scattered throughout your world.
The Sun Temples are located in distinct areas. Reaching them all takes time and careful pathing. Once you reach your destination, the next step is to solve the many puzzles awaiting you within each one. You’ll need to use all the tools available at your disposal to unlock their secrets. Here’s what you need to know about how to solve all the Sun Temple puzzles in Enshrouded.
South Sun Temple solution in Enshrouded
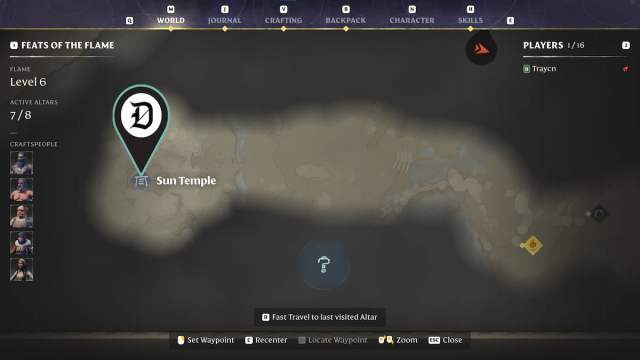
The South Sun Temple is on the bottom of the Enshrouded map, east of the Low Meadows Ancient Spire and south of the Smothering Pit. I recommend circling around the sizeable Shroud-covered region to reach this temple.
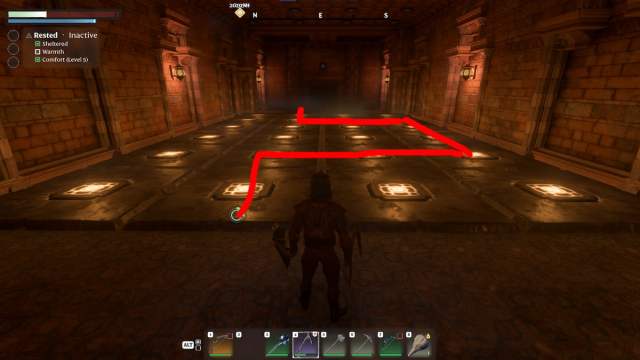
When you reach this location, there are several large buildings, but the most important one is the entrance facing the east. Head inside, and there’s a door you can open that will place you in a room with several glowing runes on the floor. If you hit the incorrect tile, the door on the other side closes, and you need to return to the start to interact with the button on the wall, reopening the door so you can try again.
The correct order for this area of the Sun Temple is to start on the second tile, move forward once, head to the right until you reach the wall, and then proceed forward until you’re on the second to last time; go left two tiles, and then proceed forward to the door.
When you reach inside the doorway, click the button on the wall and then return outside, head to the north side of the Sun Temple, and head inside the now open entrance. Make sure to bring a Lockpick to open the first doors. Three skeletons are ready to greet you, and these are some of the more formidable enemies you can find in Enshrouded, all at level 30. Keep your distance using arrows, or if you want to roll around on the ground to outmaneuver them using a one-handed weapon and a shield, this also works.
After you’ve dispatched those foes, it’s time to solve the puzzle for this portion of the Sun Temple. It’s not tricky, but it’s easy to miss. You need to use a bow and arrow to hit the four hidden plates, which you can see sticking out of the walls throughout the room. You can grab two at the center of the room, one by using your grappling hook and the final one by making your way up the stairs, avoiding the spikes, to open the final door. Similar to the last series of puzzles, this opens the third trial entrance, directly opposite your position.
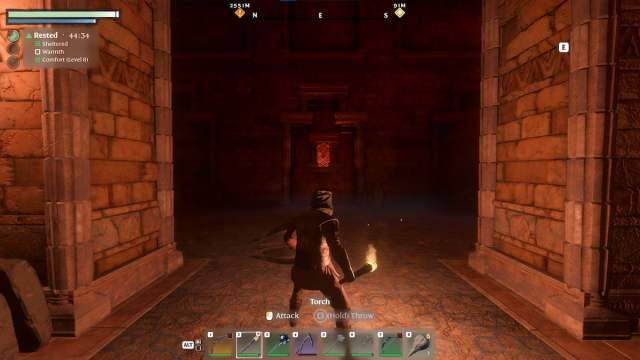
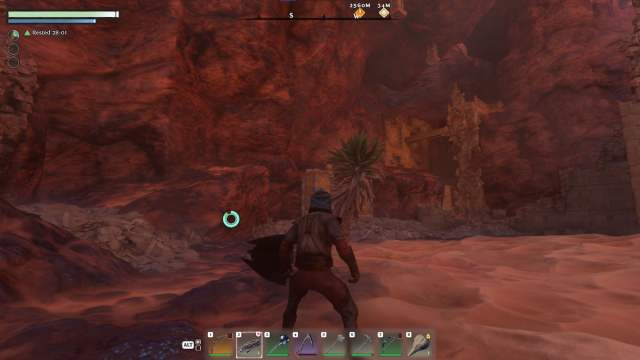
Making your way to this next entrance is much trickier than the previous ones. When you arrive at the final set of doors, go to the left and climb up on the rocks. Follow the pathway through this direction, using your jumping and grappling skills to scale the walls. Eventually, you’ll make three grappling hook swings to reach the entrance, and then you need to use your glider at the last moment to reach the top, and you can now head inside these final doors. I find this my favorite entrance because showing off all the traversal tools in Enshrouded is always fun.
Thankfully, this is the only puzzle, and you only have to press a button when you reach inside to unlock the proper Sun Temple in Enshrouded. You can now go to the center doors and claim the chest inside, knocking this Sun Temple off your checklist.
Shatterbone Sun Temple solution in Enshrouded
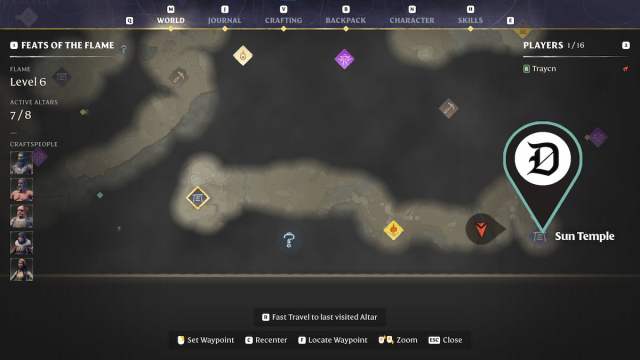
The next Sun Temple is close to the previous one but further east. There’s a small rocky passage between these two locations, but it shouldn’t take too long to reach. I could lay down a base at the center of these locations, making it easy to reach them in the future and if I ever needed to respawn. This Sun Temple has a proper name, known as Shatterbone.
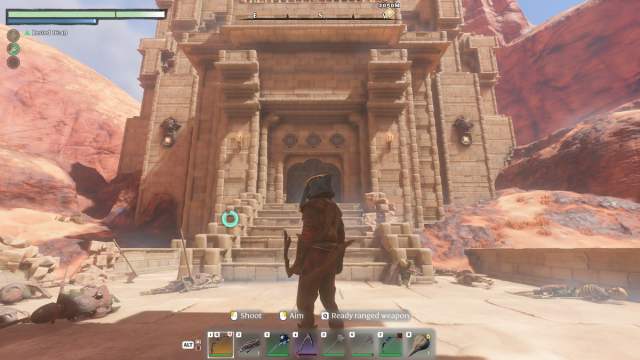
When you reach the entrance of the Sun Temple, the door is locked like the previous one. However, the buttons are much closer. You can find two buttons on either side of the door, a third one behind you, on top of the arch overlooking the entrance. Once you hit these three buttons, head inside, but prepare for a fight as four level 30 skeletons are waiting to greet you.
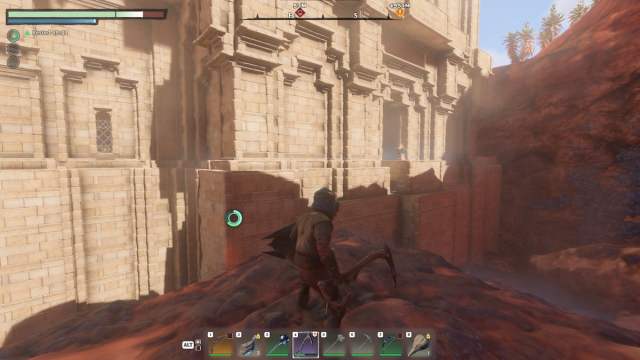
However, I did die attempting to take out the skeletons. When I returned, the buttons above the door were still highlighted, but I couldn’t enter this way. To bypass this, I had to climb the rocks to the right of the entrance and enter the side window.
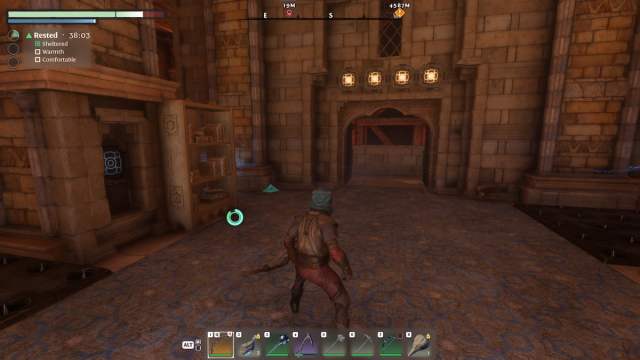
On the second floor is a locked door, and you have to track down the four glowing buttons to unlock it. Like the entrance to the Shatterbone Sun Temple in Enshrouded, these are buttons you can hit using your bow and arrow.
The first one is in the center of the second floor, through a small window you can reach by climbing a broken cabinet. The second is to the right of this one, outside on a balcony, which you can interact with. The next button is to the right of the stairs leading downstairs, overtop a balcony leading outside. The final button is behind a bookcase, to the left of the locked entrance. After you hit them all, the way forward is open, and you can proceed to the next area.
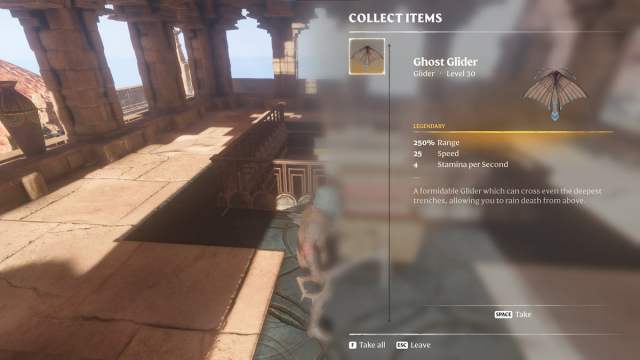
Now, make your way up to the next floor. Be wary of the large, dragon-like creatures here. They have several nests on top, but you can ignore them. Circle to the other side of where you appear and proceed up the stairs, taking a right. It would be best to use a grapple to reach the next floor and open a locked door using a lockpick. Continue following the pathway until you reach the top of the Shatterbone Sun Temple, where you’ll find the legendary Ghost Glider in Enshrouded, completing this temple.
East Sun Temple solution in Enshrouded
The East Sun Temple is east of the Kindlewastes Ancient Spire, on the far side of the map. You may go over here as you continue exploring the Kindlewastes and cross the large Shroud between this location and several Elixir Wells.
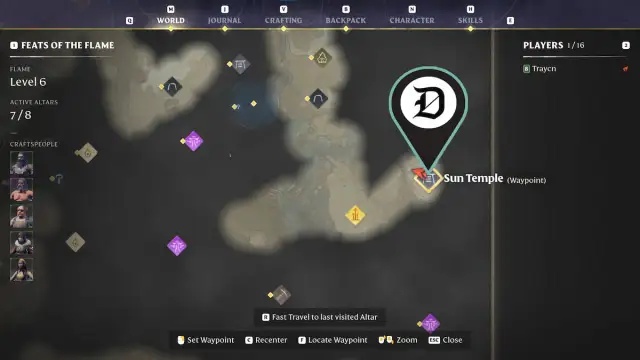
When you arrive at the East Sun Temple, make your way downward and descend into this heavily guarded location. Much of the depths is covered in Shroud, which means you want to bring several Shroud potions with you and ensure you note the path upwards to take a quick break every so often with your Enshrouded group. Thankfully, there’s a respawn flame at the top. There are several enemies within this temple, so prepare for a fight.
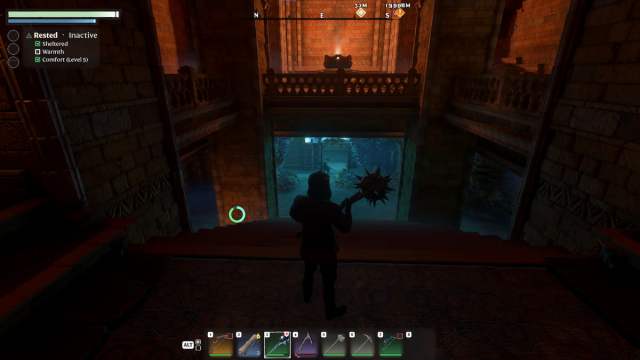
When you reach the first level of Shroud, take the right path and expect to battle against level 25 knights and bugs. You may want to bring them back to the stairs to avoid being overwhelmed. After those have been eliminated, follow the path downward and take a right. Find a door, and there should be a button on the left side of the room. Return to the stairs, and then go down the opposite side, where you can find another door you need to break, which contains the second button. When you return to the stairs at the center, descend, and the first puzzle door is finished before you reach it.
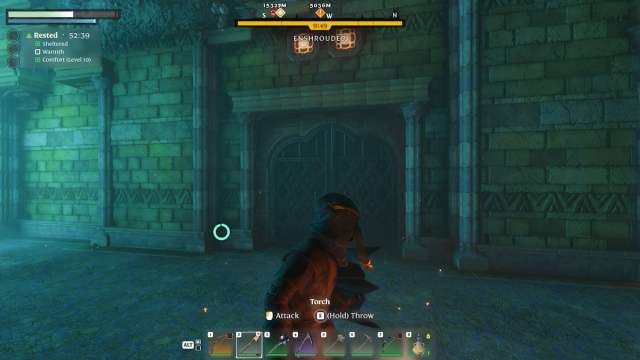
There is a large combat area when you enter the second floor. Multiple bugs and skeletons are awaiting you in this room. For me, I shot arrows at them from the entrance and then fought them in close quarters rather than making my straight through the encounter. After the room was cleared, looting, everything I could find was much more accessible. This is also a suitable method if you prefer to keep your distance and use magical attacks.
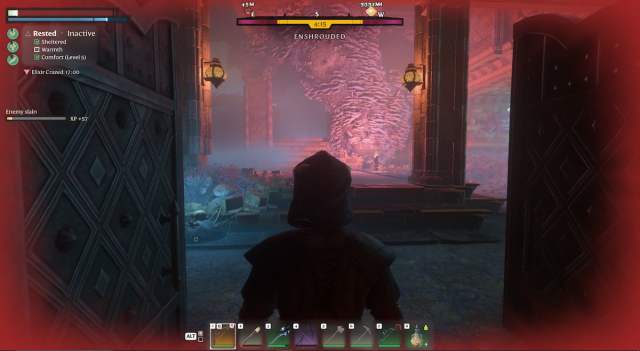
Take a left after clearing this room; there’s another encounter where you’ll battle with several Banshees. They shouldn’t take long if you’ve already cleared the previous room. Once those have been dealt with, continue following the pathway upward, take a right at the stairs to battle against a handful of knights, and click a button at the top. Proceed to the second pathway and hit the last button. There are several electrical traps protecting this one. Hitting the final button opens the door where you now clear this Sun Temple in Enshrouded and earning you the Forsaken legendary bow.
North Sun Temple solution in Enshrouded
To track down the Sun Temple in the north, make your way beyond the Umber Hollow and look for the Nomad Highlands Ancient Spire. From the Ancient Spire, make your way to the northeast, and you should arrive at the next Sun Temple you need to complete in Enshrouded. You should find the entrance close to an area with a large amount of Shroud.
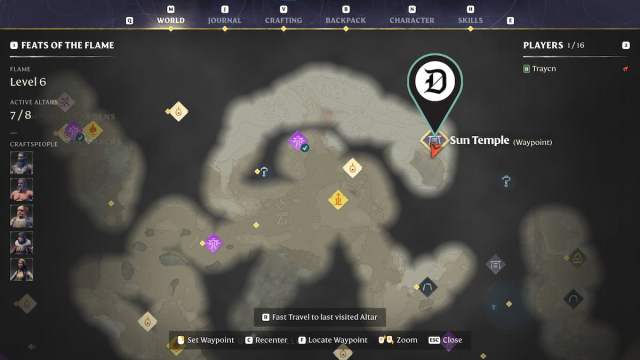
Like the east Sun Temple, the north Sun Temple involves plenty of combat. However, these enemies are relatively weaker. Many of the inhabitants inside the temple are the level 21 and 22 bandits. When you first enter, though, there’s a level 25 berserker you need to battle. However, after this, it should be much easier, and there’s a respawn flame right at the top of the tower.
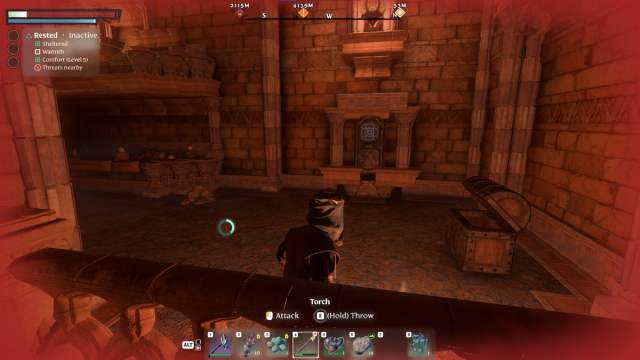
When you enter the Sun Temple, go through the large hole on the left and then down the stairs. There are two buttons you need to press to bypass this door. The first button is on the left side. Head through the doors and use a lockpick to get inside. Here, multiple bandits will guard the pathway forward, and you must fight through them to the second floor. Continue following the path, and the button will be on the other end of this path, behind a locked door that should now be open.
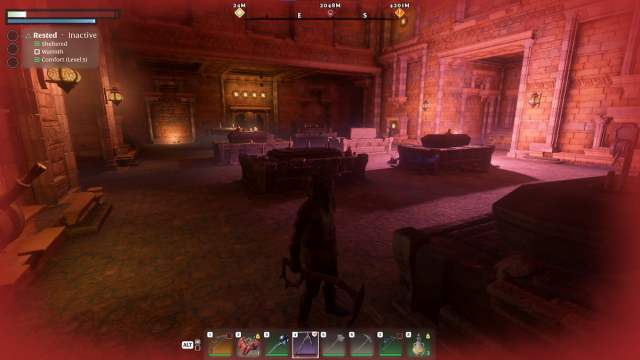
The next room to the right of the stairs has a different puzzle inside, with similar enemies. After clearing out the bandits, there are four switches throughout the room. You need to flip the proper switches off and on to proceed forward. The first switch on the right, closest to the door, needs to be switched down, and the one further inside the room needs to be up. The closest switch on the left side needs to be switched up, and the one farthest away needs to be switched down, opening the door in the back.
Now, the door in front of the stairs should be open. The last thing you have to do is dodge the spewing lightning traps, and you can reach the gold chest on the other side.
Haunted Sun Temple solution in Enshrouded
The final Sun Temple in Enshrouded is the Haunted Sun Temple, and it can be the most difficult. You can reach it by heading south from the Nomad Highlands Ancient Spire and circling the large mountain to the southeast. You should find this Sun Temple at the center of Brittlebush.
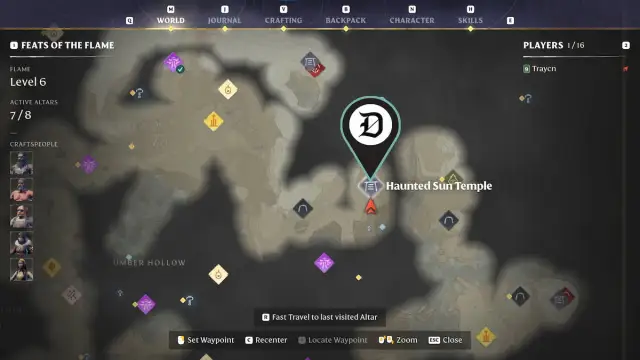
Multiple enemies are protecting this location, so prepare for a fight. Several bandits protect the exterior of the Haunted Sun Temple, and then multiple Shroud Knights are waiting for you when you enter the temple. When you enter the lower depths, the entire area is covered in Shroud, so taking Shroud Survival Flasks is always a good idea.
Now, the door protecting the final chamber at the Haunted Sun Temple requires you to hit two buttons. You can search for them after descending the stairs and use a lockpick on the first door. From here, take a right and head up the stairs, and you can find the button at the top.
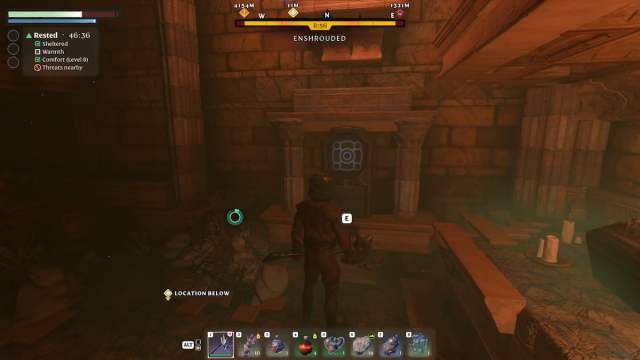
The second button is further down. Return to where you lockpicked the door, and make your way one floor down, then take a left and another left. Before you reach the lava, the last button is hidden next to some mushroom walls.
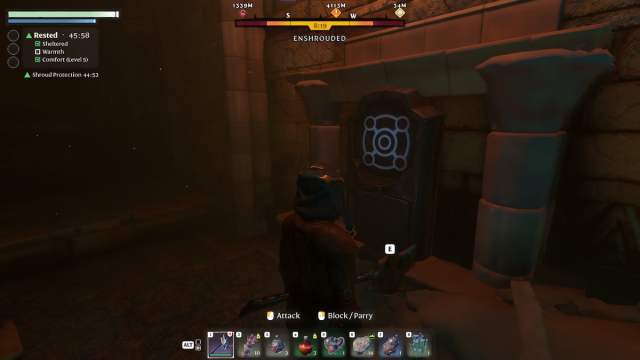
With the final door now open, you can proceed inside the last chamber in the Haunted Sun Temple and come face to face with a boss, Fell Sicklescythe. It’s a Banshee-like boss that tosses a pair of scythes at you as you run around the arena. Should you defeat this boss, there are several chests you can unlock, and you will then have completed the final Sun Temple in Enshrouded.



Published: Feb 14, 2024 01:58 pm