
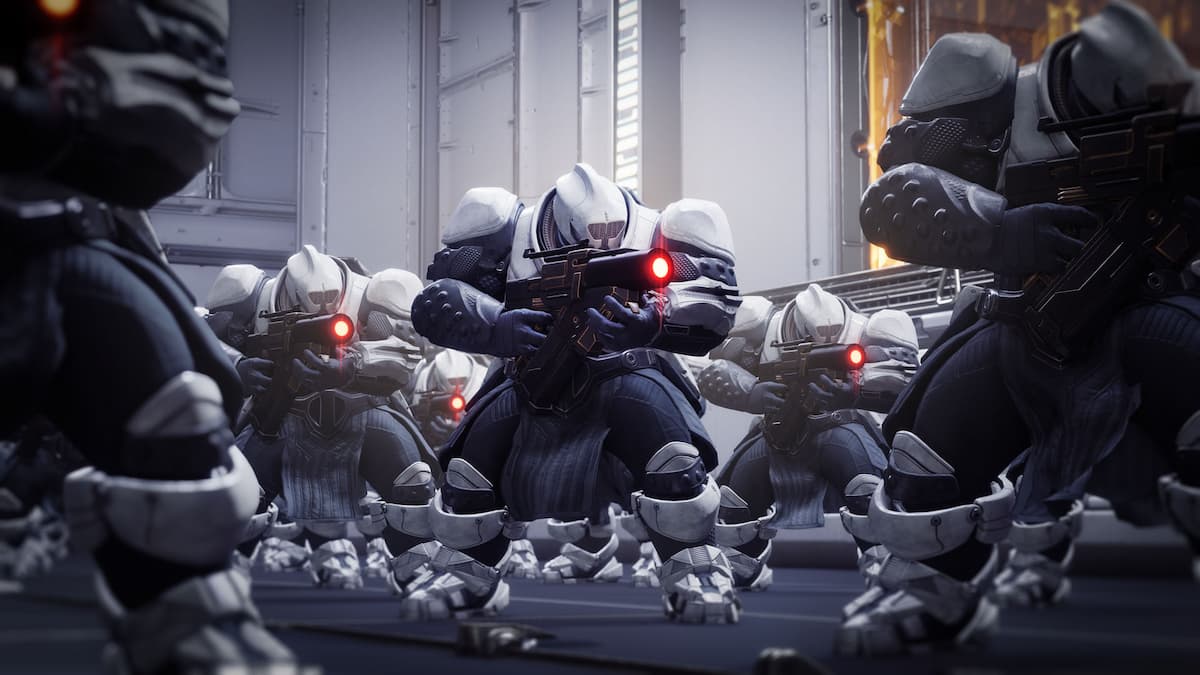
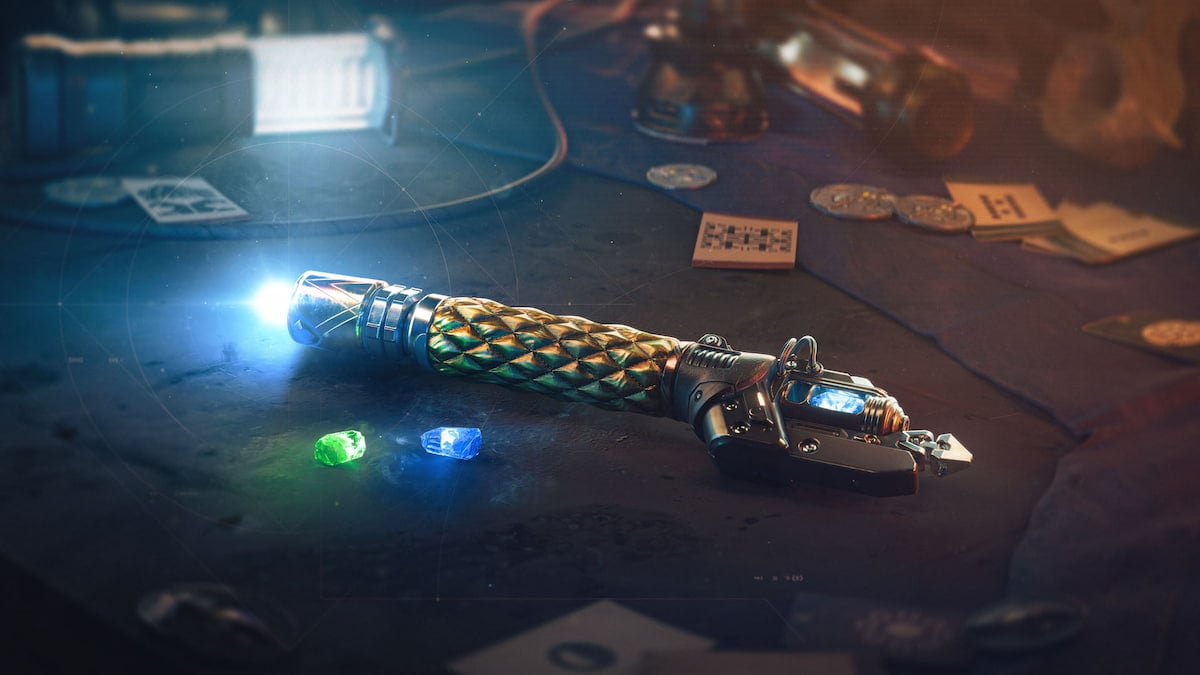
Destiny 2’s King’s Fall raid cuts close to the original and presents a hard mode for the most adventurous guardians. In addition, each encounter in King’s Fall also has one challenge (which rotates weekly) and another triumph that’s always available. Completing the triumphs will get you bragging rights and some progress toward the Kingslayer title, but the real prize lies in beating the encounter challenges.
In the base version of the raid, completing an encounter challenge will award you an extra chest with encounter loot, allowing you to get double rewards from an encounter. For the Master version, however, finishing the challenges will get you an Adept weapon for your trouble, which makes it far more appealing for players who want to complete the challenges on the raid’s harder difficulty.
The encounter challenges in King’s Fall aren’t particularly difficult, and completing most of them involves shaking up the order of how you proceed with the encounters. This makes them generally easier than other raid challenges (such as the Vault of Glass’ Strangers in Time challenge, which requires players to kill the Praetorian and the Wyvern in close succession), and players can expect a fairly uneventful ride past the challenges. The triumphs, too, are relatively simple, and completing them mostly involves rotating teammates so everyone has a chance to do the mechanic (with the exception of the Daughters and Oryx triumphs, which can be fairly tricky due to having less room for error). Here are all King’s Fall raid challenges and triumphs and how to complete them.
How to beat all King’s Fall raid challenges in Destiny 2
We’ve covered these in depth in our individual guides, which are hyperlinked below alongside the name of each challenge. You can find a short description of each objective and quick tips on completing them below. If you’re looking for more detailed strategies to beat the challenges, check out each individual guide.
- The Grass Is Always Greener (Totems): Players can’t get the same buff (Brand of the Unraveler or Brand of the Weaver) twice in a row. Requires players to swap Totems after depositing the Deathsinger’s Power.
- Devious Thievery (Warpriest): Players must steal the Brand within roughly five seconds after picking up the Brand Stealer buff.
- Gaze Amaze (Golgoroth): Players must stand in the Pool of Reclaimed Light when their buff is stolen by a teammate. This is one of the simplest challenges in King’s Fall.
- Under Construction (Daughters): Players can’t stand on the same platform twice. Resets after each damage phase.
- Hands Off (Oryx): Players can’t kill the same Ogre and Knight more than once in the entire encounter.
How to beat all King’s Fall encounter triumphs in Destiny 2
- Controlled Dunks (Portals): “Complete the Hall of Souls encounter while never letting the same players deposit relics until everyone else has.”
- Like most triumphs, assign an order for this objective if you’re looking to complete it easily. Two players are needed on the left, two in the middle, and another two on the right side, so make sure your team is rotating accordingly. If the Relic holders die, it’s easier to rotate as if you’d just completed a dunk.
- Overzealous (Totems): “Complete the Basilica encounter while never allowing more than one player to stand near a Totem.”
- Players with the Brand must meet the player with the Brand Stealer buff away from the Totem. Speed and coordination are key here to avoid a wipe from the Annihilator Totem, but completing this triumph doesn’t require too much of a shake-up.
- Brand Buster (Warpriest): “Complete the Warpriest encounter while never letting the same player obtain the Brand until everyone else has.”
- Another challenge that requires rotating players. Make sure the same players don’t pick up the Brand of the Initiate twice by alternating who steps on the plate and, if needed, switching sides throughout the encounter.
- This challenge also shakes up the order in which players steal the Brand. Any player who held the Brand in the first phase should take a backseat during the second damage phase, and if you can beat the Warpriest by the second or third phase, you can save some time and stress when it comes to completing this challenge.
- Taking Turns (Golgoroth): “Complete the Golgoroth encounter while never letting the same player taunt Golgoroth until everyone else has.”
- Like its name says, Taking Turns requires players to swap out who taunts Golgoroth and when. Set up an order for all fireteam members, know when your time is up, and communicate effectively (calling out the order and how long until the debuff runs out) to make beating this triumph a breeze. Shooting the next bubble in the ceiling as players swap out Golgoroth’s Gaze is a good way to set a pace for this challenge (and that synchrony is one of the most solid ways to finish the regular encounter as well, even when there are no triumphs involved).
- The Floor is Lava (Daughters): “Complete the Daughters encounter while never letting a Torn Between Dimensions player touch the ground.”
- This is a tricky one. Players should always avoid standing on the floor in case they’re Torn. Whoever is Torn must then reach the platforms. Once they’re almost picking up the necessary buff, guardians should go back to perching on one of the ledges or platforms around the area. To complete this challenge, players can stand on any high ground: the platforms themselves, the little ledges where the first damage phase usually takes place, and likely even the ledge where the Daughters are (after you’ve killed the first one, that is).
- Overwhelming Power (Oryx): “Complete the Oryx encounter by detonating enough bombs to trigger the last stand in the same round.”
- Instead of detonating all bombs each round to maximize your damage output on each phase, detonate one to stun Oryx and return to the protective aura. Leave several bombs up to open a long damage window that should be enough to push him into the final stand. Though it’s possible to do it in the second damage phase (with seven unexploded bombs), leaving more of them up gives players a longer damage window. Just be mindful of his Enrage mechanic and avoid dealing damage to him until the fireteam is actively ready to DPS him.


Published: Sep 19, 2022 10:14 am