Near the start of Act Two in Baldur’s Gate 3, players will travel to the Last Light Inn and swiftly find themselves in a battle to defend Isobel.
The Cleric is an important member of the community at the Last Light Inn, casting a protective bubble over the area that prevents the Shadows from taking over—and removing her from the equation leads to sheer carnage.
One problem, however, is the game doesn’t warn you that you are in for a fight and, having navigated your way through the environment and several battles to reach this point, you may be low on health and spells.
Therefore, we highly advise healing your party as soon as you enter the Last Light Inn, before you speak to Isobel, as the fight to defend her is not an easy one. But you should emerge victorious with these tips.
How to defend Isobel

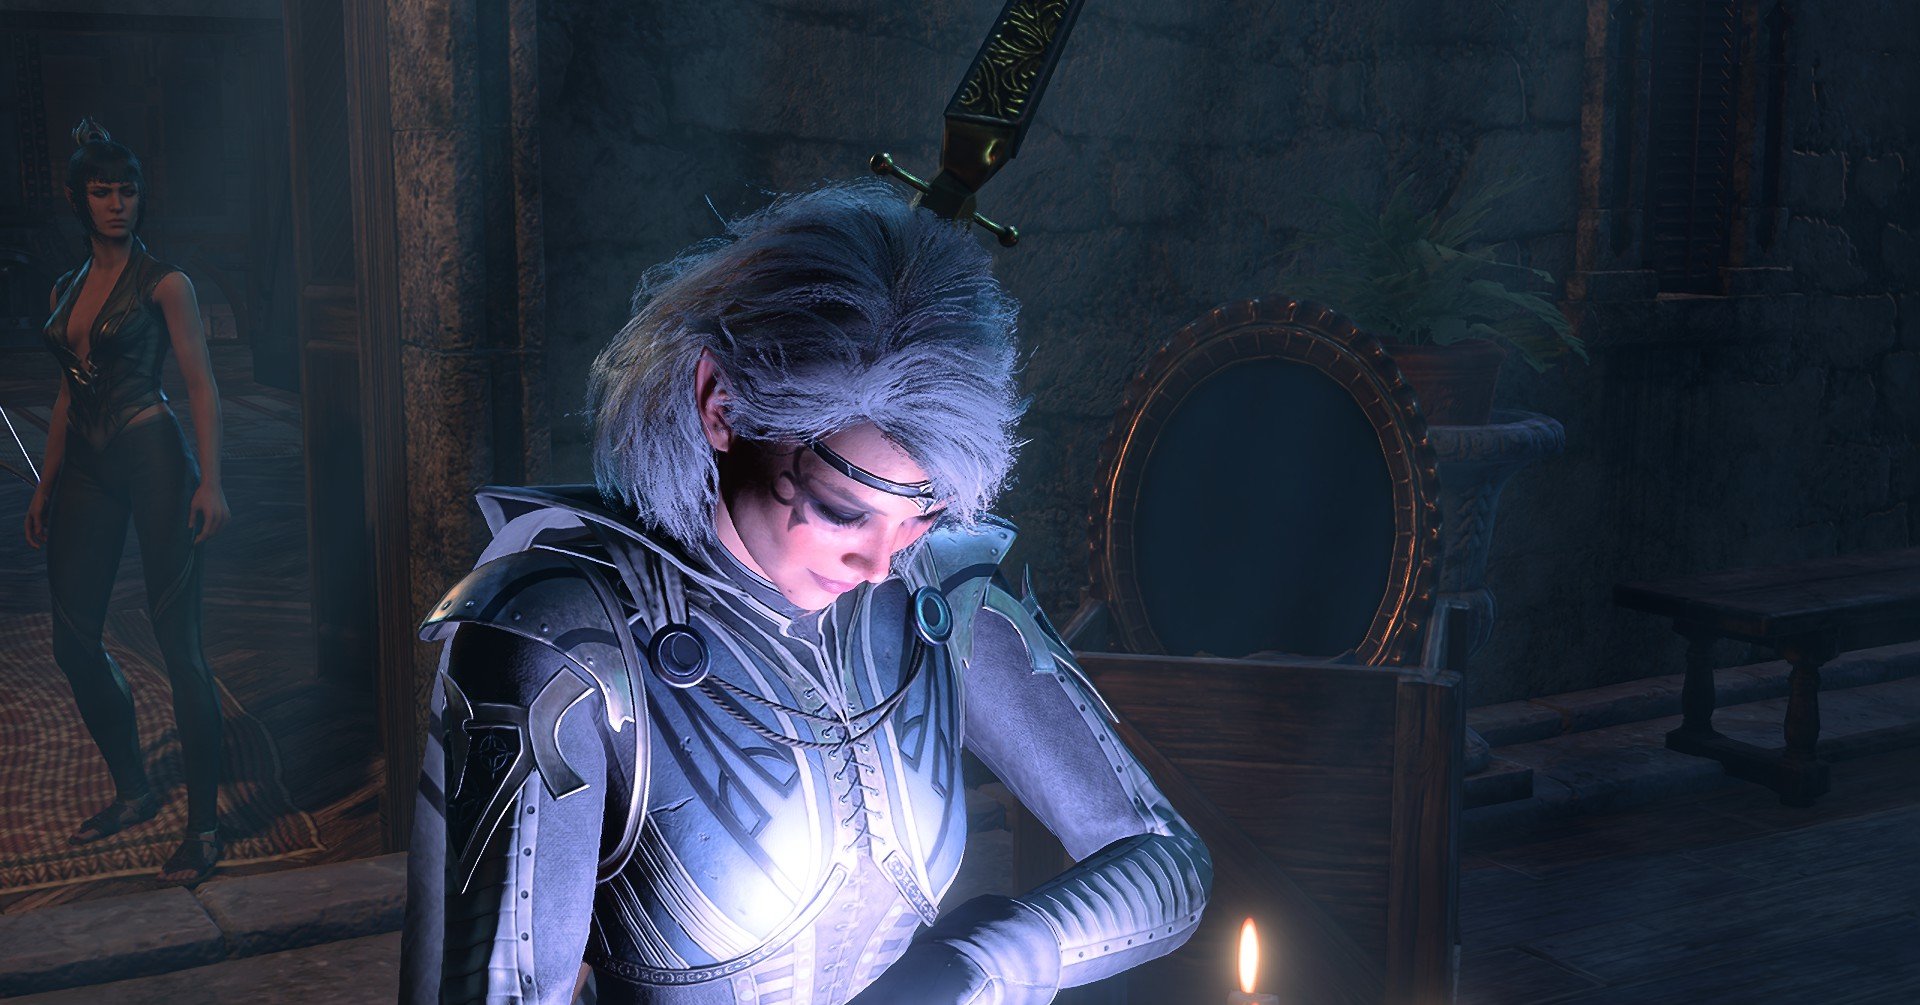
After you arrive at the Last Light Inn, speak to Jaheira and she will tell you to go upstairs and get help from Isobel, who casts a protective spell over you—which allows you to navigate through the shadows without getting Shadow Cursed.
Once the spell is cast, Flaming Fist Marcus, a former ally of those at the Last Light Inn, arrives and it quickly becomes clear he has come to take Isobel to Ketheric.
A battle then commences with you and your companions alongside Isobel, Jaheira, and others at the Last Light Inn, up against Flaming Fist Marcus and several Winged Horrors.
Flaming Fist Marcus is a very strong enemy and, with Jaheira downstairs, it is up to you and your companions to inflict damage against him. Your attacks should be focused on him, with the Winged Horrors not being a priority.
With 86 health, plus a further 40 in protections, Flaming Fist Marcus is not an easy fight. He will focus attacks on Isobel, looking to knock her unconscious, so you should be sure to use any healing on Isobel to prevent that from happening.
Isobel will heal herself when it is her turn but, without outside healing on top of that, she can quickly be drained down to zero.
Any skills that force enemies to attack you are extremely valuable in this situation, as you can divert attention away from Isobel.
Once you have defeated Flaming Fist Marcus and the Winged Horrors, the task to defend Isobel is complete and you’ll have allies on your side in your assault on the Moonrise Towers.
Related: Baldur’s Gate 3: Where to find Dammon in BG3
What if you fail to defend Isobel?

Like lots of things in Baldur’s Gate 3, there is no mission failed if you do not defend Isobel and, instead, the game will progress with that situation—which makes your task really, really hard.
For the purpose of investigation, I targeted attacks on Isobel to help drain her health and then waited for Flaming Fist Marcus to knock her unconscious. Once that was done, a cutscene played and he flew away with Isobel in his arms.
You’re still tasked with assaulting the Moonrise Towers but now have to save Isobel. Before that, however, you can expect a huge fight to occur at the Last Light Inn.
With Isobel gone, the protective bubble cast over the area was removed and led to those without a protective spell being taken by the shadows—which is essentially everyone in town bar you, your party members, and Jaheira.
You will have to defeat them all, while also being careful of the Shadow Creepers that spawn. Though these have little health, failing to destroy them quickly enough leads them to grow into Giant Shadow Creepers—which can inflict massive amounts of damage.
The only positive from this situation is that I earned massive amounts of experience from the battle, though it does leave you with only Jaheira as an ally on your assault against The Absolute.
Related: Baldur’s Gate 3: What is the Strange Ox in BG3?
Others Asked
Who is Aylin in Baldur's Gate 3, and what role does she play in the story?
Aylin is actually Nightsong, and players start searching for her at the beginning of Act One. She can be saved from being killed, leading to a romance scene and her joining as a powerful ally in the final battle.
What items can players use to protect themselves from the Shadow Curse in Baldur's Gate 3?
Players can use torches, weapons infused with light, and Moonlanterns to protect themselves from the Shadow Curse. Equipping these items will help fend off the curse.

What must players do to experience the romance scene between Isobel and Aylin?
Players must save Aylin, also known as Nightsong, from being killed by Shadowheart or the player themselves, and then meet her again during the final confrontation with Ketheric.


Published: Aug 7, 2023 08:48 am