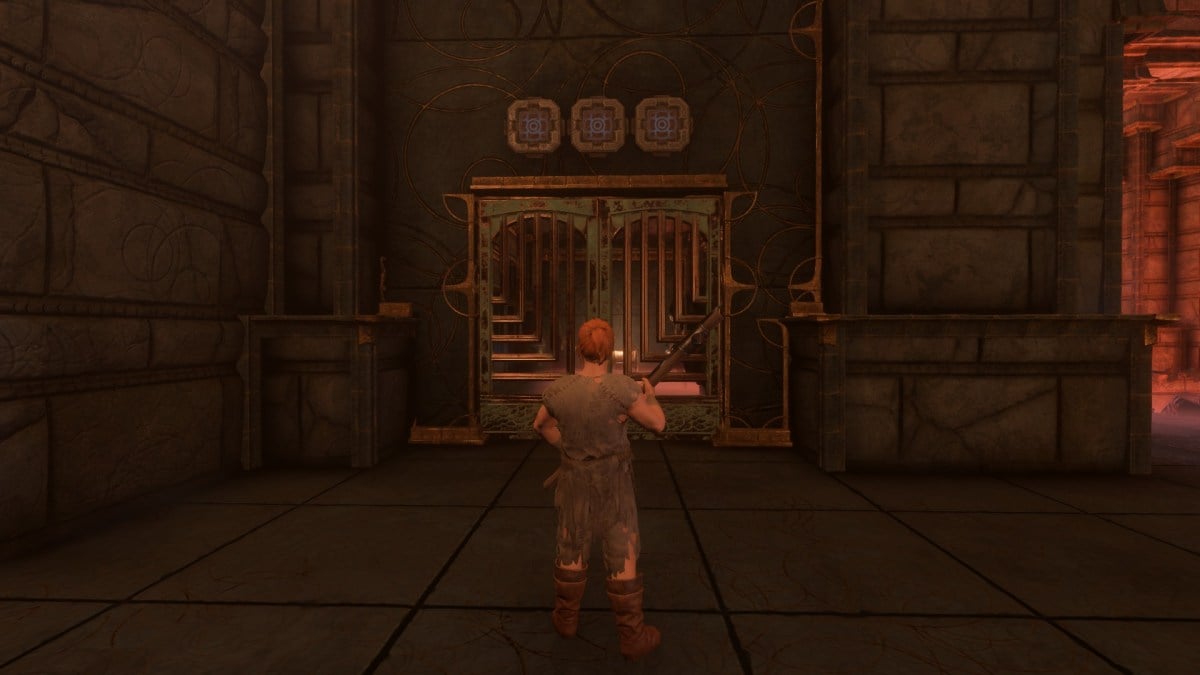
If you’ve found the Hunter in Enshrouded, you may have stumbled upon a locked door with a chest behind it. You may have even found a switch or two, but you’re looking for the final pieces of the puzzle.
It’s hard to resist the allure of a secret chest—especially in Enshrouded, which doesn’t seem to have super tricky mechanics. Getting the Hunter will grant you access to a slew of recipes and we certainly recommend rescuing her. If you’re deft on your feet and grapples, though, you can also get some extra loot while you’re in the tower. Here’s how you can access the chest in the Ancient Vault—Hunter.
Unlocking the door puzzle in the Hunter Ancient Vault in Enshrouded
To unlock the door and loot the chest, you need to find three switches scattered around the first floor. Odds are you’ll spot the first two, but you’ll need to look around a bit before finding the last one. We only found it on our way out, and that’s because we didn’t use the Glider to leave.
- First switch: On a pillar on the right side of the wall.
- Second switch: On a wall past a locked door.
- Third switch: Above the doorway from where you came.
The first switch is easy to find. It’s on a pillar on the right side of the room, by the first flight of stairs. Activate it with a ranged attack to open a door just behind the pillar, with another switch inside.
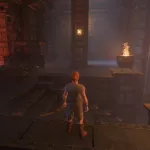

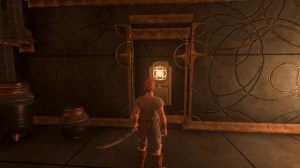
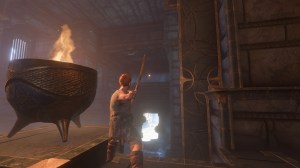
The third switch is the trickiest, both to find and to grab. This one is on top of the doorway from where you came in. You may have spotted its glow when you were looking around, but it admittedly took us a bit of looking around before we found it.
The bad news is this isn’t a ranged switch. You need to get up there and interact with it to trigger. Your Grappling Hook is essential here: There’s a hanging point between you and the ledge with the third button. Your goal is to grapple to it, then swing your way either to the ledge or to the climbable sections on either side of it.
The best way we’ve found for this is to stand on top of the brazier across from the first switch. Don’t worry, we didn’t take any burn damage when we tried this (the perks of being a Flameborn). From the edge of the brazier, we took a running jump, grappled onto the grapple spot, and jumped again almost as the swing was over, giving us enough momentum to make the ledge.
The timing can be a bit tight at first. Be careful of the traps below you if you miss, though: Use your Glider to break your fall and avoid unnecessary damage. Once you interact with the third switch, make sure you have enough stamina to go back to the door. That should let you open the chest within, giving you more loot.



Published: Jan 26, 2024 04:49 pm