Just like in Zelda: Breath of the Wild, Tears of the Kingdom is filled with shrines that are meant to teach Link how to use his abilities. These trials are placed all across Hyrule and players will use their abilities to attempt to solve the puzzle in whatever ways that they can manage. One of the more challenging shrines is the one with the “Built for Rails” trial.
Below you’ll find all the information you need about how to complete the Jiukoum Shrine’s Built for Rails trial in Zelda: Tears of the Kingdom.
Where to find the Jiukoum Shrine in Tears of the Kingdom
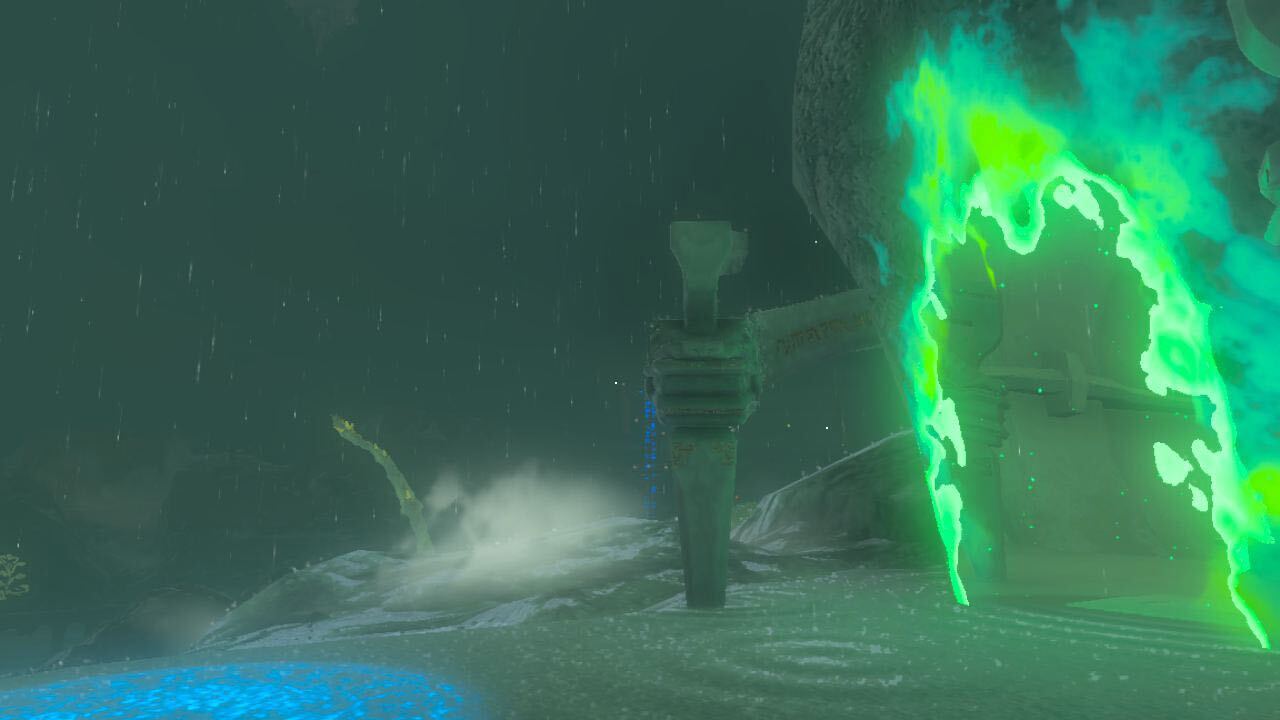
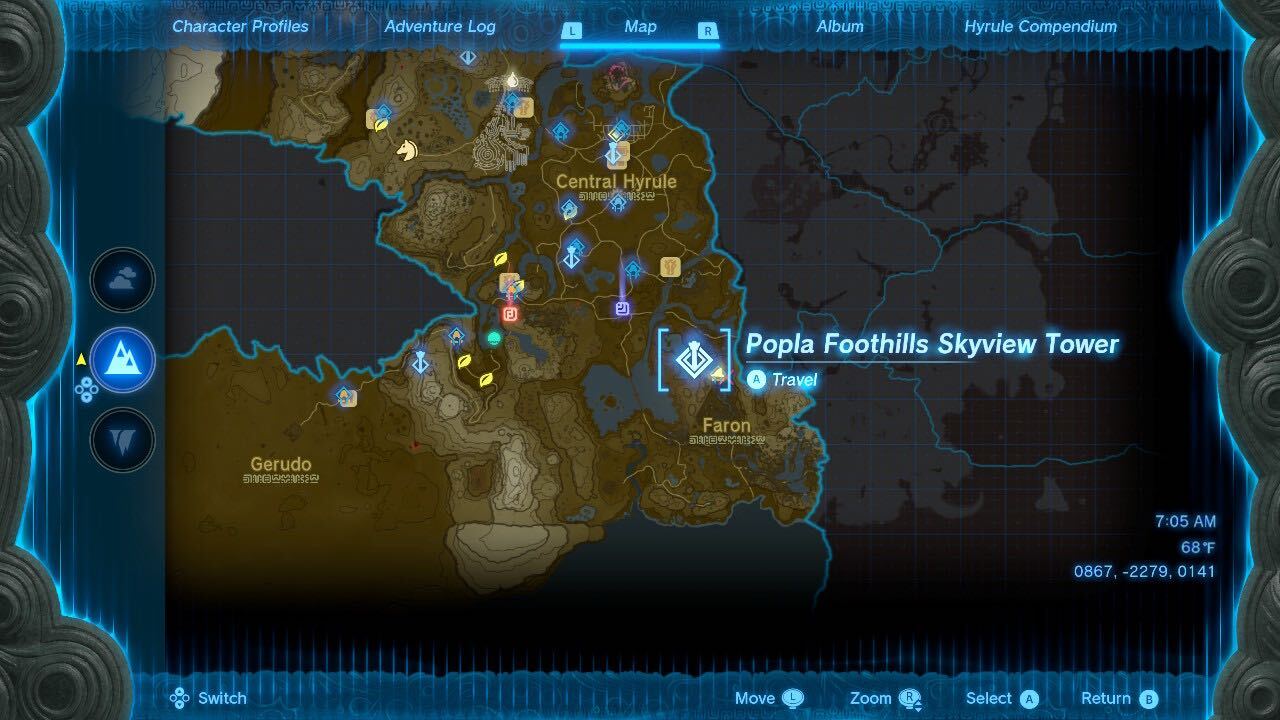
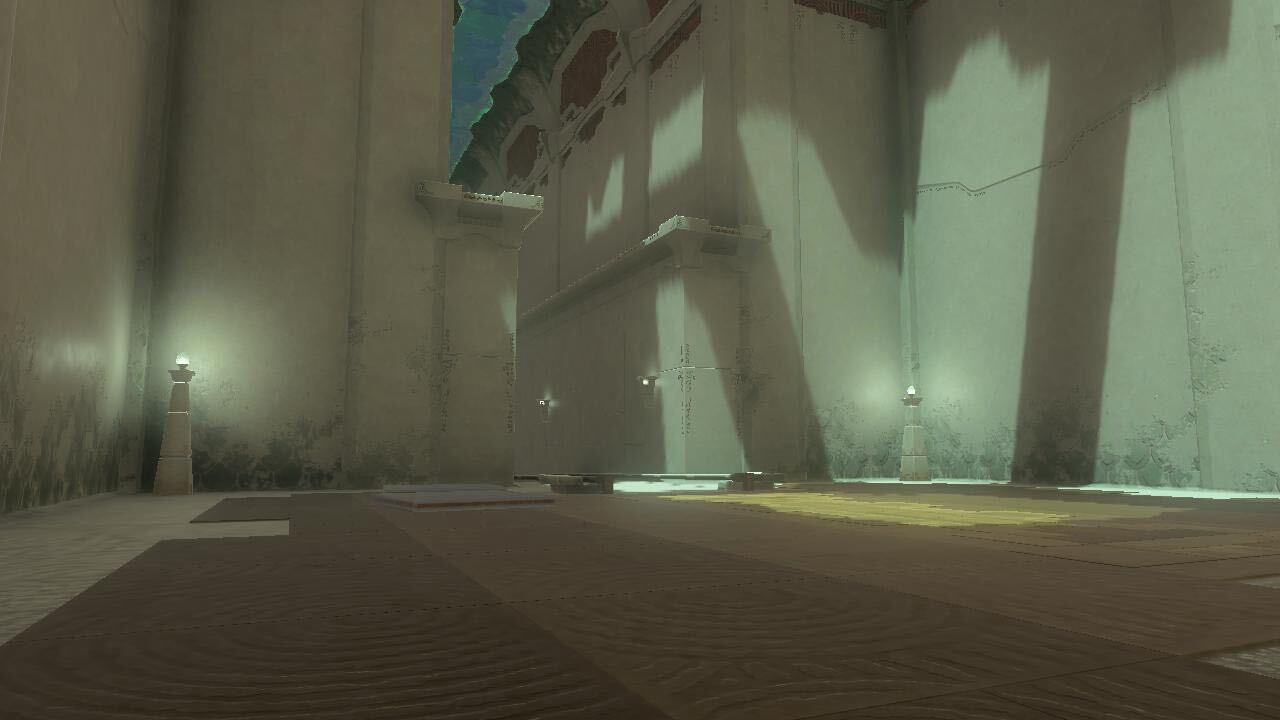
The Jiukoum Shrine isn’t too hard to find, with players able to look just east from the top of Lake Hylia and southeast from the Popla Foothills Skyview Tower. Your best bet at finding and tagging it quickly is to keep an eye out when you launch from that Skyview Tower for the first time. If not, look in the general location on the map, with the shrine on a cliff behind a glowing Goddess statue in a giant dragon’s mouth.
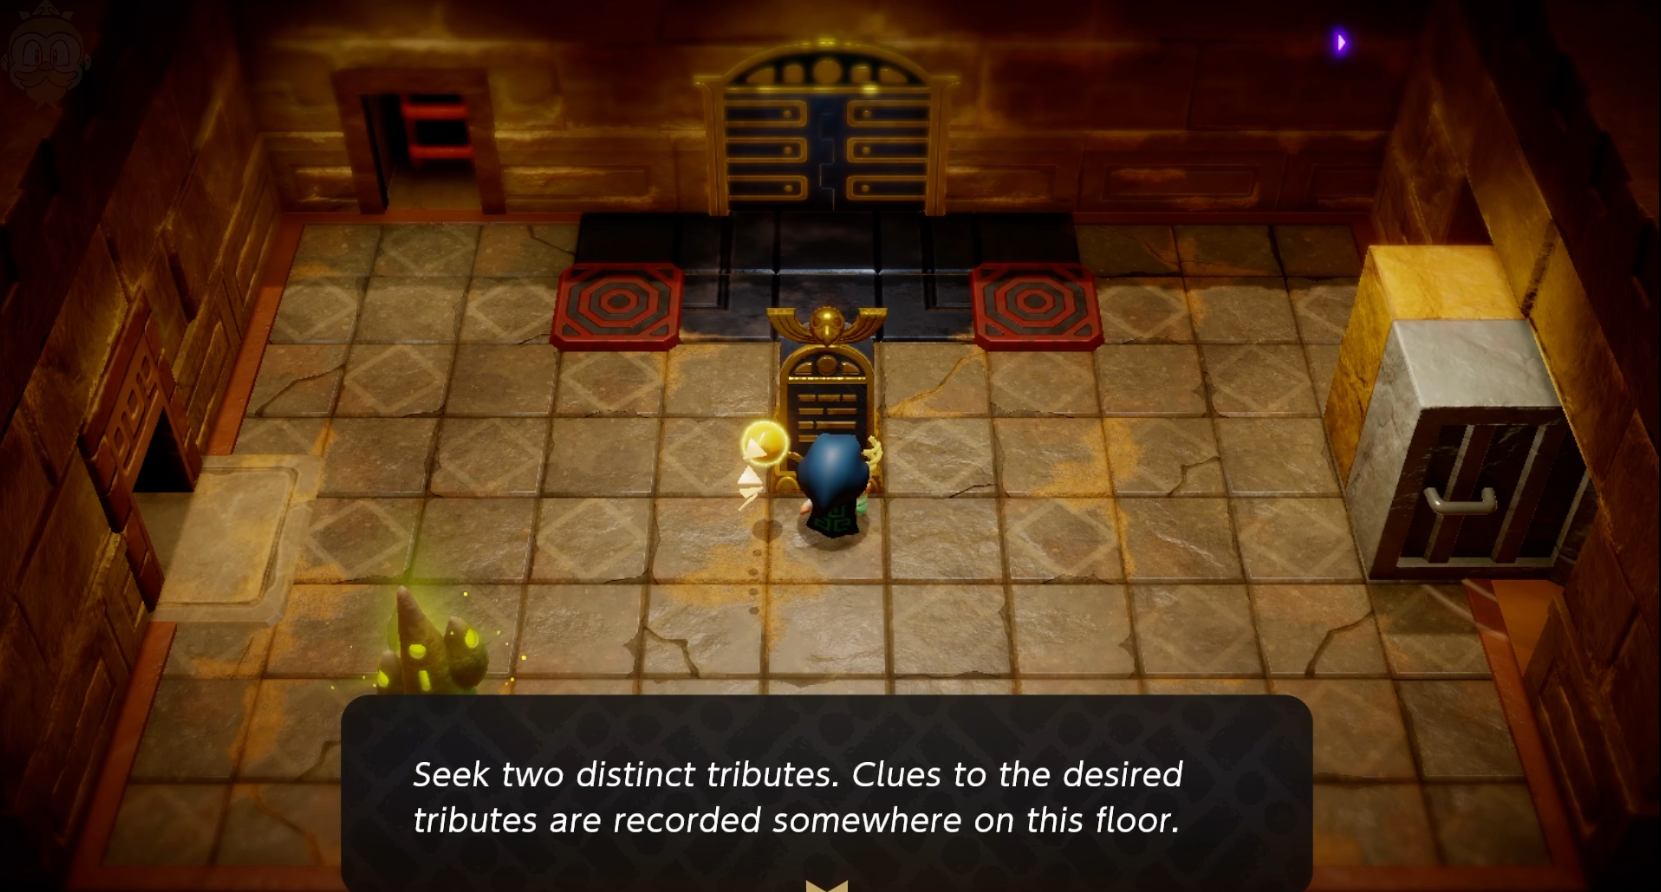
As with the other shrines in TOTK, Jiukoum is split into multiple parts, with the player forced to take them on one by one. In this specific trial, players will become more familiar with the physics surrounding the rails found around the game.
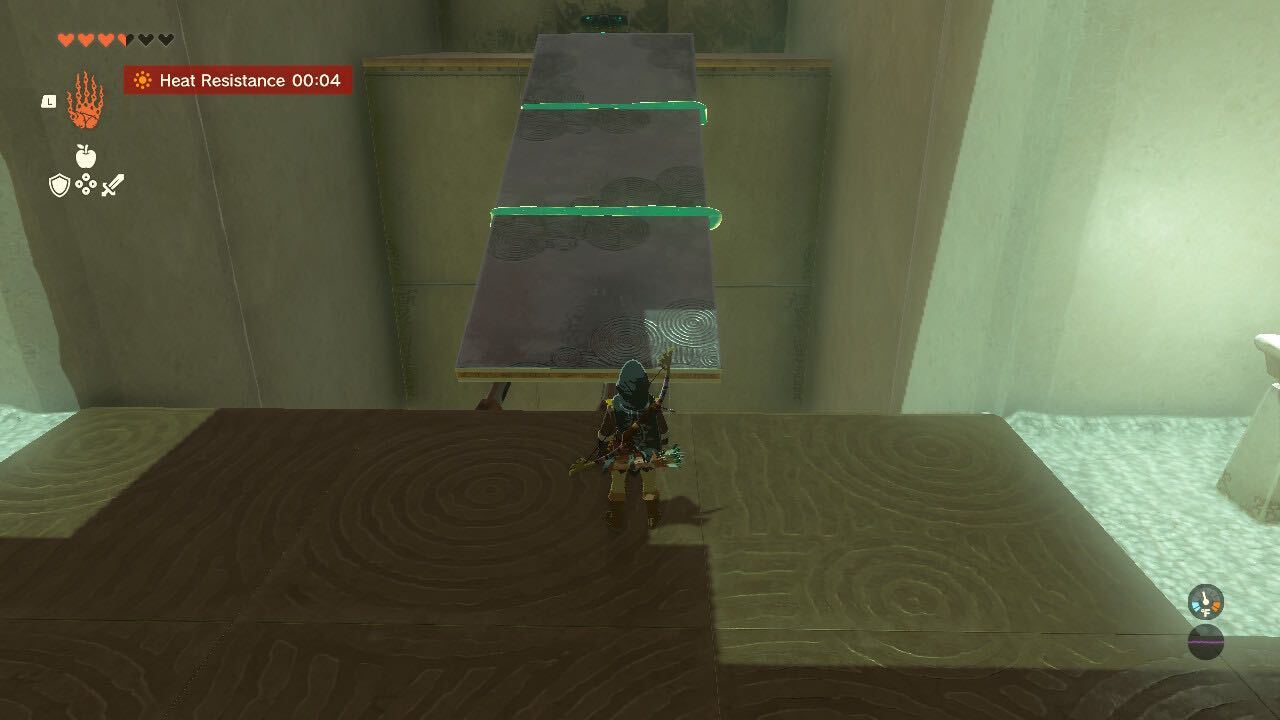
Part one: Basic platform
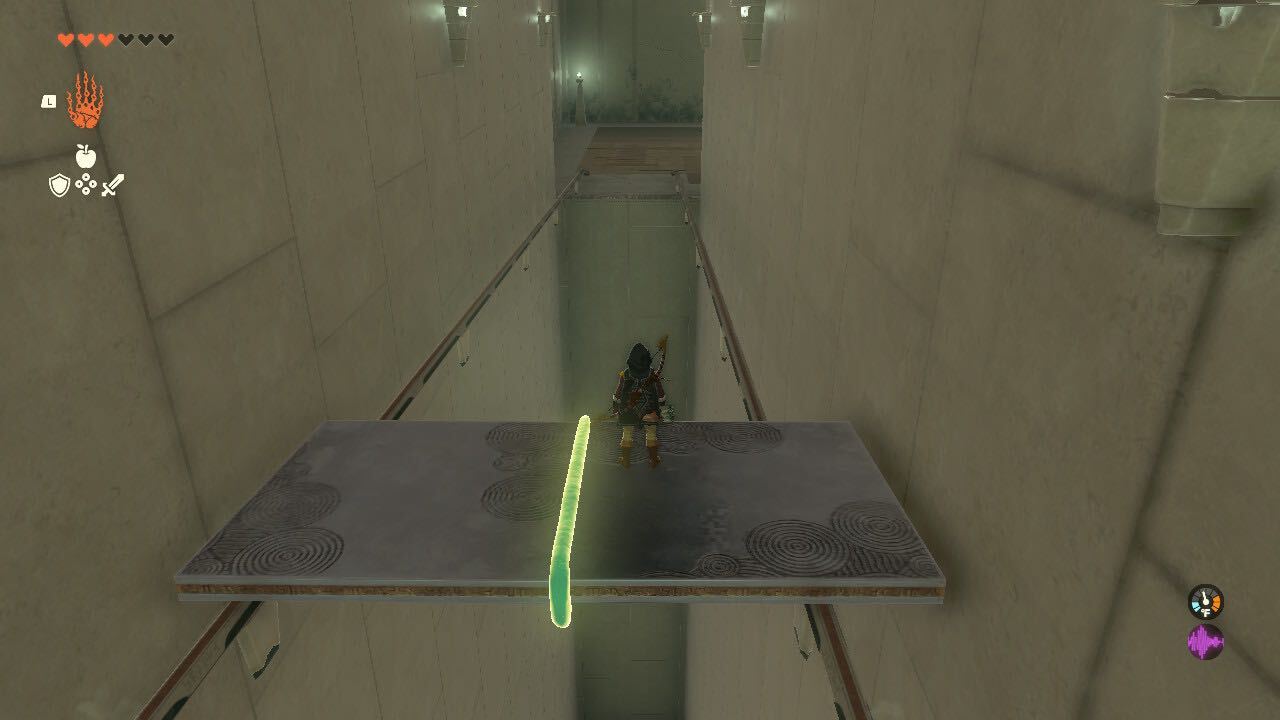
The first part of this shrine is the easiest, with players needing to use the two small metal squares to make a rectangular platform. Once you have it, use Ultrahand to place it on the holders on either side of the rail. As long as you attached it evenly along the edges of each square, it should fit perfectly and begin to slide across the rail.
Jump on it before it gets too far and use it to slide across the rails, which will take you to the beginning of the next part of the trial.
Part two: Balancing act
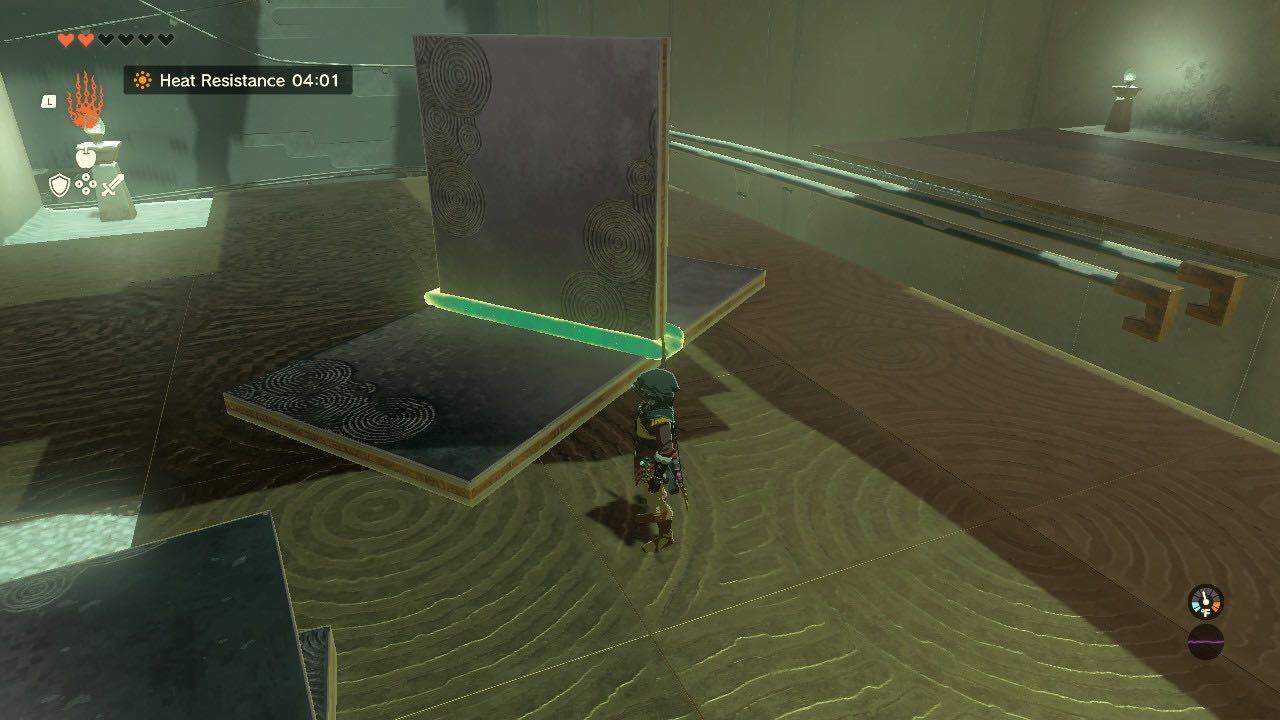
Before you complete the second part of the Jiukoum Shrine, there’s a chest you should grab to keep yourself from making a second trip. While there are likely other ways to solve this, I found that the best way was to use the three small squares and connect them like the previous part into a platform that can make a ramp.
Lay the ramp on the edge of the platform near the chest like in the image above. Then you should be able to jump off the edge and onto the ramp going up to the second level. Open the chest and receive the anti-slip climbing elixir that would’ve been really useful getting to this shrine. Then climb back down and move the ramp platform back onto solid ground.
Related: How to customize your horse in Zelda: Tears of the Kingdom
Once that’s done, take off one of the small square pieces and pick up the long platform from the rails when it resets. Attach the small square piece to the middle of the long rectangle platform and then line it up with the rails so the middle piece keeps it from falling off the side.

Make sure not to fall off during the hard turn or you’ll have to start again from the beginning. Let it carry you to the third part of the test.
Part three: Fan-powered platform
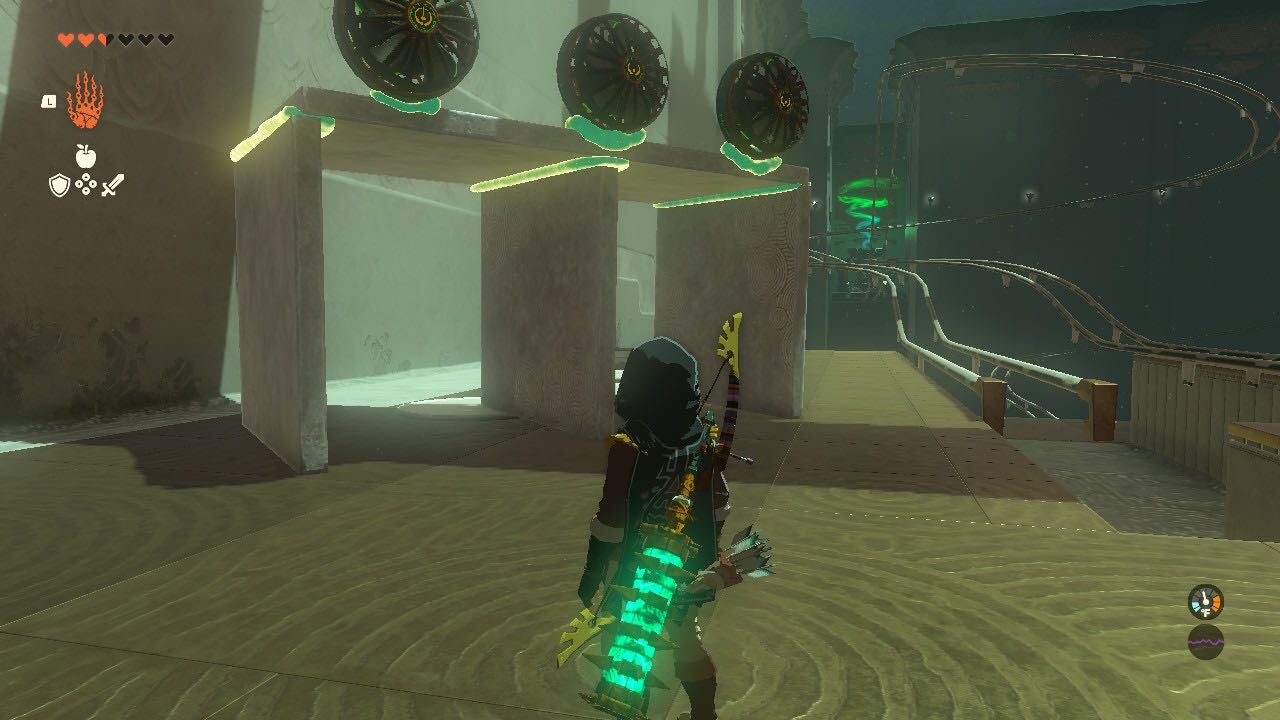
This part requires you to use a similar strategy as the previous part of the trial, only you will need to put one of those squares on both sides and the middle. This design will ensure that the platform is able to remain on all the rails. After you’ve constructed that platform, use the three fans to point it out behind the platform.
Related: Where to find all Lookout Landing Shrines in Zelda: Tears of the Kingdom
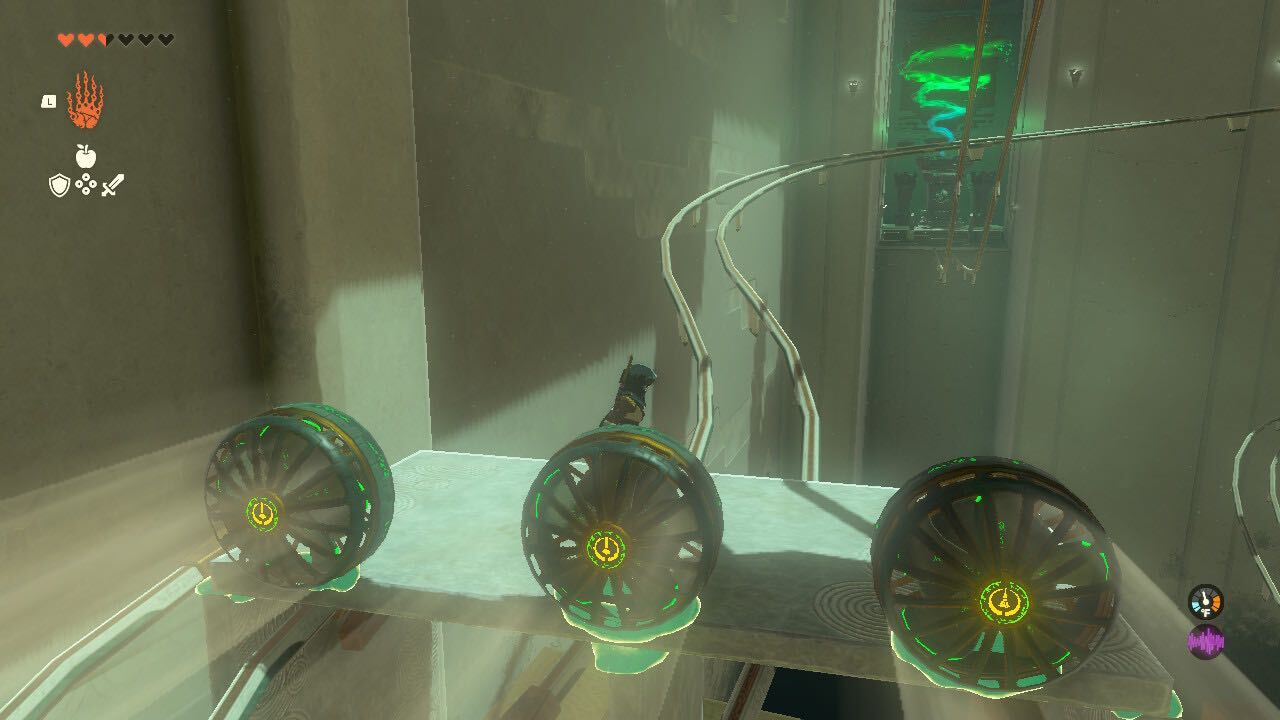
Make sure to line up the platform with both sides on either rail. Then you can hop on and turn on the fans, which will send you across the complicated system. It’s important that you use all three fans so that your platform has the force to continue pushing itself across the rails.
The platform will run all the way to the blessing, so all you need to do is make sure the fans stay on. This won’t be an issue since the fans don’t run on the batteries like the items outside of the Shrine do.


Published: May 20, 2023 04:56 pm