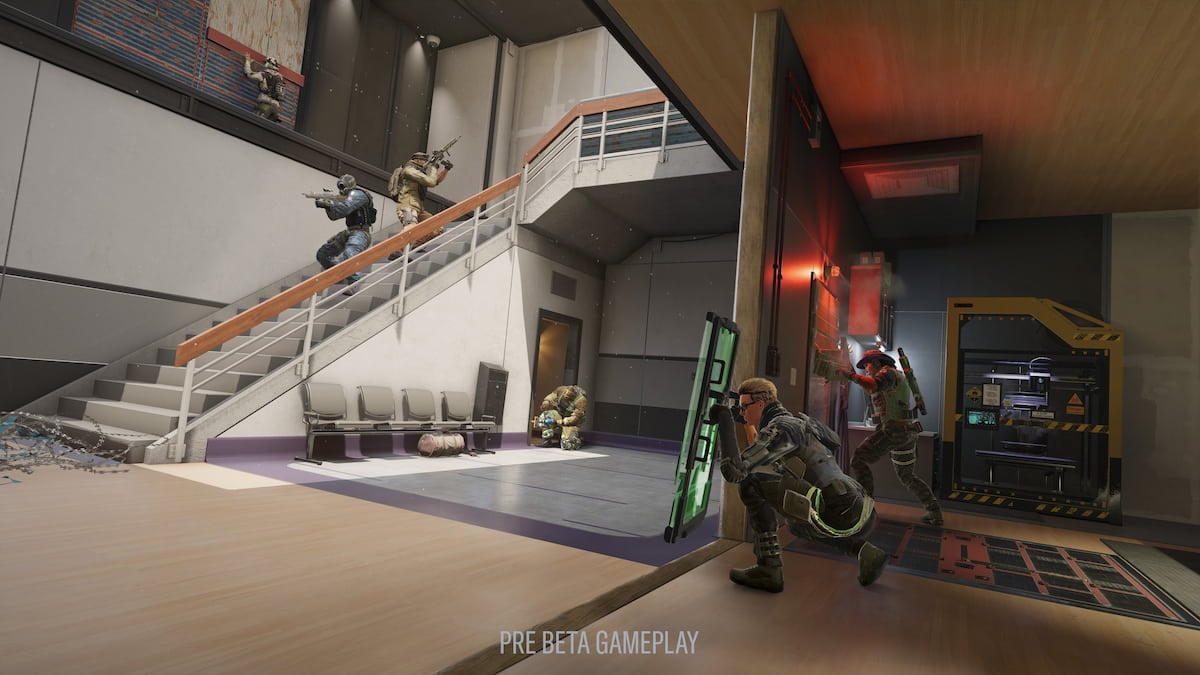
A good aim and tactical knowledge of all the maps are two crucial factors that will help you clutch rounds in Rainbow Six Siege. Even if you know the ins and outs of every map, however, you’ll still need to communicate with your teammates about where your enemies were last seen.
The best way to this will be through voice chat, where you can let your teammates know about incoming threats while receiving the latest developments on their side of the map.
If your microphone isn’t working for whatever reason, though, you won’t be able to contribute to the constant flow of information within your team, putting your teammates at a disadvantage.
The official troubleshooting page for microphone-related problems in Siege recommends players ensure their microphones are plugged in and working as usual on other applications. But you may need to follow more unorthodox approaches to fix this bug.
Here’s how you can get your microphone working again in Rainbow Six Siege.
Double-check everything
While it may sound elementary, double-checking everything to do with your microphone will allow you to rule out most of the possibilities. Go through the basic troubleshooting steps Ubisoft recommends, like checking whether your microphone works on other applications.
If you notice any anomalies in other applications, you should try out different audio jacks or USB slots to see if it makes a difference. Most gaming headsets come with manual microphone mute switches that can be muted by default. Make sure that the switch wasn’t set to mute your microphone.
In cases where you still experience audio issues after going through all the basic troubleshooting steps, there are still a few methods you can try out to solve this problem.
Experiment with the voice chat threshold in Rainbow Six Siege
The voice chat threshold adjusts how sensitive Siege will be while detecting your voice. If your voice isn’t exceeding a certain decibel level, Siege won’t transfer your sound into the game.
- Open up your settings and switch over to the Audio tab.
- Slide down to find the Voice Chat Record Threshold option and set it to zero.
- Restart the game after making the adjustments.
If your microphone starts working after setting its threshold level to zero, that means it was the source of the problem from the beginning. Note that keeping it at zero will cause Siege to pick up every voice whenever you activate your microphone. Try experimenting with higher volumes to find the sweet spot, which is usually around 15-30 for most players.
Change your microphone’s name
If your operating system is in another language other than English, chances are your microphone will be tagged as the word’s equivalent in that language. While it won’t be an issue in most games, Siege can sometimes only look for a device called “Microphone.”
- Right-click on the speaker icon, which will be located in your icon tray.
- Click on “Sounds” and switch over to the Recording tab.
- Identify your recording device and right-click on it to select “Properties.”
- Navigate to the General tab and change your device’s name to “Microphone.”
- Restart Siege to see if the issue is fixed.
Make sure your default recording device is set properly
When you have multiple recording devices connected to your computer, it may not always pick the right one as your default recorder. If you haven’t made any changes to your Siege settings, the game will automatically try to use your default device. In cases where your default device is set to anything else other than your preferred microphone, Siege won’t be able to detect your voice.
- Right-click on the speaker icon at the bottom right corner of your screen.
- Choose “Sounds” and navigate to the Recording tab.
- Locate the entry that represents the microphone you’re trying to use.
- Right-click on your recording device and choose “Set as the Default Device” and “Set as Communication Device.”
- If you’ve had Siege running in the background, restart the game after changing your default recording device.
While you’re at it, make sure to disable Stereo Mix. Though Stereo Mix shouldn’t affect Siege while detecting your microphone, there have been instances where players were able to fix the problem by turning it off.
Download your headset’s drivers
Most modern gaming headsets come with their own set of drivers that allow users to make further customizations to their audio profiles. These drivers will also include separate volume sliders, which adjust the recording levels of your microphone.
If you’re using a headset that depends on these types of drivers, you’ll need to download them to ensure your recording sound levels are set at proper levels. Search for your headset with a driver tag at the end of its name, and download its files through its manufacturer’s official channels.
After setting up your drivers, check all the recording volumes available and restart Siege after making any adjustments.
Adjust your Windows 10 privacy settings
Some Windows updates can tinker with default settings on your operating systems. If your microphone doesn’t work in Siege and you can’t hear your team as well, you’ll need to see if your operating system is blocking apps’ access to your microphone.
- Open the Start menu and click on the cog icon to bring up settings.
- Choose “Privacy” and select “Microphone” from the left menu.
- Look for the section that reads “Allow apps to access your microphone,” and turn it on.
- Relaunch Siege after making the adjustments.
Contact Ubisoft support
If none of the fixes on our list get your microphone to work in Siege, your best bet will be through contacting Ubisoft support. Mention all the troubleshooting steps you’ve tried so far to narrow down the situation.


Published: Apr 8, 2021 01:34 pm