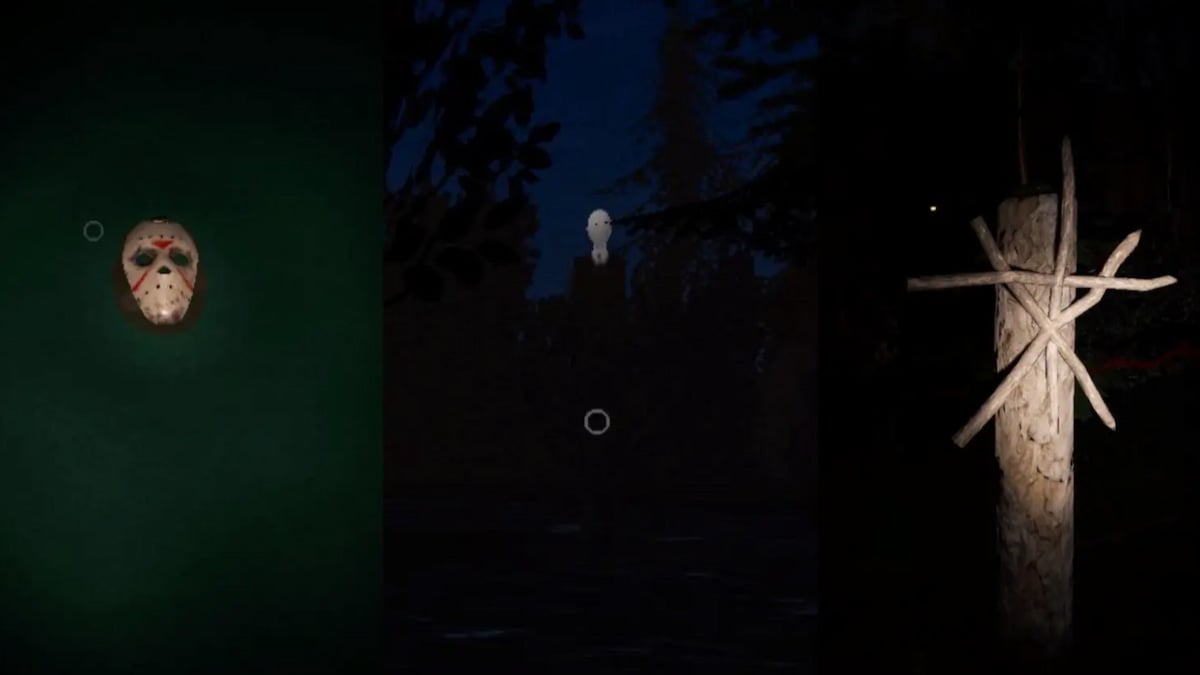
Phasmophobia has many different ways you can put your ghost-hunting abilities to the test, but weekly challenges are one of the most formidable—and rewarding. The Glow in the Dark weekly challenge isn’t one of the toughest trials you’ll face, but it’s one of the scariest.
As the name of this challenge suggests, you don’t have any solid light sources to work with while hunting the ghost, which makes it a whole lot more terrifying. Even though you’re likely to get jump-scared, this trial isn’t too tough to finish when you know what needs to be done, so here’s how to complete the Glow in the Dark challenge in Phasmophobia.
Table of contents
What is the Glow in the Dark challenge in Phasmophobia?
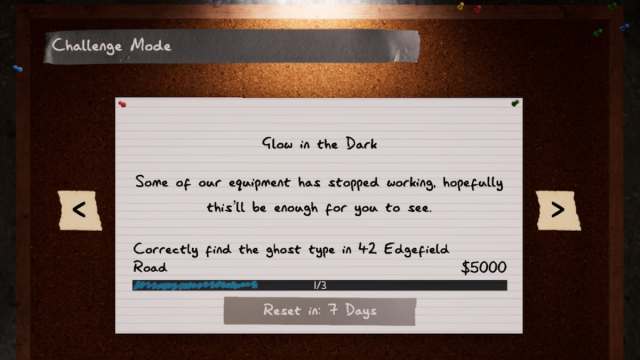
The Glow in the Dark challenge is a weekly trial you can complete for a cash bonus of $5,000 plus 5,000 experience. Compared to most other weekly challenges, this one’s fairly easy to tackle once you know how it works.
Phasmophobia Glow in the Dark challenge rules
The Glow in the Dark challenge has a specific set of rules you want to be aware of before you embark on your first contract for this challenge.
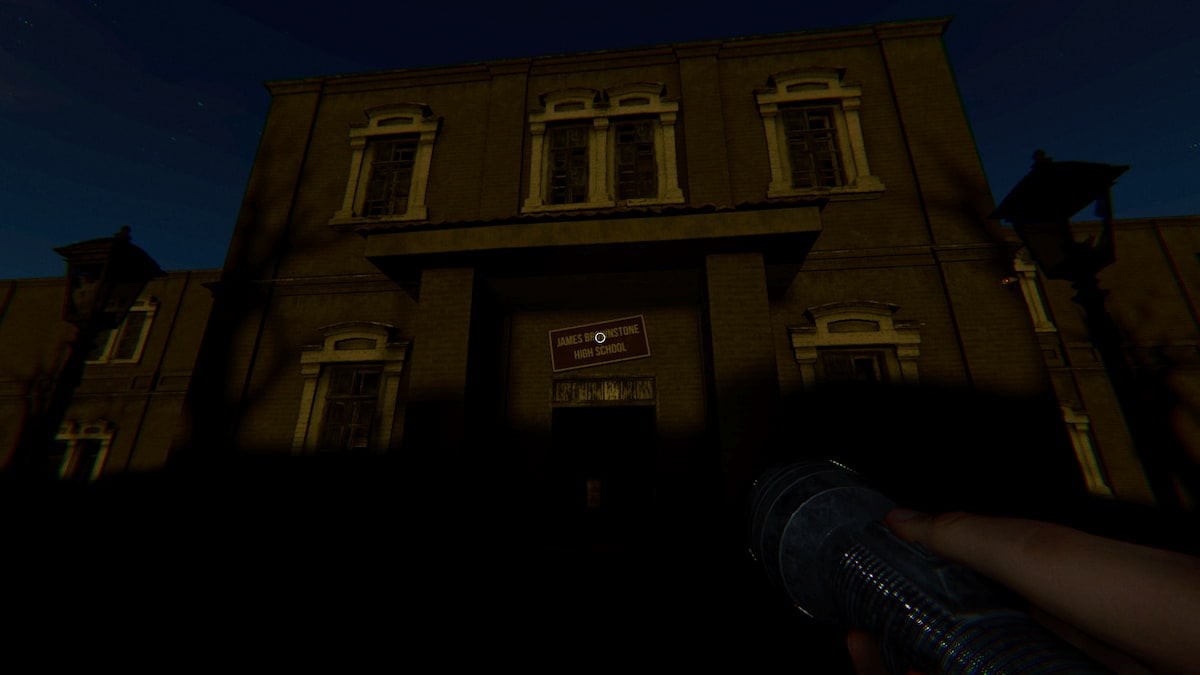
- This challenge must be completed on 42 Edgefield Road.
- You have no grace period or setup time.
- Your sanity starts at 100 percent.
- All of the screens in the truck are working.
- The fuse box is broken.
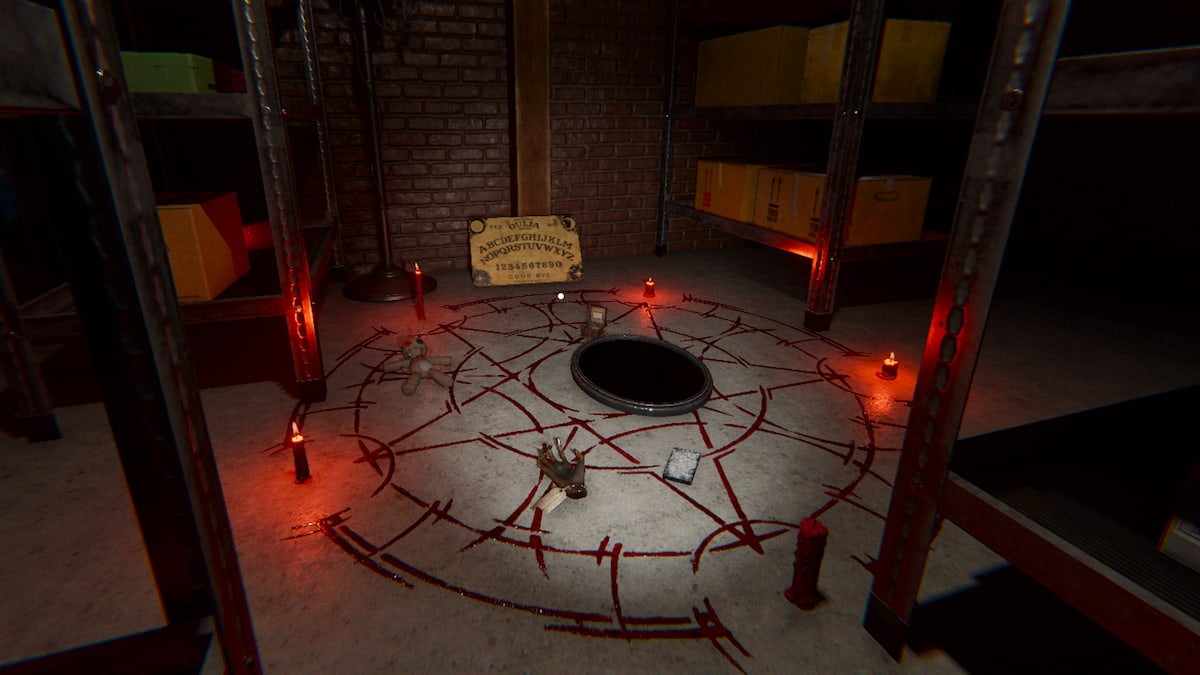
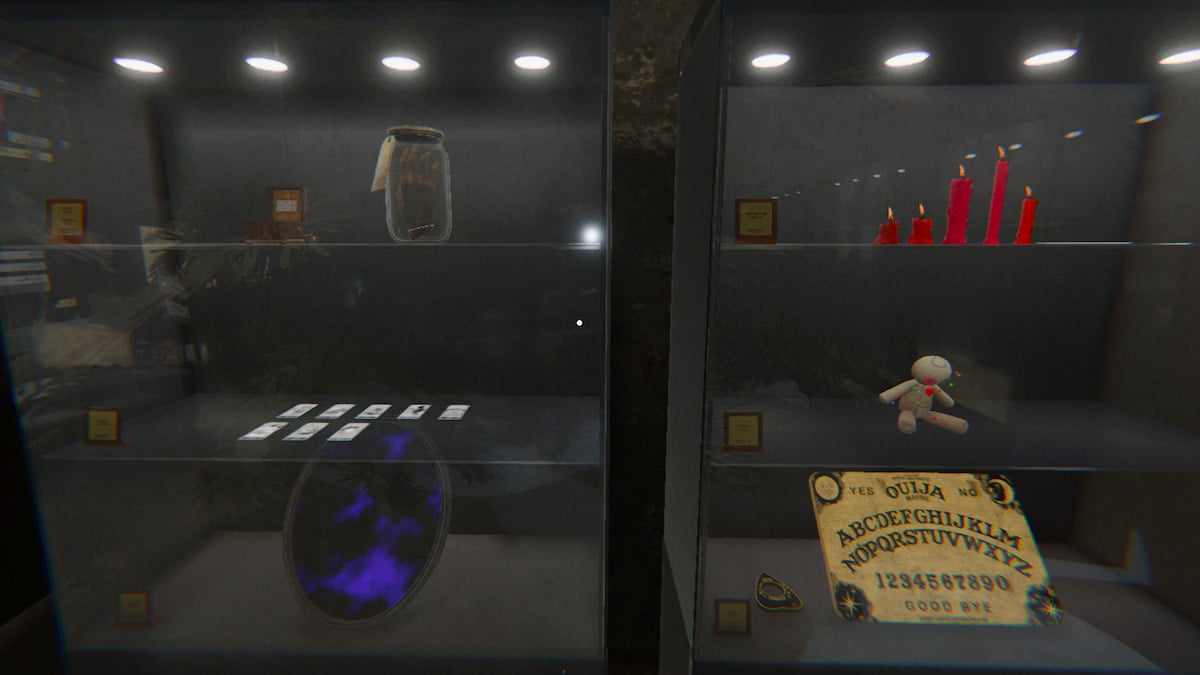
- A random Cursed Possession is chosen each time.
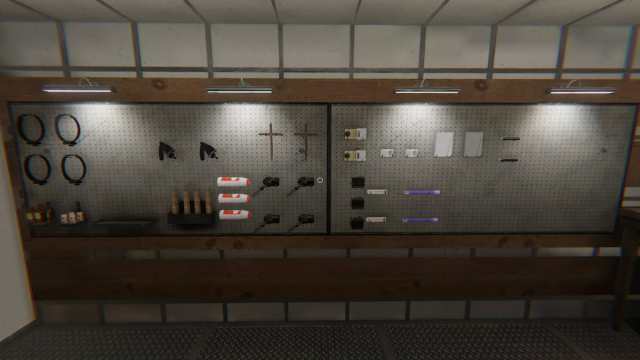
- Some equipment is missing including Flashlights, Motion Sensors, Video Cameras, Firelights, and Tripods.
- You only have Tier I equipment to work with except for one Tier II item.
- Tier I: Head Gear, Salt, Photo Cameras, D.O.T.S. Projectors, Thermometers, Spirit Boxes, EMF Readers, Incense, Ghost Writing Books, Parabolic Microphones, Crucifixes, Igniters, Sound Sensors, and Sanity Medication
- Tier II: UV Lights
How to complete the Glow in the Dark Phasmophobia challenge
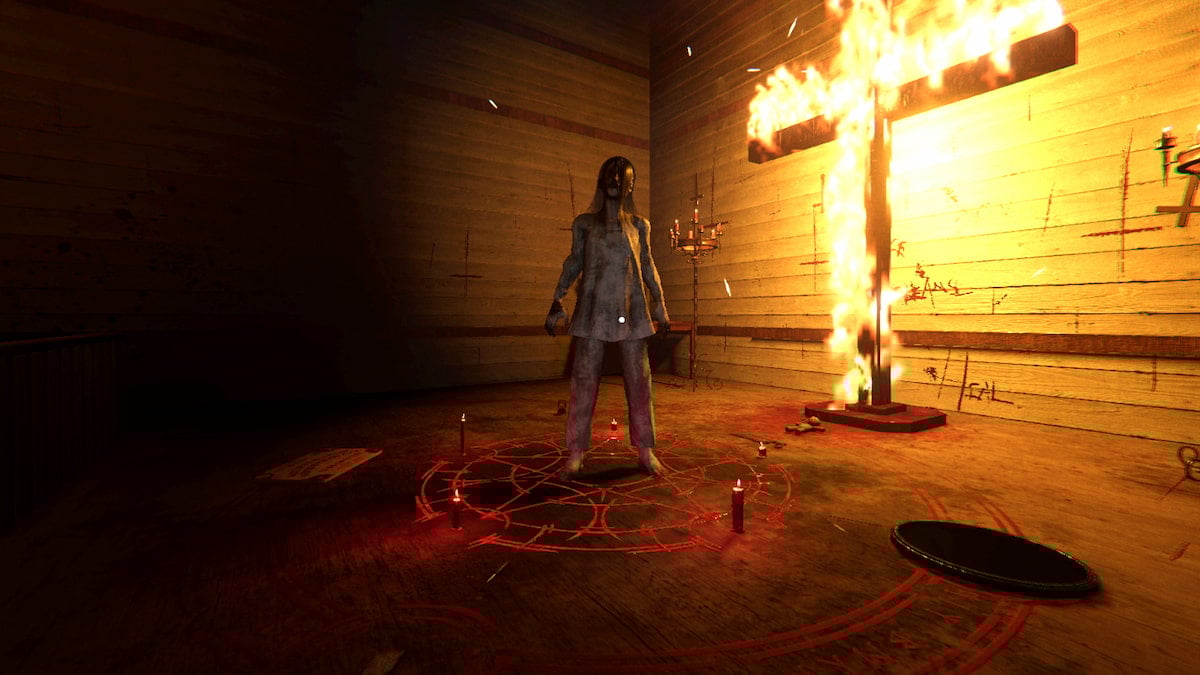
To complete the Glow in the Dark challenge, correctly identify what kind of ghost is present on 42 Edgefield Road in three different contracts. You can fail this task many times and still successfully complete this challenge, so long as you mark the right ghost three different times before the weekly trial concludes.
Phasmophobia Glow in the Dark challenge tips
The Glow in the Dark challenge isn’t too imposing as long as you have solid mastery over how Tier I items work, but here are a few tips to make this Phasmophobia task easier.
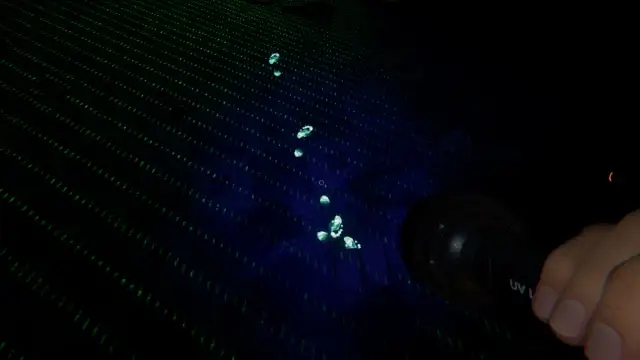
Use a UV Light
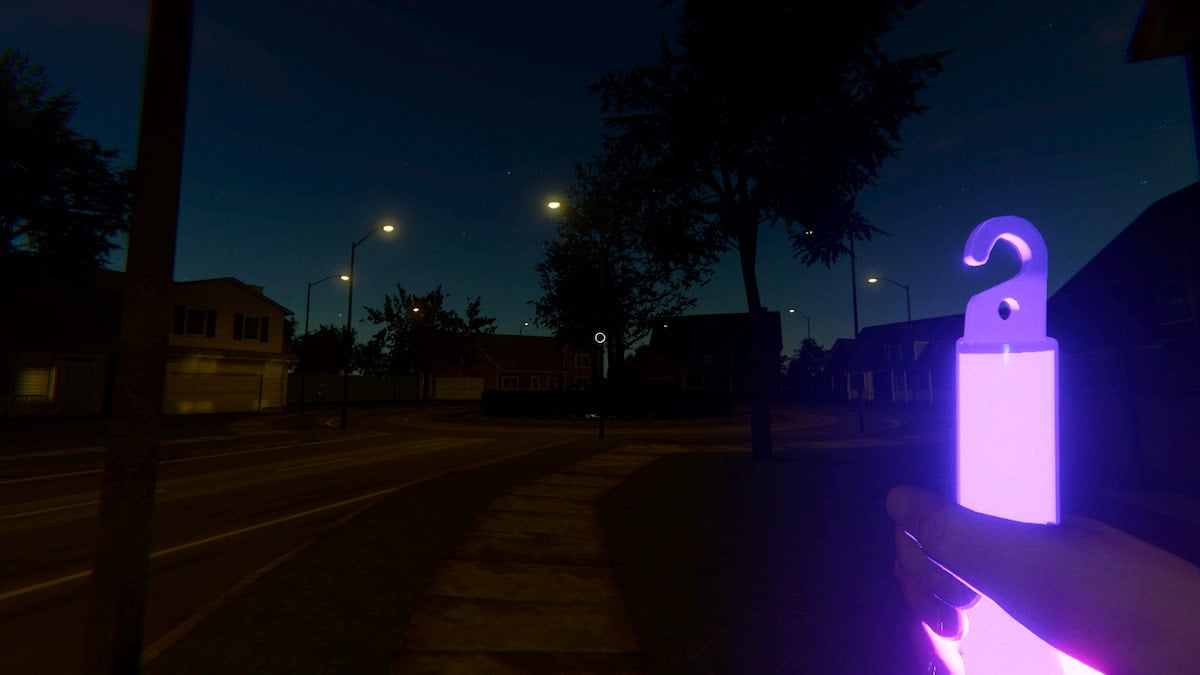
Not having any Flashlights or even a Video Camera to look through is the worst part of this challenge, so your only real option for consistent and reliable lighting is a UV Light. The glowstick doesn’t provide amazing lighting, but it’s all you’ve got.
The Tier II UV Light darkens after one minute, but you can make it bright again by selecting the primary use button while the light is in your hand. You can do this endlessly, so even though the lighting isn’t great, it’s certainly better than nothing and will never run out.
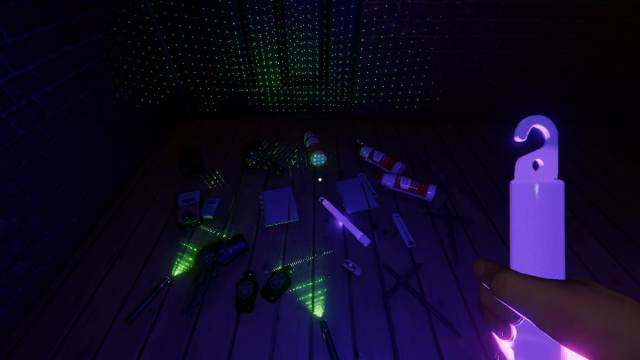
Start with an equipment pile
You have no time to set up, which means the ghost can hunt you as soon as you walk inside, so consider starting this challenge by making an equipment pile right by the door. The truck isn’t too far away from the front door on this map, but you can’t waste any time if you want to succeed.
The contract doesn’t officially begin until you open the front door for the first time. This means you can bring all the equipment you need to the front door so it’s much easier to grab and you don’t waste any time later on venturing back to the truck. To ensure you don’t accidentally open the door and start the match, leave the key in the truck until your pile is made and you’re officially ready to begin investigating.
Take risks because you can
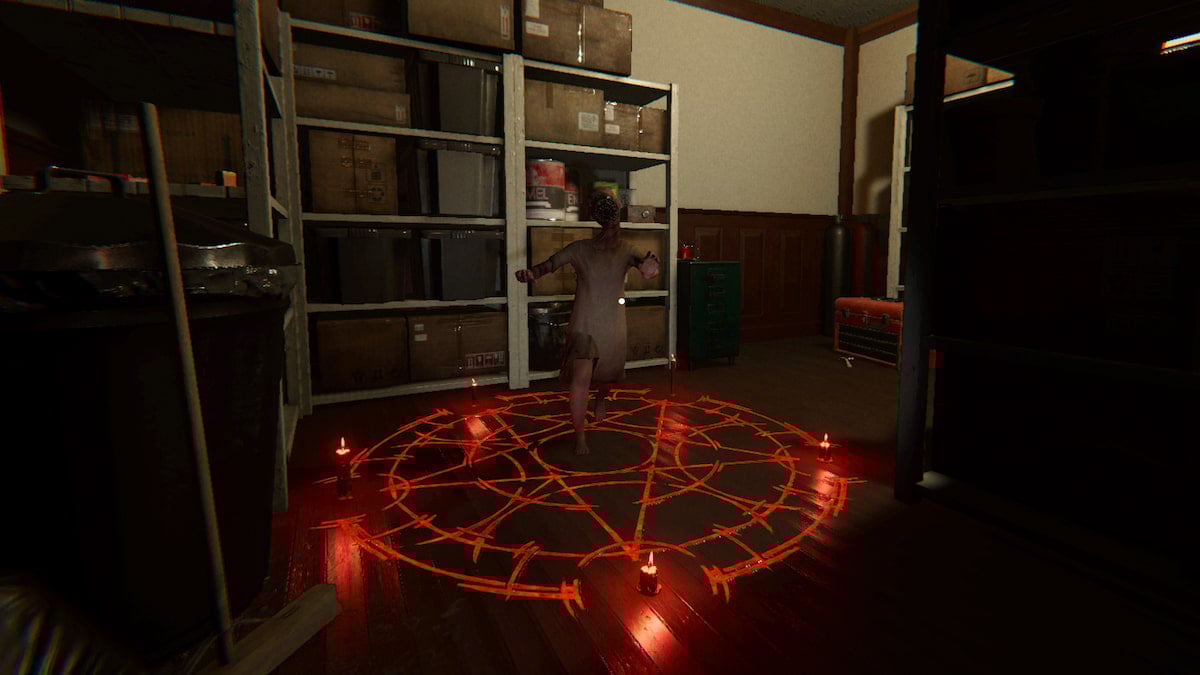
One of the best features of the weekly challenge system in Phasmophobia is that all of your equipment for it is given for free, which also means you have nothing to lose. Because of this, the weekly challenge mode is the perfect time and place to take risks like using Cursed Possessions or otherwise purposefully trying to draw the attention of the ghost so you can get evidence.
There’s nothing to lose, so you can be as risky as you want without fear of losing all your equipment and money. The worst-case scenario is you die and the contract ends, but you can easily load up another one. If you’re taking risks, be sure to keep your most recent guess circled in the journal so you have a chance of choosing the right answer.
Pay attention to ghost behavior
Ghosts are less inclined to interact with Tier I equipment and you cannot concretely test for two out of the seven evidence types since you are missing a Video Camera, so paying attention to how the ghost behaves is key for successfully finishing this challenge.
You can use similar tricks as you would for challenges like No Evidence or The Apocalypse Draws Near to try and pick up on any unique ghost patterns.
Ghost hunt with allies
42 Edgefield Road isn’t a massive map, but it sure feels like it is when you’re stumbling around with only the dim light from your glowsticks to guide the way. This can make it take a lot longer than usual to find the ghost, so one of the best ways to increase your odds of success is assembling a ghost-hunting squad to investigate with.
Having allies at your side means you can get equipment down faster, explore the full map more quickly, and have more eyes watching for signs that help you pinpoint what type of ghost you’re working with. The contract also won’t end if someone perishes since the match keeps going as long as at least one player is alive which means you have a lot more time to investigate overall. You can either team up with friends who play or use the matchmaking feature to work with random players.
Make a guess and try again
Since you don’t have Video Cameras, it’s impossible to identify some ghosts with 100-percent certainty. Because of this, sometimes your only option is to make an educated guess based on the evidence and behaviors you caught and reroll for a new contract.
Some ghosts are just much easier to spot than others, so luck plays a key role in the challenge. This means you may just need to keep trying until luck ends up on your side.
Others Asked
What is the method for identifying ghosts in Phasmophobia?
To identify ghosts in Phasmophobia, players use various tools to uncover evidence fitting the ghost's characteristics. Specifically, each ghost can be identified using three types of evidence out of seven total options: DOTS Projector, EMF Five, Fingerprints (Ultraviolet), Freezing Temperatures, Ghost Orb, Ghost Writing, and Spirit Box.
What rewards can players earn by completing Phasmophobia's Halloween 2023 event?
Players can earn a special Halloween-themed ID card and a Halloween-themed trophy by successfully completing the event, which will be displayed in a glass case in the main Phasmophobia hub.
What reward can players earn by completing the Phasmophobia Easter Event?
Players can earn an exclusive ID badge as a reward by completing the Phasmophobia Easter Event.


Published: Dec 3, 2024 03:24 pm