Monster Hunter: World grants you a plethora of weapons to choose from. One of the more innovative and fun weapons to get started with is the Gunlance. While it is not the most beginner-friendly weapon, a little practice, and a few early monster hunts go a long way.
The Gunlance: Weapon basics
Before we tackle the best builds for Gunlance users, it would benefit you to learn about the Gunlance and how best to use the weapon. Like the Lance, Gunlances possess a similar moveset with a shield for defense. Where the Lance excels in defense, the Gunlance does in offense, which is further enhanced using a gun barrel inside the lance that can fire powerful shells.
Depending on the Gunlance you choose, these shells can provide a variety of effects, including elemental damage and status effects. Just like the other weapons, the Gunlance has a special move in its arsenal named Wyvern’s Fire. This ability fires off a huge explosion after a charge-up period, dealing massive damage. The Gunlance then overheats and takes two minutes to cool down.
Every round fired from the Gunlance also deals True Damage, which ignores monster defenses entirely. Be sure to note that shelling enemies consume twice the sharpness that it normally would, requiring you to sharpen your weapon more frequently. Also, if your sharpness drops to red, you will not be able to fire shells at all.
Now that you know what you’re dealing with, we showcase the best builds for your Gunlance.
Best Gunlance builds in Monster Hunter: World
To make your Gunlance journey easier, this guide will show you the best Gunlance build for every part of the game. For convenience, we will present three different builds that cover different sections of the game depending on how far ahead in the story you are.
- Early game build: This build covers all the content up to Xeno’Jiiva.
- Mid game build: This build covers all the content up to Shara Ishvalda.
- End game build: This build covers all the content from the Guiding Lands and beyond.
Depending on the section of the game you are currently on, feel free to skip to the appropriate section of this guide. Remember that upgrading your weapon and armor as soon as possible is important if you want to survive, and eventually thrive, in the dangerous hunts that are yet to come.
The credit for most of the ideas in these builds goes to the experts like Darcblade.
The Gunlance: Early game build
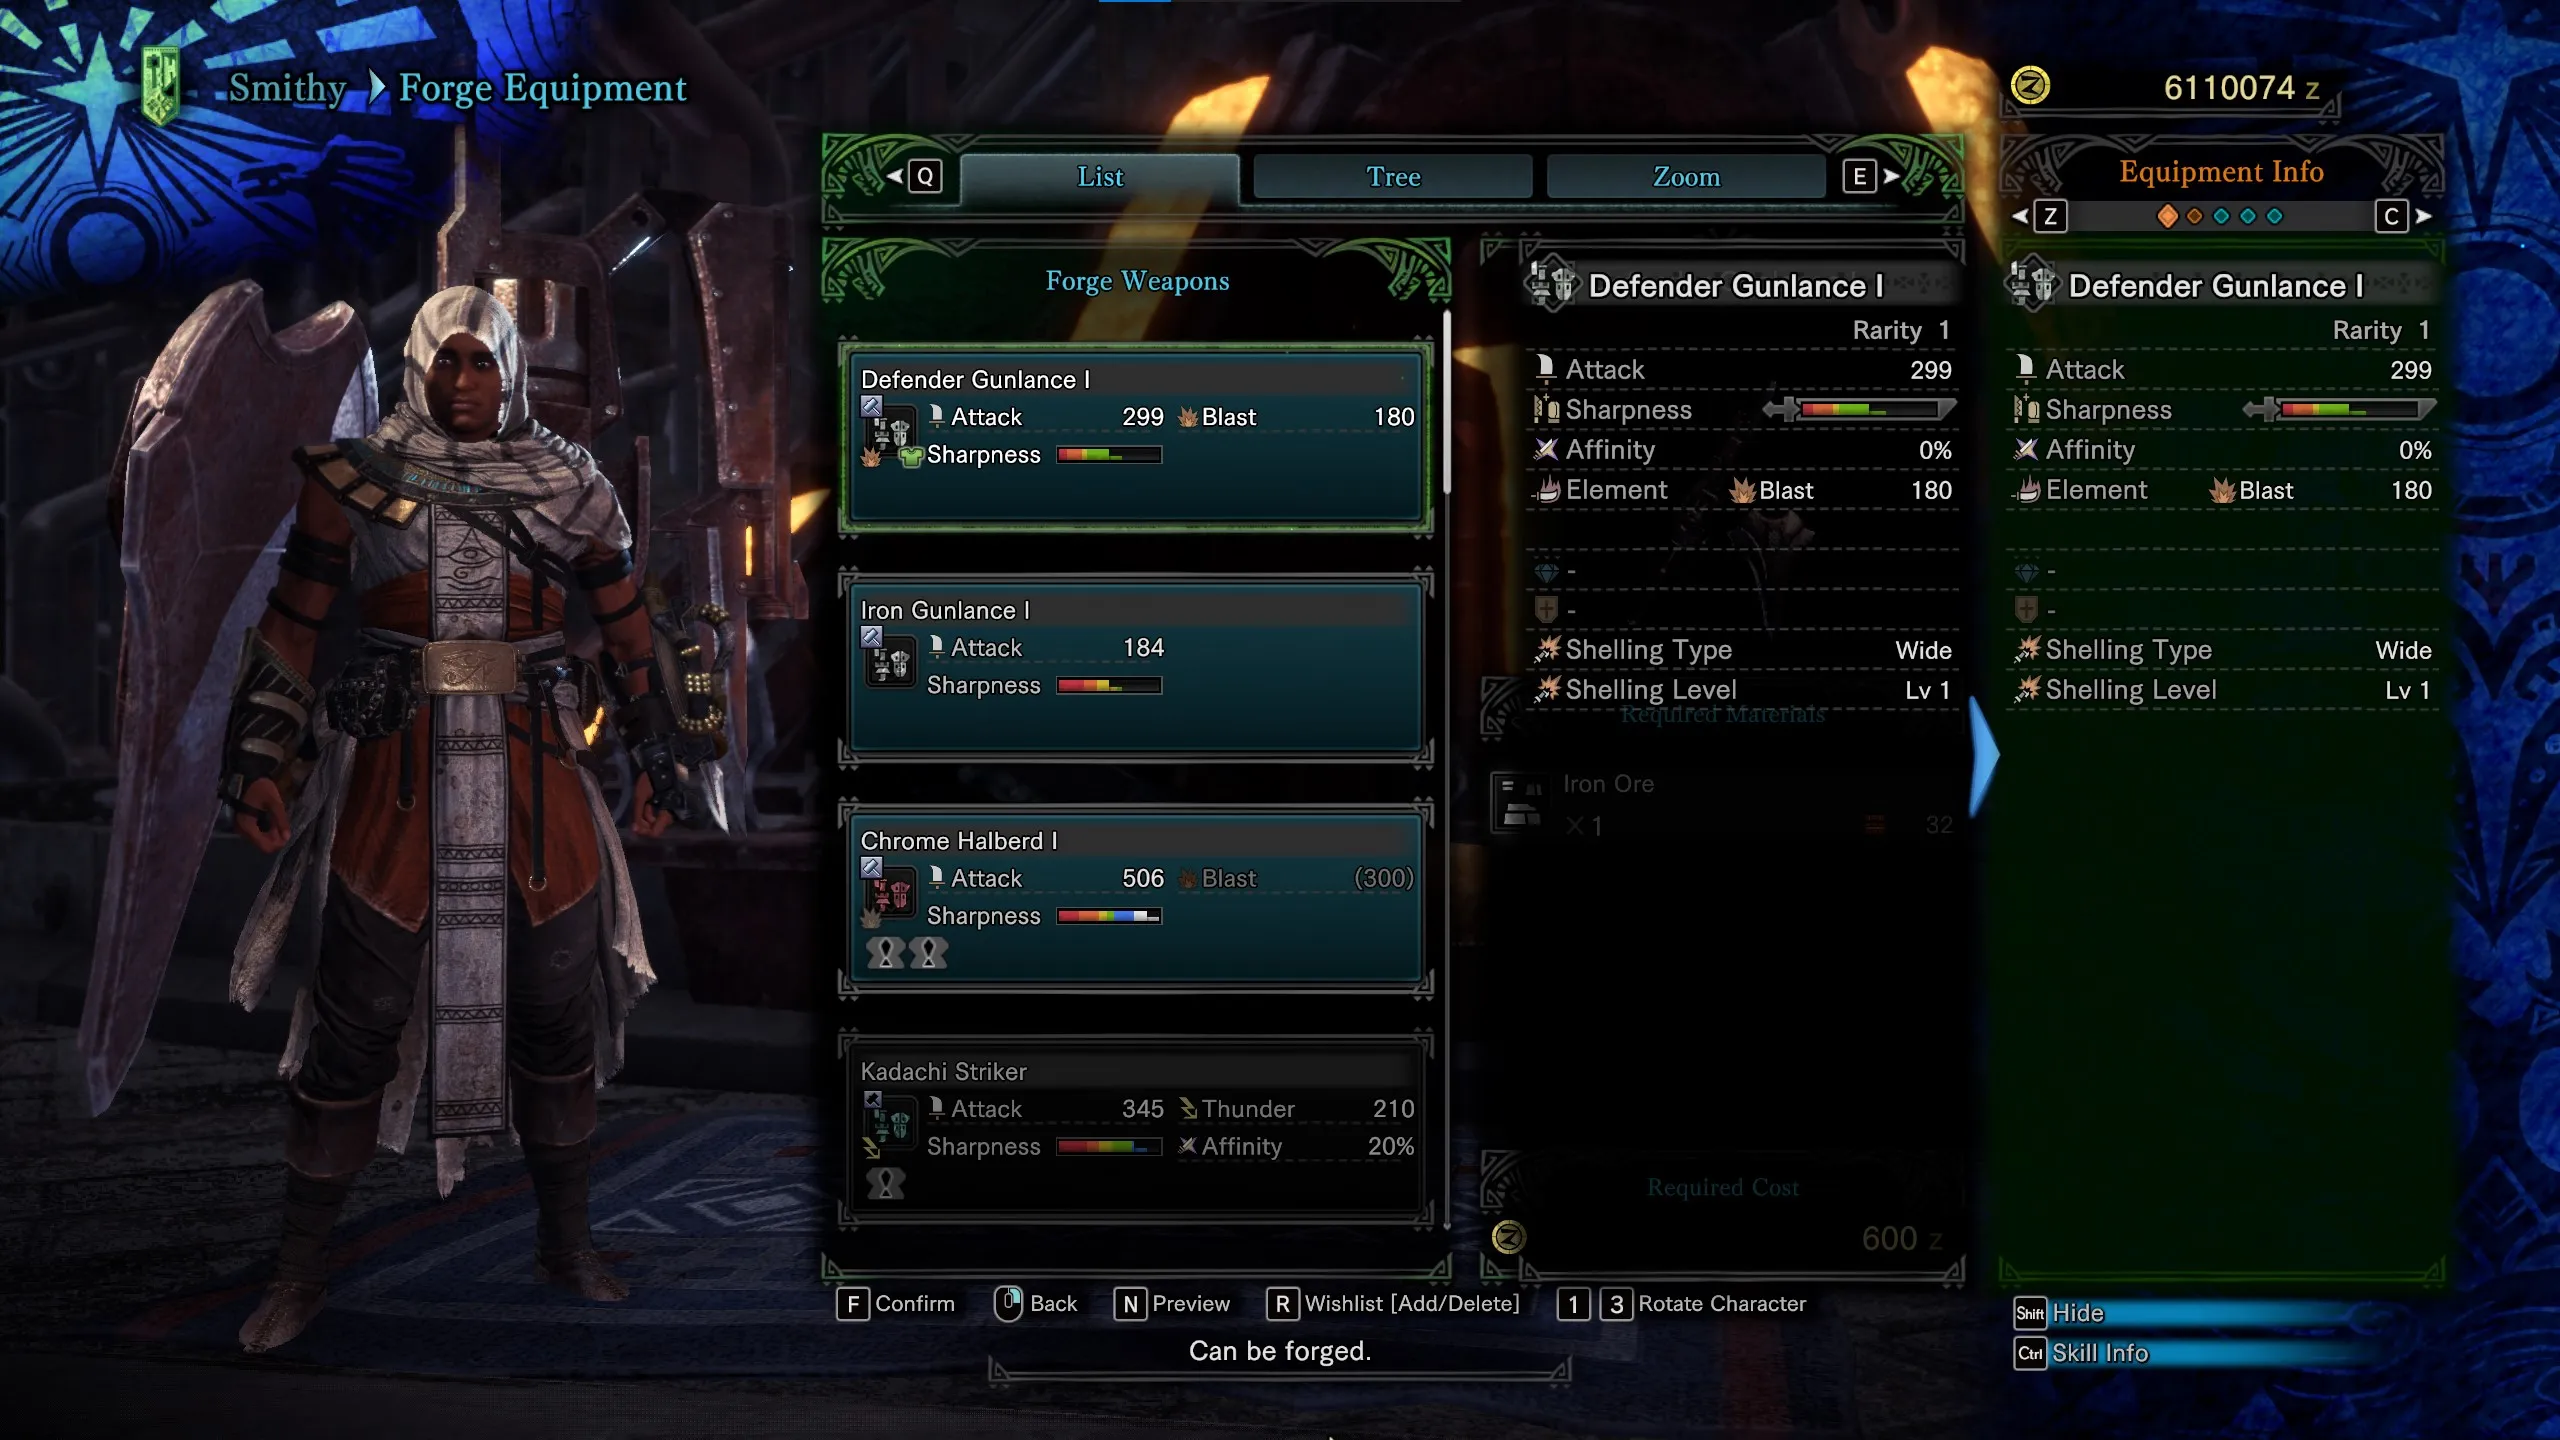
This build covers everything from the start of the game till the end of the base game before you get to Iceborne content. Even though the Guardian set is good enough to carry you till the expansion, for players looking for a challenge and a smoother transition to the late game, follow this build.
- Weapon: Taroth Buster “Poison”
- Helm: Dragonking Eyepatch Alpha
- Chestpiece: Nergigante Mail Gamma
- Gloves: Drachen Vambraces Alpha
- Leggings: Nergigante Coil Gamma
- Boots: Nergigante Greaves Gamma
- Charm: Handicraft Charm III
- Tools: Impact Mantle, Rocksteady Mantle
- Jewels: Sharp, Tenderizer, Artillery, Mighty, Flawless, Elementless, Magazine
To make this build function, we have to take down the best that the base Monster Hunter: World has to offer. This means hunting Arch-Tempered Nergigante for most of the armor, bringing your group together to take down Behemoth, and finally, completing some Kulve Taroth runs for your weapon. It will take quite a few runs to get them all, but the build is worth it.
In terms of Jewels, since this build focuses on raw damage, we pick up the Elementless Jewel for even more non-elemental damage. If you need extra capacity for shelling purposes, the Magazine Jewel will grant you the Capacity Boost skill. Artillery Jewels are best used to max out your Artillery skill, while Tenderizer Jewels are a great fit in any build for the Weakness Exploit skill.
Sharp Jewels will give the Gunlance white sharpness, making sure the weapon doesn’t degrade too quickly. To round up the Jewels, we add Mighty Jewels and Flawless Jewels to grant us maxed-out Maximum Might and Peak Performance, respectively.
If you’re not keen on using the Guardian set, getting these pieces is a great alternative. However, the pieces only become available toward the end of the base game’s content. That said, this build is so powerful that it can carry you through most of the pre-Iceborne content and some of the early Iceborne battles till you can farm up parts for the mid game build.
The Gunlance: Mid game build
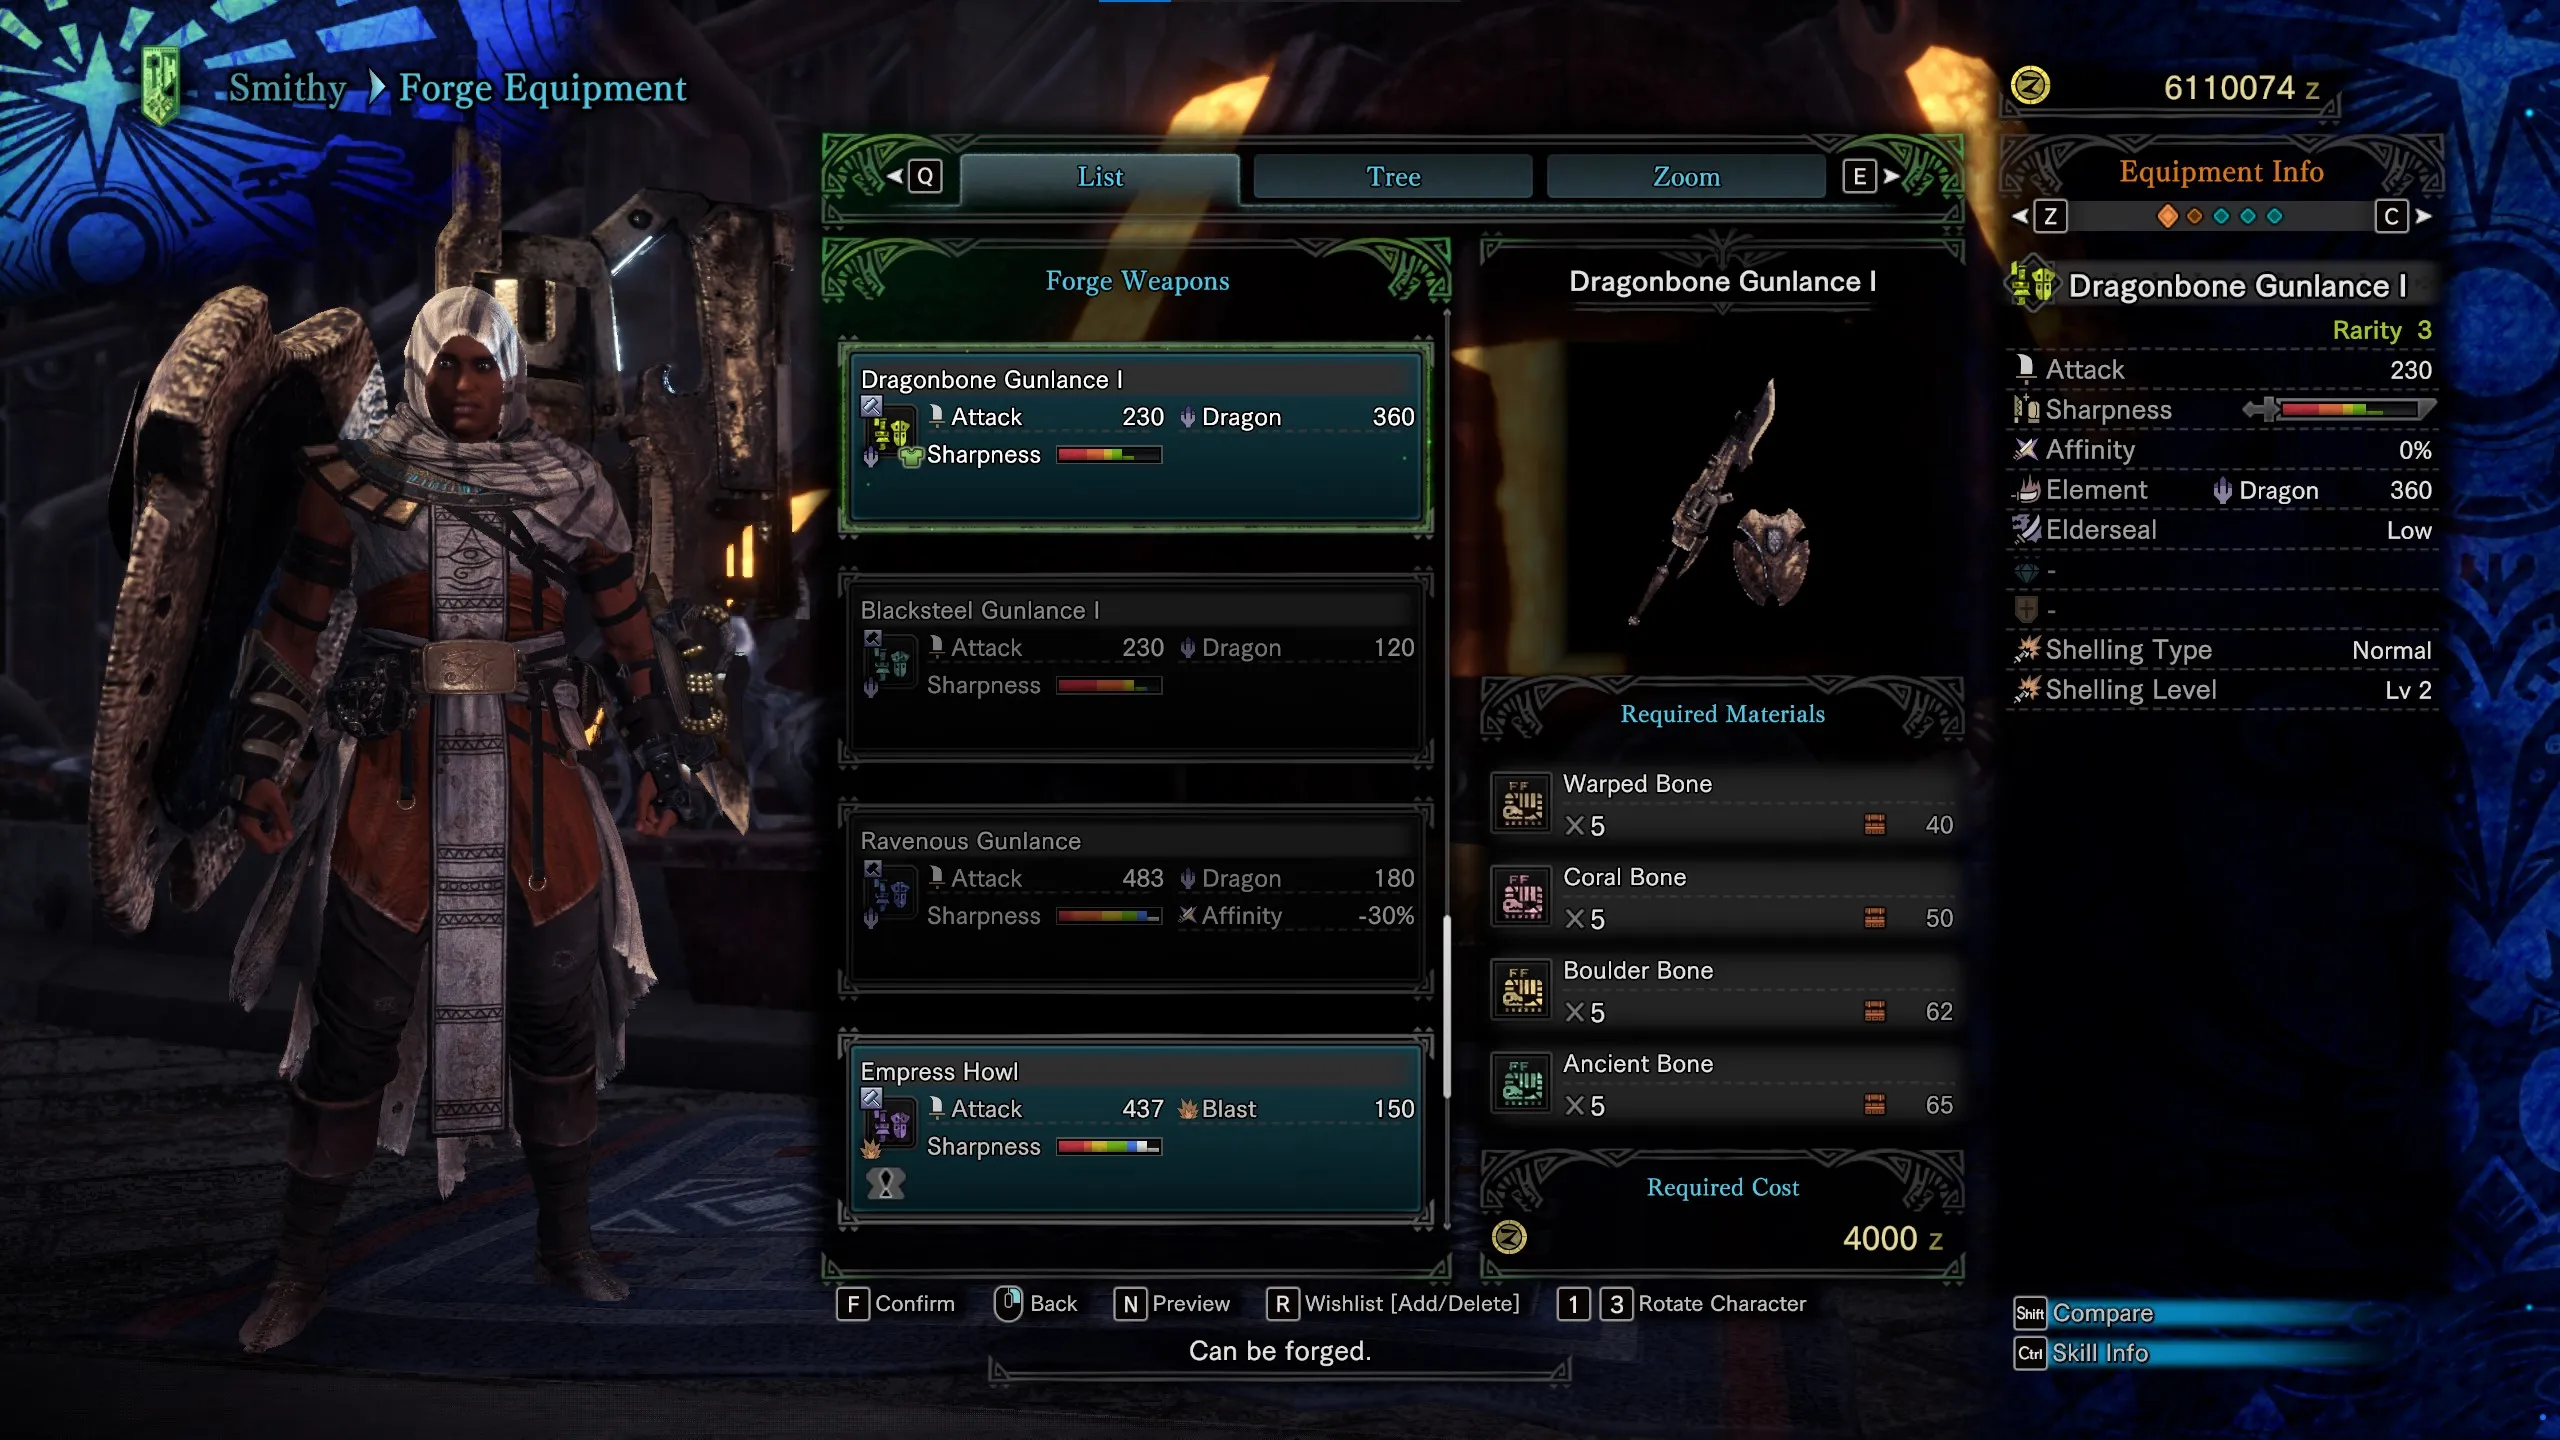
This build can be used from the start of Iceborne since its components use parts from a monster found at the beginning of the expansion: Banbaro. Kill, or ideally capture, the monster enough times to farm these specific components to complete this build.
- Weapon: Glutton’s Fang II
- Helm: Banbaro Helm Beta+
- Chestpiece: Banbaro Mail Alpha+
- Gloves: Banbaro Vambraces Alpha+
- Leggings: Banbaro Coil Beta+
- Boots: Banbaro Greaves Beta+
- Charm: Artillery Charm III
- Tools: Impact Mantle+, Rocksteady Mantle+
- Jewels: Sharp, Elementless, Attack, Enduring, Magazine, Vitality, KO, Protection
For this build to succeed, we use the five-piece Banbaro set for its bonus and the Great Jagras Gunlance. Both of these monsters can be fought at the start of Iceborne, making these parts easy to acquire. Preferably capturing these monsters three or four times should net you everything you need. You can stick with the early game build till you get every piece for this build.
Just like the early game build, this build also uses no element, allowing you to take down every monster type in the game with raw damage. However, if you feel like you’re lacking damage, feel free to switch to an elemental Gunlance to mix it up by targeting monster weaknesses for specific hunts.
In terms of Jewels, you can use a lot of the ones listed in the early game build. However, once you get to this point, you might want to upgrade with some new ones. We pick up Enduring Jewels for the Item Prolonger skill, allowing you to make the most of your curative items. Vitality Jewels are a good addition to any build, increasing your maximum health and improving your survival.
The addition of the Artillery Charm boosts your shelling potential even further compared to the early game build, allowing you to use more shells when combined with Magazine Jewels. Finally, we add Protection Jewels for defensive purposes to complete this build.
The Gunlance: End game build
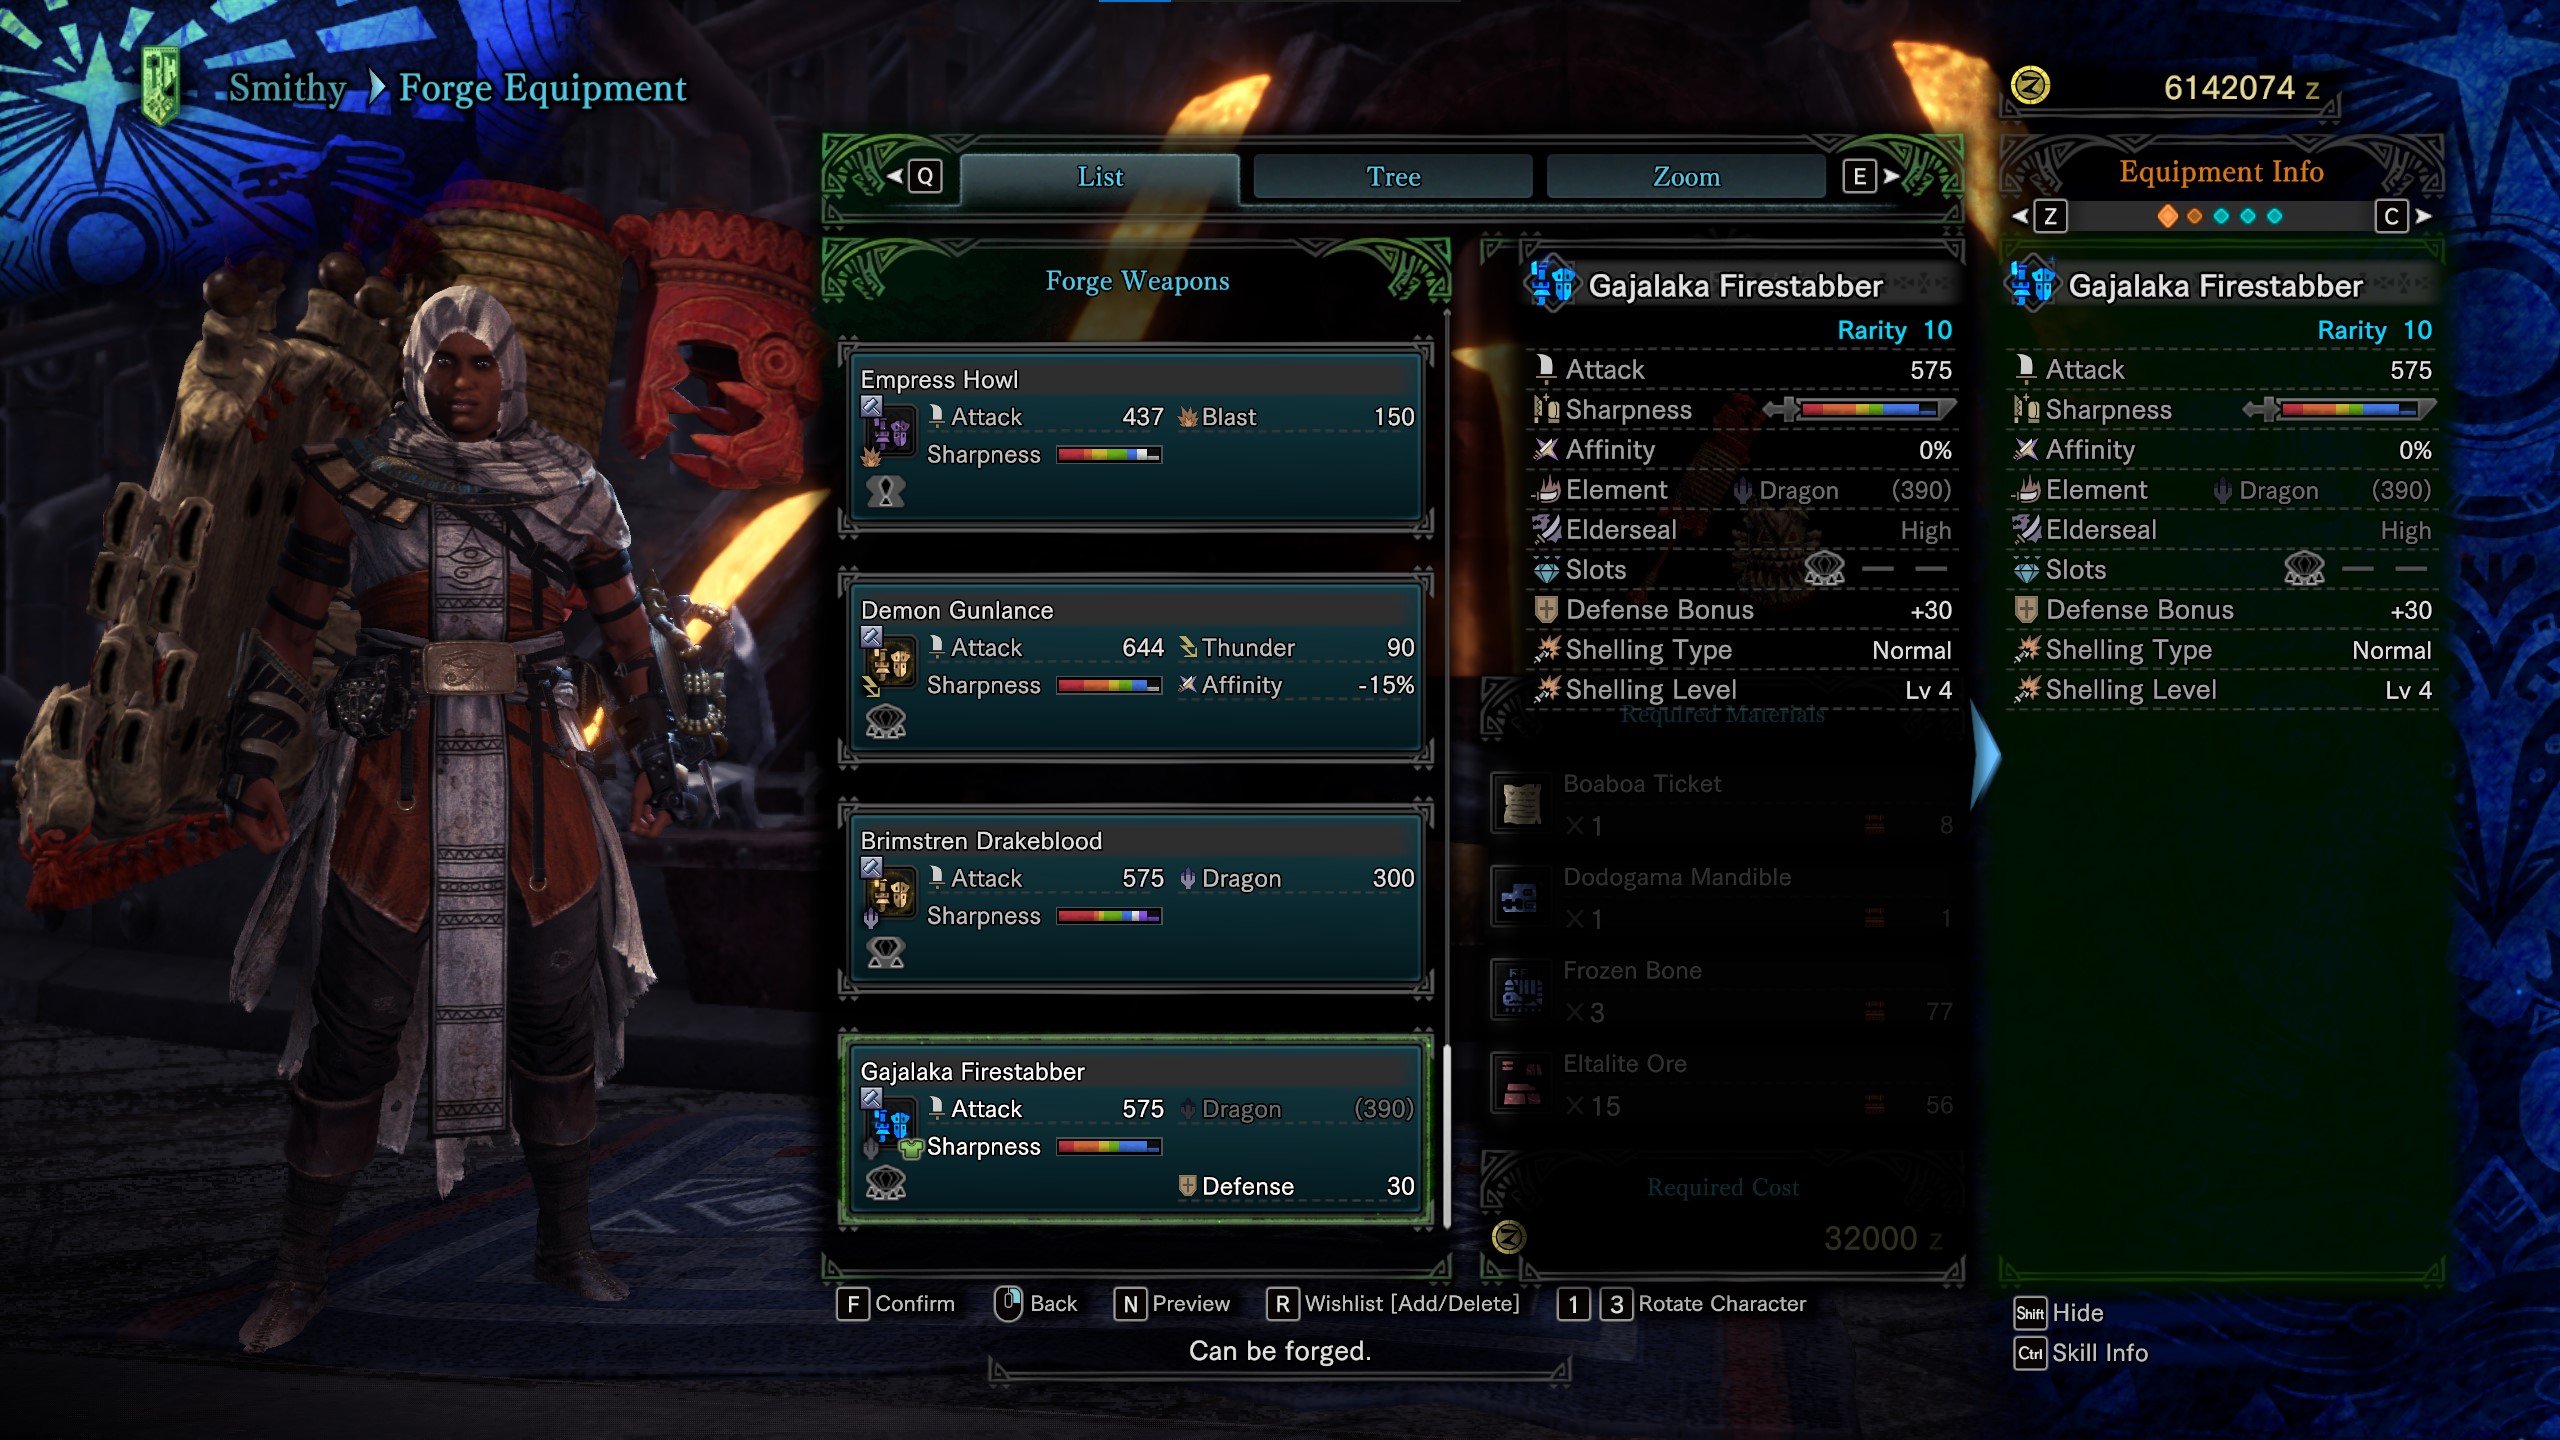
This build brings out the best in your Gunlance, only topped by special endgame monsters like Alatreon and Fatalis. To hunt them, however, this build should carry you and your party to a successful hunt by providing a great mix of offense and defense from the best Iceborne has to offer.
Get ready to take down Iceborne‘s biggest and baddest monsters from the Guiding Lands to acquire these pieces.
- Weapon: Kjarr Buster (element based on preference)
- Helm: Safi Crested Crown Beta+
- Chestpiece: Safi Crested Chest Alpha+
- Gloves: Safi Crested Vambraces Beta+
- Leggings: Safi Crested Belt Beta+
- Boots: Safi Crested Boots Beta+
- Charm: Fury Charm V
- Tools: Rocksteady Mantle+, Temporal Mantle+
- Jewels: Evasion, Tenderizer, Vitality, Expert, Magazine, Sharp, appropriate element Jewels
This is it, a powerful endgame build that should carry you to Alatreon and Fatalis. Unlike the previous builds, this one will focus on elemental damage with your Gunlance, so make sure to have multiple weapons ready depending on the element you need for your hunt. Kjarr weapons require multiple Kulve Taroth sieges so be ready for some long runs.
The rest of the gear in this build involves the other siege in Iceborne, Safi’Jiiva. Best done with as many people as possible, take down the massive world-ending beast several times to pick up its entire five-piece set. The set bonus is quite amazing for your damage output, with the Resentment skill granting you bonus raw damage every time you have red portions in your health bar.
The Jewels for this build are more or less similar to the older builds. The only major variations here are switching different elemental attack Jewels in and out depending on your Kjarr weapon of choice. Target a monster’s elemental weakness with the appropriate Jewel and weapon combination.
This build is also more offense-oriented, as you may have noticed with the lack of defensive Jewels. This is because we are working with a maxed-out Evade Window skill to improve our dodging capabilities, which means we will have to be as mobile as possible.
Finally, Blight Resistance also allows you to negate most elemental blight effects that endgame monsters possess, making for easier hunts. The only gear that can outperform this build is the Alatreon and Fatalis sets, which we will be farming using this build in the first place.
While other builds work using the Gunlance, these builds make it easier for you to rush through the game till you make it to the Guiding Lands. Once here, you can farm up different components and create the ideal endgame build of your dreams, so go wild.






Published: Jan 9, 2024 08:39 am