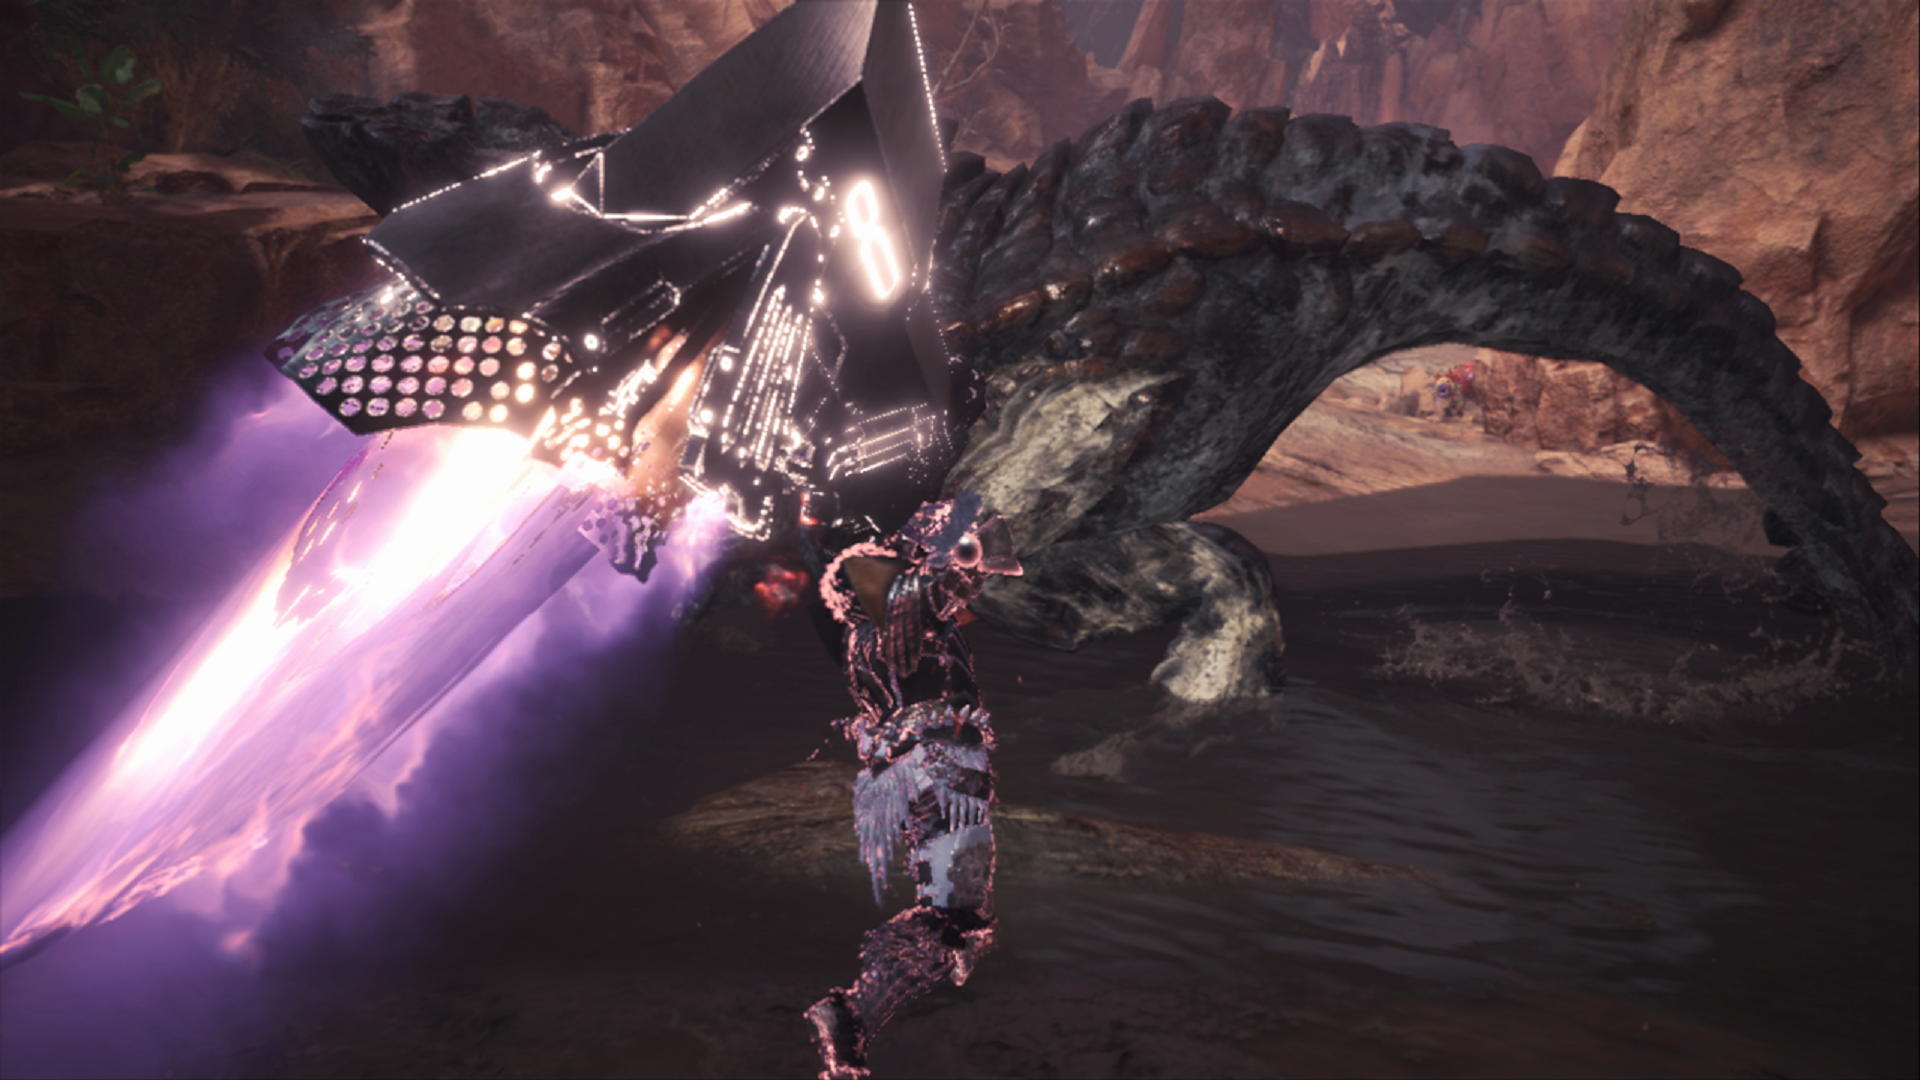
Monster Hunter: World gives you lots of freedom when it comes to weapons. Among the 14 weapons to choose from, one of the most enjoyable and hard-hitting weapons is the Great Sword. It takes a while to get used to this hunk of iron, but once you do, you’ll cleave through every major enemy.
The Great Sword: Weapon basics
The Great Sword isn’t the most popular weapon, especially when you compare it to its brother, the Long Sword. But what the Great Sword lacks in flashiness, it makes up for in pure power. One of the best weapons to stack raw damage, the Great Sword has a huge skill cap that pays off at higher levels. Not to mention, it’s Asmongold-approved.
Like all other weapons in Monster Hunter: World, the Great Sword comes with its unique set of skills and moves. Due to the weight of the weapon, your attacks are quite slow, but each hit packs a punch. Because its sheer size, the Great Sword provides an adequate defensive option by letting you block as you can block with the edge of the blade.
In terms of offense, every consecutive hit made with the Great Sword charges up the weapon. These slashes can charge up your Great Sword three times, and you can follow up with a finishing move called True Charged Slash, which releases all the built-up power in one explosive attack. Additionally, you also have access to Tackle, a great defensive move you can use offensively with proper timing.
Now that you know what you’re dealing with, we showcase the best builds for your Great Sword.
Best Great Sword builds in Monster Hunter: World
With the variety of gear options available in Monster Hunter: World, finding the best Great Sword build can be quite daunting. Fret not, because there is no singular best build for any weapon in the game. Similar to our Gunlance build, we present three different builds covering different parts of the game, depending on where you are currently playing.
- Early-game build: Covers all the content up to Xeno’Jiiva.
- Mid-game build: Covers all the content up to Shara Ishvalda.
- Endgame build: Covers all the content from the Guiding Lands and beyond.
If you’re at or near Xeno’Jiiva, or simply farming up Arch-Tempered Elder Dragons, stick with the early-game build. If you’re venturing into Hoarfrost Reach and want to make your way up to Velkhana and beyond, the mid-game build should have you covered. Finally, once you’ve completed the main story and want to farm the Guiding Lands, the endgame build will show its true power.
As always, the original ideas for these builds come from the minds of experts like Darcblade.
The Great Sword: Early game build
The early game build covers all your Great Sword needs with components gathered from the strongest monsters the base game has to offer. These pieces can help you farm any monster before Iceborne tackle some early-expansion monsters. This is what a complete early-game build should look like.
- Weapon: Wyvern Ignition “Impact”
- Helm: Kaiser Crown Gamma
- Chestpiece: Nergigante Mail Gamma
- Gloves: Drachen Vambraces Alpha
- Leggings: Nergigante Coil Gamma
- Boots: Nergigante Greaves Gamma
- Charm: Focus Charm II
- Tools: Impact Mantle, Rocksteady Mantle
- Jewels: Attack, Tenderizer, Charger, Handicraft, Flawless, Elementless, Expert
Similar to most other early-game builds, getting the best pieces of gear involves hunting the powerful AT (Arch-Tempered) Nergigante multiple times to acquire the necessary components. You can craft the Kaiser Crown using parts from AT Kushala Daora, while the Drachen Vambraces come from hunting the powerful Behemoth. We recommend bringing a party along for the latter.
The weapon is the real star of this build. The Wyvern Ignition series of weapons, also known as the “Rocket Powered Great Sword,” is a set of Great Swords crafted using multiple rare items, and they pack a massive punch. That said, they are overshadowed by better weapons in Iceborne, but since this build only works for the early game, it slots in perfectly.
When it comes to necessary Jewels for this build, we focus on raw damage with no element. As such, Elementless Jewels grant us bonus damage for not using an element. To augment the damage output of this weapon further, pick up some Tenderizer Jewels for the Weakness Exploit skill and Attack Jewels to boost your attack even further.
Charger Jewels grant you a maxed-out Focus skill to fill out your weapon gauge even faster. Handicraft Jewels add more weapon sharpness, helping you inch closer to that coveted white sharpness level. Flawless Jewels grant you Peak Performance for even more damage, while Expert Jewels round off the build by giving you levels in Critical Eye to boost your affinity.
Note that most of these pieces are only available toward the end of the base game, so until you get to this point, we recommend using the Guardian set to carry you forward. Now, onto the mid-game.
The Great Sword: Mid game build
The early-game build can carry you through most of the early parts of Iceborne. That said, you’ll likely encounter some damage or survivability issues fairly soon because of the expansion power spike that the monsters get. This is where the mid-game build comes in, and every component uses parts from one aggressive Iceborne monster: Tigrex.
- Weapon: Tigrex Great Sword
- Helm: Tigrex Helm Beta+
- Chestpiece: Tigrex Mail Beta+
- Gloves: Tigrex Braces Alpha+
- Leggings: Tigrex Tassets Beta+
- Boots: Tigrex Greaves Beta+
- Charm: Exploiter Charm II
- Tools: Vitality Mantle+, Rocksteady Mantle+
- Jewels: Elementless, Attack, Enduring, Tenderizer, Satiated, Vitality, Critical, Protection
Tigrex is quite a powerful monster in its own right, which makes its gear even more fearsome. The Tigrex Great Sword is a heavy hitter with no elemental damage, making it perfect for a raw damage build. The rest of the pieces in the Tigrex set grant some good defense with a boost to the Free Meal skill, boosting it up to level three, which is not normally possible.
Since every large monster hits quite hard at this level, we respond in kind. In this case, we do that with powerful Mantles. An upgraded Vitality Mantle is great for clutch defense, and an upgraded (if possible) Rocksteady Mantle will further negate damage. Alternatively, the Temporal Mantle can be quite handy against the right monsters.
The Jewels in this build should reflect its defensive nature as well, with some Vitality Jewels for the much-needed Health Boost skill. The Enduring Jewels boost Item Prolonger, making curative items much more potent in a pinch. Finally, the Protection Jewels grant us the all-important Divine Blessing skill, which gives us a chance to negate some incoming damage.
Let’s not forget about offense. While the Tigrex Great Sword is amazing in its own right, we get supporting Jewels to grant the weapon more power. Elementless and Attack Jewels work the same as in the early-game build, with Tenderizer Jewels softening up monster hides while Critical Jewels boost your damage output even further.
This build boasts a good mix of offense and defense to carry you to the endgame, where we’ll tinker with Safi’Jiiva and Kulve Taroth components.
The Great Sword: Endgame build
The final tier of upgrades is here. Now that you’ve completed the game and are in the Guiding Lands, you’ll want to take down the cream of the crop. Even more dangerous monsters like the Brute Tigrex, the Gold and Silver Rath duo, Rajang, Raging Brachydios, and the powerful Alatreon and Fatalis await you. Suit up and get ready for battle.
- Weapon: Kjarr Fellsword (Element based on hunt preference)
- Helm: Safi Crested Crown Beta+
- Chestpiece: Safi Crested Chest Alpha+
- Gloves: Safi Crested Vambraces Beta+
- Leggings: Safi Crested Belt Beta+
- Boots: Safi Crested Boots Beta+
- Charm: (any Element attack boost) Charm V
- Tools: Rocksteady Mantle+, Temporal Mantle+
- Jewels: Attack, Vitality, Charger, Evasion, Tenderizer, Protection, Sharp, Element attack Jewels
The final build on our list mixes up components from the two sieges in Iceborne: Safi’Jiiva and Kulve Taroth. Both of these hulking beasts preferably require a full team of experienced hunters to take down, but defeating them is worth it. A few completed Kulve Tarorth runs should net you the Kjarr Fellsword with an appropriate element that you need for this build.
In terms of armor, we hit up the Safi’Jiiva siege, which is an even more monumental event. This world-ender will take everything you have to defeat it, but doing so will grant you a variety of Safi’Jiiva weapons and components to build up your Safi Crested armor with. With enough runs, you should have the five-piece set ready for battle.
Not only is this set great for defense, but its Resentment skill will grant you bonus damage whenever part of your health bar turns red. Maintaining appropriate health levels is the key to mastering the gear’s set bonus.
When it comes to Jewels for this build, you should see a lot of similarities with our earlier builds. The only major difference here is the addition of Element attack Jewels and Element attack boost Charms. Since simple raw damage won’t cut it against the likes of endgame baddies like Alatreon, we need to mix in elemental damage to take them down.
Take your time to farm the items, because the end of Iceborne can be quite unforgiving. If you feel like you’re lacking defense, you can switch out some offensive Jewels for more defensive options.
Several builds work for the Great Sword, so don’t be afraid to experiment. Mixing and matching a variety of set bonuses and armors is one of the most enjoyable aspects of Monster Hunter: World, so we recommend using this guide to get there.


Published: Jan 21, 2024 07:27 am