
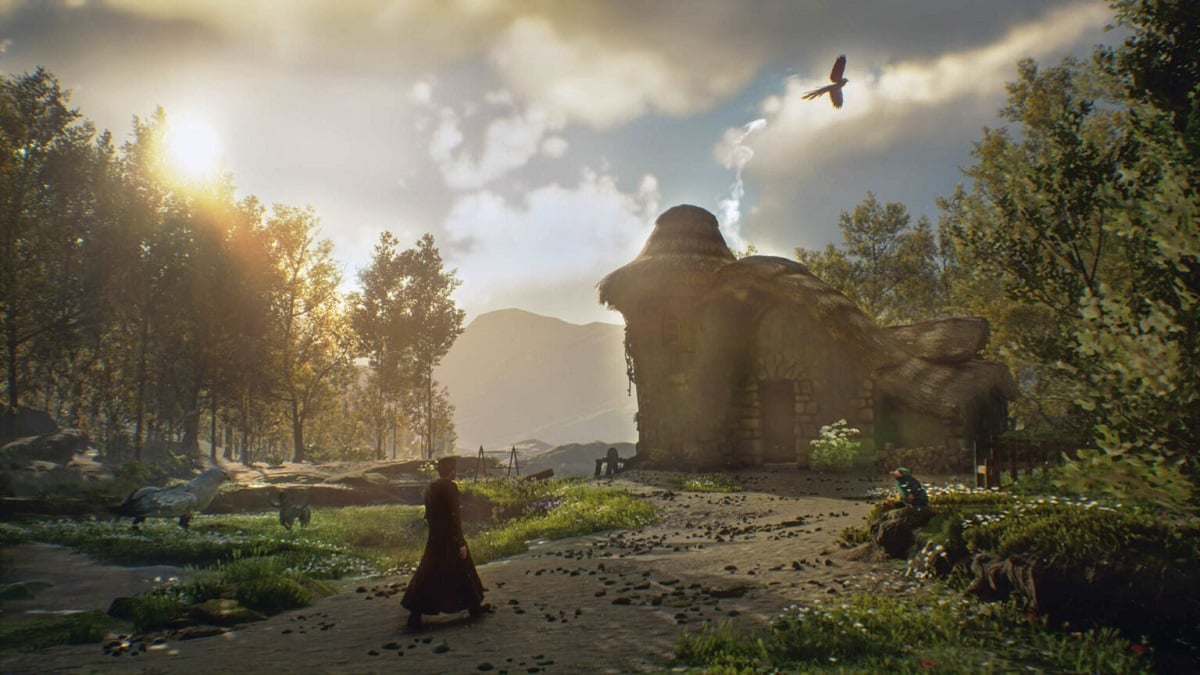
Hogwarts Legacy is an exciting open-world RPG filled with magic, mystery, and adventure. You start as a fifth-year exchange student at Hogwarts School of Witchcraft and Wizardry, where you can learn everything from how to brew potions and tame magical beasts.
You’ll also discover there are many challenging quests and puzzles for you to complete. One of those puzzles is called the Depulso Puzzle Room. And there are two of them.
In the first room, there are three puzzles and three chests for you to collect. But in the Depulso Puzzle Room Two, there are three puzzles you’ll need to solve. And in the end, you’ll get one chest and one collection chest.
So, how do you solve the Depulso Puzzle Room Two in Hogwarts Legacy?
Depulso Puzzle Room Two Walkthrough
The first part of this quest requires you to find Depulso Puzzle Room Two, so you’ll need to travel to the Transfiguration Courtyard in Hogwarts.
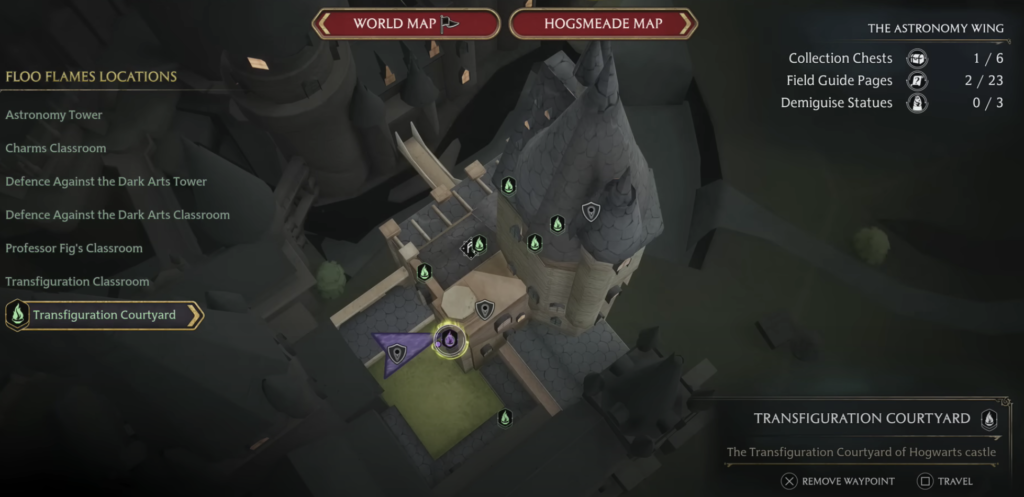
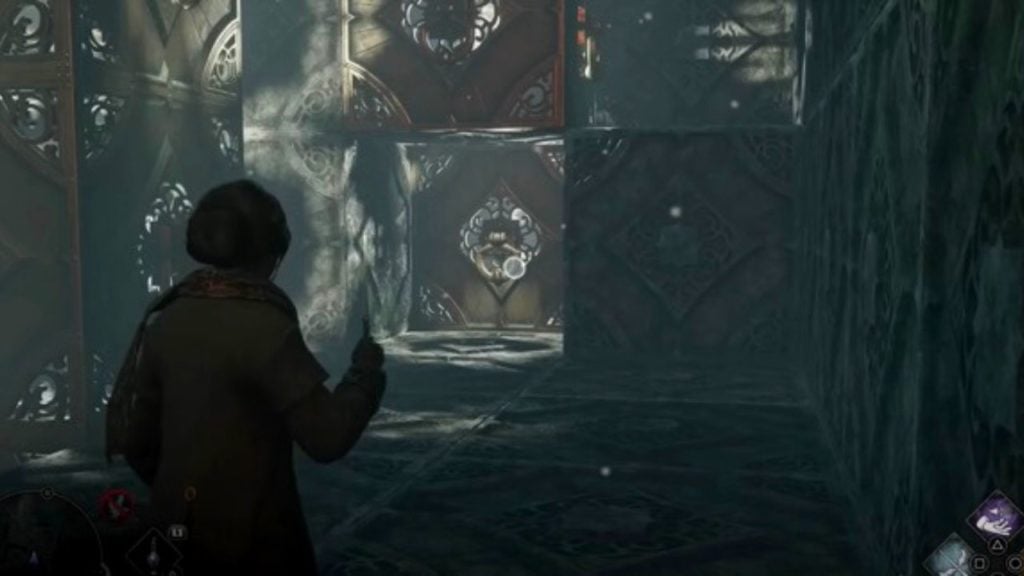
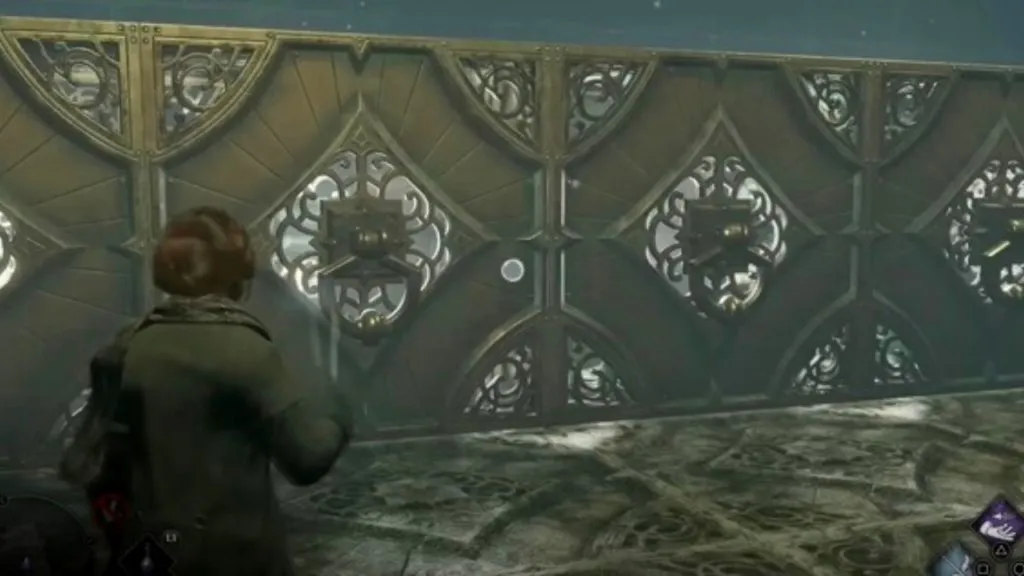
You must then go through the door right across the courtyard. Enter the building and continue straight until you reach the end of the hallway.
Go inside the classroom to the left of the suit of armor. And behind the teacher’s desk is a door that’s locked. You will need to cast Alohomora on the door to unlock it.
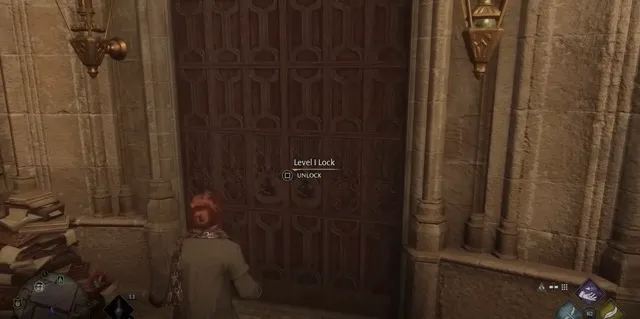
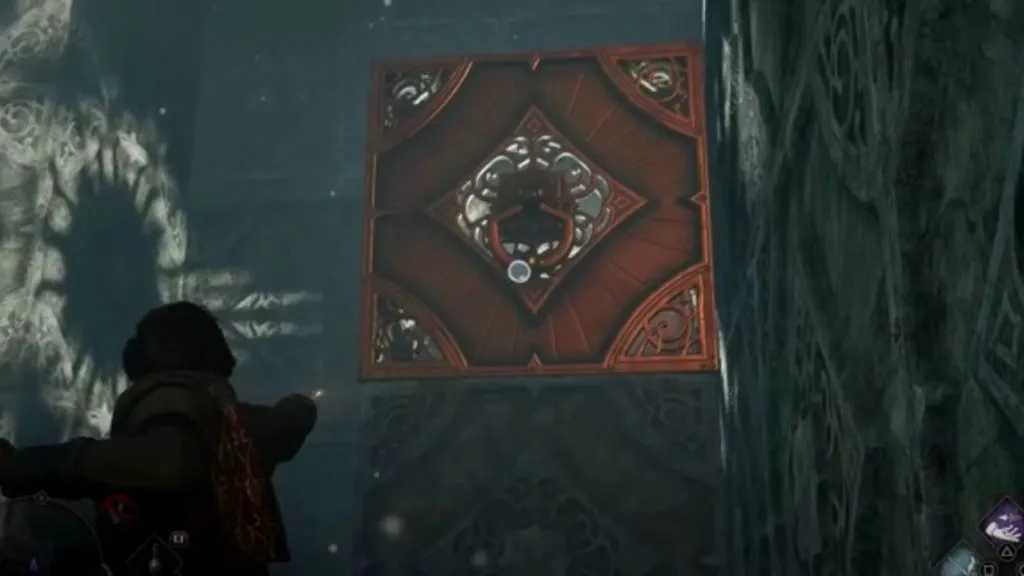
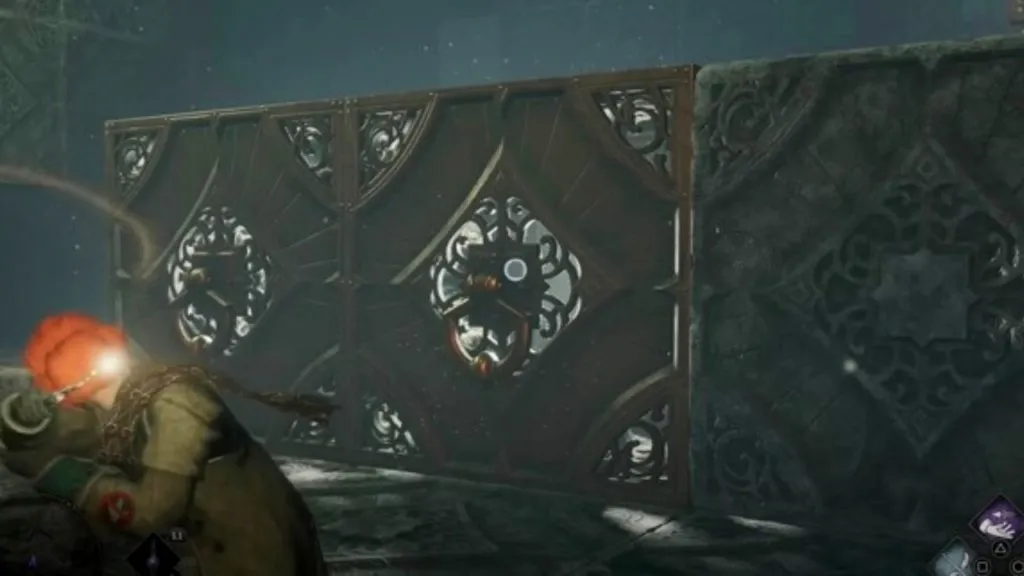
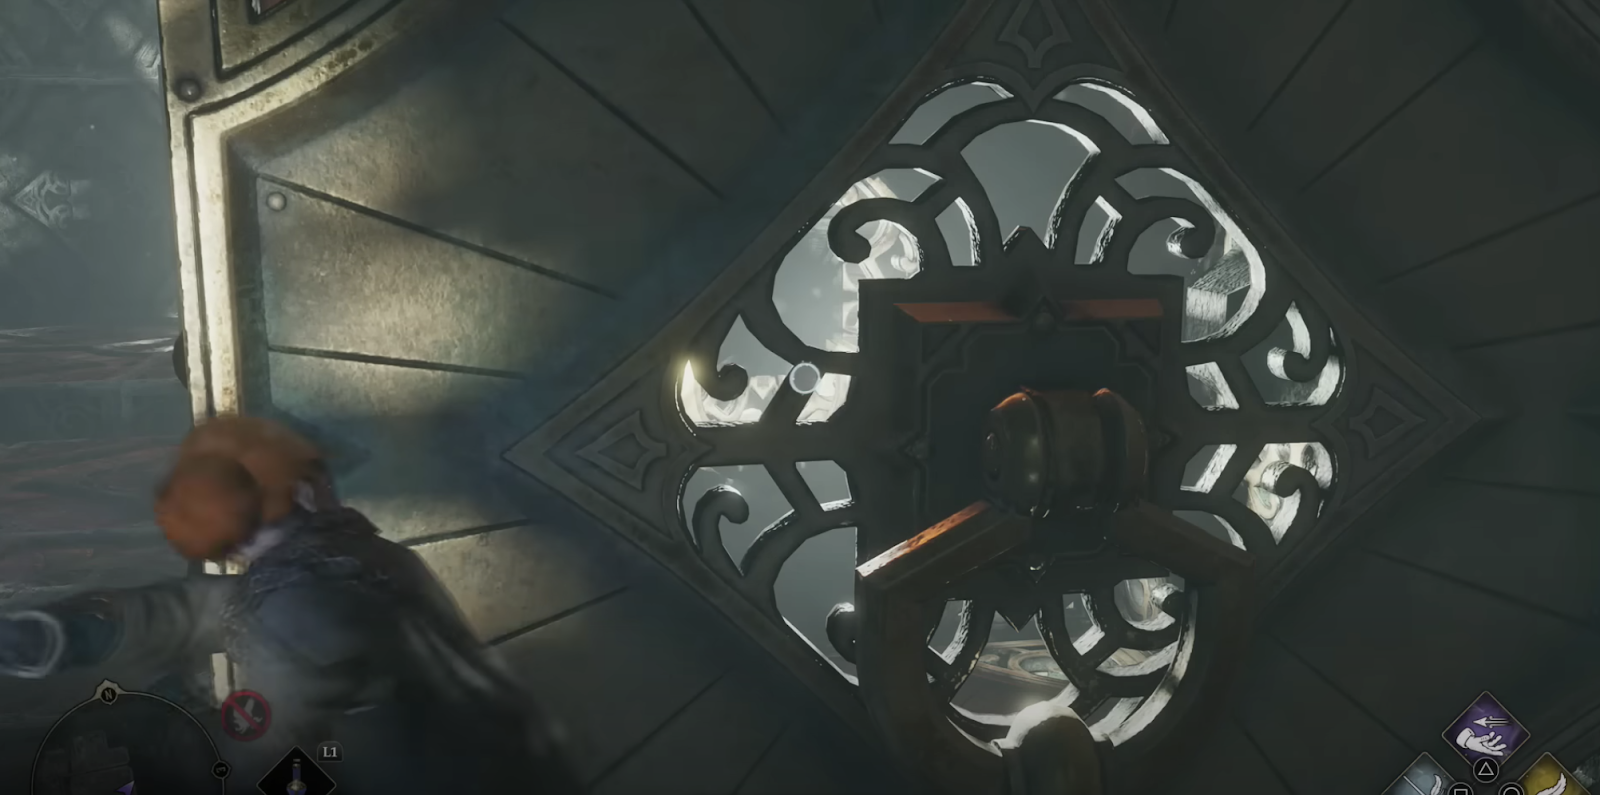
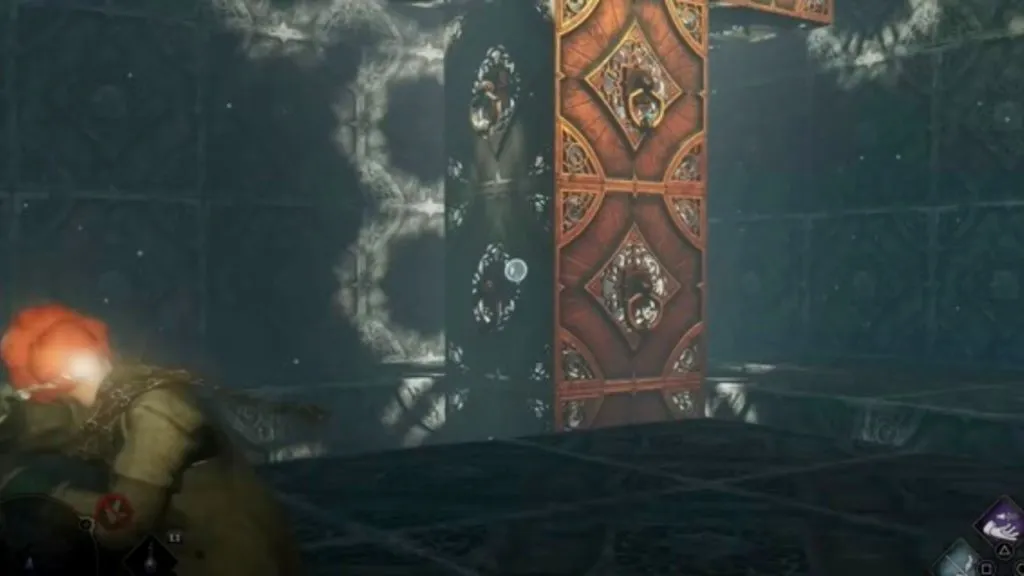
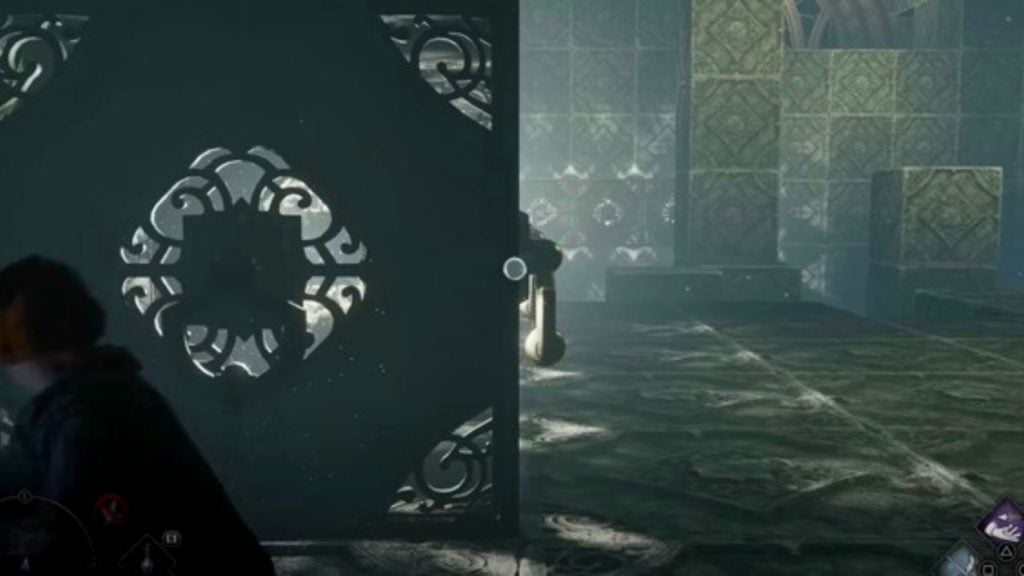
Once you’ve opened the door, continue down the corridor until you see a square with four cardinal points, and cast Depulso on it. This will open up a door to the second Depulso Puzzle Room.

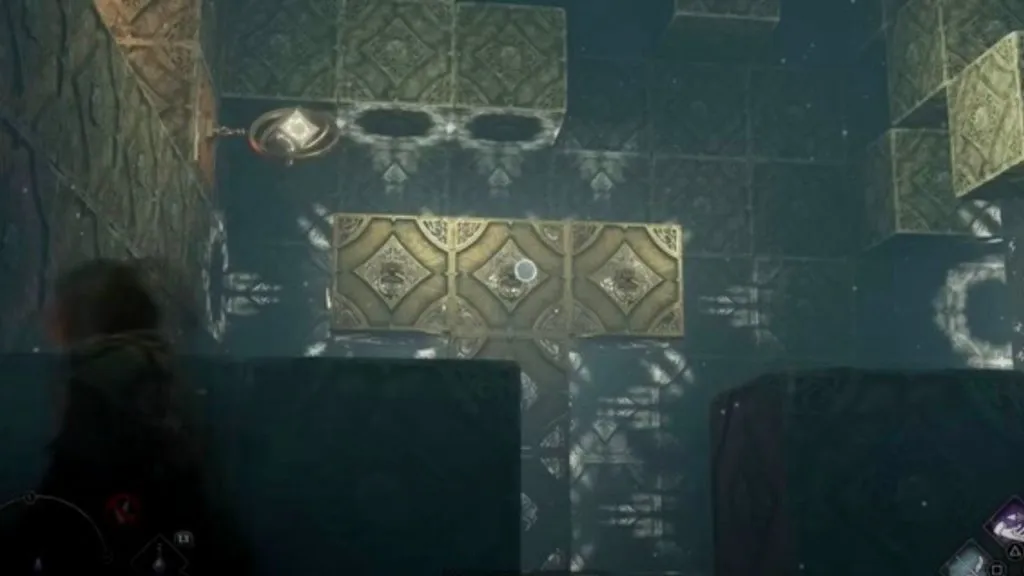
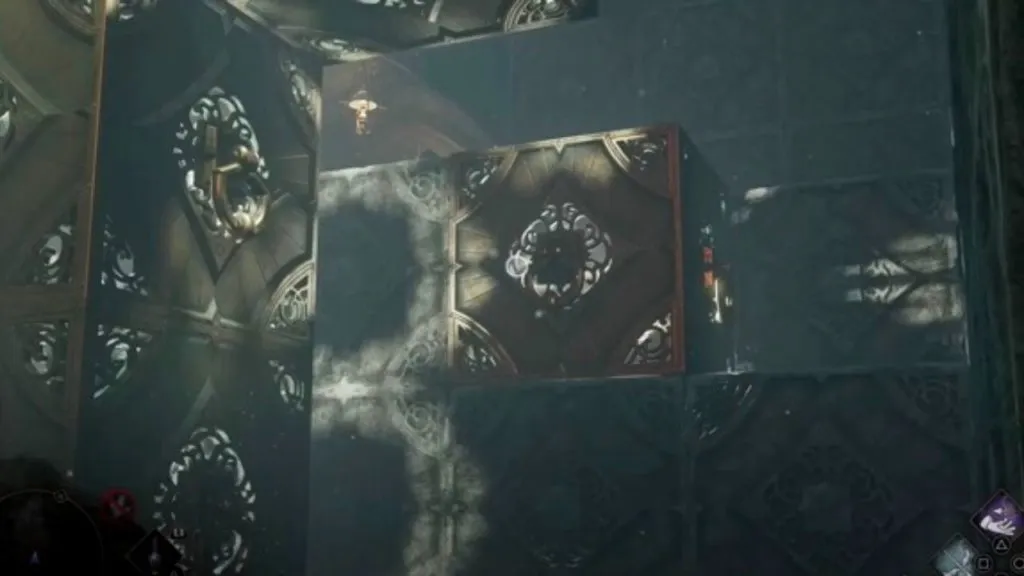
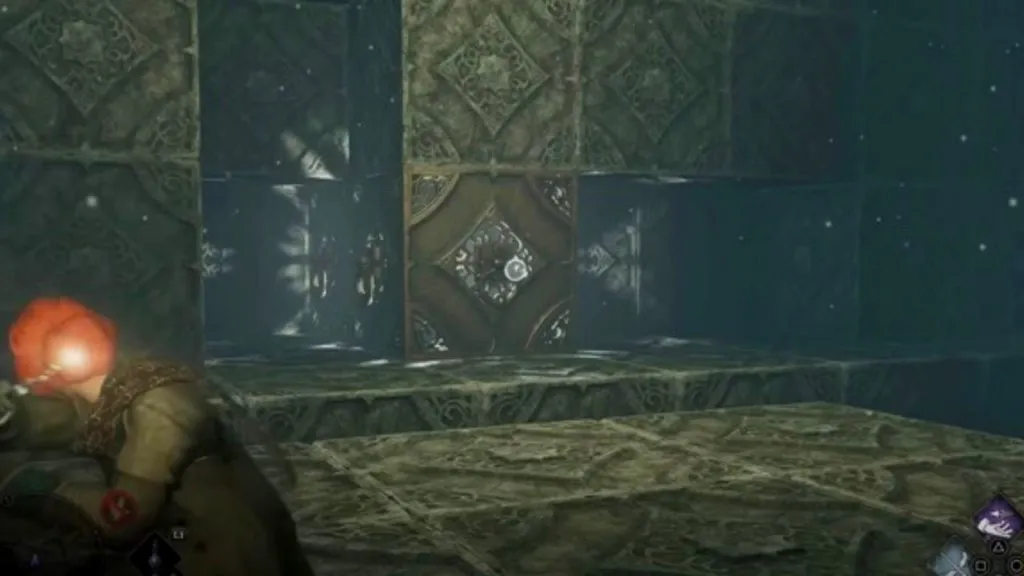
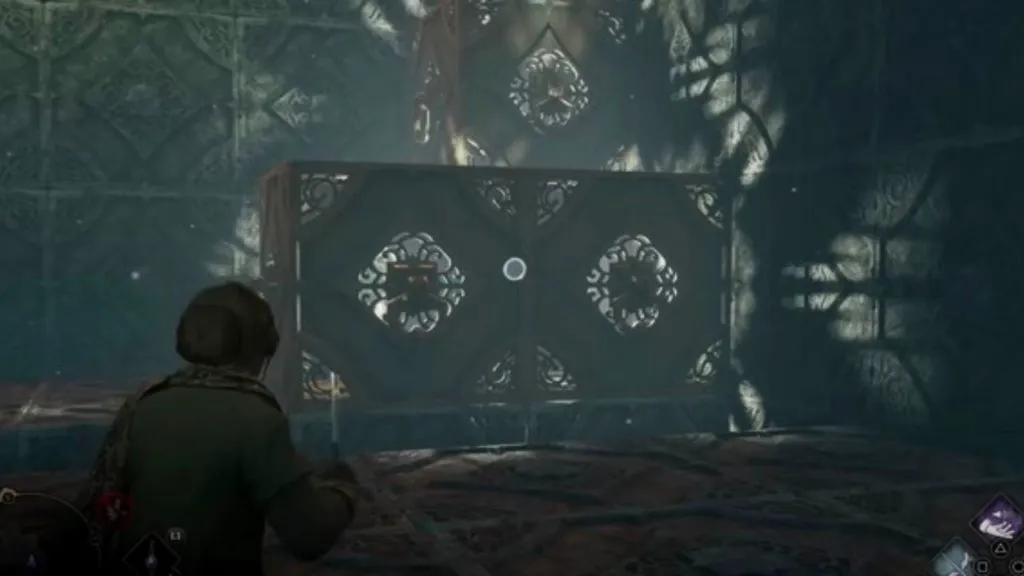
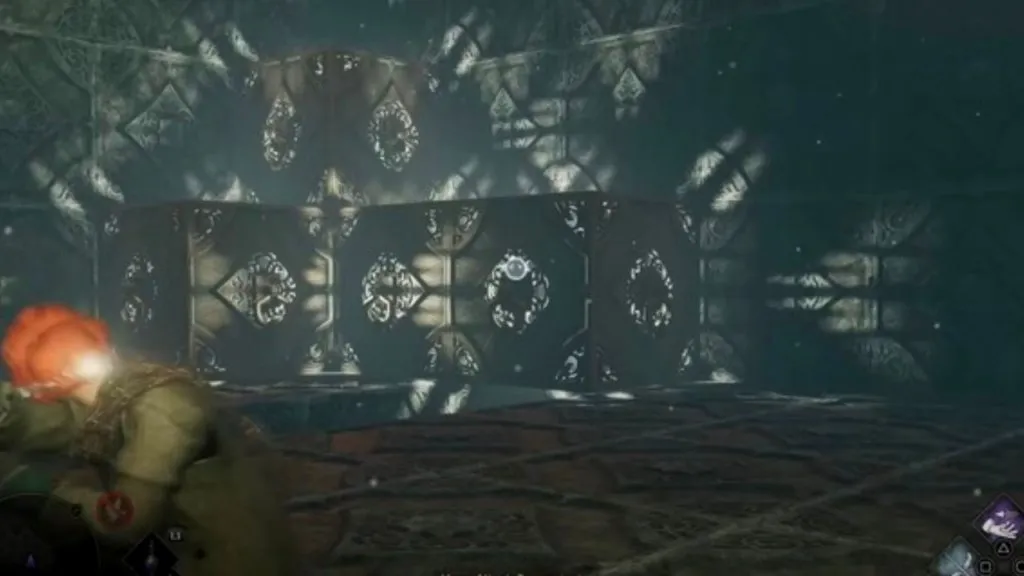
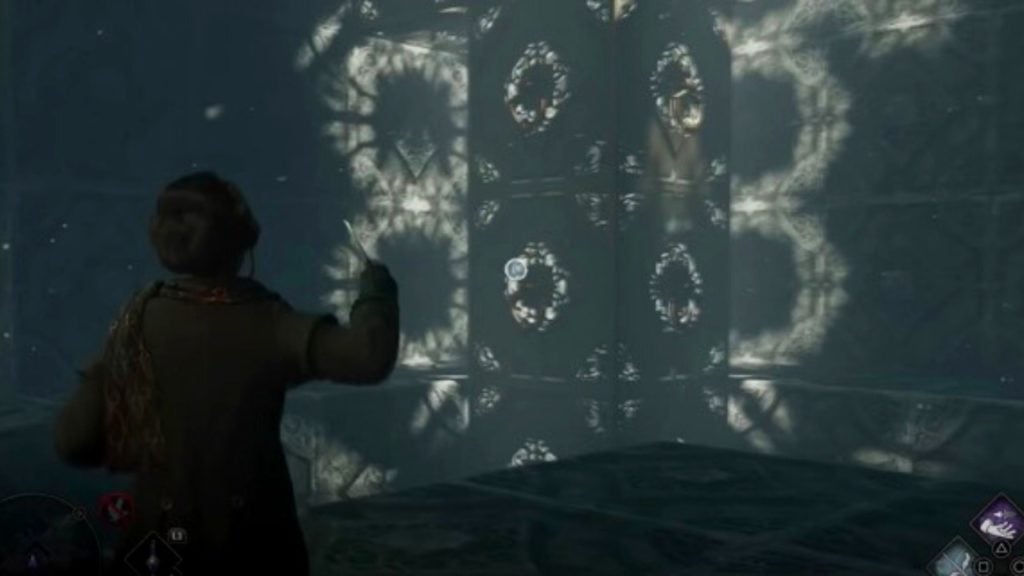
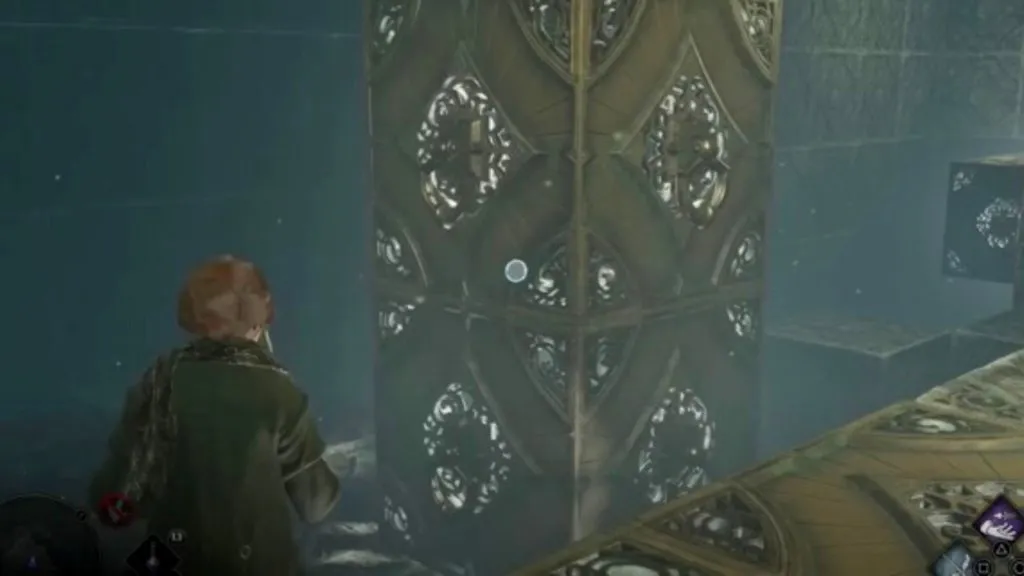
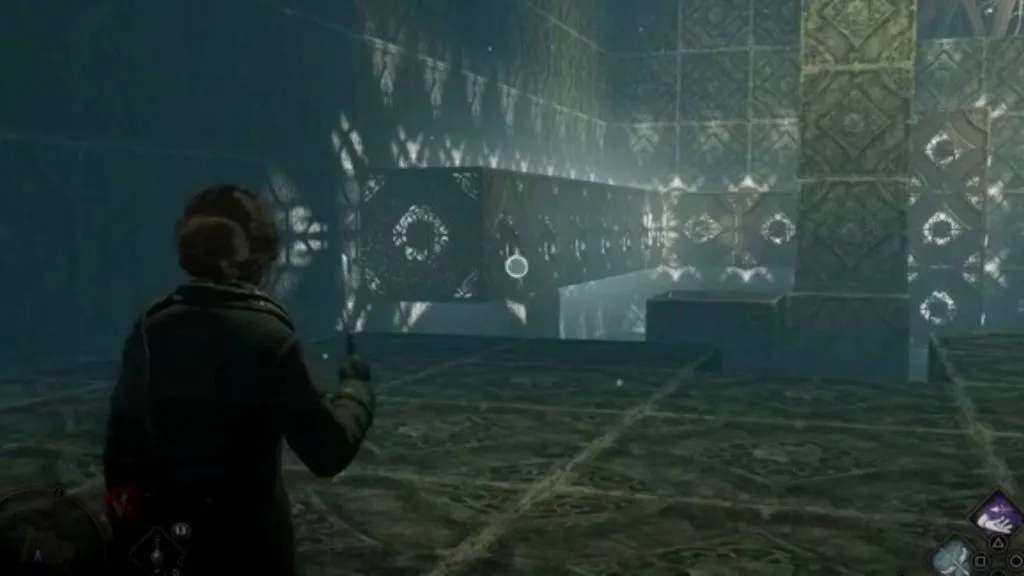
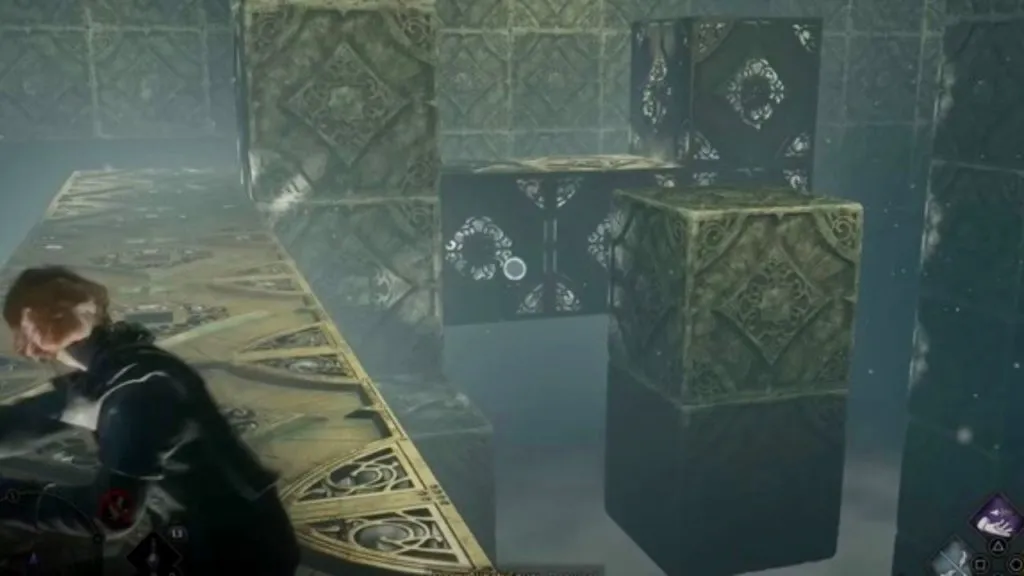
Continue onwards until you’re in the main room, where you’ll see all of the walls shifting. To get to the chests, you’ll need to complete three puzzles, which involve moving the blocks around the room so you can access the hard-to-reach areas.
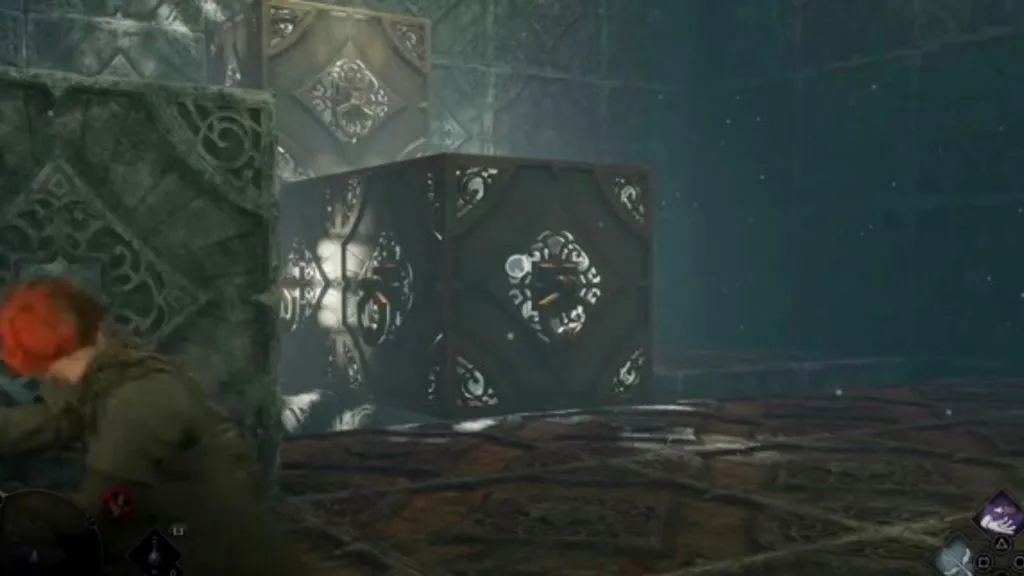
It’s important to note you must cast your spells on specific sides of a block to move it or push it in the desired direction. Make sure your aim is on point!
Depulso Room Two: Puzzle One for Chest One
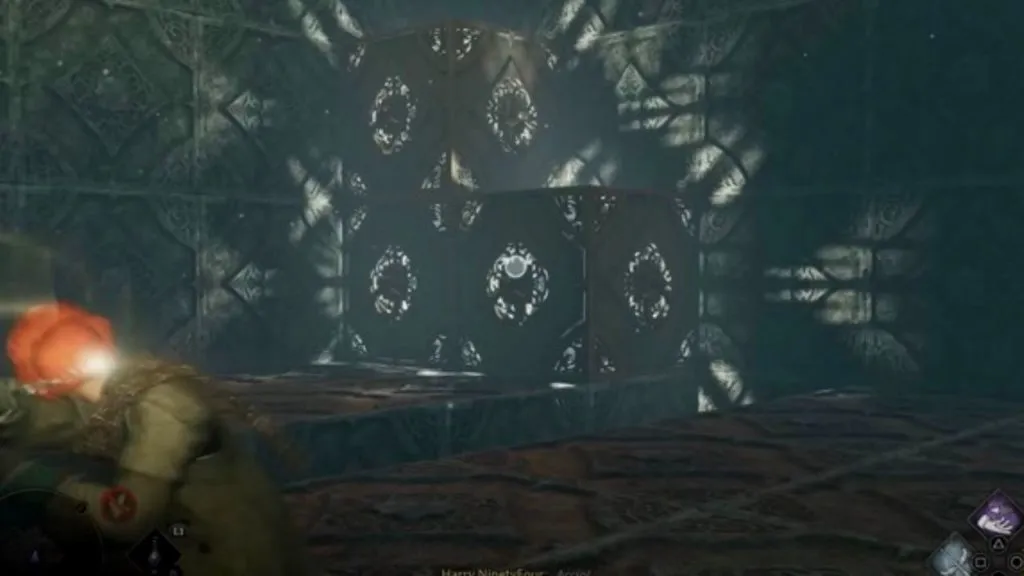
Jump off the left side of the entrance platform and onto the ground. At the back of the room, you’ll see blocks arranged in a T-shape. Cast Accio on the front of them to move them to you.
When you turn around, you’ll notice a single block right next to you. Cast Accio on the front of this single block to send it towards you and across the room.
Now, jump over the gap in the ground to the middle section. On the right side of the room, you’ll see two blocks joined together. Cast Accio on the front side of this block to bring it across the room, where it will hit a stationary block.
Cast Accio on the side of the blocks closest to you to pull them to the back wall.

When you turn around to face the back wall, you’ll see a single block to the left. Cast Depulso on the block to push it to the left wall.

Next, you’ll need to cast Depulso on the two joined blocks to push them along the back wall and beneath the top block. Move to the middle of the room and cast Accio on the front side of the three blocks to bring it across the room.
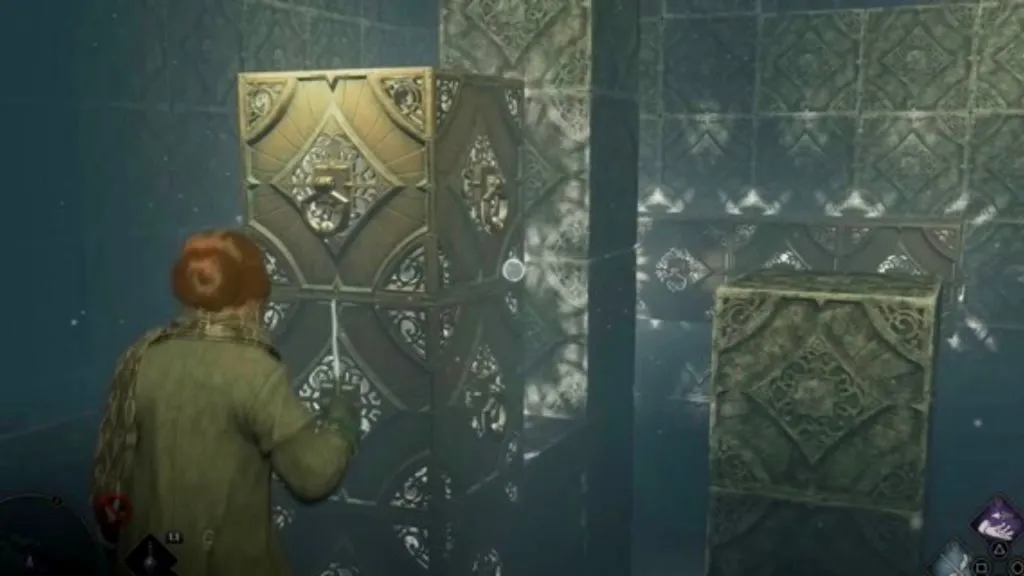
The blocks will hit a stationary block that’s against the left wall. You can now climb on top of the stationary block on the middle platform.

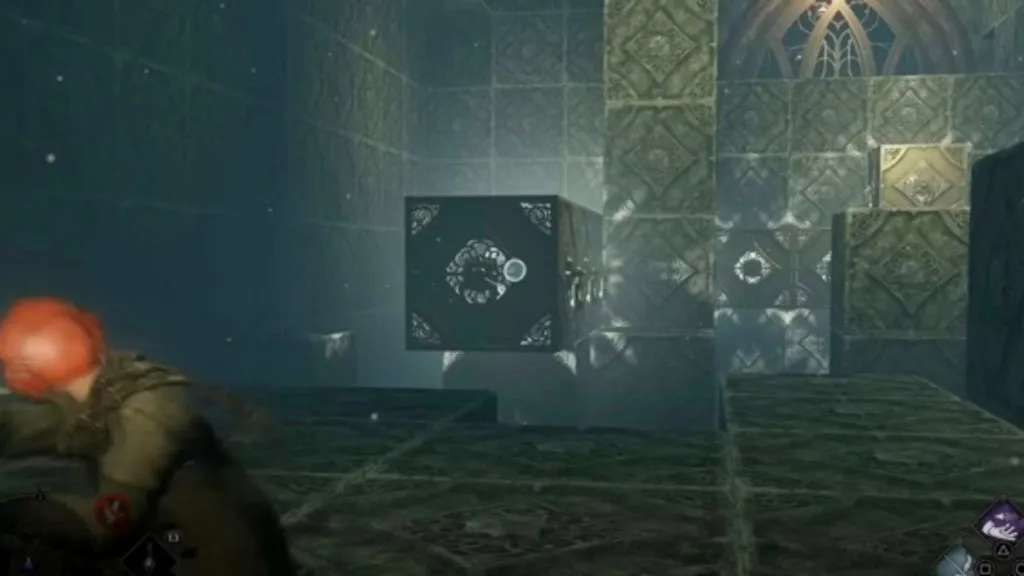
Jump from the center platform to the left platform and climb to the top of the blocks. At the top, you’ll find your first chest.
Depulso Puzzle Room Two: Puzzle Two
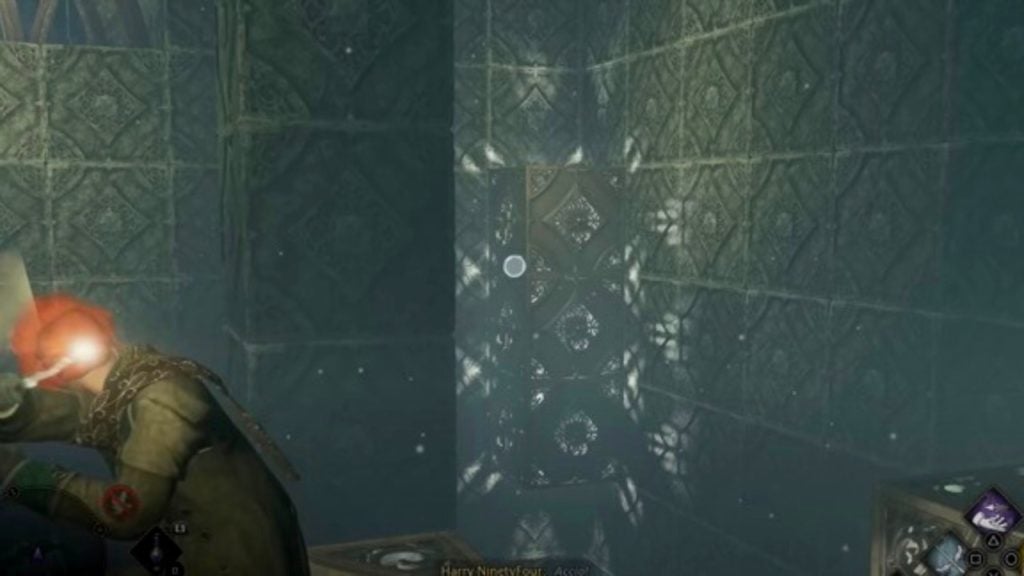
After opening your first chest, a cutscene will play, where the blocks in the room will shift to reveal a door on the right side of the room. You’ll also notice the moveable blocks are in different positions.
While staying close to the ledge, cast Accio on the T-shaped set of blocks to send them to the right.
Jump down to the ground and turn right. You will see two block sets—cast Accio on the block set on the floor.
Then cast Accio on the right side of the second block to move it to the right.

Cast Accio on the front side of the block to move it behind you.
Jump to the middle platform and head to the back wall. Cast Depulso on the bottom blocks to push it against the left wall so that it can join the above block.
Turn around, face the right wall, and cast Accio on the front of the block set to bring it across the room.
Then you’ll cast Accio on the side closest to you to send it to the back wall.
Like with the first chest, you need to cast Depulso on the short right side of this set of blocks to push it against the blocks against the left wall.
Move to the center of the platform and cast Accio on the front side to bring it to the middle of the room.
And then cast Accio on the short end of the block to move it to the right side of the room.
Once you’ve done that, turn to your left and head toward the T-shaped block set. On the left side of it, cast Accio to move it to the left.
And then cast Accio on the left side once more.
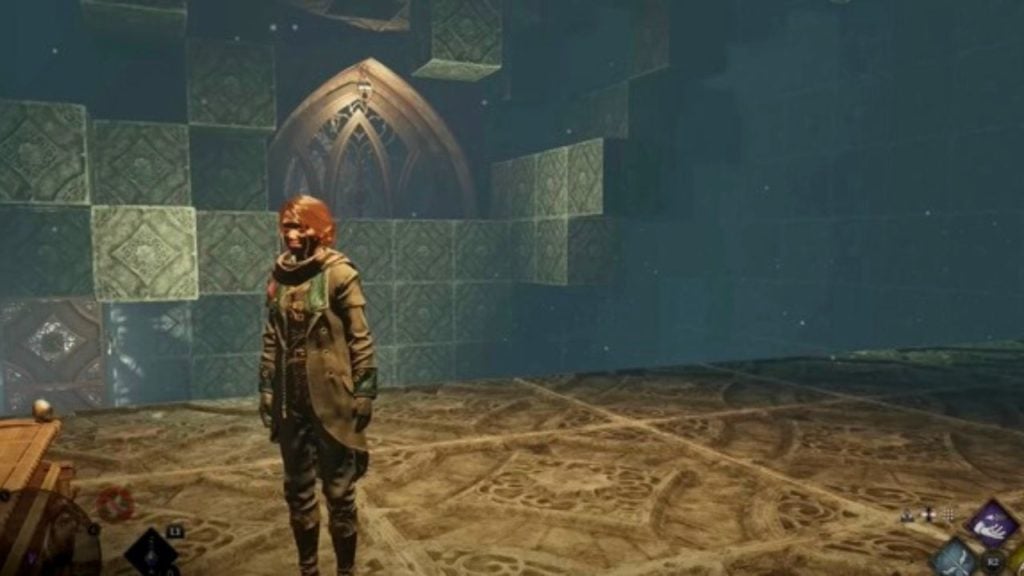
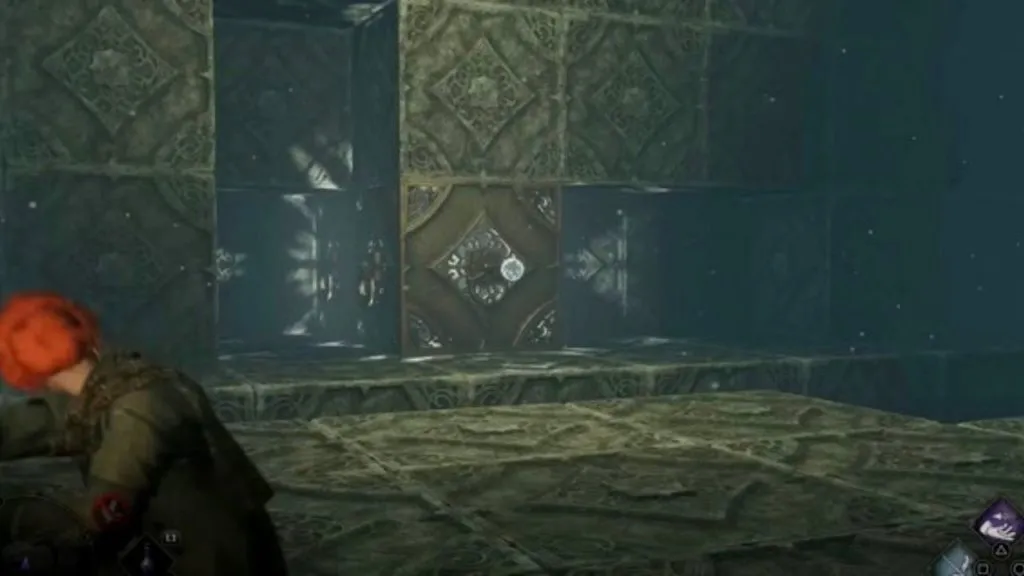
Now, move towards the left of your giant structure. Jump across the gap to the right side. And climb up the blocks to the top to get to the next room.
Depulso Puzzle Room Two: Puzzle 3 for Collection Chest
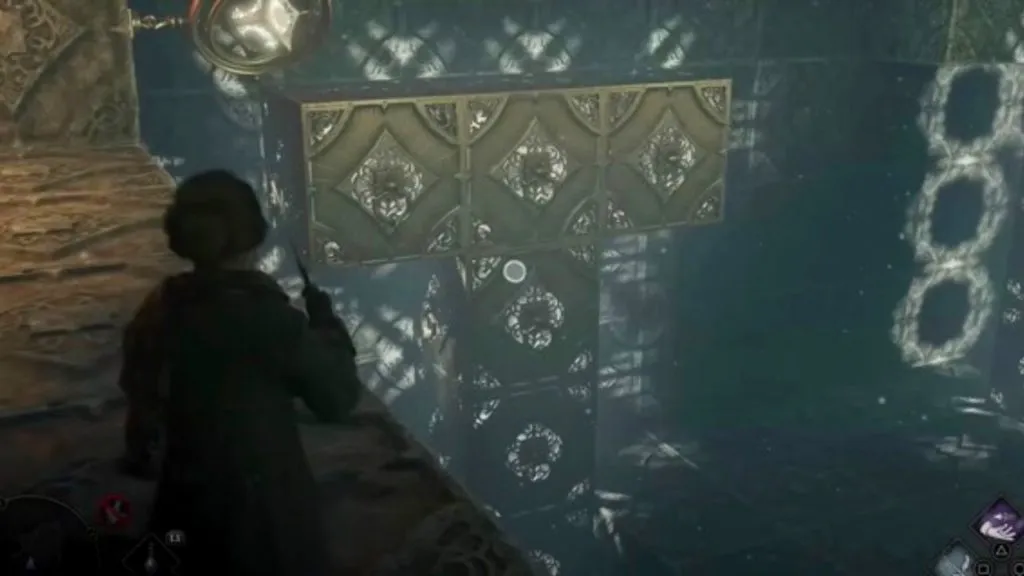
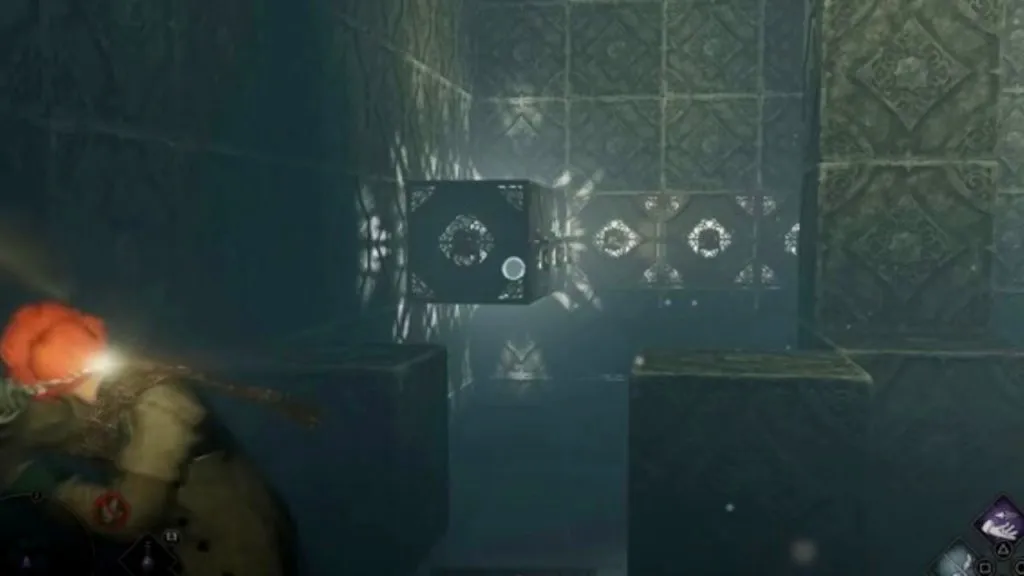
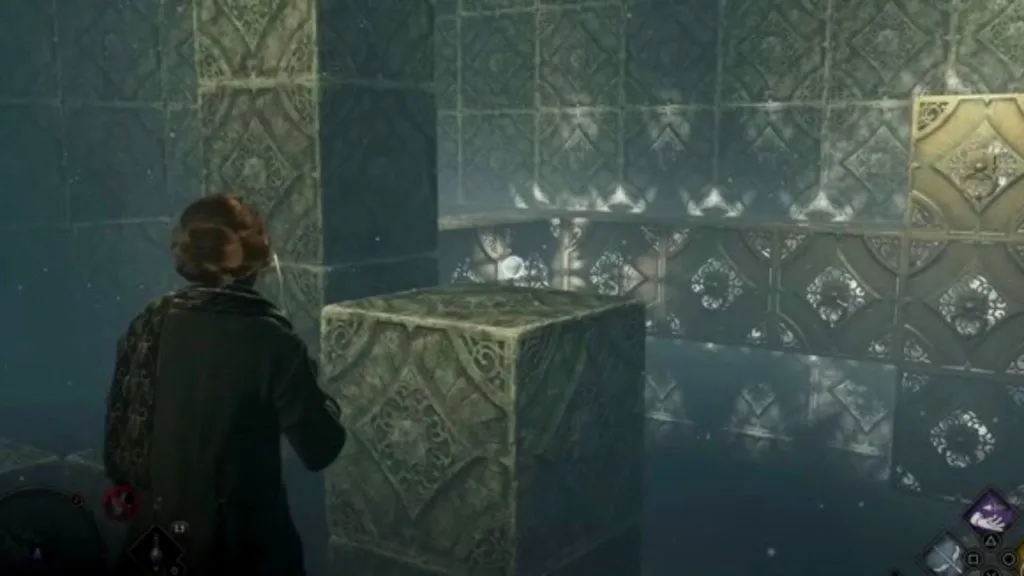
Now you’re at the top, make your way through both doors. It may take a second, but the wall in front of you will separate to create a path so that you can enter the new room. When you’re inside the final room, jump to the ground and move to the left wall. You will see a set of blocks at the back of the room. Cast Accio on the end of the block to bring it closer.
Now that it’s closer, cast Accio on the right side of the block to send it to the right.
Then cast Depulso on the end of the block set to you to push it to the back wall.

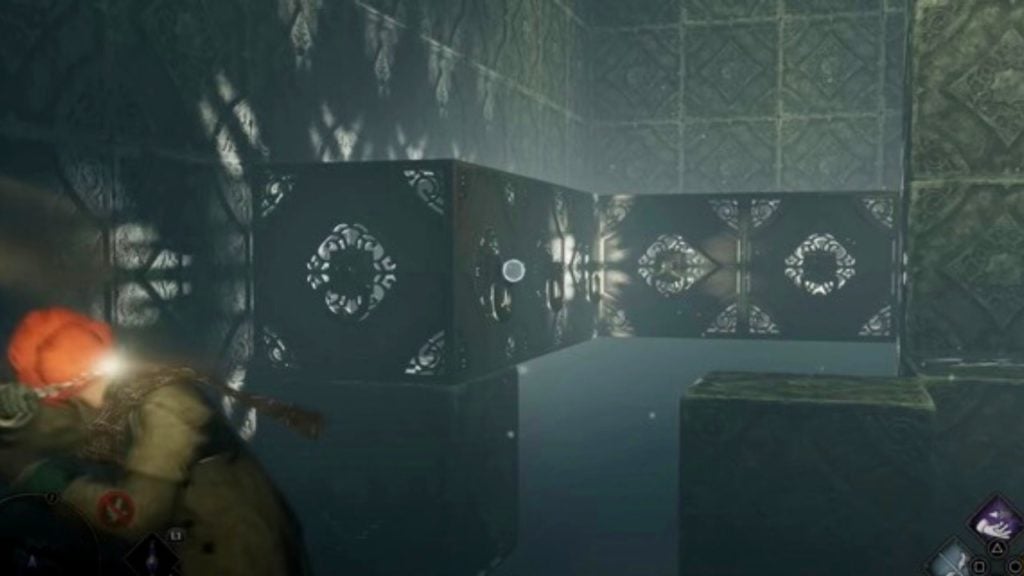
For the next part, run to the middle of the room and climb on top of the long block set, where you’ll see an H-shaped block set to your right. Cast Accio to bring it to you.

When you turn to your left, you will see a tall pillar block set. You must cast Depulso on the back to push it to the back wall.
Move to the very end of the blocks you’re standing on and cast Accio on the right side of that pillar set to move it to the right side of the room.
Now, turn and face the right side of the room. You’ll need to cast Depulso on the right side of the block to push it to the back of the room. This part can be tricky, so be sure to aim your spell on the correct side.

Now, jump onto the H-shaped block set to your right to get closer to the pillar block set. Cast Accio on the left side of the pillar set to send it to the left. This will send it along the back wall until it reaches the middle and connects with another set of blocks.
Move as close as possible to the edge of the block set you’re standing on. And on the short side of the L-shaped block set, cast Depulso to push it to the left side of the room.
You can now hop down from the H-shaped block set. On the ground, cast Depulso on the long block in the middle of the platform to push it against the left wall.
Once it’s against the wall, move to the very end of it and cast Depulso. This will push it against the L-shaped block set at the back of the room.
On the right side of this block set, cast Accio to move it to the right.
And then cast Accio on the end block to bring it to you.
You can now jump on the L-shaped block set you’ve created. While on top of it, cast Depulso on it to push it to the back wall.
You can now move along the block set and climb to the platform at the top. You’ll see the collection chest as soon as you go through the door.
The Depulso Puzzle Room Two is complex and requires a lot of maneuvering, and this is the easiest way to solve the Depulso Puzzle Room Two in Hogwarts Legacy.


Published: Feb 15, 2023 12:31 am