
In Hogwarts Legacy, Harry Potter fans can experience the wonderful wizarding world while attending Hogwarts School of Witchcraft and Wizardry. Whether you enjoy brewing potions, completing every mission, or uncovering the mysteries around you, there’s no shortage of things for you to do.
While traversing the map and completing quests, you may encounter one called the Depulso Puzzle Room. And there are two of them.
For the Depulso Puzzle Room One, there are three chests within the room you need to open to get the collection chest.
So, this is how to solve Depulso Puzzle Room One in Hogwarts Legacy.
Solving the Depulso Puzzle Room One Walkthrough
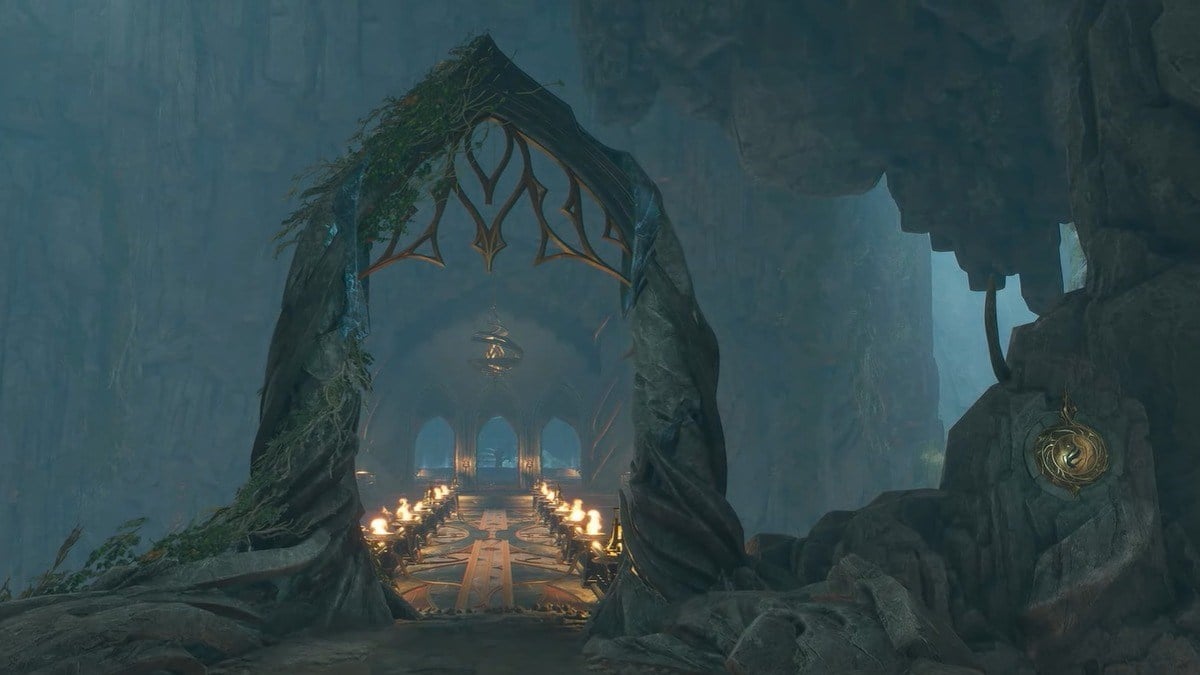
The first part of this quest requires you to find the Depulso Puzzle Room. So, you’ll need to head to the Potions Classroom in Hogwarts.
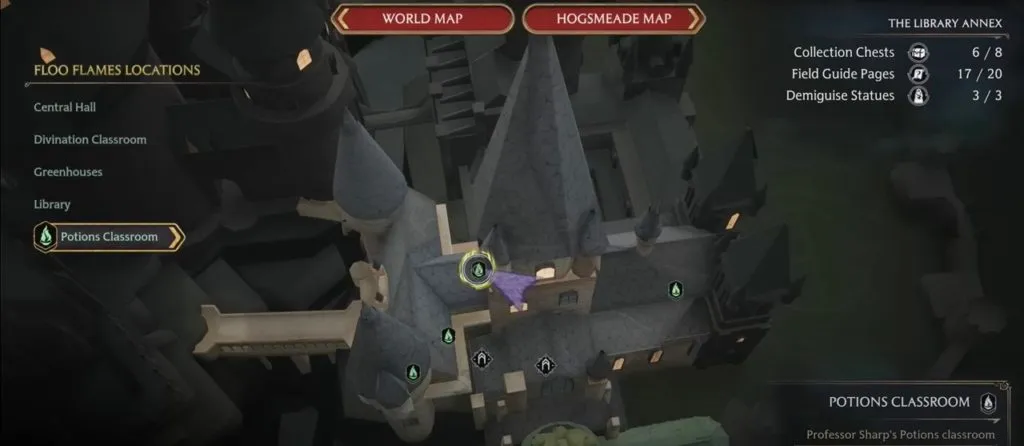
Head through the archway by the suit of armor and follow the hallway until you enter the next room.

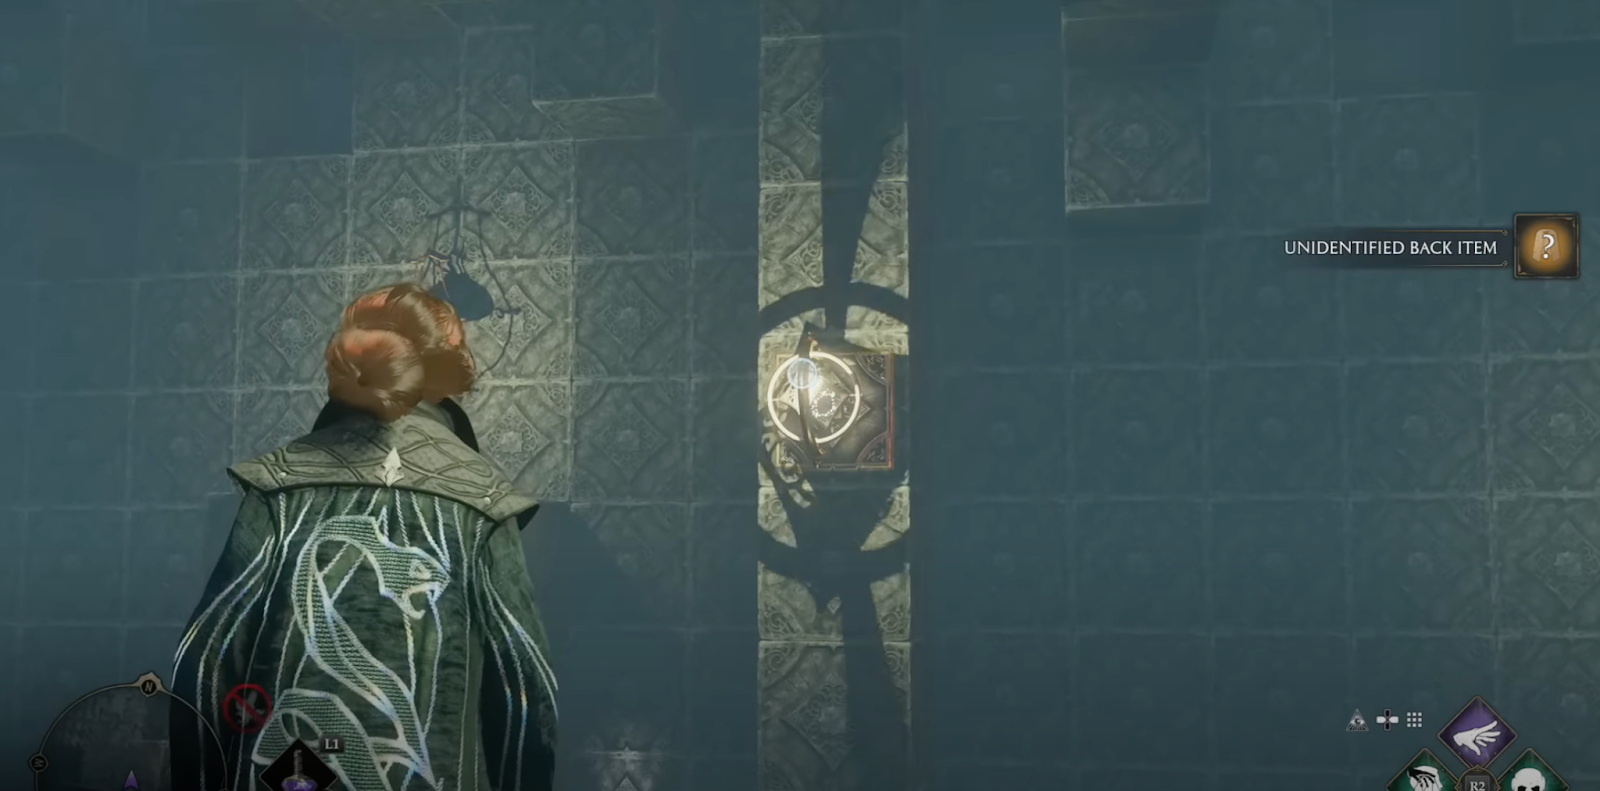
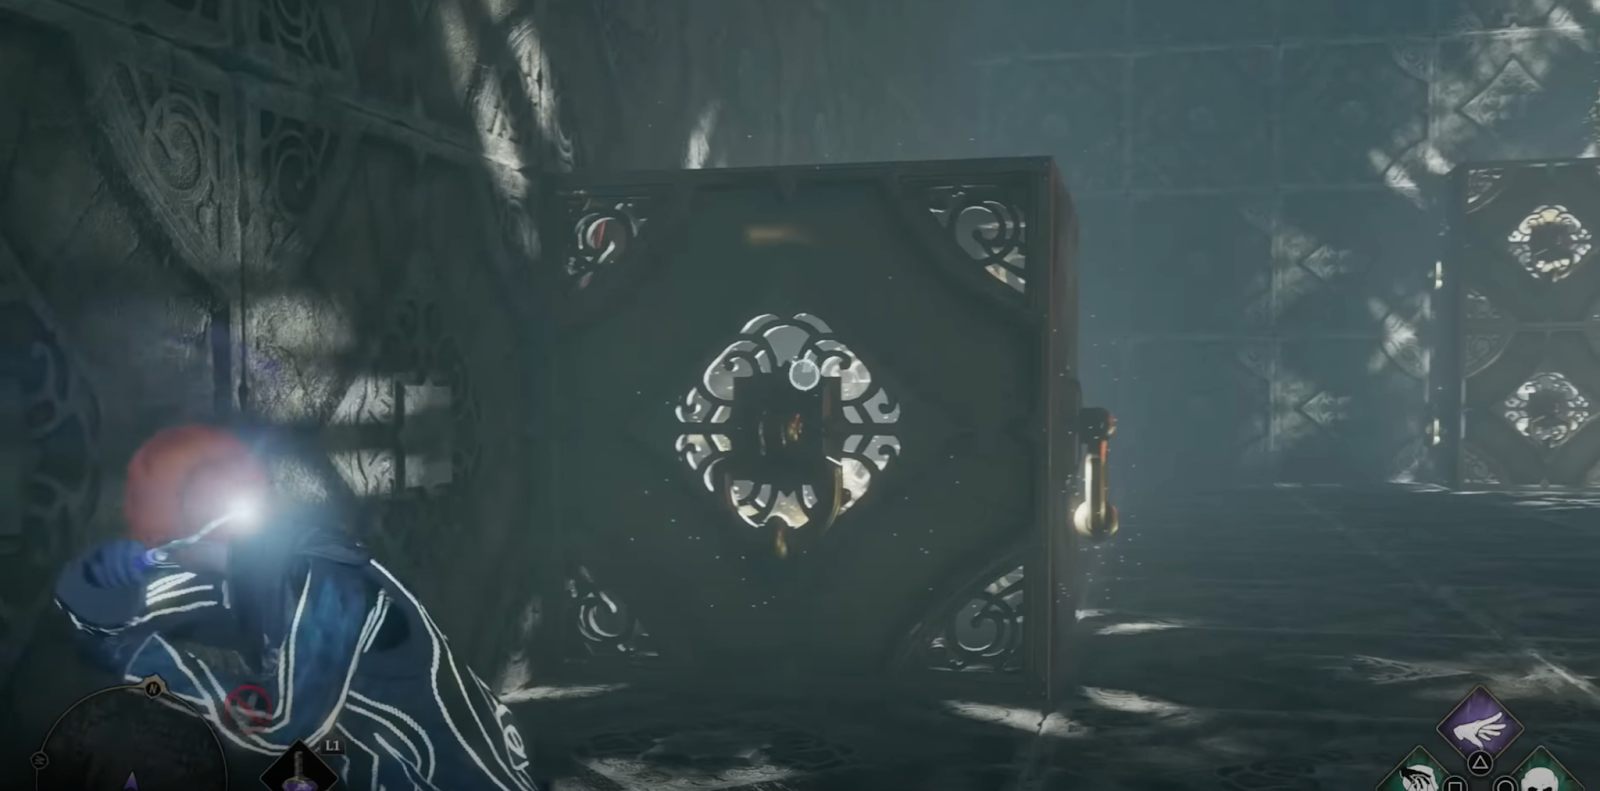
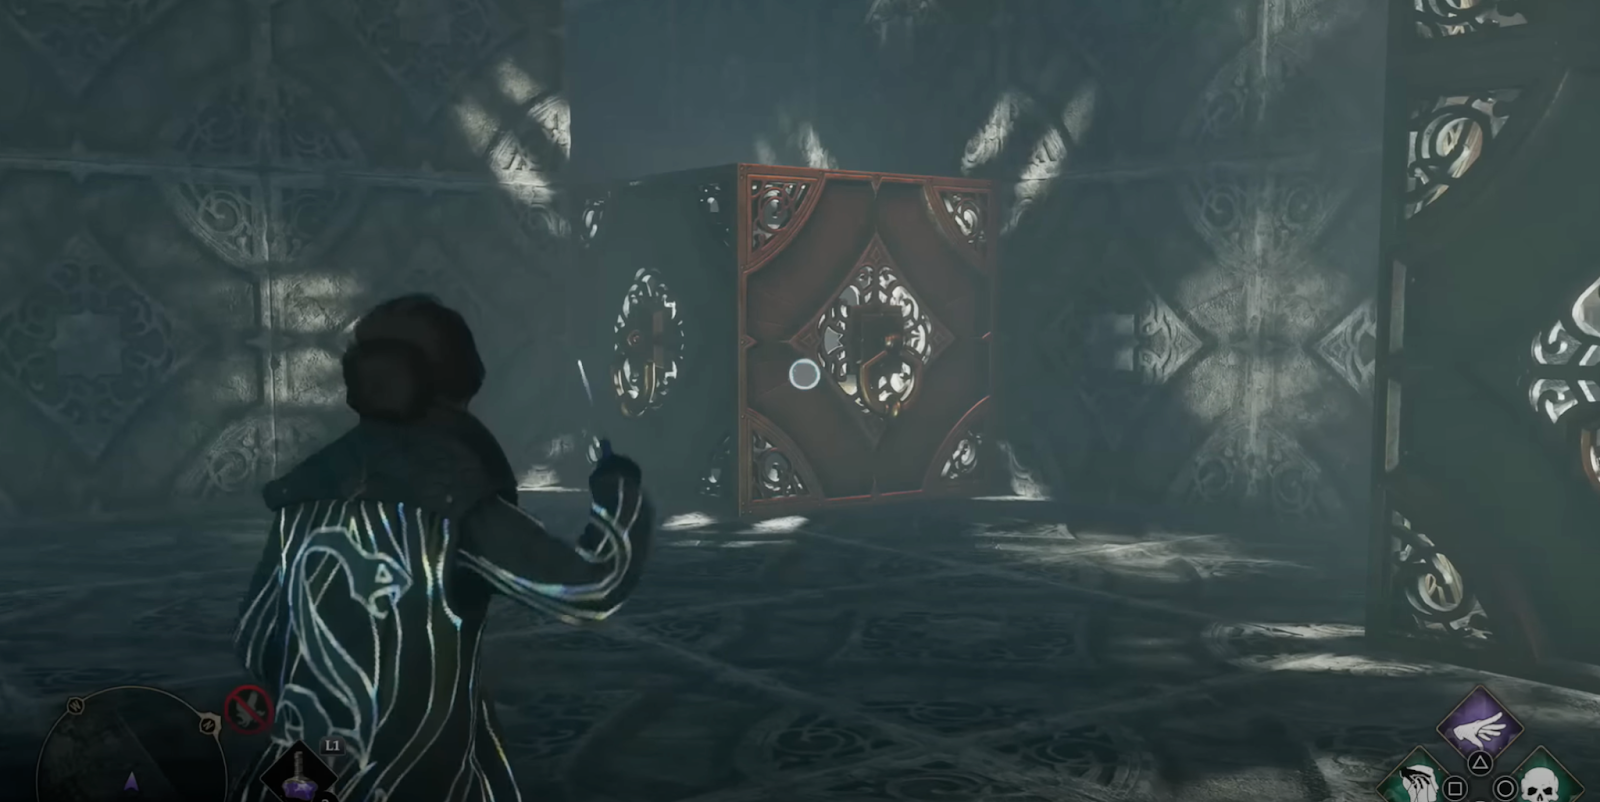
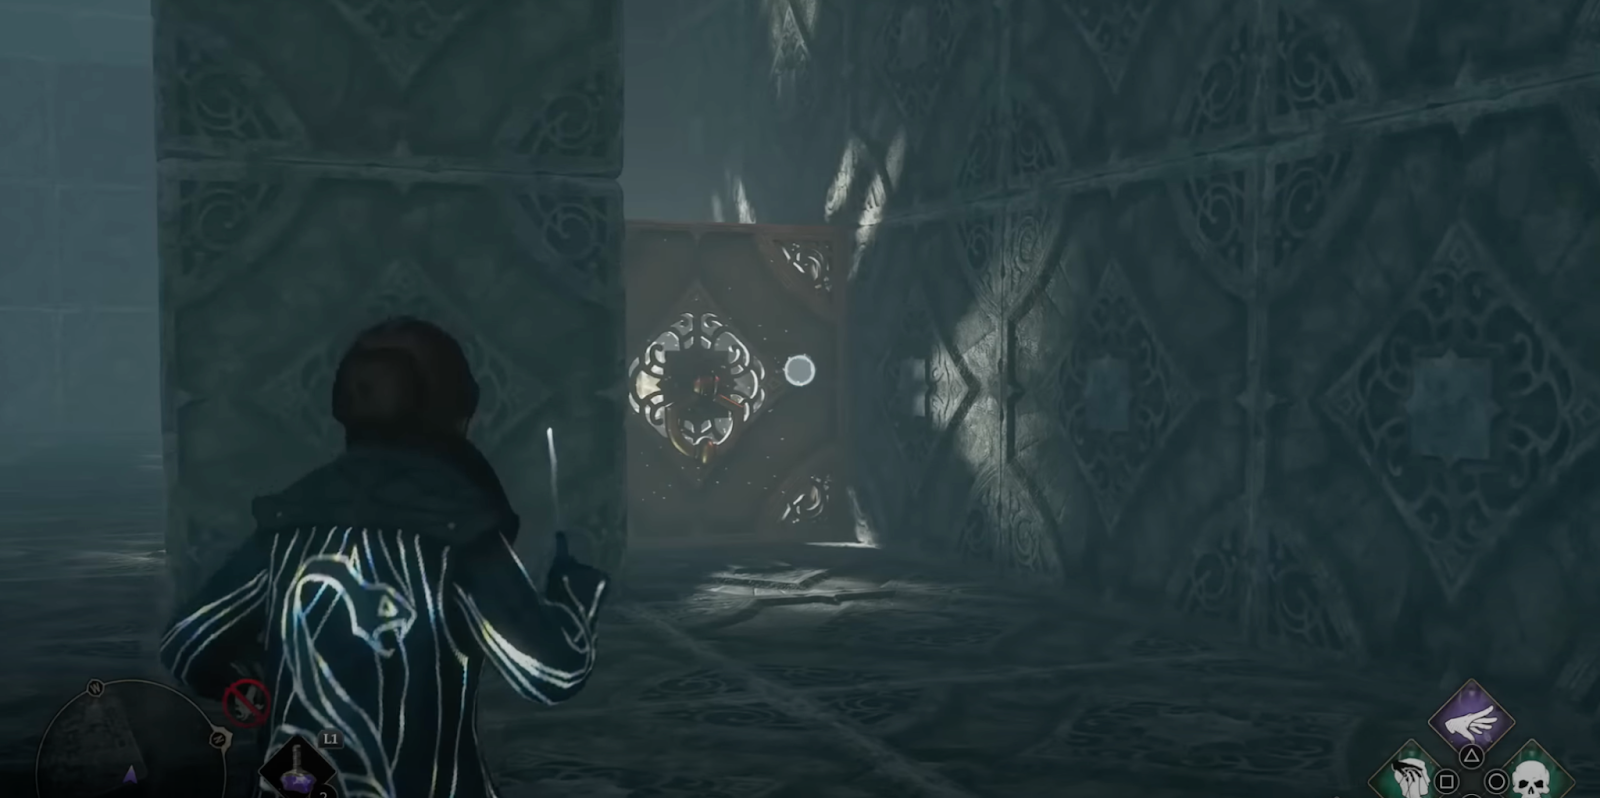
Turn left and descend the spiral staircase, continuing onwards until you reach a door at the far end of the hallway. Open the door and run down the corridor until you see a highlighted square design sticking out of the wall.

Cast Depulso on it, and head into the Depulso Puzzle Room One. After entering, continue straight ahead until you see a giant room.
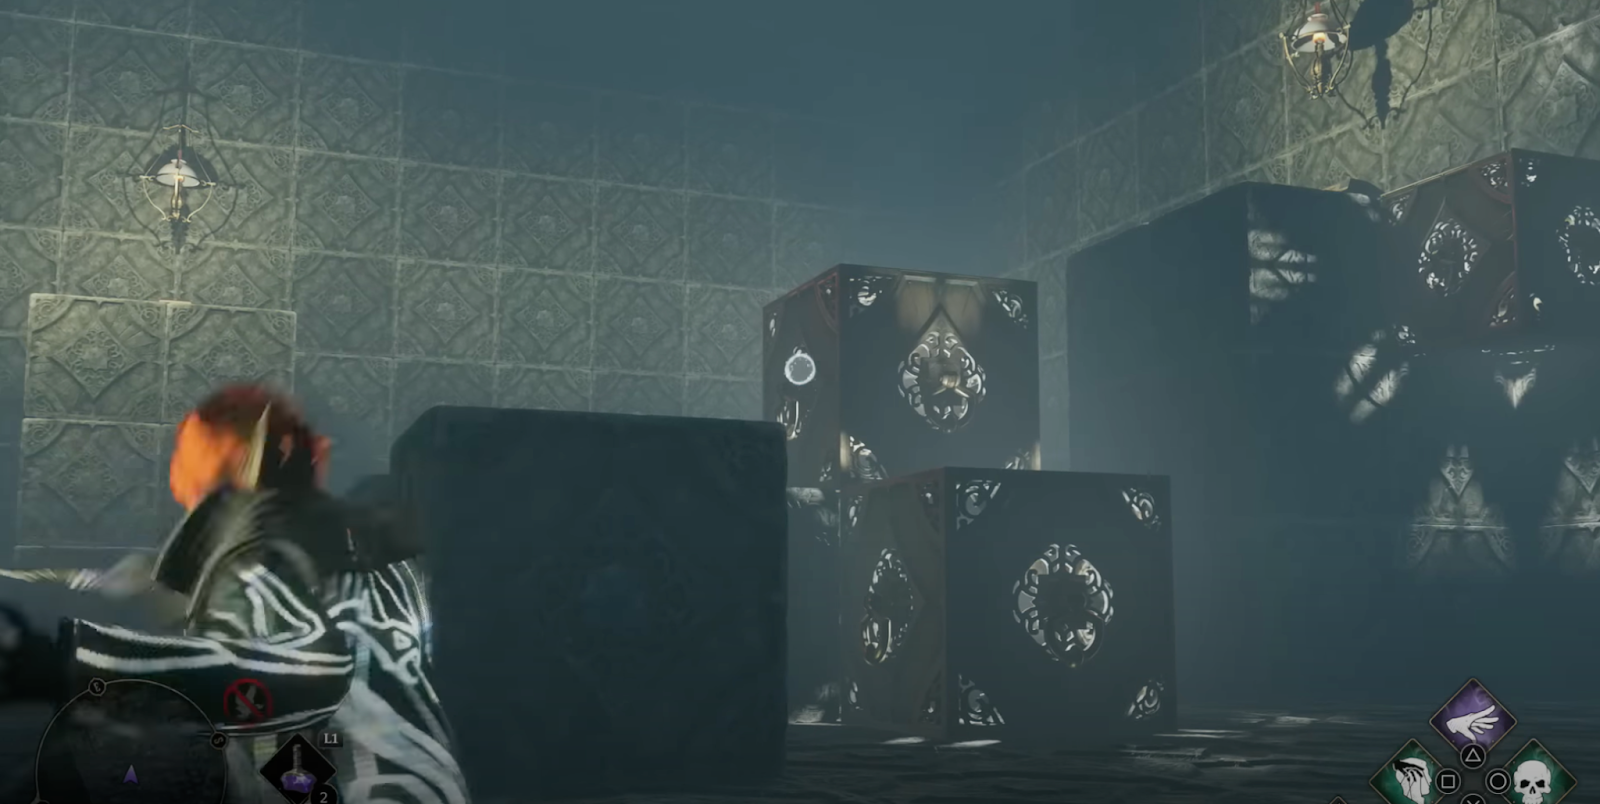
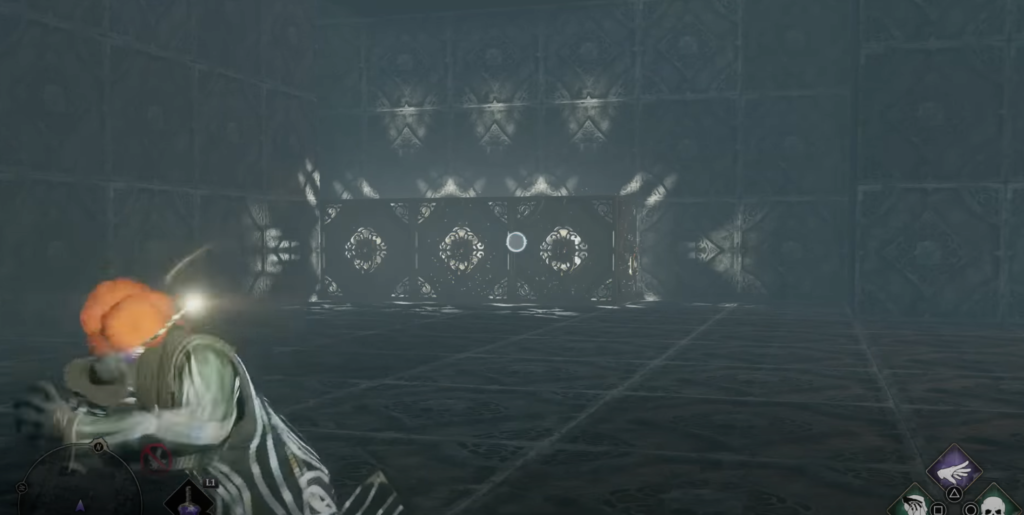
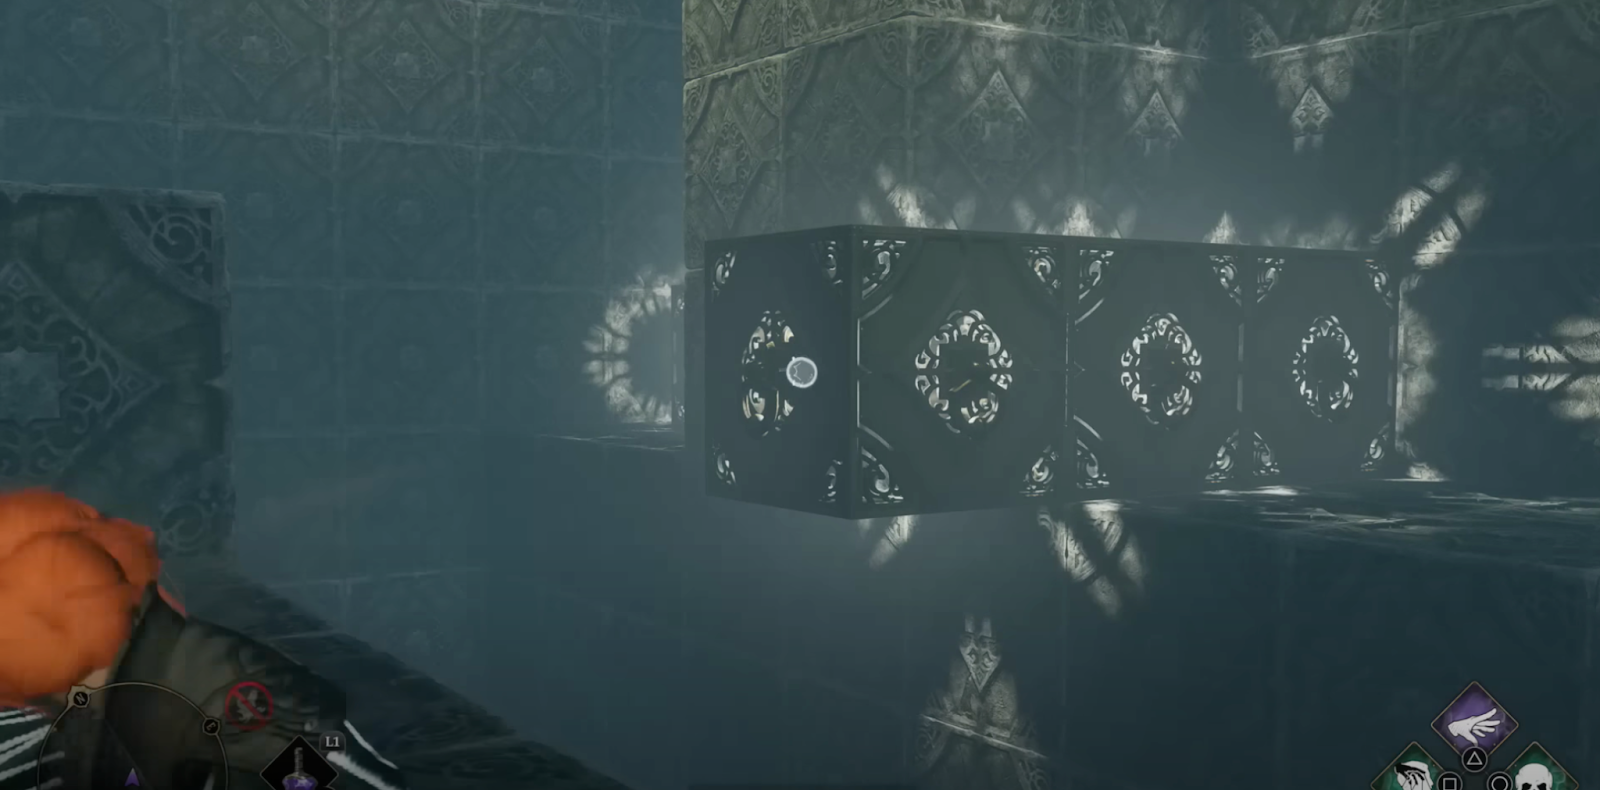
You can see the three chests from the entrance platform. You need to maneuver the blocks around the room to get to them. It’s important to note the side of the block you cast your spells on will determine where the block will go. So, make sure to aim your spells on the correct sides of the blocks.
Depulso Puzzle Room One: Chest One
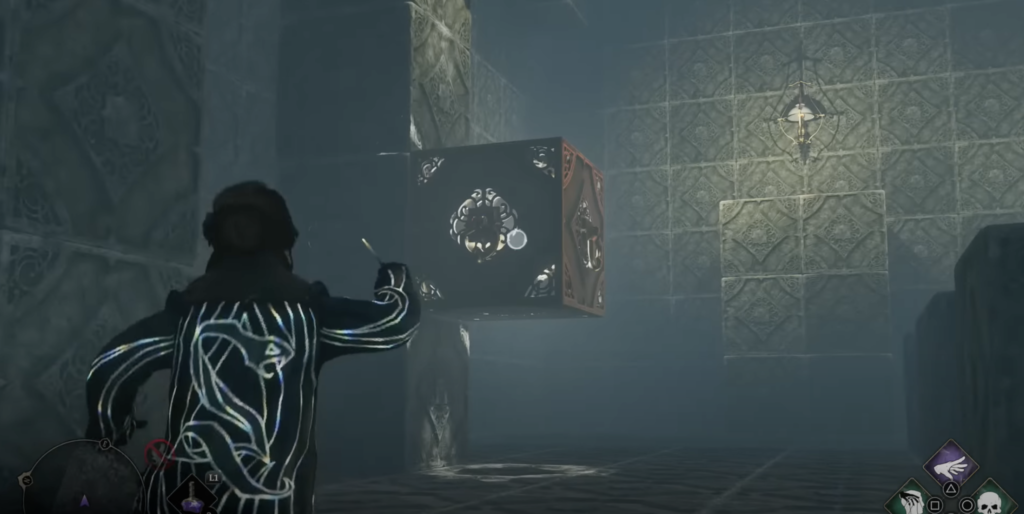
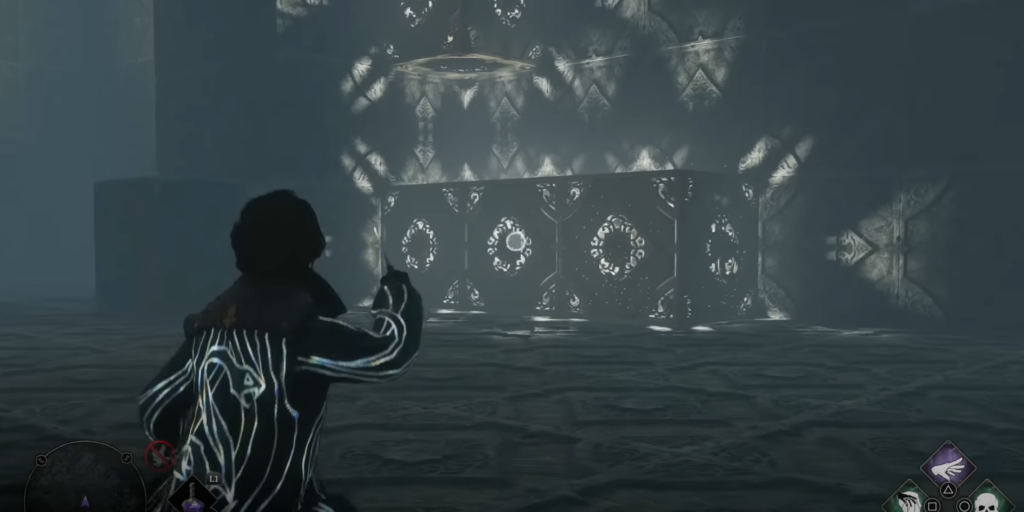
To begin, jump down into the room and cast Accio on the block to the right of the room.

You’ll notice two blocks at the center of the room—cast Depulso on them both to push them toward the right wall.
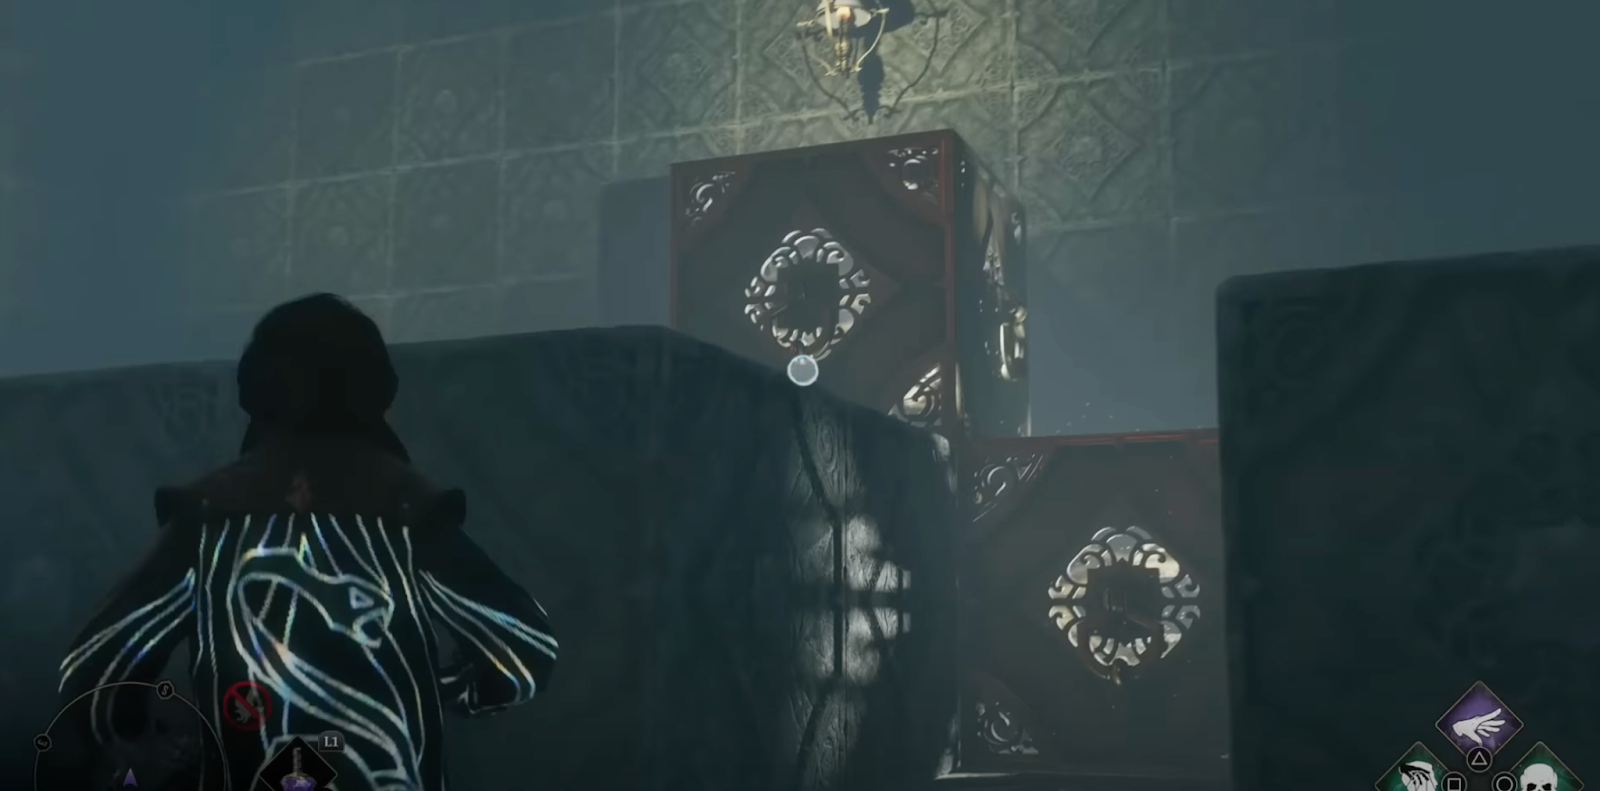
If done correctly, you’ll have created a staircase to the first chest.

Climb the blocks and open your first chest.
Depulso Puzzle Room Chest Two
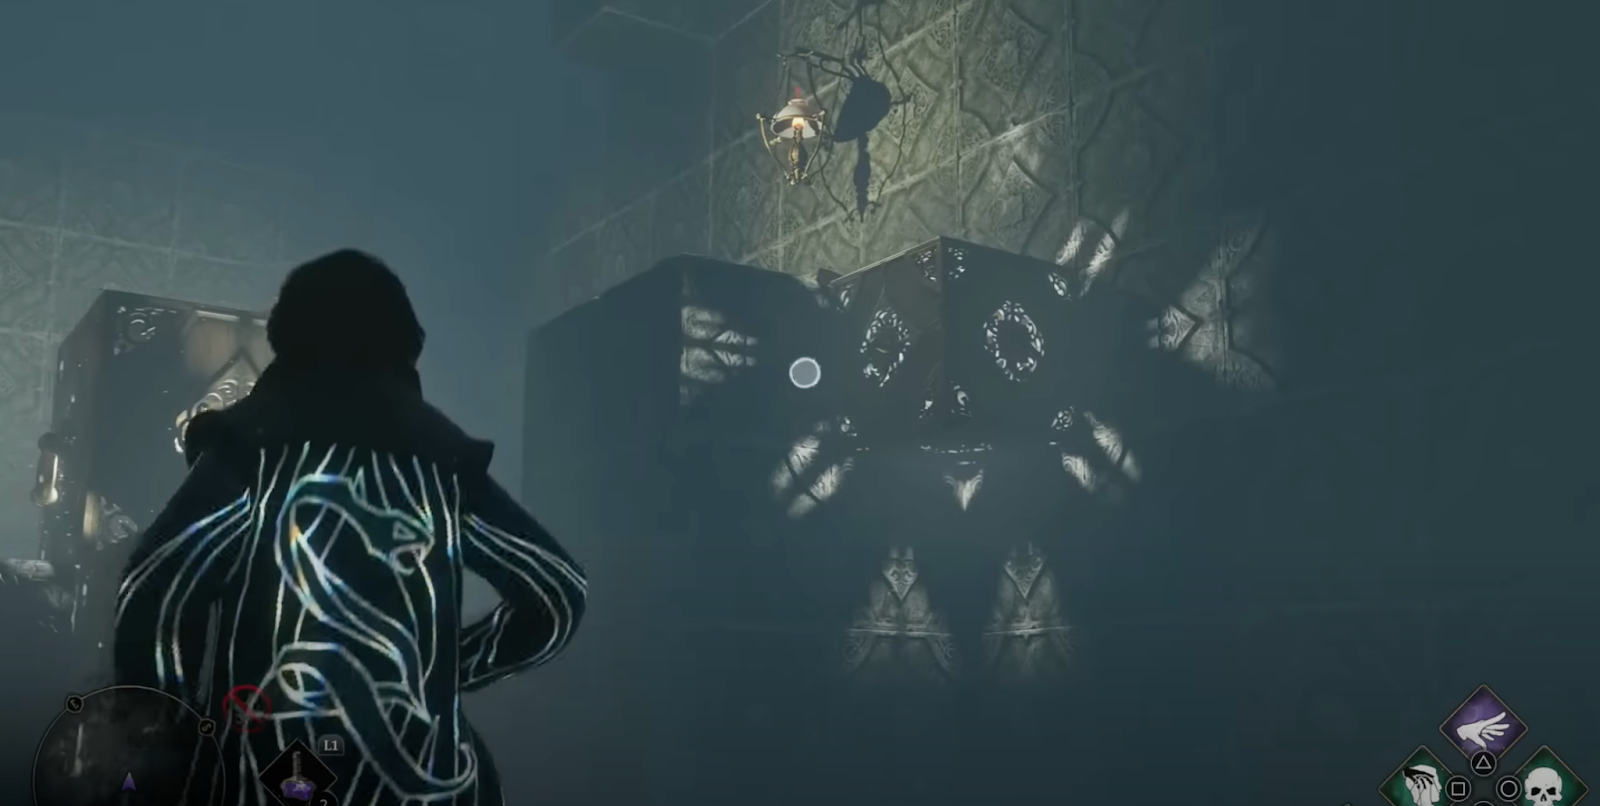
Across from that platform is a spinning device you will need to hit as it resets the blocks in the room. Once you do, jump down to the ground level.
The first block you’ll want to move is the one by the platform near the first chest. Cast Accio on the left side of the block to move it towards the left wall.
Now, cast Accio on it again and move it to the wall behind you. This is the platform where you’d originally entered the room.

Now cast Depulso on the block to push it against the wall.
And cast Accio on the right side of the block to move to the second platform.
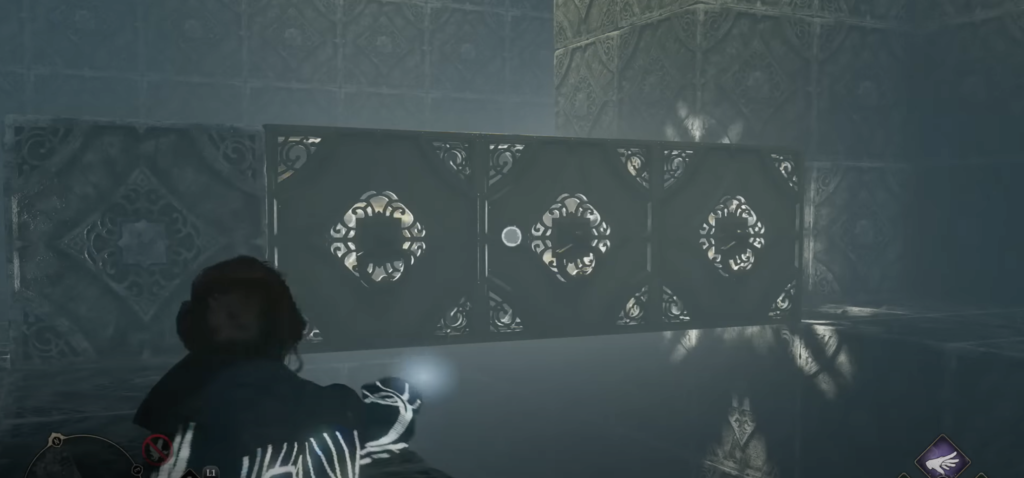
Next, cast Depulso on the mid-tier block at the center of the room to push it toward the left wall and leave it there for the moment.

Run back to the second chest platform and cast Accio on the left side of the bottom two blocks– this will move them to the entrance wall.

Run back to the mid-tier block and cast Accio on the side of the block facing the entrance platform, which will move it to the entrance wall.

Cast Depulso on it to knock it back against the wall.

To move the blocks towards the second platform, cast Accio on the right side of the bottom right block.
Next, head to the single block by the entrance platform. Cast Depulso on it to push it to the left wall.
And then, cast Accio on the right side of the block to move it next to the other blocks.
You’ve now created a staircase to get to the second chest. So climb to the top and open it.
Depulso Puzzle Room One: Third Chest
After opening the second chest, a ledge will appear to your left.

Run along the ledge and jump onto the entrance platform. You will then need to hit the same spinning device on the left wall behind the second chest, which resets the blocks on the ground.
Jump down into the room, and cast Accio on the left side of the mid-tier block at the center of the room to move it toward the left wall.
And then cast Depulso to push it toward the third chest’s platform.
Run to the third platform and turn around. You’ll notice a block against the wall. Cast Accio on the block to move it towards the far back wall.

And then cast Accio again on the right side of the block to move it under the first block.
Head back to the center of the room and cast Depulso on the block to push it to the left wall. This will push the block into the position where you found the second block.
Run back towards the third platform and turn around. Like before, cast Accio on the block to move it to the far back wall.
You’ll need to cast Accio on the right side of the block to move it next to your first two blocks.
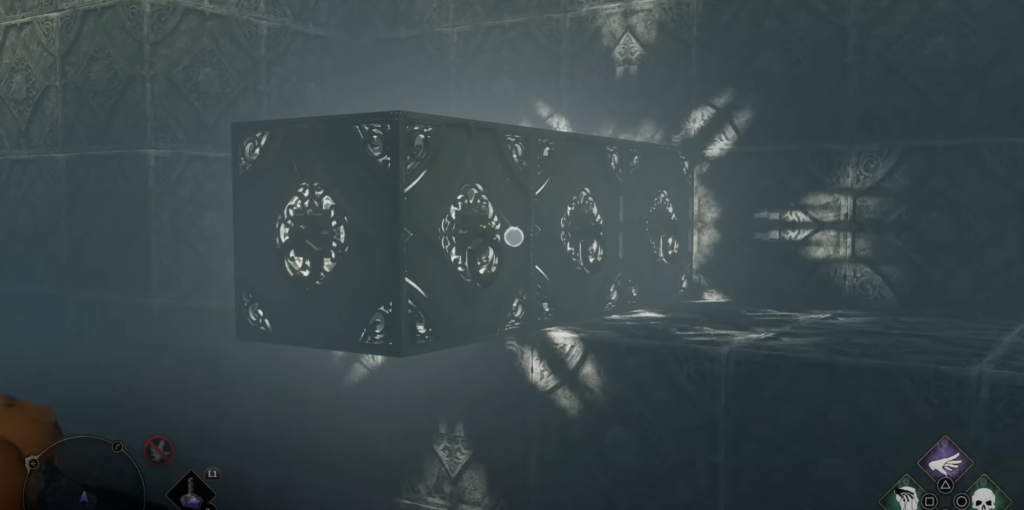
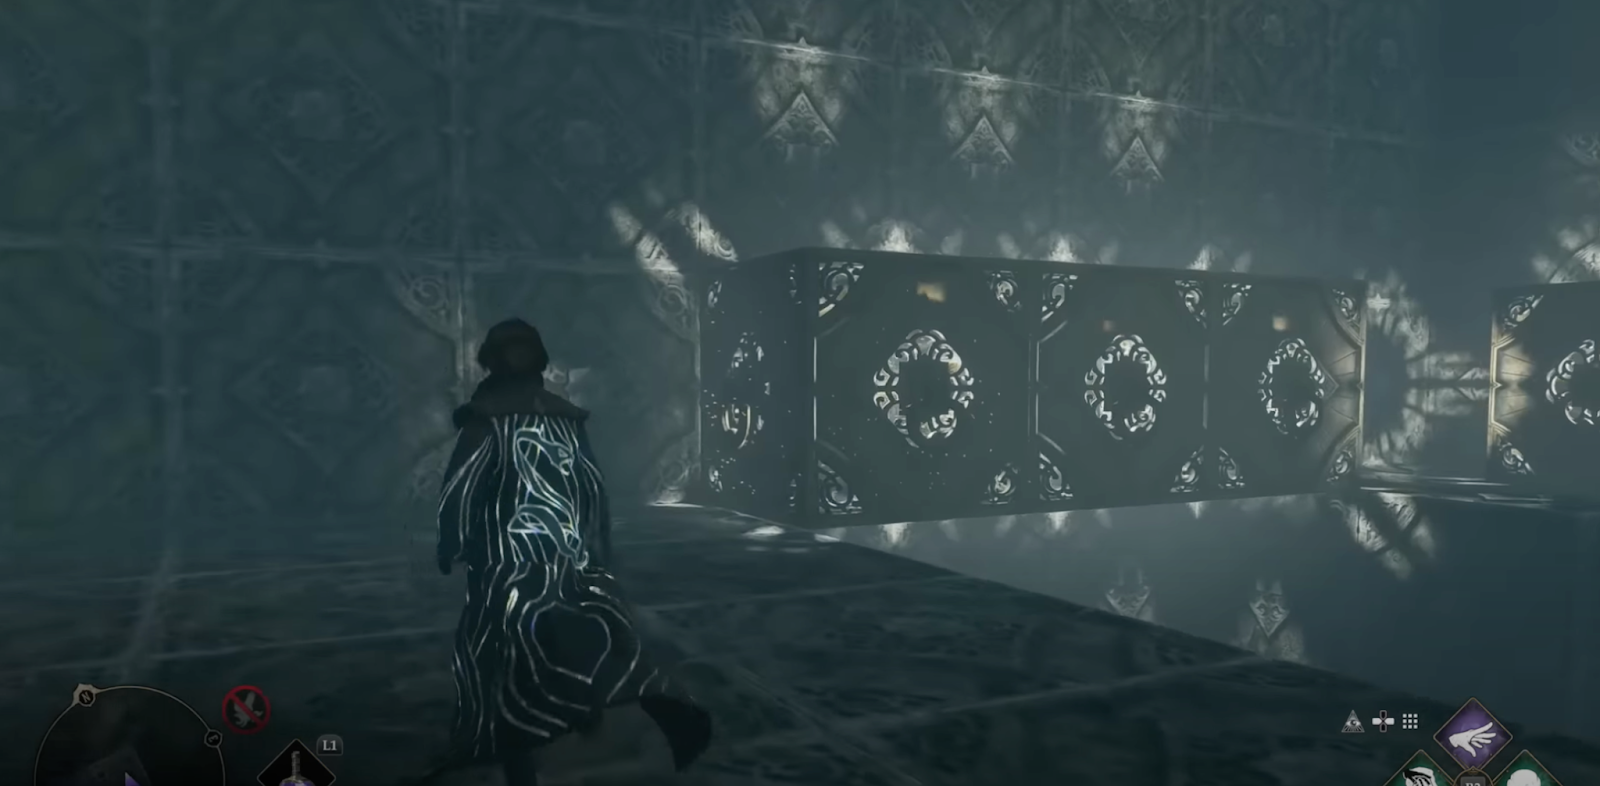
As there is a large hole in the ground, you’ll need to create a bridge of three blocks to get across. So, run towards the entrance wall and cast Depulso on the lone block to push it towards the left wall.

You’ll then need to cast Accio on the left side of the two blocks by the second platform. By doing this, you’ll move the two blocks to the left.

Now, cast Accio on the front of the three blocks to pull them across the room.
When they’re on the right side of the room, cast Accio on the left side of the three blocks, which will move them to the left by the first platform.
Now cast Accio on the front of the blocks to bring them to the center of the room.
And then cast Depulso on the end of the three blocks to push them to the far back wall.
To push them toward the third platform, you’ll need to cast Depulso on the right side of the blocks.
From here, you’ll need to cast Accio on the front-facing block to pull them to the left.
And then, cast Depulso on the right side of the blocks to push them against the far left wall.
Head over to the left wall and climb on your bridge of blocks to get to the other side.
You can climb on the blocks to get to the top of the third platform and open the third chest.
Now that you have the three chests, you can get the collection chest.
Depulso Puzzle Room One: Collection Chest
Jump down to the floor from the right side of the third platform, and move to the ledge that appears. Climb on top of the ledge and head back towards the entrance platform. To the very right of the wall, there’s a set of stairs that you can use to get back to the top. As you move to exit the Depulso Room, you’ll see the collection chest.
While challenging and time-consuming, this is how to solve the Depulso Puzzle Room One in Hogwarts Legacy, and it’s well worth it for the chest rewards.


Published: Feb 14, 2023 10:36 pm