Hogwarts Legacy is an immersive and interactive action RPG set in a world inspired by the Harry Potter books. While playing, you can tame beasts, attend classes, brew potions, and battle your foes. And you can have your problem-solving skills tested through easy and challenging quests.
Several puzzles and challenges require in-depth thinking and many steps to solve. The Cursed Tomb Treasure quest is one of the more challenging quests. It has multiple steps you need to complete, including finding a location on a Mysterious Map Fragment, which will lead you to the Treasure-Seeker’s Attire.
So, what’s the solution to the Cursed Tomb Treasure and the Mysterious Map Fragment?
Cursed Tomb Treasure and Mysterious Map Fragment Solution
To complete this quest, you must be level three in lockpicking. If you’re unsure how to increase your lockpicking levels, we have an informative guide that takes you through the locations of the Demiguise Statues, which can help you learn more advanced Alohomora spells.
Cursed Tomb Treasure Quest: Unlocking the Chest
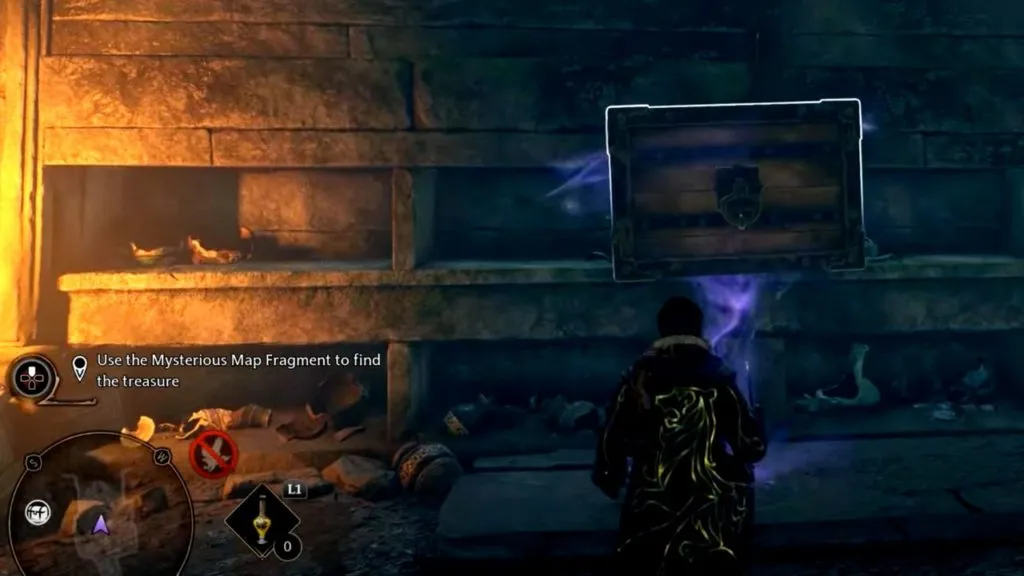
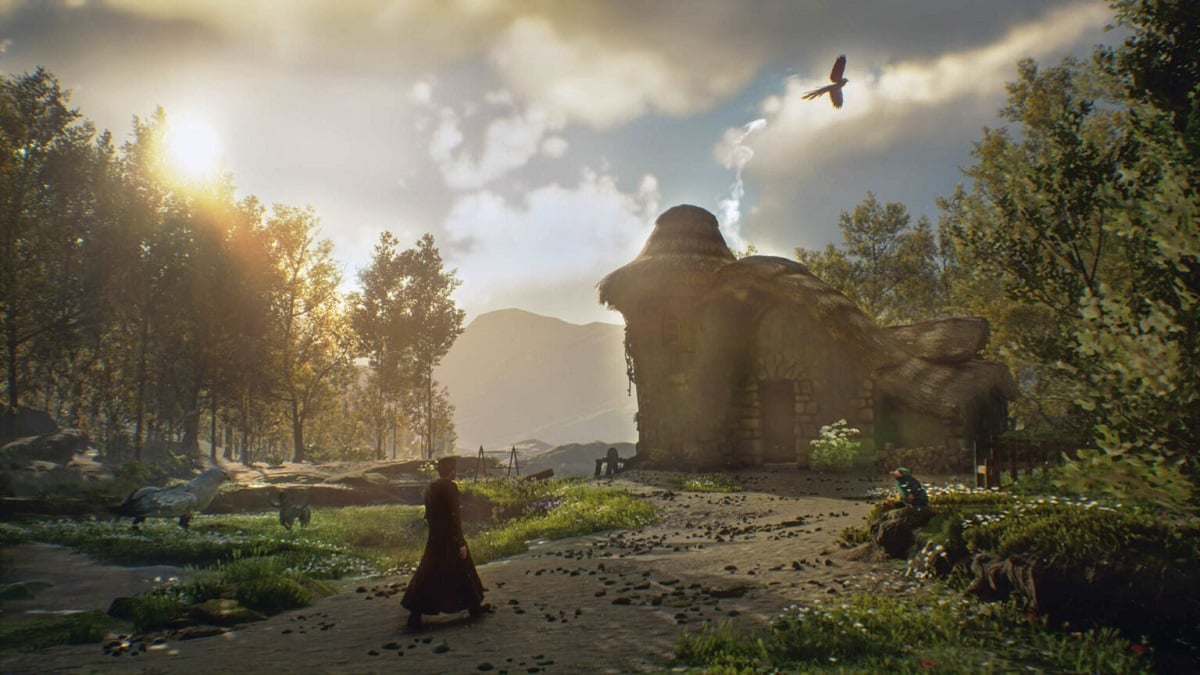
The first part of the Cursed Tomb Treasure quest requires you to open the locked chest under the old manor in Manor Glen. Underneath the manor, you’ll come across a door requiring a level three Alohomora spell. After unlocking it, you’ll head down a few flights of stairs where you’ll need to defeat Ailsa Travers and the Lord of the Manor.
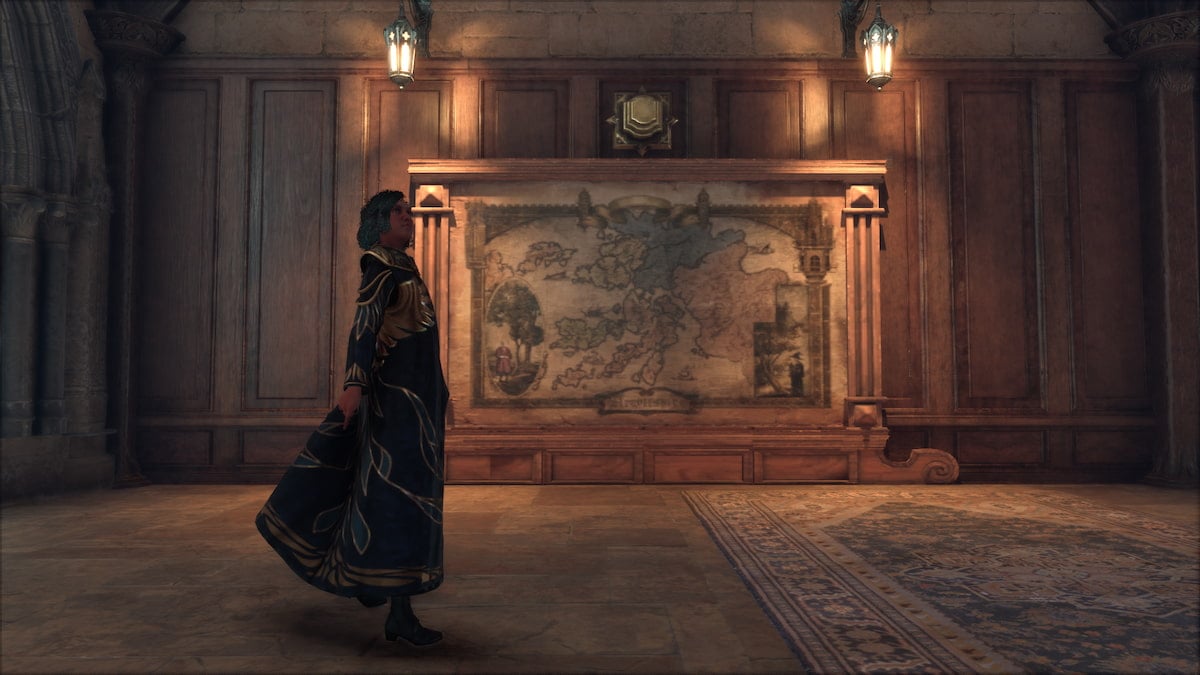
To the right, you’ll find the chest, which only requires a level one Alohomora spell to unlock. Inside the chest, you will be given a map with drawings depicting where to go next.
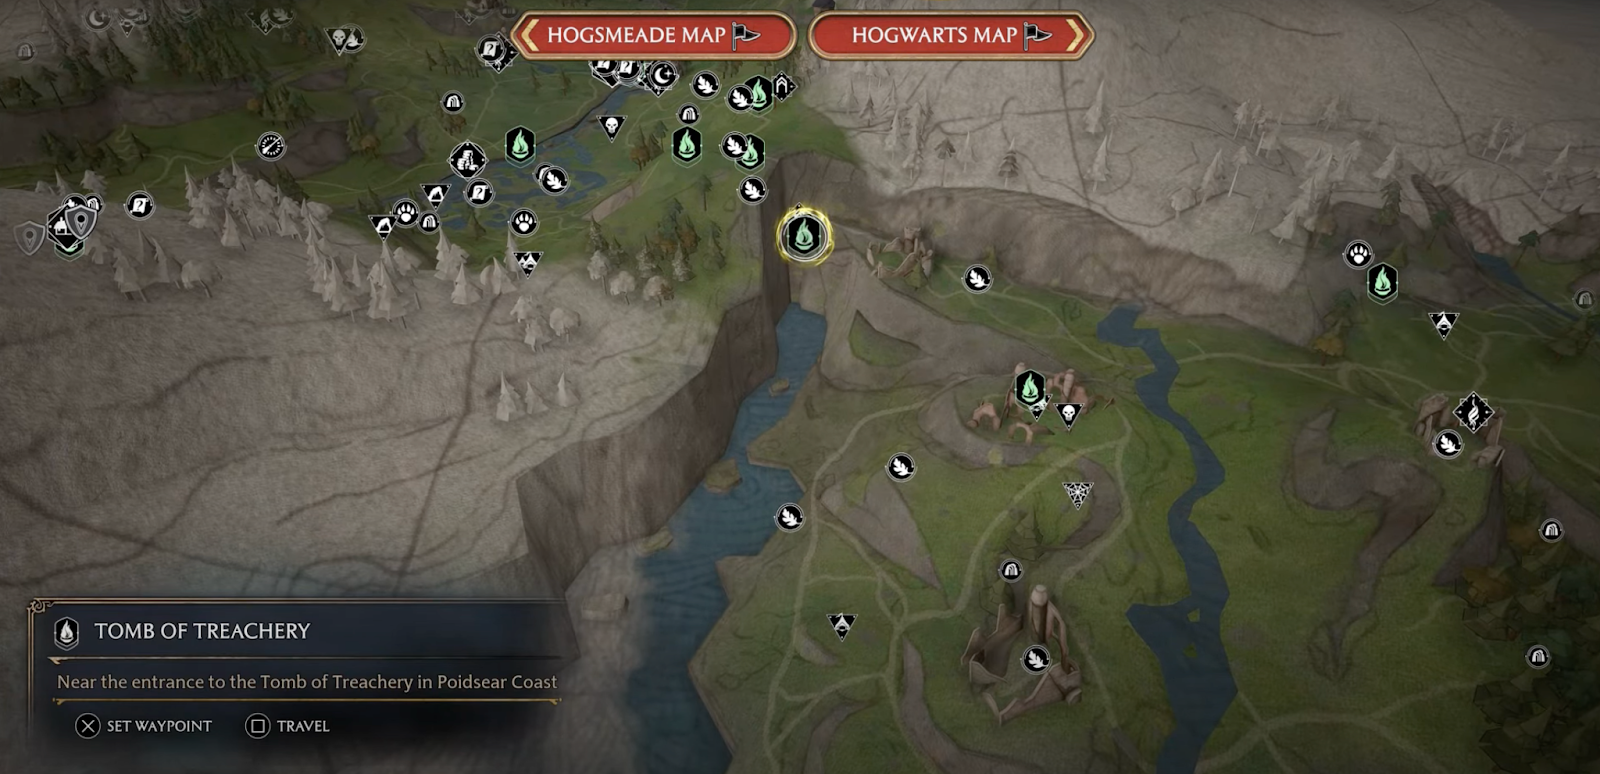
Cursed Tomb Treasure Quest: Finding the location on the Mysterious Map Fragment
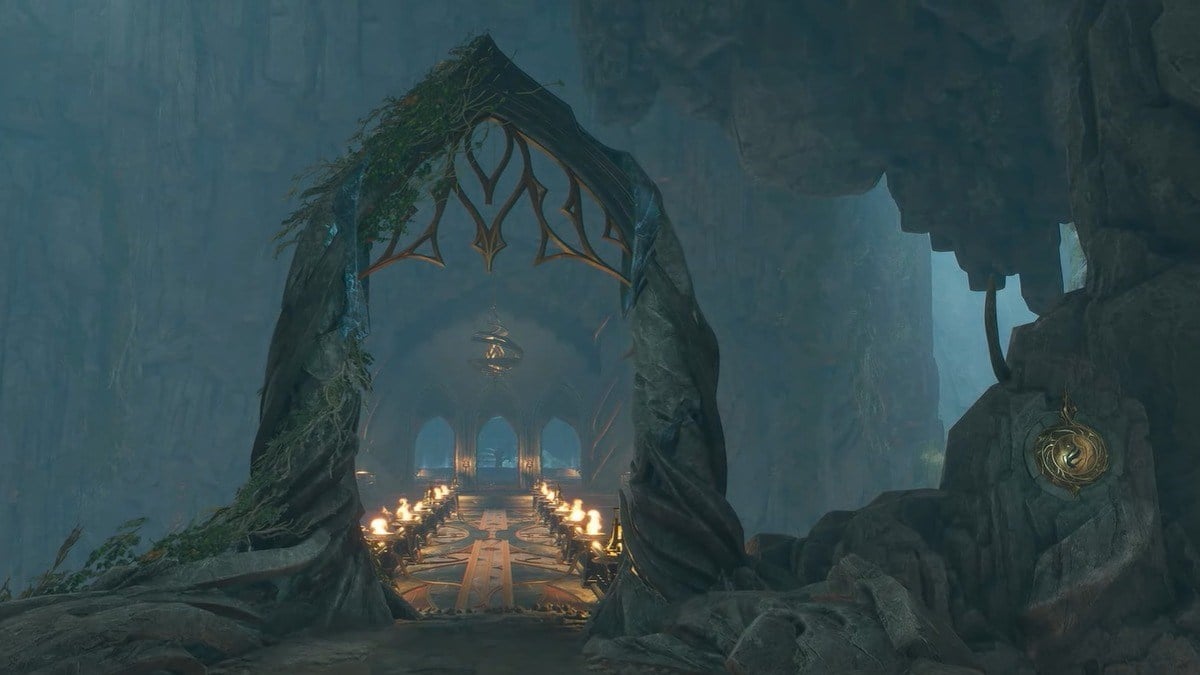
You’ll need to go to the top of Poidsear Coast to a place on the map called the Tomb of Treachery.
After you enter the Tomb of Treachery, you’ll go straight down the tunnel until you reach a room with a stone piece at the center. To the left, there’s a cobweb blocking your path. Set it on fire with Incendio, crouch under the rock wall, and continue onwards.
In the main room, you must defeat two Venomous Scurriours. You’ll also notice a locked door with three empty moth-like slots. To open this door, you must find three moth-like creatures, which are your puzzle pieces, and bring them to the door to open them.
Head through the open door on the right side of the room. Here, you’ll see your first piece of the puzzle.
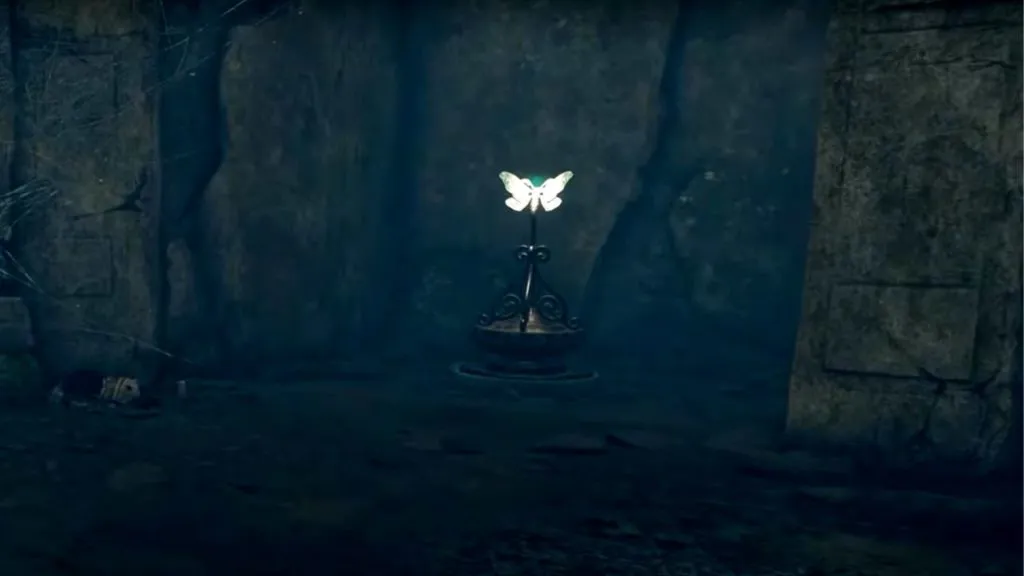
Get close to the moth and cast Lumos. This spell ensures the moth will follow your lit wand. Take it back to the locked door in the previous room, and it will fly into one of the empty slots.
Return to the room with the first puzzle piece and head towards the cobweb on the left. Behind it is another puzzle piece. Cast Incendio to clear the cobwebs and Lumos to attract the moth. Head to the main room and place it inside one of the empty slots.
To get the final piece, you’ll head through the cobwebs on the left side of the main room. Follow the path until you enter the next room. The last puzzle piece is at the top of the tall wall. To climb to the top, you’ll need to use the chest hidden behind cobwebs on the left.
Cast Incendio on the cobwebs to clear them, and then cast Windgardium Leviosa to lift the chest and move it towards the wall.
Once you’ve set it down on the ground, climb to the top of the wall. Across the room, you’ll see the last piece of the puzzle. Cast Lumos, head back to the main room, and place your puzzle piece in the last slot.
Once you have all three pieces, the door will open, and you will be led to a room where you must defeat quite a few Inferi.
After defeating the Inferi, you’ll notice a set of stones on the ground at the center of the room. Use Flipendo on the bottom left stone, top middle stone, and bottom right stone. Each will reveal an arrow-like symbol.
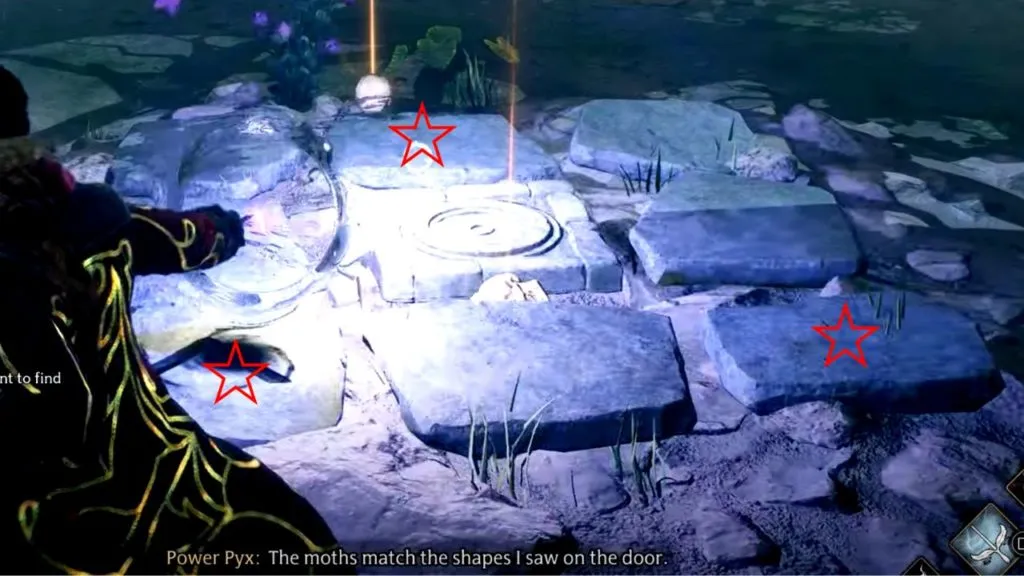
The stone in the center, the one with the circle, will rise out of the ground, revealing a chest. Inside the chest is your prize, the Treasure-Seeker’s Attire. While it may take some time, this is the Hogwarts Legacy Cursed Tomb Treasure and Mysterious Map Fragment solution.


Published: Feb 12, 2023 08:16 pm