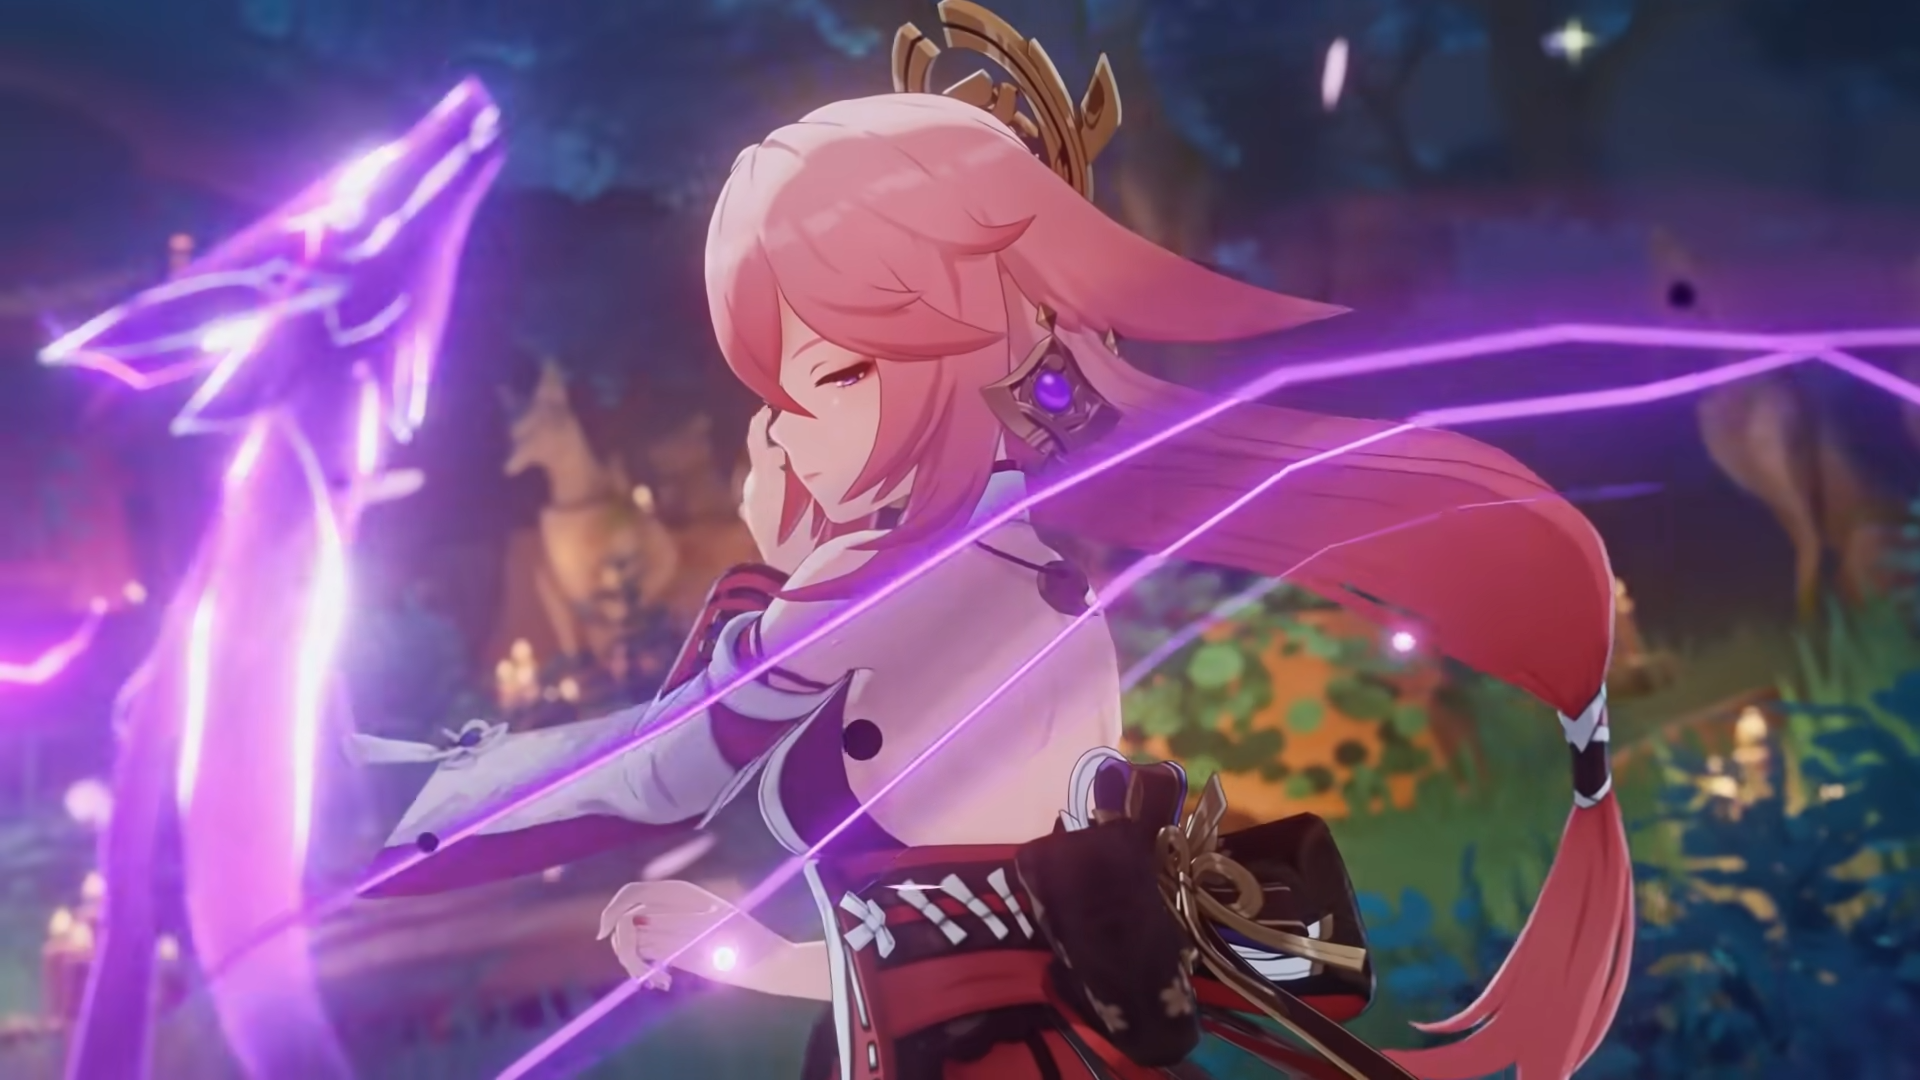
One of the most important aspects of building Genshin Impact characters is choosing the right artifacts for them. Yae Miko is a five-star Electro Catalyst character with rather complex mechanics, so players will need to choose the best artifacts possible for her to amplify her damage-dealing abilities.
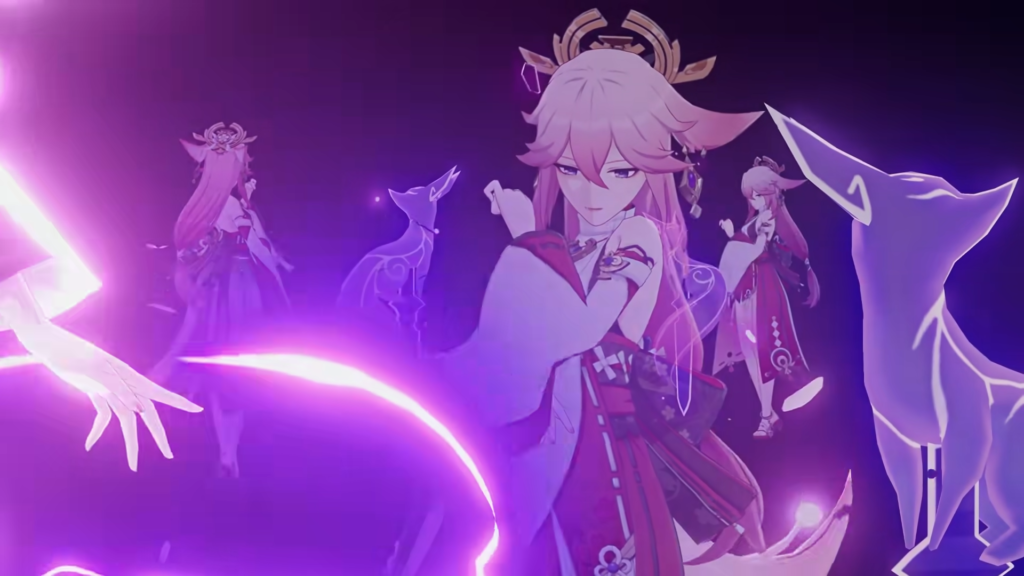
Most characters can function well with a variety of artifact sets, but certain characters, such as Yae Miko, have less room for versatility and require a specific artifact build to see success. Yae Miko can be quite a powerful character, but her abilities come with a steep learning curve and can be difficult to manage even for players who overcome the learning curve.
Related: 30 prettiest locations in Genshin Impact to take in the scenery
In addition to her complex mechanics, Yae Miko is also not a character that can function in a variety of roles. She is meant to play as the secondary damage-dealing unit on any Genshin team and will not function well in any role besides this. This makes her a character that is easily overshadowed by many of the other better five-star characters around Teyvat, but she is still a unique unit that can fit and function well in a variety of teams.
Because of her complex mechanics and lack of versatility, players will want to ensure they build her carefully and with precision. Otherwise, players will struggle to maximize her potential and find her to be an unimpressive force. Depending on who players choose to put her on a team with and which weapon they choose to have her wield, it may take a bit of time and many adjustments before players are able to find the artifact build that is right for their Yae Miko.
What are the best artifacts for Yae Miko in Genshin Impact?
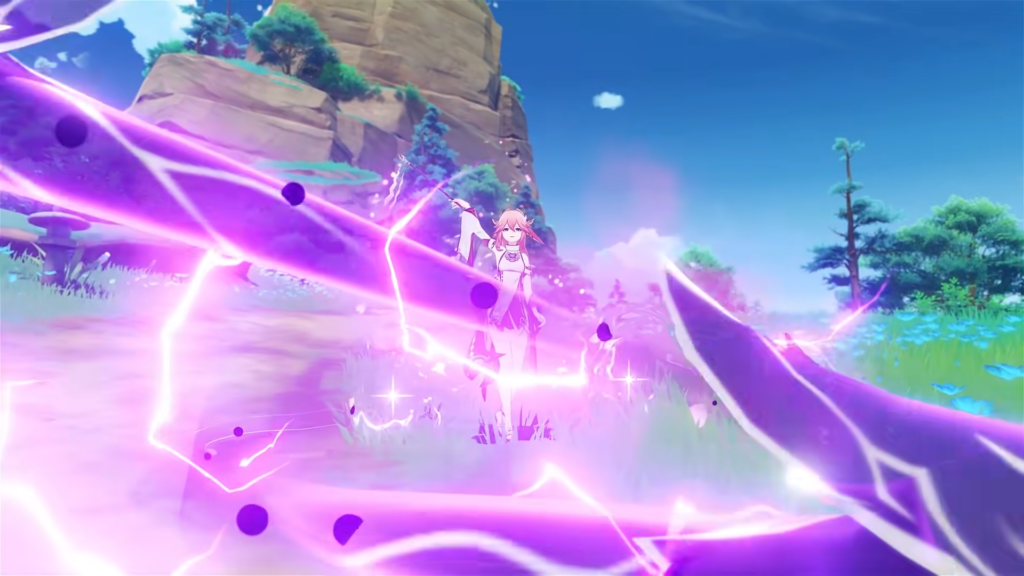
For the most part, players will want to primarily focus on general damage output and Electro damage when selecting Yae Miko’s artifact set. She is meant to function as the secondary damage-dealing unit on any given team and should thus be built to fill in the gaps between the primary damage-dealing unit’s cooldowns.
Overall, the most important statistics for her are:
- Electro damage bonus
- Critical damage
- Critical rate
- Attack
Depending on her team, energy recharge and elemental mastery can also be crucial aspects to build.

Thundering Fury
- Two-piece effect: Grants a simple but effective Electro damage increase of 15 percent.
- Four-piece effect: With the four-piece set equipped, the damage dealt by Overloaded, Electro-Charged, Superconduct, and Hyberbloom is increased by 40 percent. The damage bonus bestowed by Aggravate is also raised by 40 percent. When either Quicken or any of the previously mentioned elemental reactions are activated, the elemental skill cooldown is decreased by one second.
- Location: Players can obtain this set from the Midsummer Courtyard Domain in Starfell Valley, Mondstadt.
One of the best sets for Yae Miko is Thundering Fury, which is all about building Electro damage output. This is the area Yae Miko excels best in, so it is the best one to build upon.
Because Yae Miko functions best in a secondary damage dealer role, the full four-piece set is quite a strong option for her since she can regularly be used to create powerful elemental reactions that will be amplified with this set. The four-piece set also builds Yae Miko’s damage output overall, which makes her quite versatile and able to play well with just about any team. The two-piece version of this set is also an excellent option to pair with the two-piece version of another set.
Gladiator’s Finale
- Two-piece effect: Raises attack by 18 percent.
- Four-piece effect: Raises normal attack damage by 35 percent when the equipping character wields a sword, polearm, or claymore.
- Location: This set can be obtained by vanquishing world bosses or weekly bosses, obtaining a Domain Reliquary: Tier I box as a reward from the Spiral Abyss, or creating an Artifact Strongbox at any crafting bench.
With this Artifact set, players should only equip the two-piece version because the full four-piece set is not a viable choice for Yae Miko. The Electro character wields a catalyst, which means the full four-piece effects won’t activate on her.
A two-piece version of this set can be paired with another set. Players seeking to make Yae Miko a heavy-hitting machine will find that equipping the two-piece set of Gladiator’s Finale is a strong option for maximizing her damage output, especially when paired with the two-piece version of Shimenawa’s Reminiscence.
Shimenawa’s Reminiscence
- Two-piece effect: Increases attack by 18 percent.
- Four-piece effect: When the wearer has 15 or more energy and uses an elemental skill, they then consume 15 energy to raise their normal, charged, and plunging attack damage by 50 percent for 10 seconds. This ability cannot be activated again while it is still active.
- Location: Travelers can obtain pieces of this set from the Momiji-Dyed Court Domain in Yashiori Island, Inazuma.
Players should treat this set the same as Gladiator’s Finale since the two-piece version of it is the only one Yae Miko should be equipped with. The four-piece of this set will activate if equipped on her, but it is not a great choice for Yae Miko when many better options exist.
Equipping the two-piece version of this set alongside a two-piece Gladiator’s Finale or another set is a solid option for amplifying Yae Miko’s secondary damage-dealing abilities.
Emblem of Severed Fate
- Two-piece effect: Grants a 20 percent increase to energy recharge.
- Four-piece effect: Raises elemental burst damage by 25 percent of energy recharge. Up to 75 percent of a damage increase can be gained through this.
- Location: This set can be obtained from the Momiji-Dyed Court Domain in Yashiori Island, Inazuma.
As either a two-piece or four-piece set, the Emblem of Severed Fate artifact set is a solid choice for Yae Miko. If you’re looking to buff her secondary damage-dealing capabilities, this set is a strong way to do so.
Gilded Dreams
- Two-piece effect: Raises elemental mastery by 80.
- Four-piece effect: Grants different buffs depending on who else is present on the team with Yae Miko. Each buff will be granted within eight seconds of activating an elemental reaction, the buffs can be counted on up to three characters, and they may be activated once every eight seconds.
- Attack will be increased by 14 percent for each character of Yae Miko’s team that has the same elemental type as her.
- Elemental Mastery will be increased by 50 for each character that is a different elemental type than Yae Miko.
- Location: Travelers can obtain artifacts from this set by visiting the Spire of Solitary Enlightenment in Dharma Forest, Sumeru.
This set is a solid option if players are building Yae Miko around the Aggravate elemental reaction. This requires a Dendro character to be on the team alongside her, so players who want to use this set will need to build their Yae Miko team carefully.
Noblesse Oblige
- Two-piece effect: Grants an elemental burst damage increase of 20 percent.
- Four-piece effect: Causes an elemental burst cast by the character that this set is equipped on to then increase all party members’ attack by 20 percent for 12 seconds. This ability cannot stack
- Location: Travelers can obtain this set by taking on the Clear Pool and Mountain Cavern Domain in Minlin, Liyue.
The Noblesse Oblige artifact set is another solid contender for Yae Miko. This set helps Yae Miko amplify both her allies and herself, which is a great option for her secondary damage-dealing role. If you like the effects the four-piece set grants but prefer another set for Yae Miko, you can also choose to equip it on another character within the same party so Yae Miko will still receive the benefits.
If you’re struggling to decide between a few different sets for Yae Miko, you can also consider combining two separate two-piece sets for her. Based on my experience with Artifacts, two-piece sets are sometimes more useful for characters than any full four-piece set.
Some of the strongest artifact combinations Travelers can equip Yae Miko with are as follows.
- Two-piece Thundering Fury and two-piece Gladiator’s Finale
- Two-piece Thundering Fury and two-piece Shimenawa’s Reminiscence
- Two-piece Thundering Fury and two-piece Emblem of Severed Fate
- Two-piece Thundering Fury and two-piece Gilded Dreams
- Two-piece Thundering Fury and two-piece Noblesse Oblige
- Two-piece Shimenawa’s Reminiscence and two-piece Emblem of Severed Fate
- Two-piece Shimenawa’s Reminiscence and two-piece Gilded Dreams
- Two-piece Shimenawa’s Reminiscence and two-piece Noblesse Oblige
- Two-piece Shimenawa’s Reminiscence and two-piece Gladiator’s Finale
- Two-piece Emblem of Severed Fate and two-piece Gilded Dreams
- Two-piece Emblem of Severed Fate and two-piece Noblesse Oblige
- Two-piece Gilded Dreams and two-piece Noblesse Oblige
The Electro kitsune is currently available for the third-ever rerun of her featured “Everbloom Violet” banner. Yae Miko, along with the five-star Pyro Bow character Yoimiya, will be a featured five-star character available with an increased drop rate from May 24 to June 13.
Once Yae Miko’s featured banner rerun comes to a close, players likely won’t have the opportunity to recruit the head shrine maiden for quite some time. Based on Genshin’s usual patterns, Yae Miko likely won’t see another rerun for at least six months, but it could be much longer.
We gathered this information by playing Genshin Impact Version 3.7 “Duel! The Summoners’ Summit!” on PC.


Published: May 24, 2023 03:42 pm