During your visit to Cosmo Canyon in Final Fantasy 7 Rebirth, you unlock a new side quest, Absence of a Sign, which involves taking photos of constellations in the sky, called celestial phenomena.
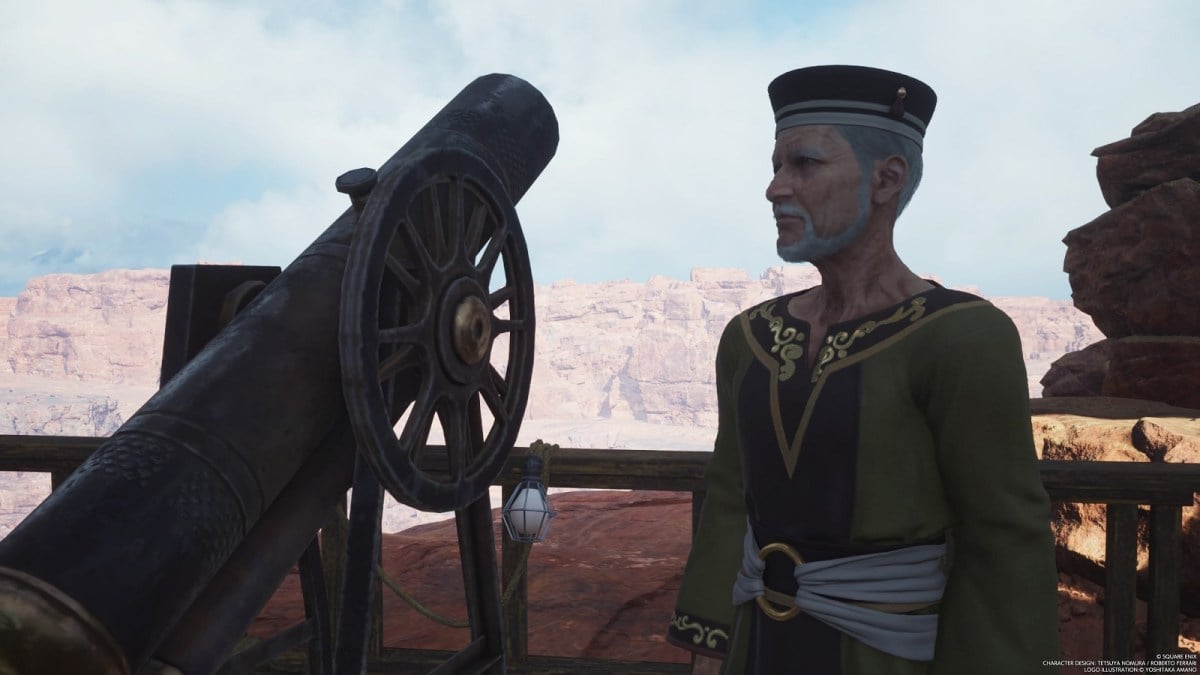
The quest isn’t available until you progress the main story, with the party prepared to head off for the Nibel region, but you’re free to attempt it any time you want. You can trigger this quest by selecting it from the Community Noticeboard or heading to the Planetology Assembly and speaking to an old man called Caesar by the telescope.
He hands you a camera and three photographs and tasks you with visiting three locations throughout Cosmo Canyon to recreate the shots of the constellations in the photos. You can complete the quest by taking any photo of the constellations, but recreating the photos as best you can yields more rewards. Finding each location can be a hassle, though, so here’s our walkthrough on how to complete the Absence of a Sign quest in Final Fantasy 7 Rebirth.
How to complete Absence of a Sign in FF7 Rebirth
Celestial Phenomena location one
You can visit each location in any order, but for this walkthrough, we’ll start with the most western location right near the Cosmo Canyon airstrip. This is the easiest one to reach; just fast travel to the airstrip and immediately turn to your left. You should see a rocky path heading upwards. Follow it, and you’ll reach the first location.

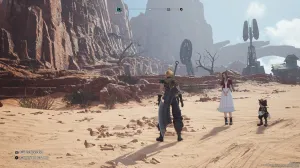
Before you can take the photo, you must deal with a new enemy type: a giant scorpion called a Reapertail. This thing can be dangerous if you’re not careful, especially since it has a Pulverize attack that can hit you multiple times if you fail to block or dodge the first hit. Fortunately, it’s weak to Ice magic, so hit it enough times with Blizzard or ice based abilities to pressure it. While pressured, it gains a resistance to magic, but becomes more susceptible to physical attacks. Feel free to use other detrimental status effects if you have the Materia, but don’t bother with Poison or Stone magic since it greatly resists the former and is immune to the latter.
Once you’ve killed the Reapertail, take the photo of the constellation in the sky. Pull up the appropriate photo by pressing left on the directional pad so you know what to match, then press up on the directional pad to pull out your camera. Taking a replica of the photo can be tricky, especially since you can’t move around while holding up the camera, but it doesn’t need to be an exact copy.
As you aim your camera and zoom in or out, you’ll see a percentage near the reticle, which measures how close you are to recreating the photo. As long as it’s 80% or higher, that’ll do nicely. The reticle also glows green to indicate the photo is a good match. If you can’t reach the 80% mark, put away the camera with the circle button and move positions. Sometimes, shifting further to the left or right or taking a few steps back can make all the difference.
Celestial Phenomena location two
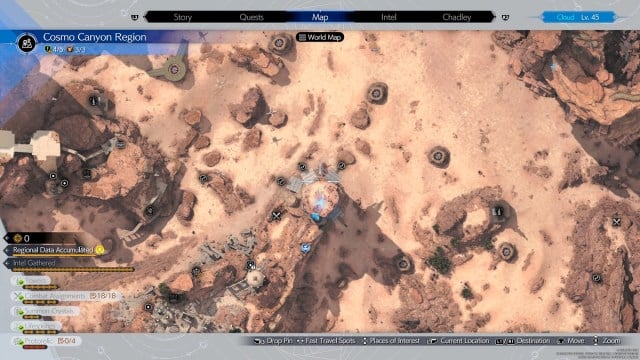
Our next location is around the center of the map. Hopefully, you have already reached and activated the Ancient Capital Tower, so you can fast travel there since it makes reaching the second photo spot much easier. If not, this will require some extra legwork. First, hop on your Chocobo and head to the most southern area of the map, and then turn left up a pathway. Follow it, and you’ll reach Gliding Range No. 6. You should be well acquainted with these by now, so use it to reach the other side. From there, follow these instructions:
- Follow the path to Gliding Range No. 7 and use the fans to glide to the opposite platform.
- Follow the path on your right to Gliding Range No. 13 and glide across from there.
- Turn left and use Gliding Range No. 14 to reach the other side.
- Follow the path to your left and upwards until you reach Gliding Range No. 16.
- Glide all the way to the Ancient Capital Tower directly opposite you.
Once you’re at the tower, head right through the ruins towards the quest marker on the map. You’ll shortly exit the ruins and come into proximity with a Fiend Intel mission (Fiend Intel 6, to be exact). If you’ve already completed this, it’s another possible fast travel point you can use. To the right of the path in front of you is some rocks you can climb up. Do so and head forward; there’ll be a fan you can use to glide upwards on your Chocobo, bringing you to the second photo spot. There’s another Reapertail waiting for you, but you know how to deal with it.
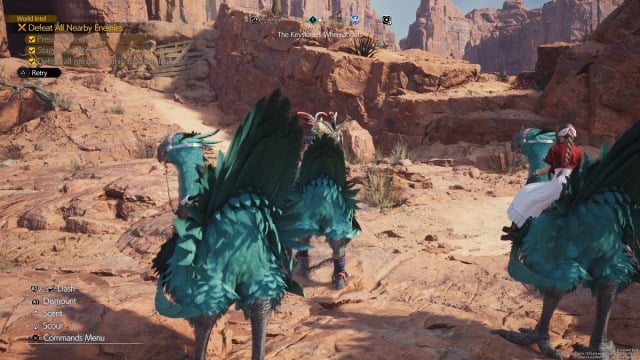
Before you take the photo of the constellation, you’re prompted to sneakily take a photo of Aerith. This one’s far more lenient; just keep your focus on her and wait for the reticle to glow green before snapping it. From there, follow the same advice as before to recreate the second photo.
Celestial Phenomena location three

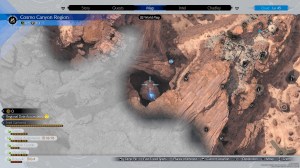
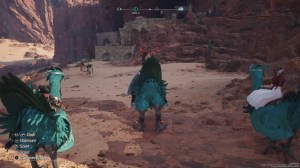
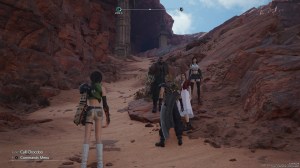
Our third and final stop is in the southwest portion of Cosmo Canyon, which you cane easily reach if you’ve found the nearby Chocobo Stop and fast travel there. We have a guide on how to find every Chocobo Stop in Cosmo Canyon, so use that if you haven’t reached it yet; it’s listed as number six in the guide. Once you’re at the stop, simply exit the alcove and move towards the ruins in the distance. To your right, you should see a path heading upwards; follow it, and you’ll reach the third photo spot. Again, deal with the Reapertail and take the photo following the advice we’ve given you already.
All rewards for completing Absence of a Sign in FF7 Rebirth
With all three photos in hand, simply head back to Caesar, and provided you’ve taken the best shots you could, you’re handsomely rewarded with experience points for the whole party and an increase in your Bond of Friendship with Aerith. You’re also be gifted a Tarot Cards accessory, which “extends the duration of detrimental status effects applied to foes.”



Published: Mar 13, 2024 08:05 am