Finding the right crosshair in Counter-Strike: Global Offensive can be a challenge, especially if you don’t know how to manually change it.
It’s generally a good idea to adjust your crosshair when you feel you need a change for your user interface. Whether that change be a small color correction or a huge transition to an entirely new crosshair layout, it wouldn’t hurt to test out different crosshairs. You never know what can come from a new crosshair–it could even help you step up your game.
If you’re not feeling spontaneous enough for it, just think of it as a way to help yourself when you’re feeling off of your game. A good crosshair can be the difference between staying in Silver or ranking up into that shiny new badge you’ve been looking at for ages. And if you’re not jiving with the crosshair you transitioned to, you can always revert back to the one you had previously.
Changing your crosshair
The easiest way to change your CS:GO crosshair is through the Steam workshop map crashz’ Crosshair Generator. To download the map, search for it in your Steam client and click on the “+subscribe” button. Then it should be in your workshop map list in your private offline servers.
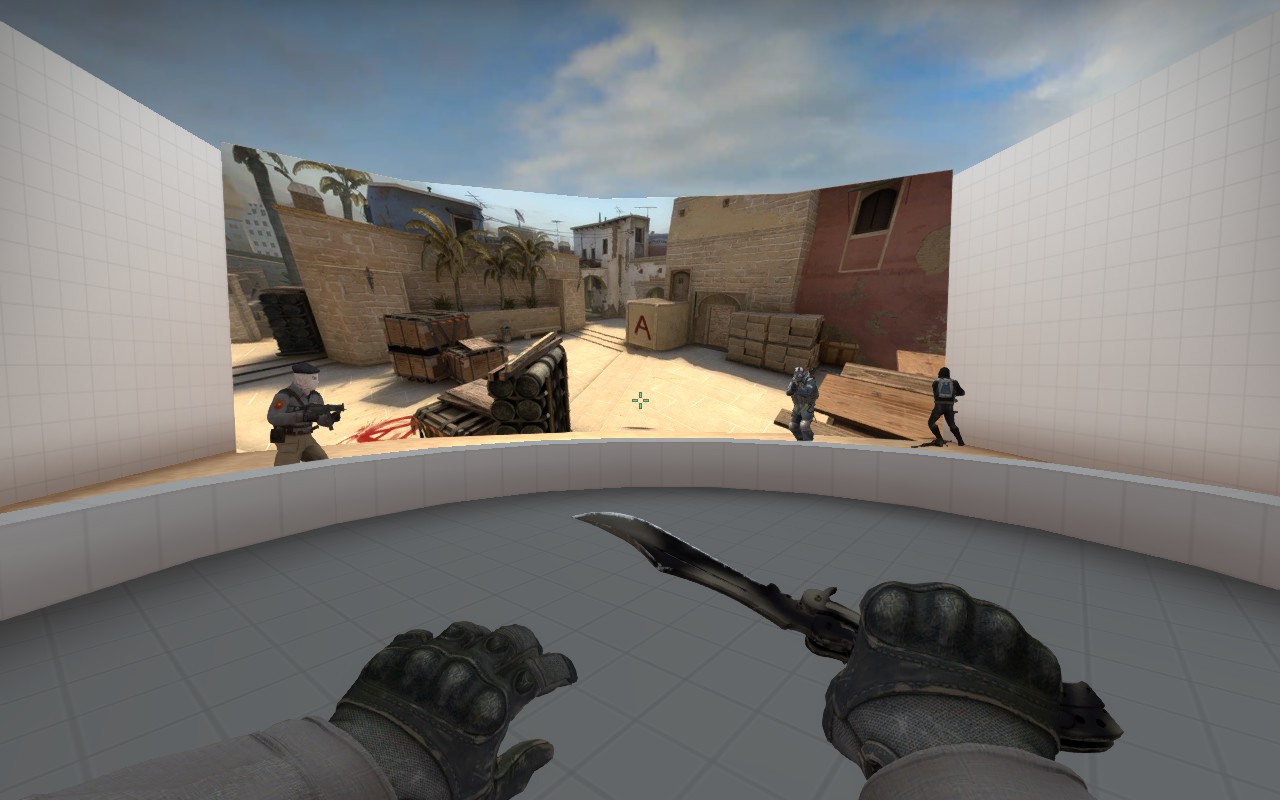
Jump into CS:GO, click on “Find a game,” and select the “Workshop” tab next to “Common.” In the list of maps, choose the Crosshair generator map and click the green “Start local server” button below the map option. Your own private server should load and you should spawn in a room with menus on a wall in front of you. These menus will help you adjust your current crosshair. Making mistakes with this crosshair generator is okay too, since you can always reset your crosshair using the control panel on the right.
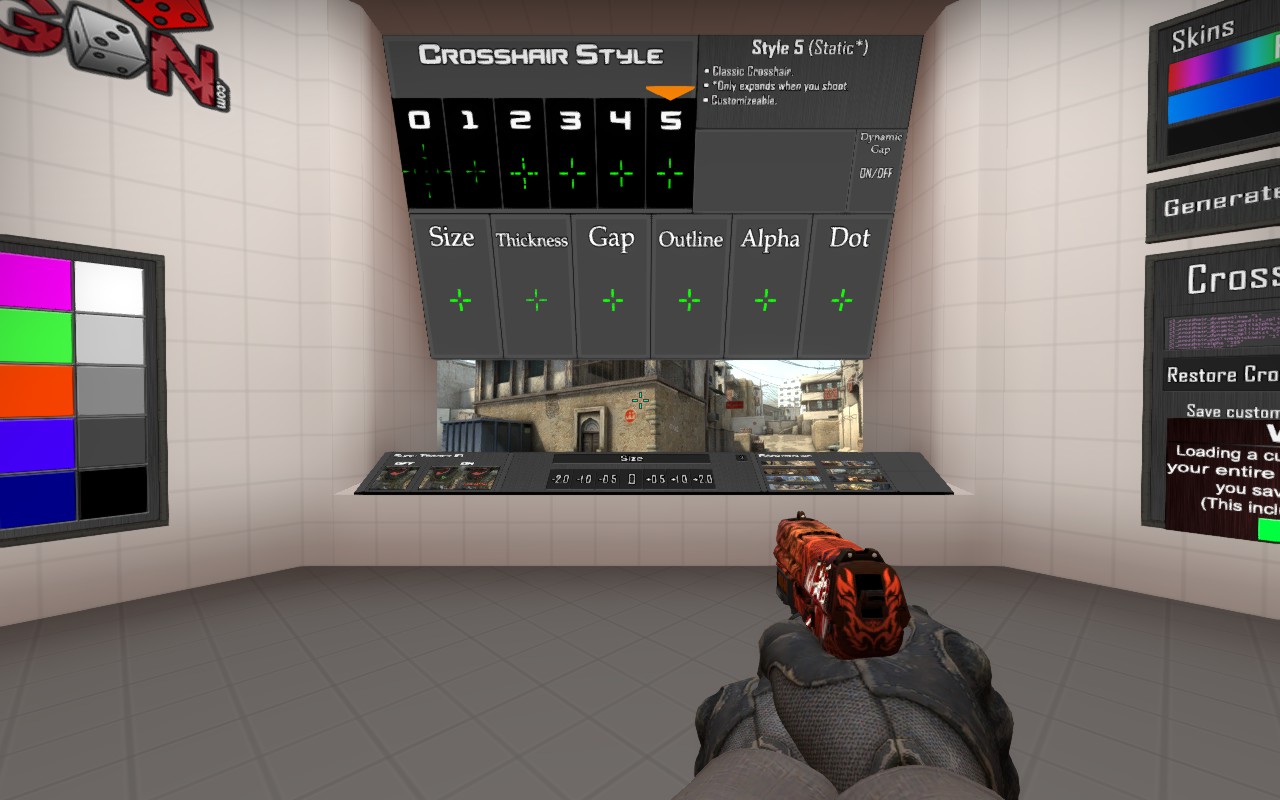
To start, pick a Crosshair style that you like and are able to aim well with. Some of the styles are static, some are dynamic, and some are a mix of the two. Pick whichever is your preference. Depending on the style you chose, numerous secondary menus should be available. Examples of those menus include crosshair size, thickness, gap, outline, alpha, and dot. Upon selecting a submenu, more options on a panel should appear. These numbers change the number values in the developers’ console, so that you don’t have to manually type in the commands for each small crosshair adjustment. For players who are more advanced with the developer console, a full list of the commands can be found here,
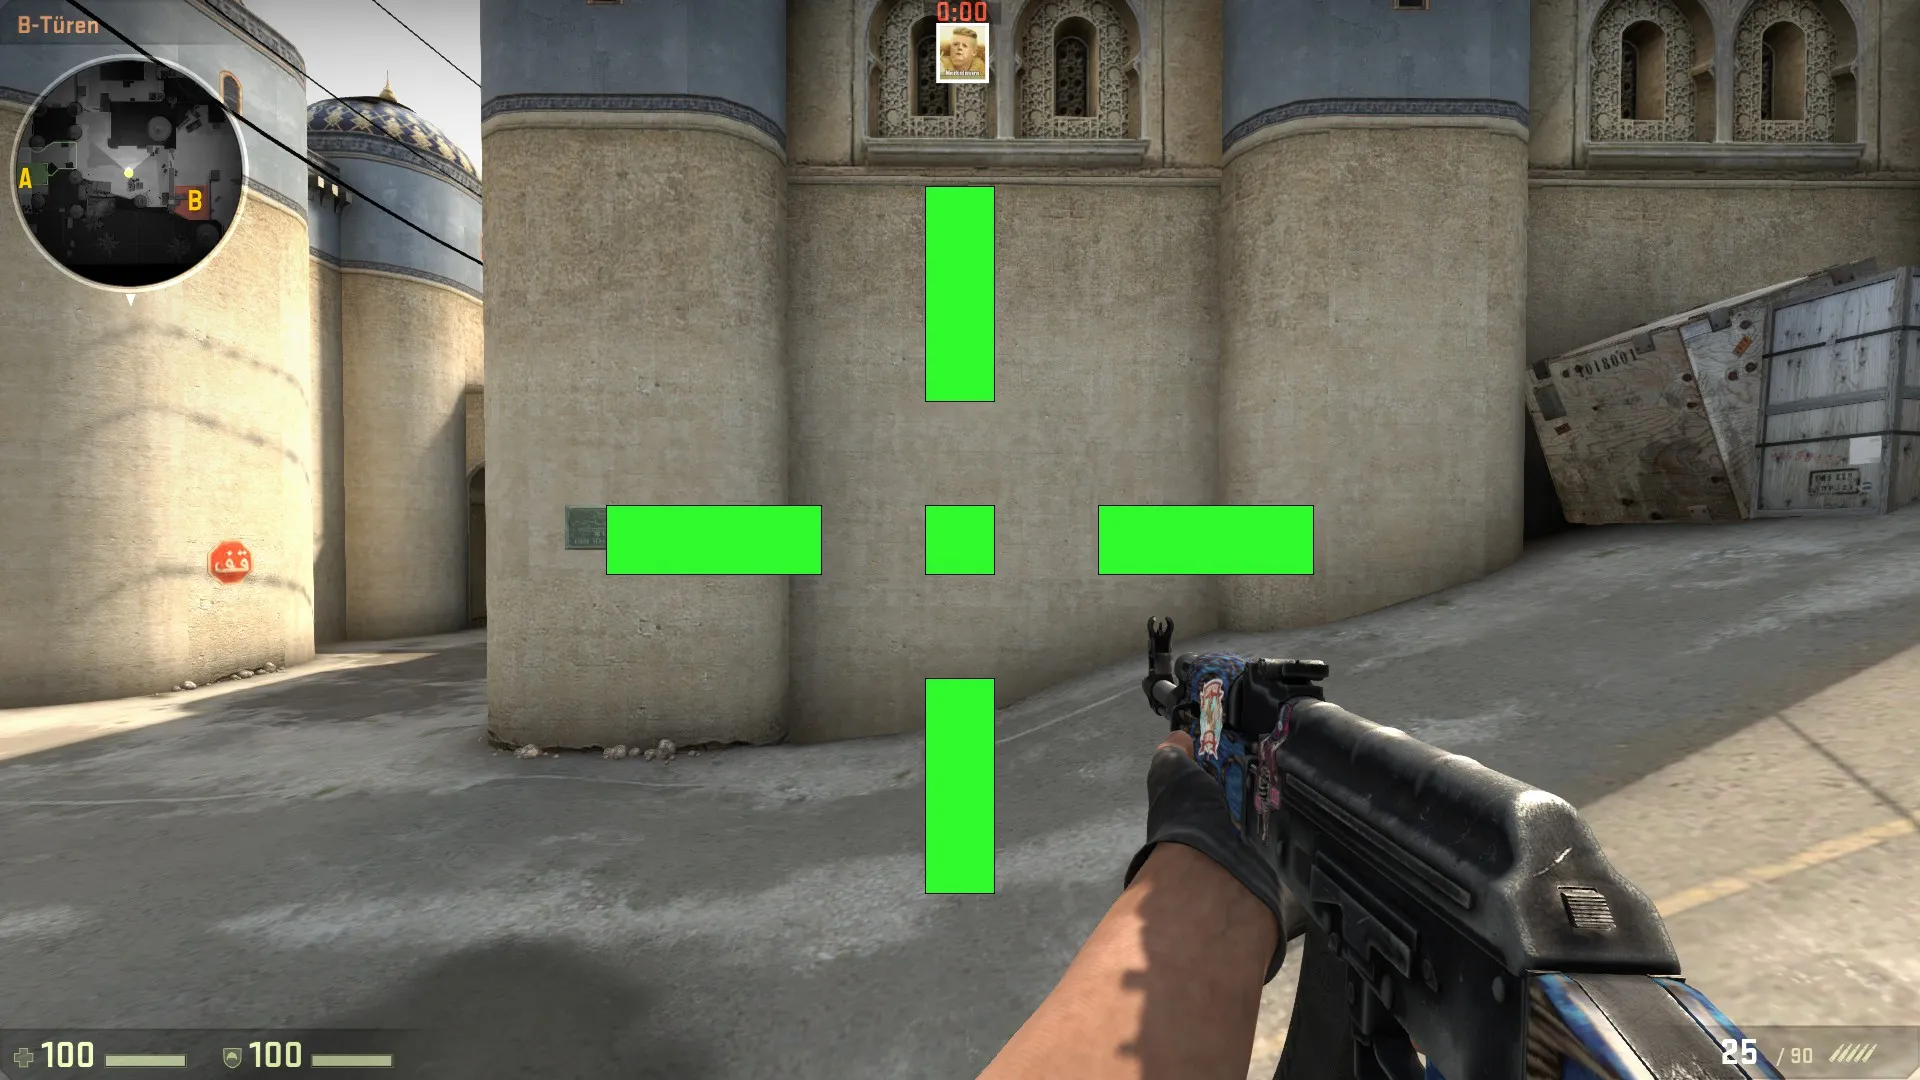
Now that you’re done changing the smaller parts of your crosshair, you can also change the color to whichever works best for you. It’s recommended that you use a white crosshair with a black outline, so that you never lose your crosshair while aiming at differently colored walls. But if you are always consciously focused on your crosshair, you won’t have to worry about that problem in competitive matches.
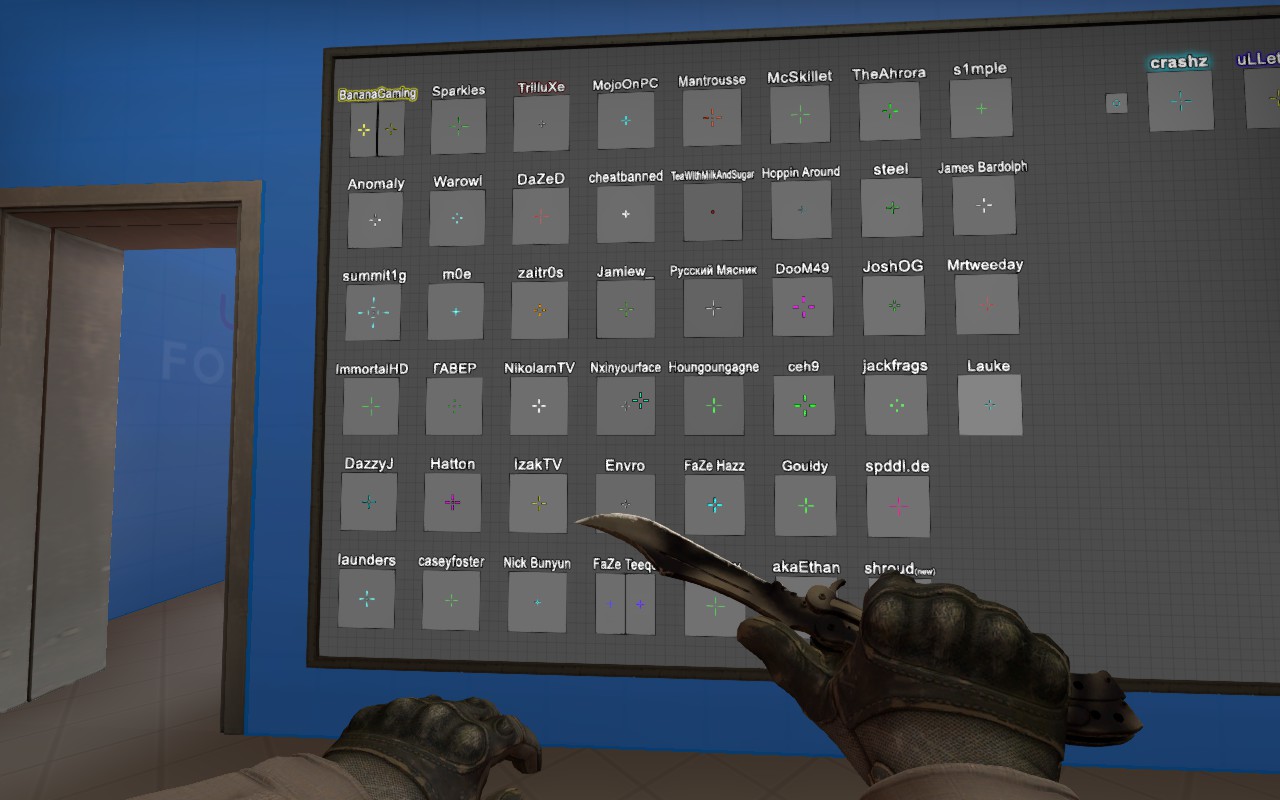
Additionally, if you want to try out a professional player’s crosshair, like Kenny “kennyS” Schrub of G2 Esports, you can look at the wall behind you and shoot the respective boxes to experiment with their varying crosshairs. The options in the adjacent room also include popular CS:GO streamers, such as Jaryd “summit1g” Lazar and Sam “DaZeD” Marine.
From here your crosshair should be ready to experiment with your new creation. You can immediately test and spray your new crosshair by going through the door labeled “Test.” A blank wall on the left shows your server-sided bullet impacts when you shoot at it. The semi-circular wall in front of you is a mini-firing range with bots and map backgrounds, allowing you to test the crosshair colors and your aim. The open space on the right is a long-distance firing range that requires more precise shots. If you’re not feeling the generator map’s aim practice, you can hop into another map, such as “aim_botz,” for further testing. Just type “changelevel aim_botz” into your developer’s console.
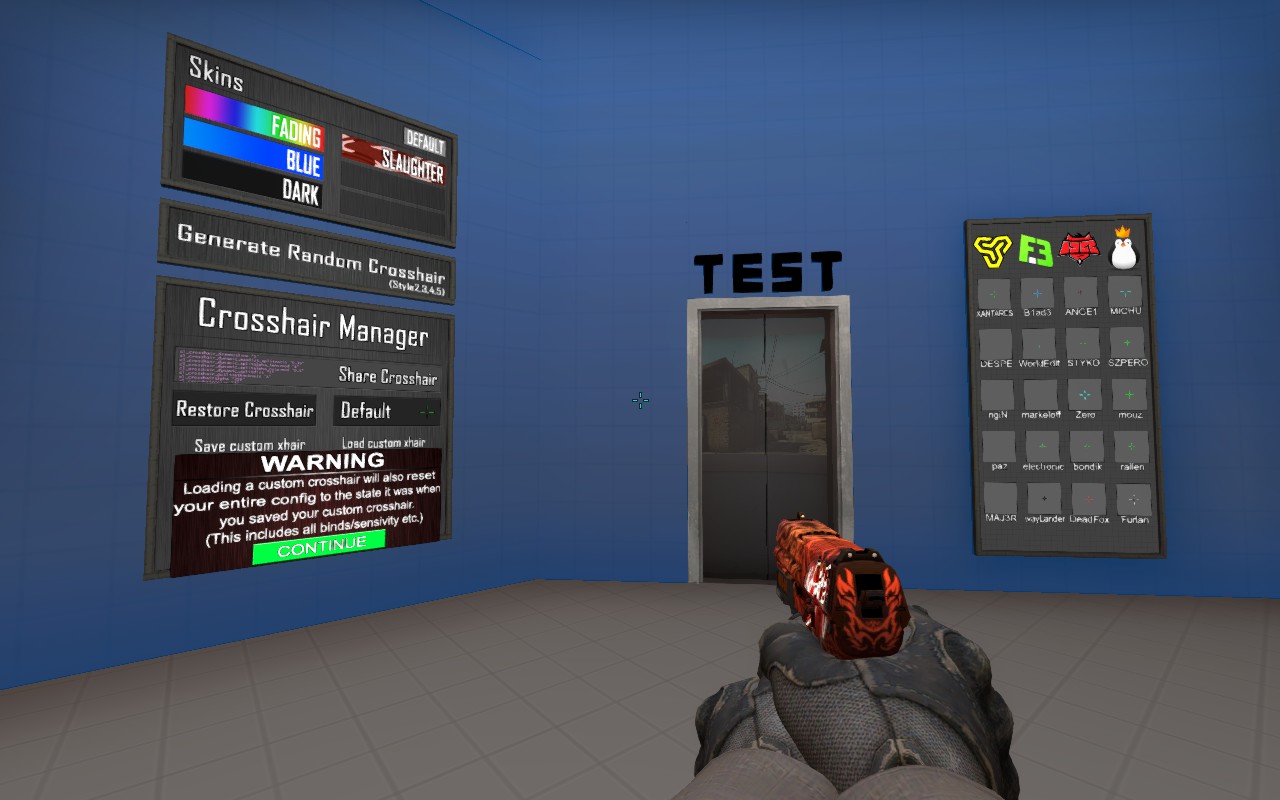
Once you’re finally done creating the most optimal crosshair for aiming, you can save it by generating a script and copy-pasting it into a separate word file. Then you can put it into your autoexec file so that the game will render the crosshair upon launching CS:GO. It’s not necessary to save it into an autoexec file, but it can be helpful if you’re constantly playing the game on different computer systems. When you disconnect from the crosshair generator map, the client will automatically save the crosshair and transfer it over into other servers.
Now you’re ready to take on competitive CS:GO with your trusty new crosshair. Good luck, and have fun.


Published: Sep 25, 2017 01:23 pm