Hell Let Loose has a lot of variety in its historically accurate maps. But quantity doesn’t mean quality, so we’ve ranked all the maps in Hell Let Loose in this article.
How many maps are in Hell Let Loose?
Currently, there are 15 playable maps in Hell Let Loose, but a new map, Mortain, is set to arrive soon as the game’s 16th map, which is part of the 2024 Hell Let Loose roadmap.
All maps in Hell Let Loose, ranked
15) Hurtgen Forest
This map is filled with forests, which makes it hard to transport infantry by truck or drive tanks. Getting stuck between trees makes you an easy target for anti-tank classes, and there aren’t many bridges you can cross, which also makes them great targets for mines.
This map is bound to bring you a ton of anxiety—you’ll keep mistaking trees for enemies and hear footsteps every once in a while. If the sound of that somehow excites you, then by all means, knock yourself out with this one.
14) Driel
Driel offers a dynamic gameplay experience with fewer standstills compared to other maps, adding to the excitement. It stands out as one of the few maps featuring the British as a playable army. While it may not be the best map, it still provides an enjoyable experience.
13) Kharkov
In this map, effective use of armor is crucial, particularly in the expansive fields where visibility is high and suppression fire is common. Encounters like those in the southern valley can lead to stalemates, resulting in matches that lack momentum. While the snowy landscape effectively showcases the Russian army, the map falls short in several ways and fails to fully capitalize on its potential.
12) Utah Beach
Utah Beach is characterized by its flat terrain, making it challenging for attackers to reach the German positions. The beach itself poses significant obstacles, often resulting in multiple casualties before you can make any progress.
In addition to the beach, the map features flat terrain scattered with minor settlements, providing ample opportunities for vehicle-based strategies. Classes like the Machine Gunner and Sniper thrive in this environment, leveraging the open spaces and settlements to their advantage.
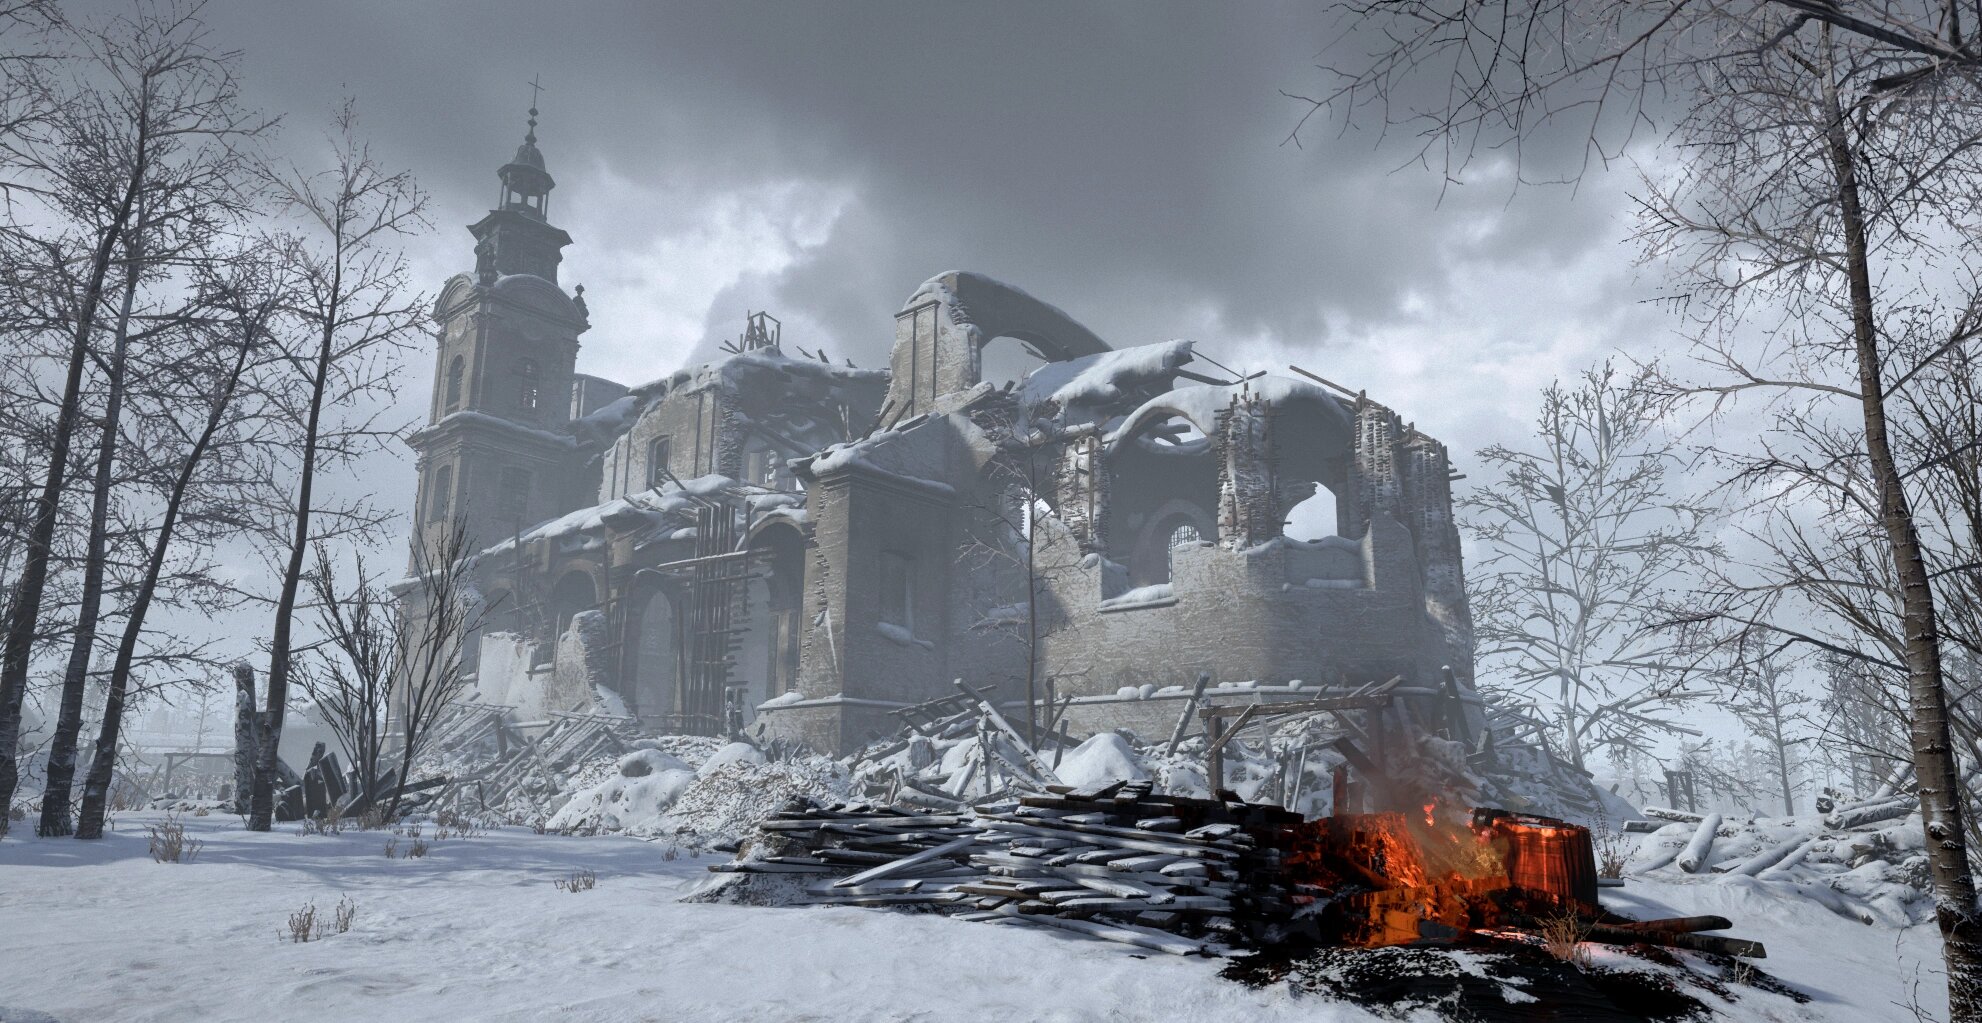
11) Foy
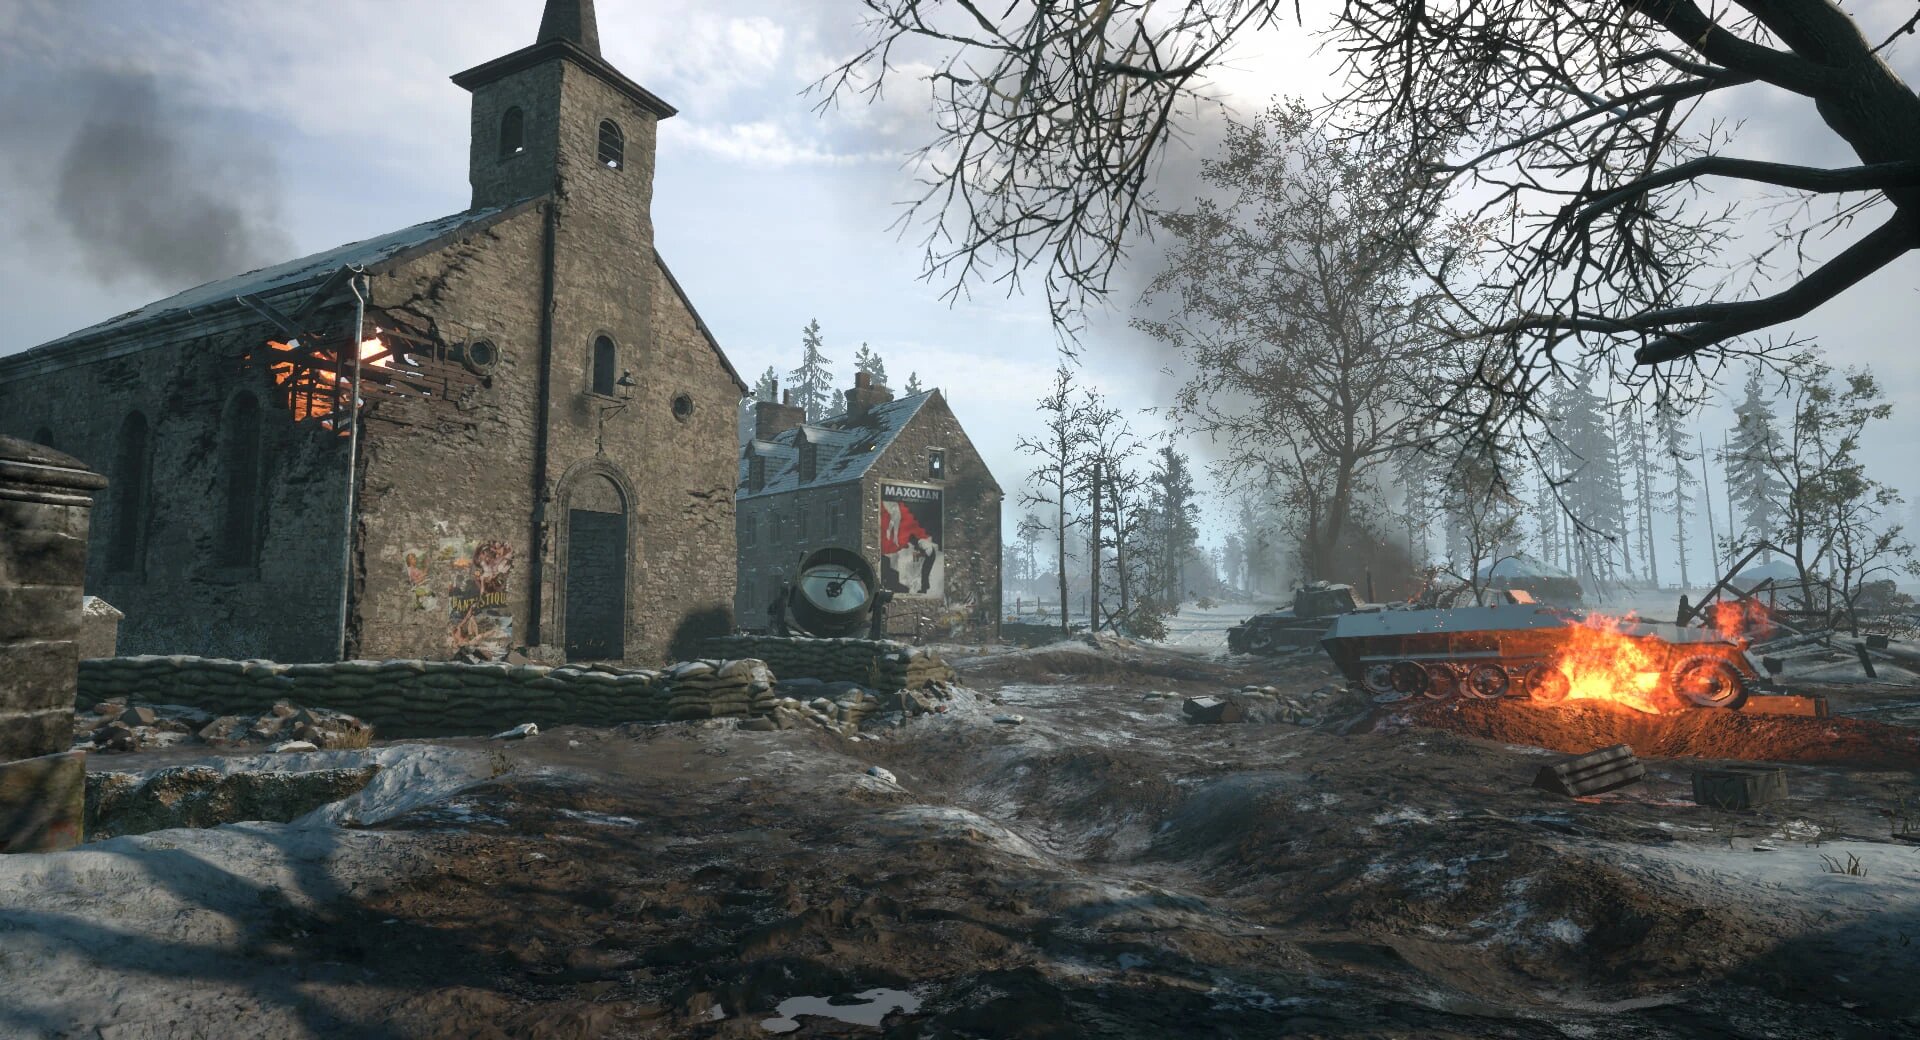
Foy is a winter landscape dominated by flat terrain, with a cityscape bearing heavy damage. Combat unfolds amid the ruins of collapsed structures, across open fields, and within forested areas. Tanks play a pivotal role here, leveraging the flat terrain to swiftly secure territories, encircle objectives, and offer a significant strategic advantage to the team.
10) Purple Heart Lane
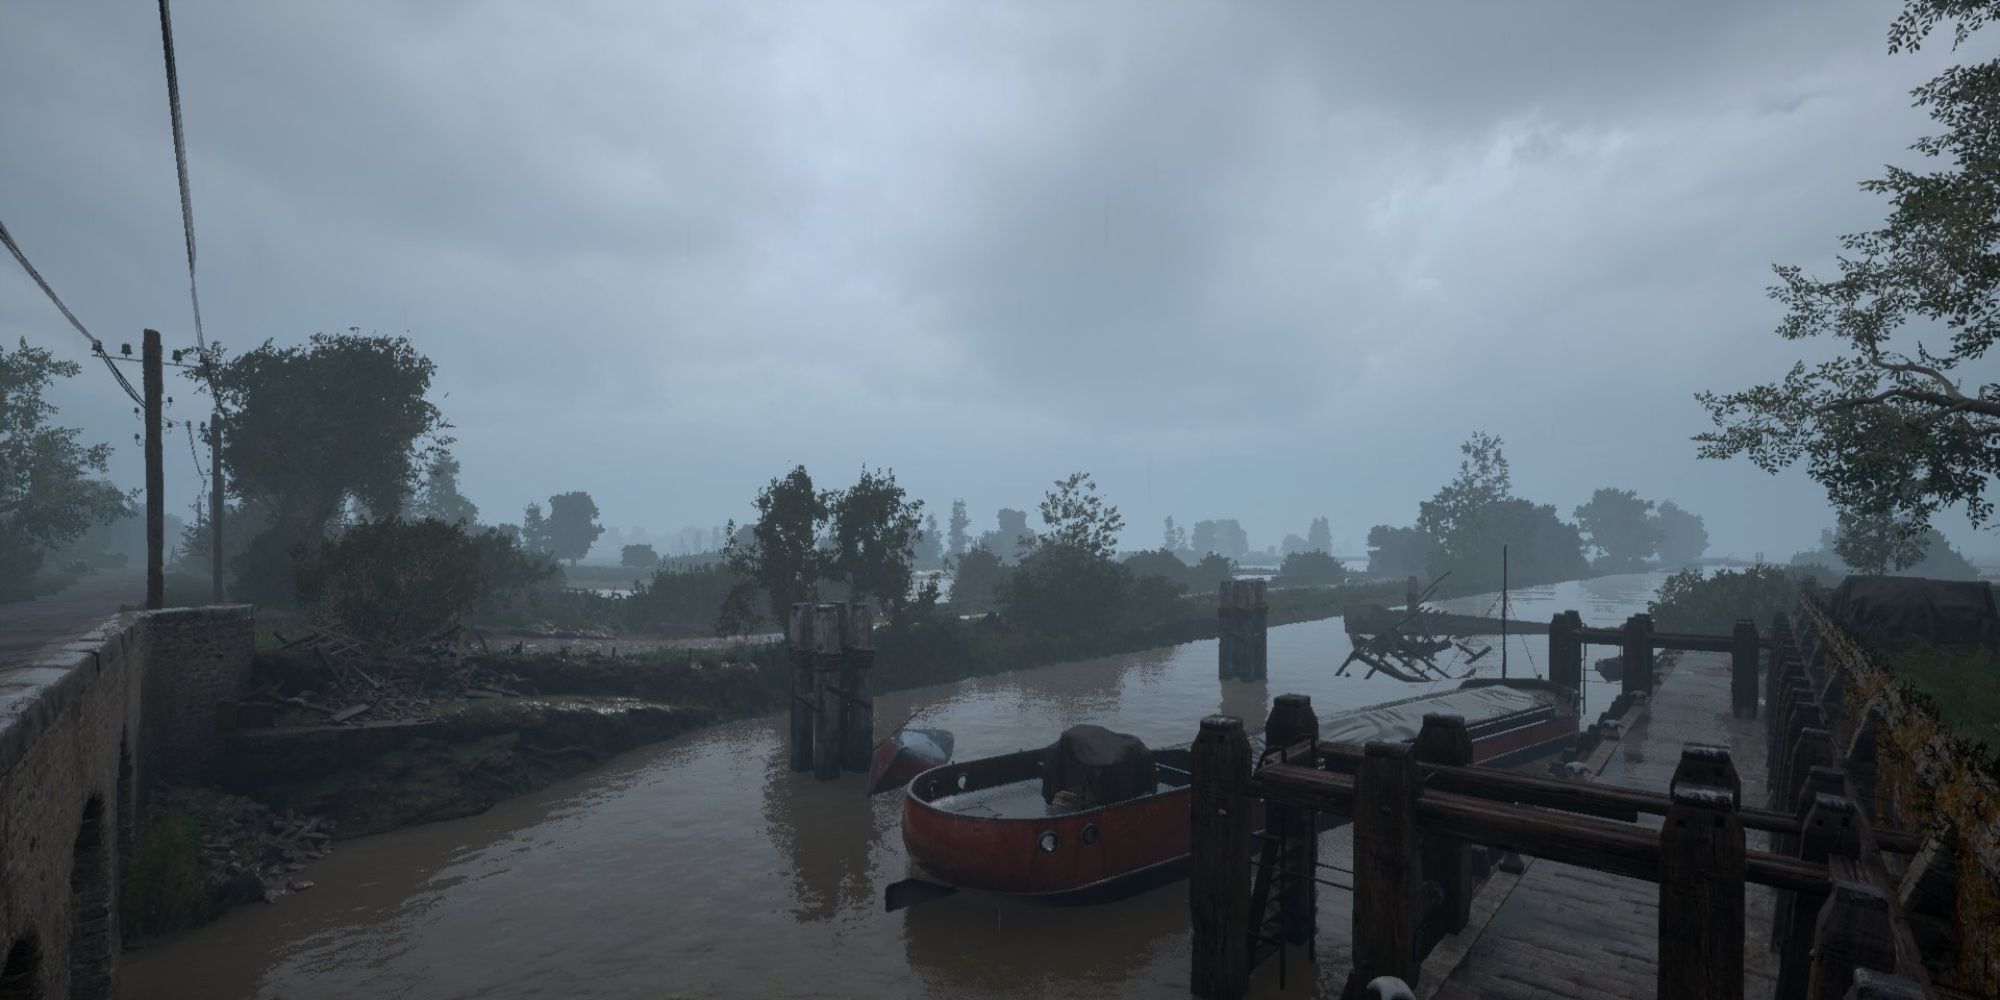
This map is defined by a central roadway that splits it vertically. As troops advance along the road, they must navigate the perpendicular tributaries either by foot or by crossing narrow bridges. The challenge intensifies on the nighttime version of the map, with tracer rounds streaking across the sky from hedgerows on either side. The numerous waterways crisscrossing the terrain significantly prolong the time required to move between objectives, making traveling small distances a formidable task.
9) Sainte Mere Eglise
The focal point of this map is a sprawling cityscape where intense confrontations unfold between German and American forces. As the frontline shifts, maneuvering becomes increasingly challenging, demanding effective utilization of classes equipped with automatic weaponry from both teams.
The map’s peripheries consist of expansive open fields and scattered minor settlements. Additionally, numerous accessible buildings offer opportunities to set traps or establish firing positions, providing a degree of tactical diversity.
8) El Alamein
El Alamein stands out as one of the few desert maps in the game, characterized by its bright, sunny landscape and scarcity of cover. Despite the lack of hiding spots, the map offers an enjoyable level of verticality, with valleys often becoming kill zones as riflemen take positions atop rocky hills. Tank units play crucial roles here, as strategically positioned armor can effectively control entire valleys, adding depth to the gameplay experience.
7) Carentan
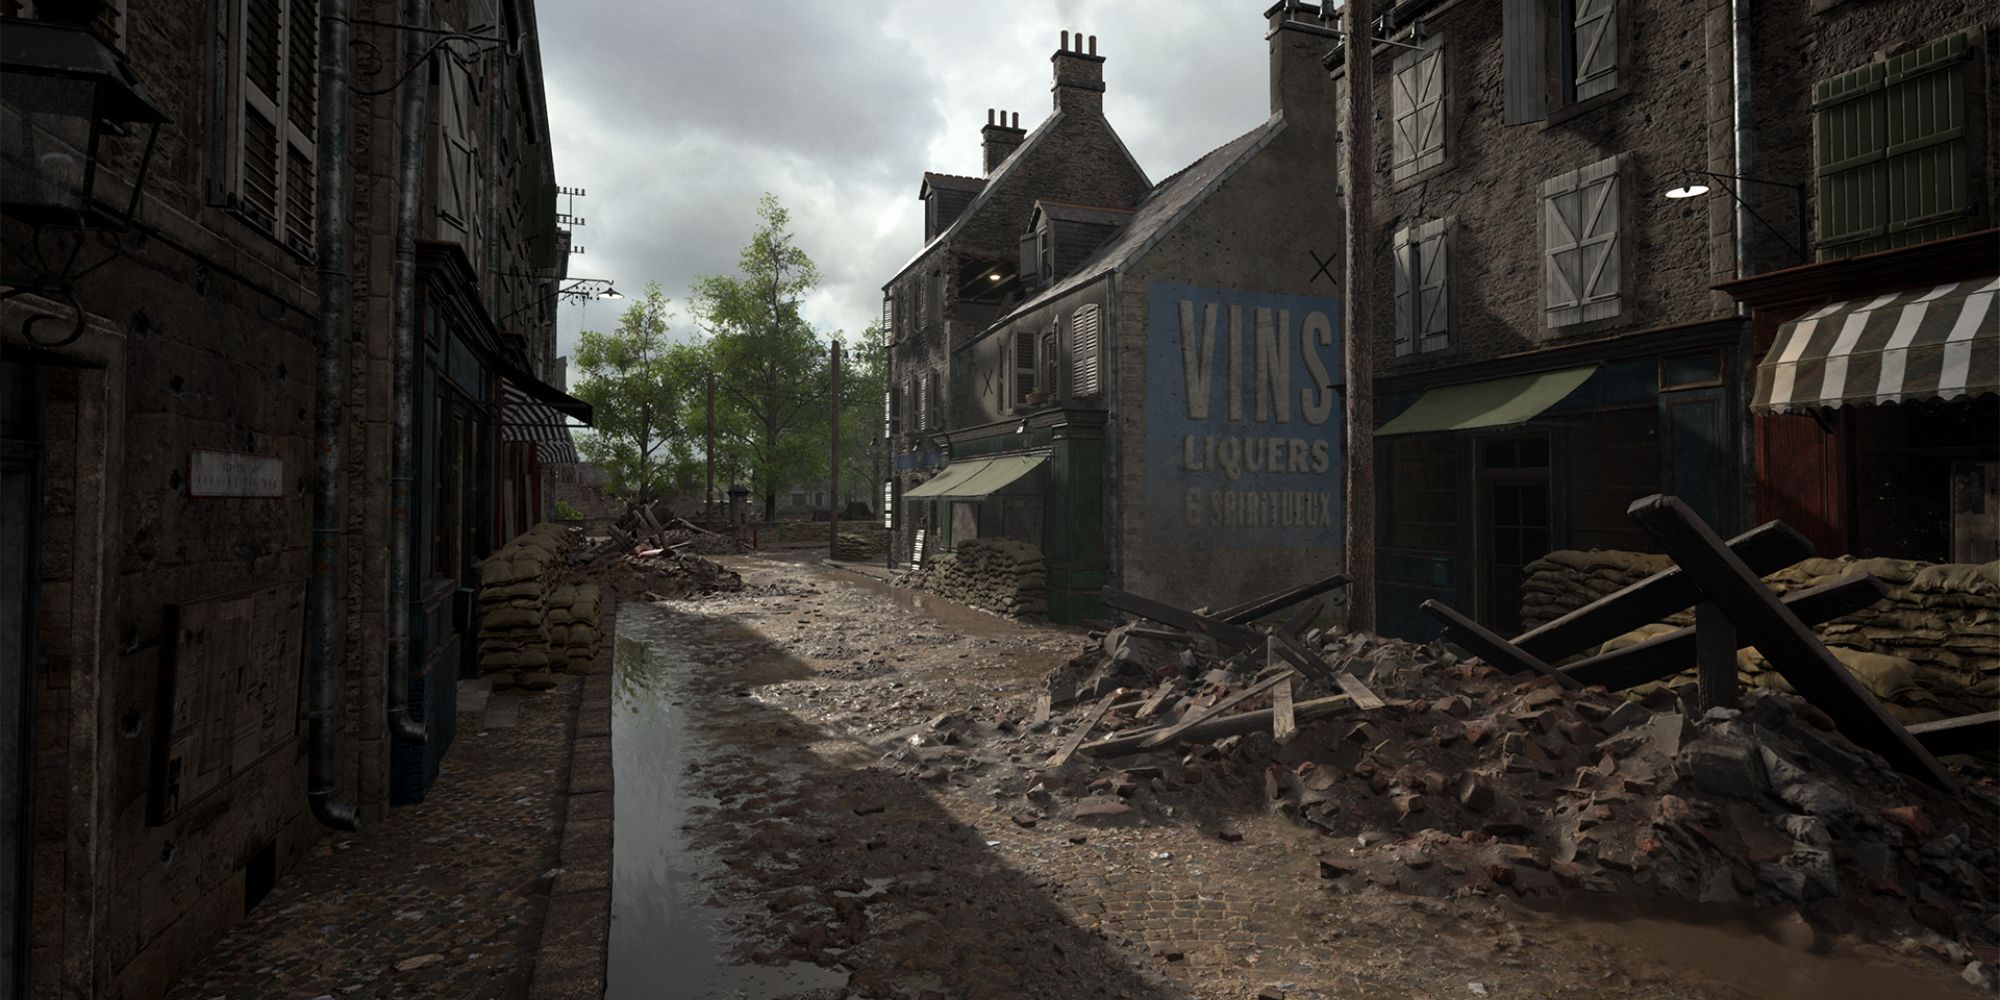
This is one of the most urban maps in the game—it’s filled with alleyways and enterable buildings with multiple floors and narrow corridors. Getting killed is easy, as you never know from which window or door the enemy will shoot at you.
The terrain offers expansive cityscapes with sparse fields where intense fights can happen. Carentan is also ideal for campers, so if that’s the way you like to play, this map is perfect for you.
6) Hill 400
Hill 600 is dominated by dense forests and harsh weather conditions, making it difficult to spot enemies. The challenging terrain, particularly the steep hills, pose a significant obstacle for attackers. Maneuvering tanks is virtually impossible due to the dense woodland and rugged terrain.
Success on this map relies heavily on skilled infantry, who are tasked with clearing bunkers, advancing, and ultimately capturing the formidable Hill 400. Despite its difficulty, the map’s challenging nature is its main allure.
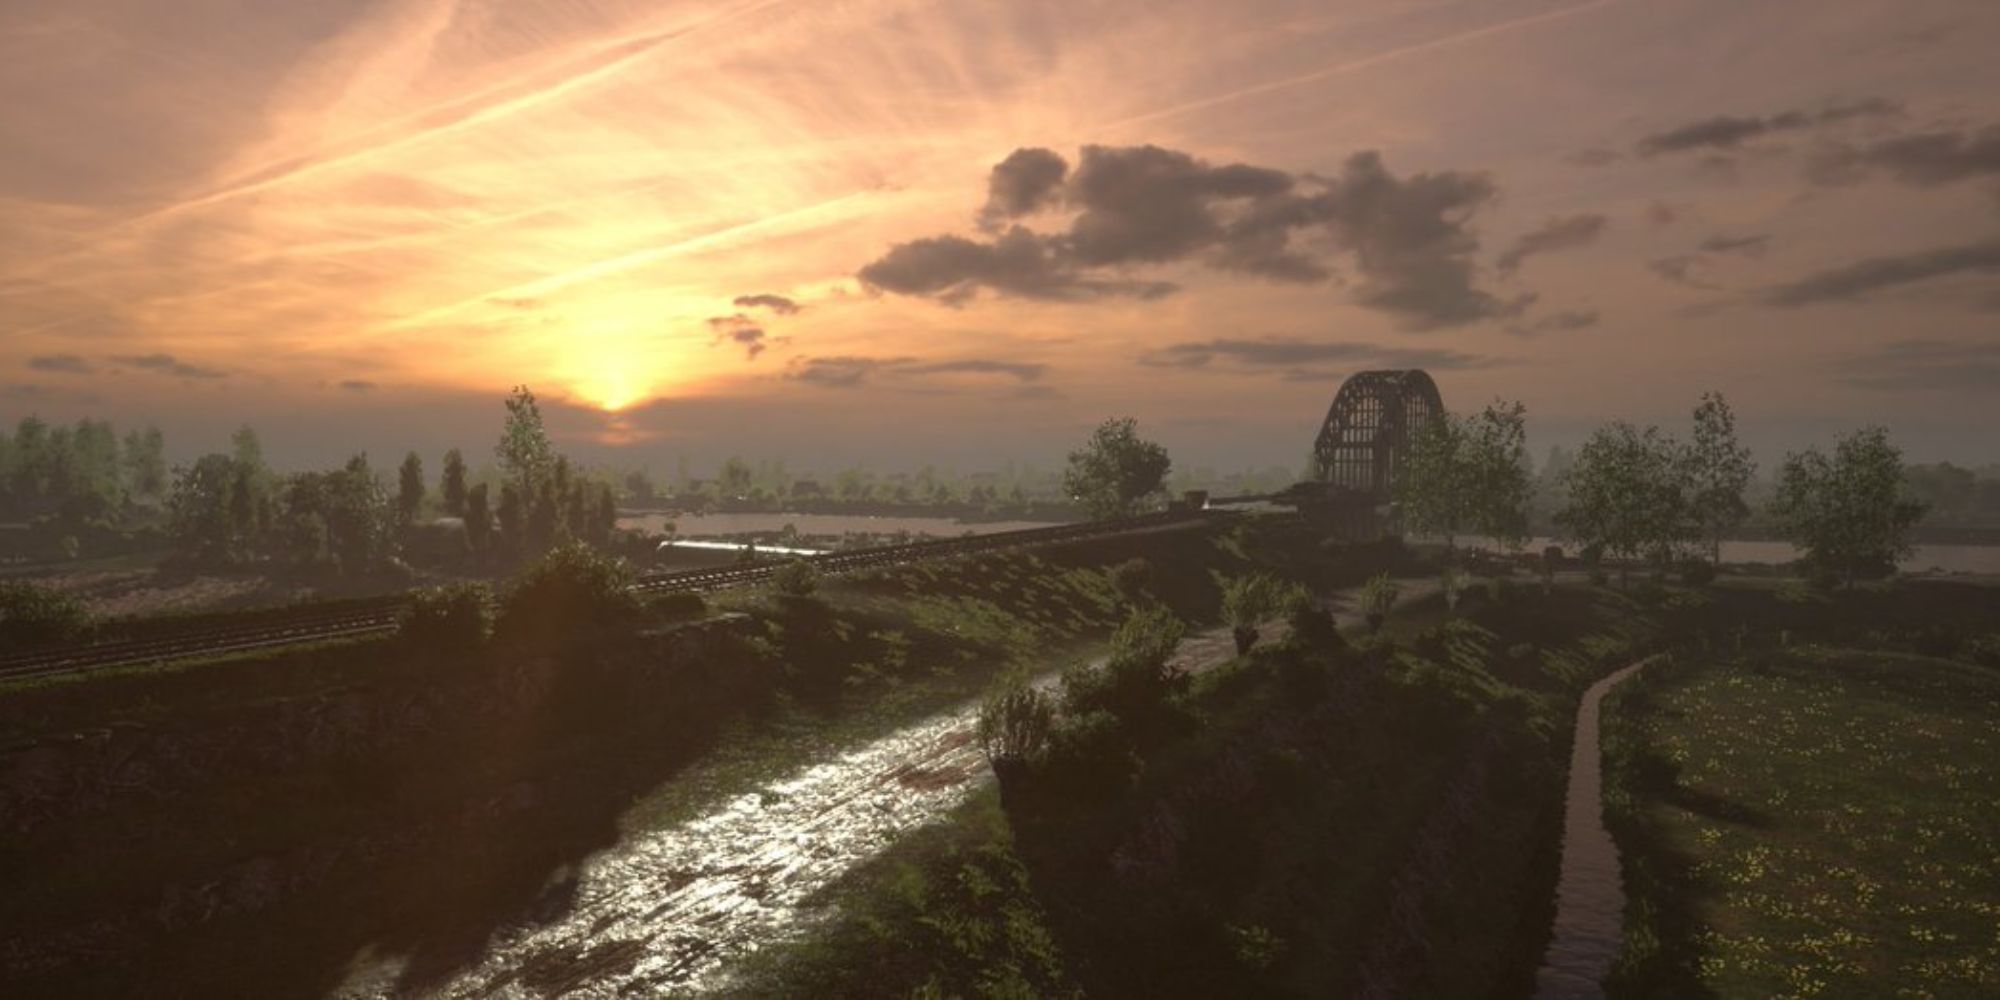
5) Remagen
While Remagen presents significant challenges for infantry and may frustrate some players due to its unforgiving layout, it serves as a genuine assessment of a team’s coordination and strategic prowess, whether crossplay is involved or not. Despite the daunting task of crossing the bridge, victory is possible with meticulous cooperation, utilizing strategic artillery placements and commander abilities. In many cases, all it takes to circumvent enemy defenses and get through the formidable bridge is a well-executed airhead drop.
4) Kursk
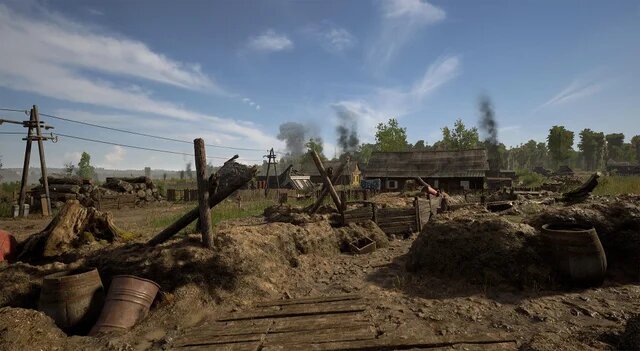
Kursk is characterized by its flat terrain and extensive trench networks, where venturing into the open leaves soldiers vulnerable to machine gunners and snipers. It’s essential to utilize the trenches for cover and rely on tanks to navigate the open fields effectively. Garrisons play a crucial role, enabling teammates to spawn closer to the action. But the key to success on this map lies in the proficiency of tank crews; without skilled tank operators, securing victory becomes significantly more challenging.
3) Stalingrad
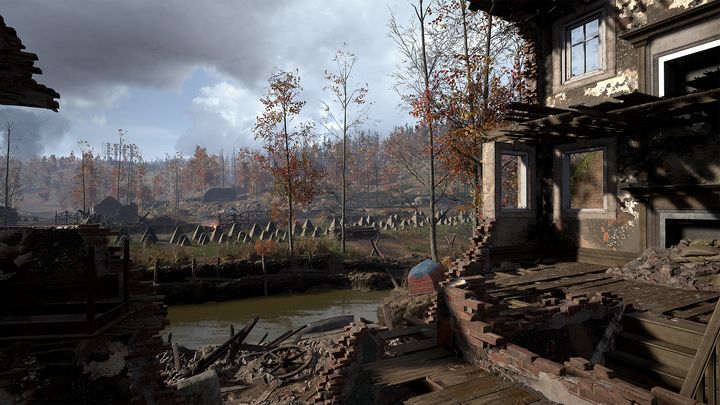
Stalingrad is by far the most downtrodden city of all the other urban maps—you can expect industrial areas with railroads, factory buildings, and plenty of rubble you can hide in.
The map features a combination of industrial areas and flat terrain, offering diverse combat environments. Tanks can effectively navigate both urban settings and engage in long-distance combat across open fields. Certain areas like Pavlov’s House, House of the Workers, and Grudinin’s Mill provide relatively easy-to-defend positions, making your job a little easier.
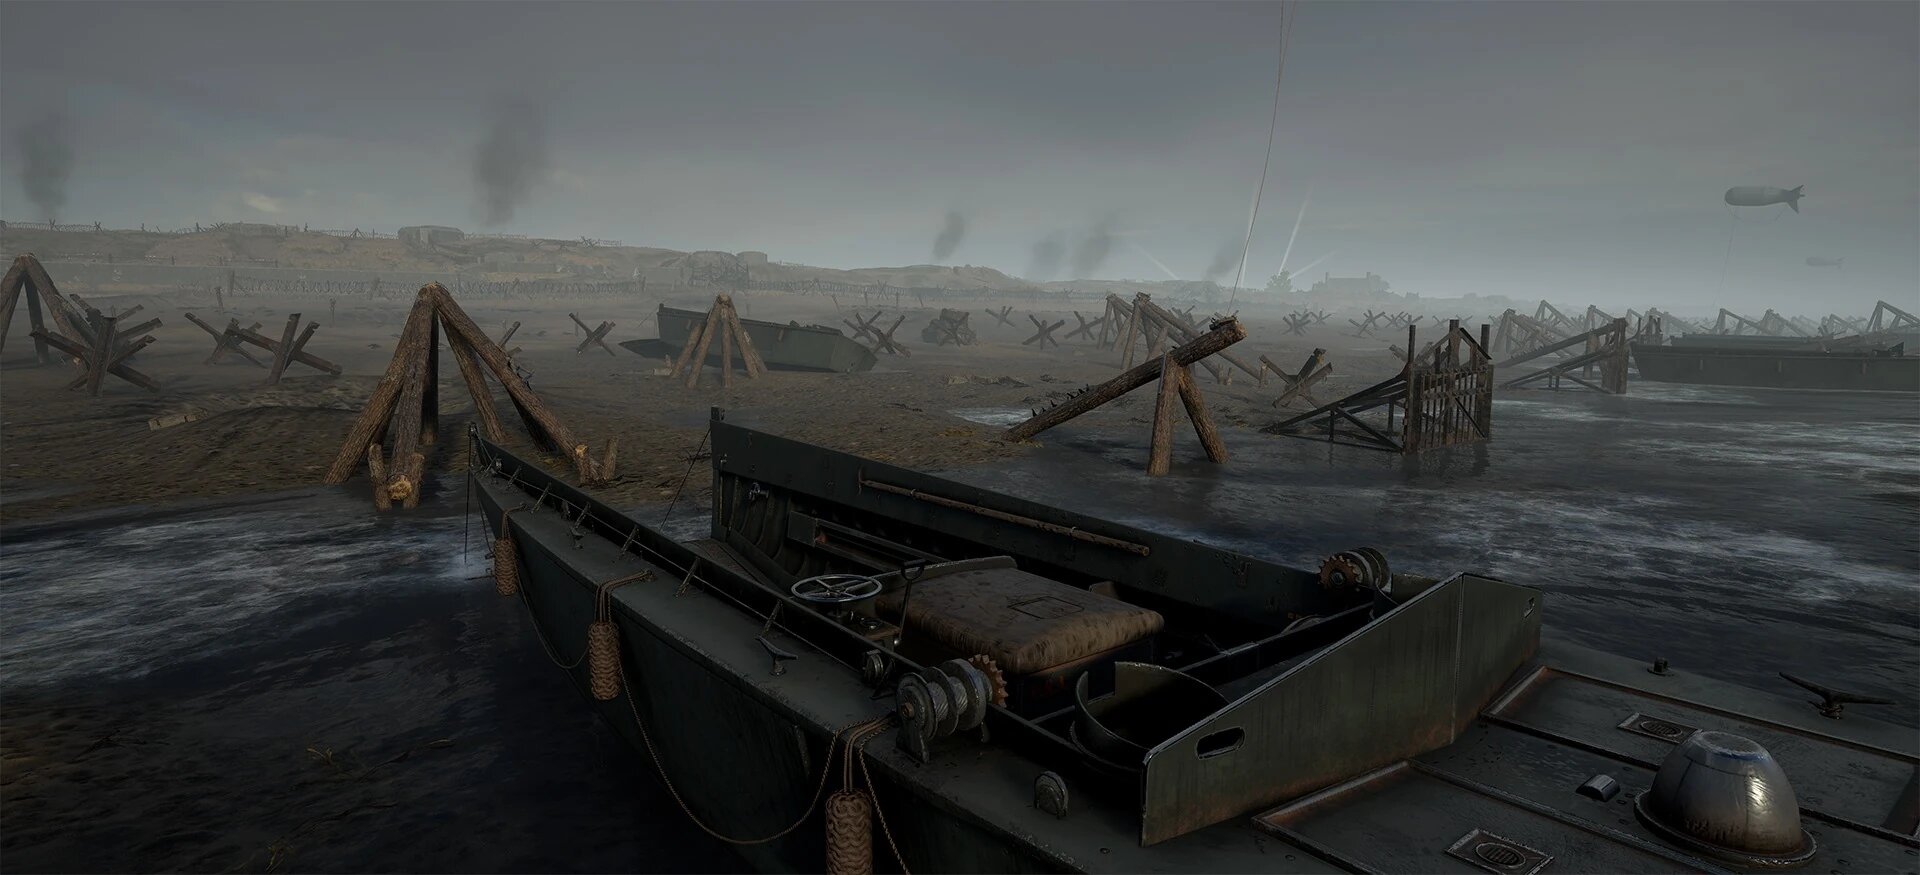
2) Omaha Beach
Omaha Beach, inspired by the D-Day Landings in Normandy, offers players intense battles across its beach, fields, and towns. While available in the Warfare game mode, it truly excels in Offensive mode, where the United States takes on the role of the attacking team.
Compared to Utah, Omaha Beach boasts unique features that set it apart from the rest. The beachhead, situated on the U.S. side, gradually transitions to farmland. The valley at the center of the beachside serves as a common entry point for American forces. But, traversing the open beach exposes players to snipers and machine gunners, posing a significant threat.
Even after capturing the beach, players must contend with vast open fields dotted with heavily fortified areas. Success is far from guaranteed, and casualties are to be expected. Don’t say I didn’t warn you.
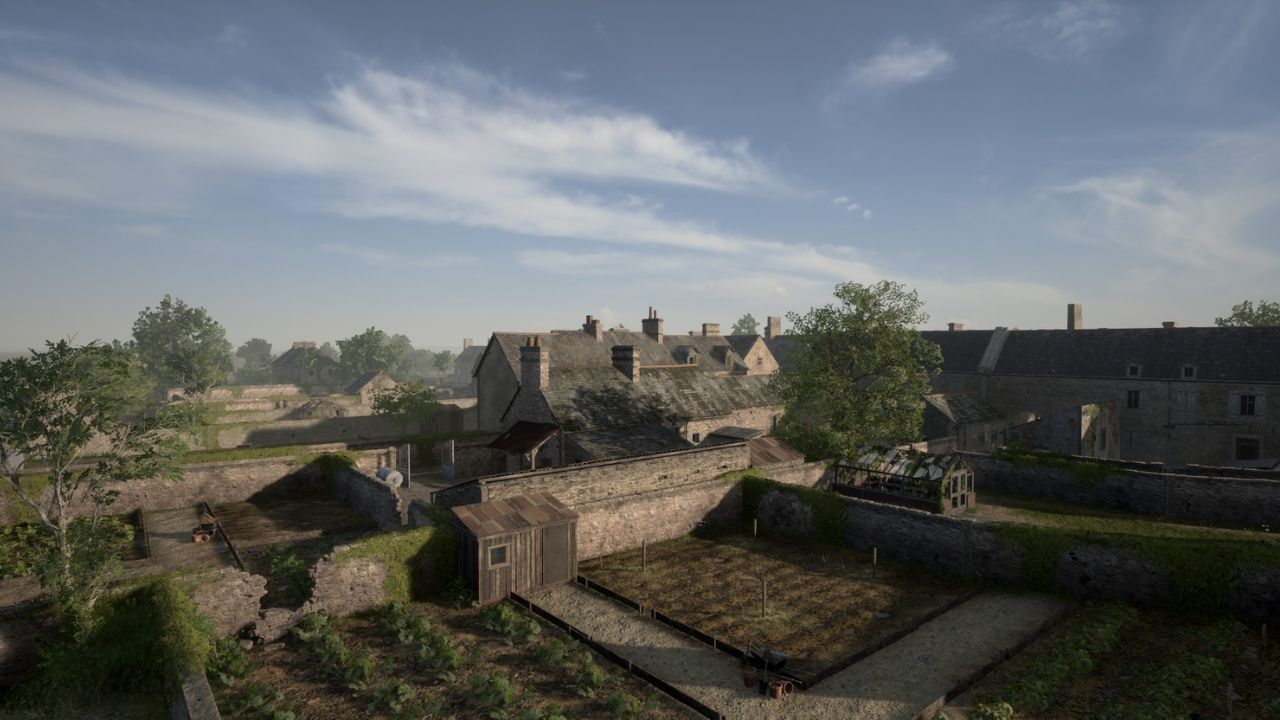
1) Sainte Marie Du Monte

For players seeking a balanced mix of urban and open combat scenarios, Sainte Marie du Mont stands out as the top choice and arguably the best map in Hell Let Loose. Its diverse environments offer contrasting battlegrounds, with one side featuring expansive fields and the other focused on close-quarters combat within the town.
Much like Carentan, the church on the eastern side serves as a central point of contention. The map truly shines in Offensive mode, where defending engineers often construct formidable fortifications in the town and around the church, resulting in intense urban sieges and desperate defenses of strategic strongholds.
Sainte Marie du Mont doesn’t favor either side thanks to its well-designed pathways that allow both teams to maneuver effectively. With its mix of automatic weapons and explosives, close-quarters combat can quickly decimate squads if utilized well—but skilled riflemen can still make a significant impact when positioned strategically.


Published: Mar 13, 2024 05:20 am