The Jonsau Shrine in The Legend of Zelda: Tears of the Kingdom looks easy when you first enter it. You’ve got a giant yellow target you need to hit with a giant yellow ball. Seems simple enough, right? Wrong.
If you’re having trouble solving the Jonsau Shrine, know you’re not the only one. Before we solved the Deep Force trial, we spent quite a bit of time carrying the ball around with Ultrahand, hitting the target with arrows, and trying to fuse the ball with our weapons to throw those suckers at the glowing overhang. Luckily for players, though, there’s an easier way to complete this puzzle.
Jonsau Shrine location in Tears of the Kingdom
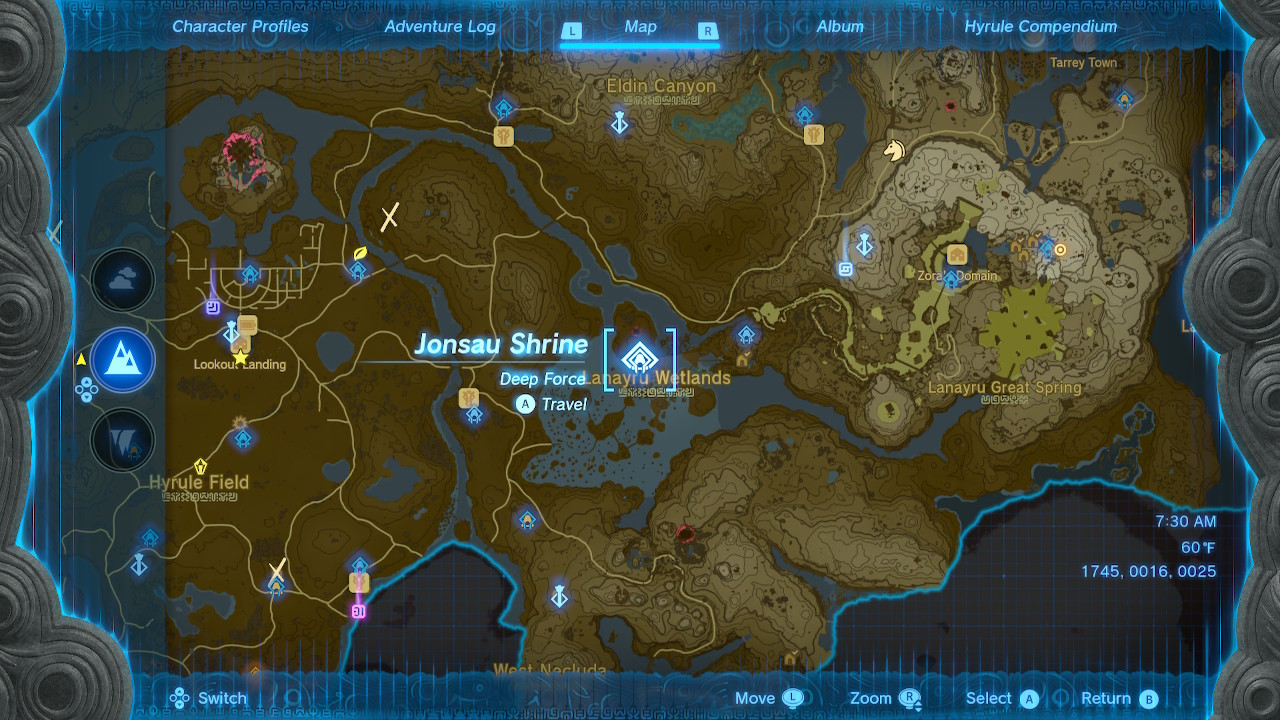
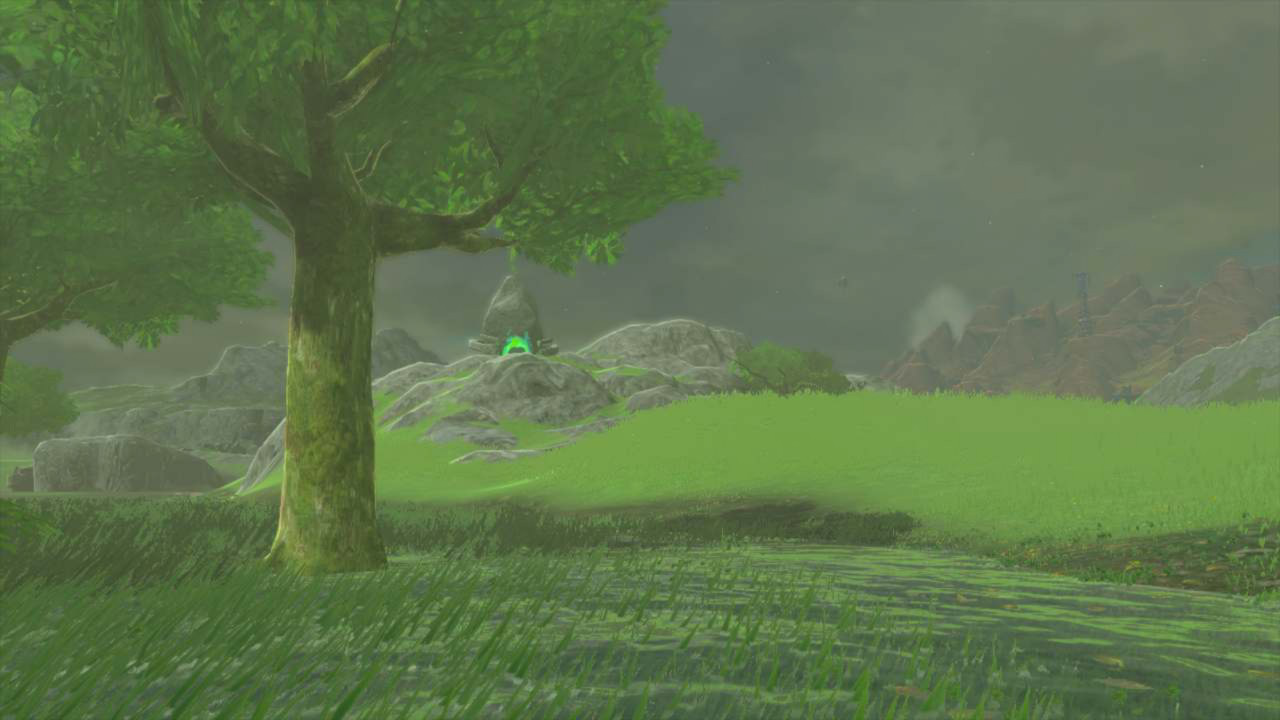
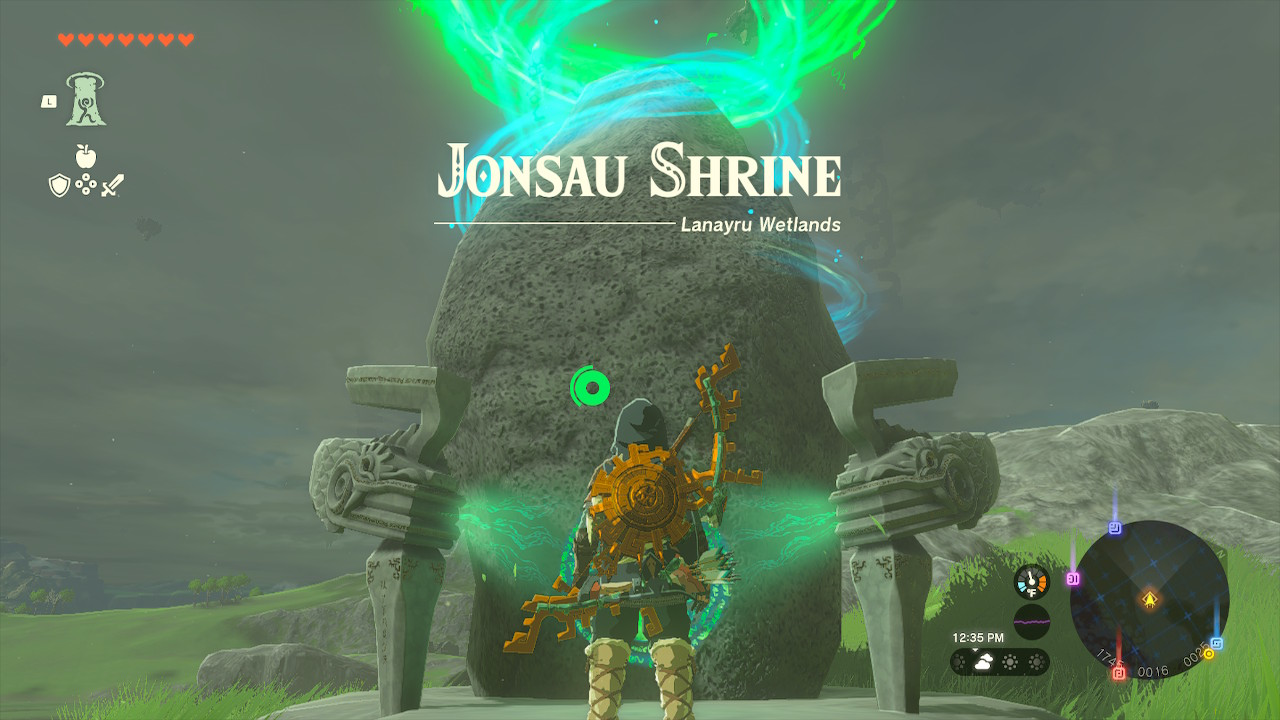
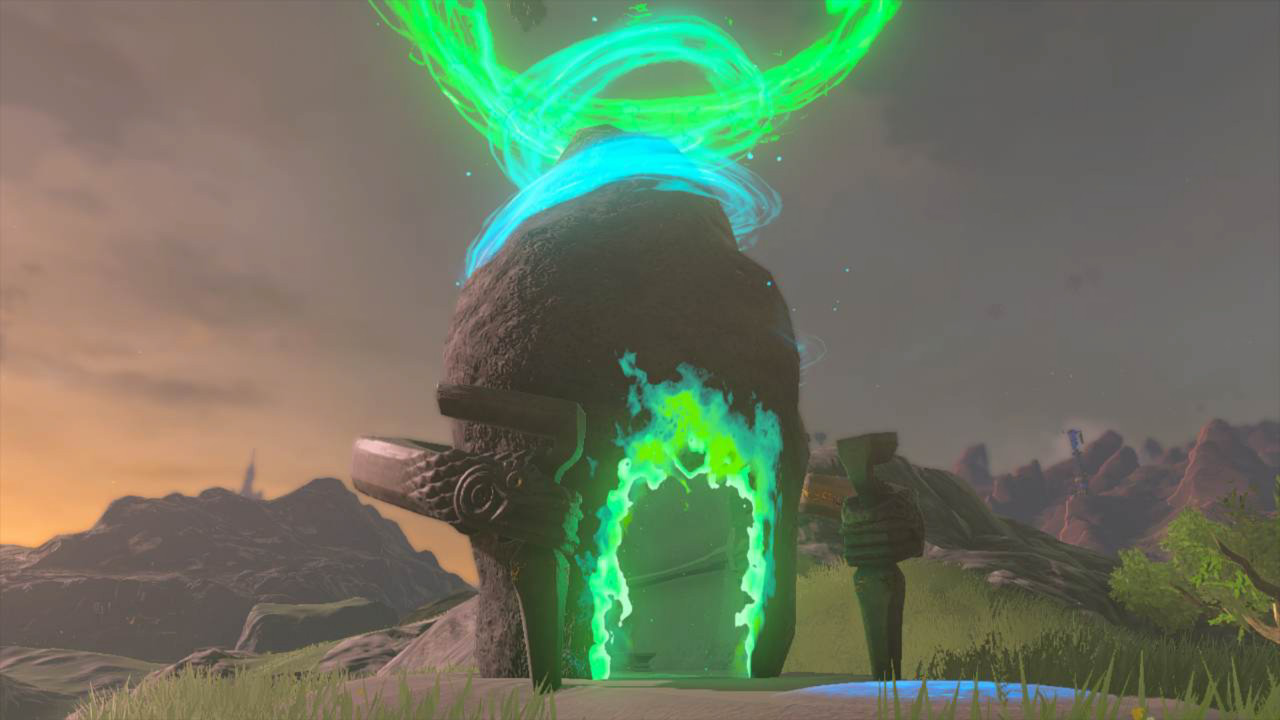
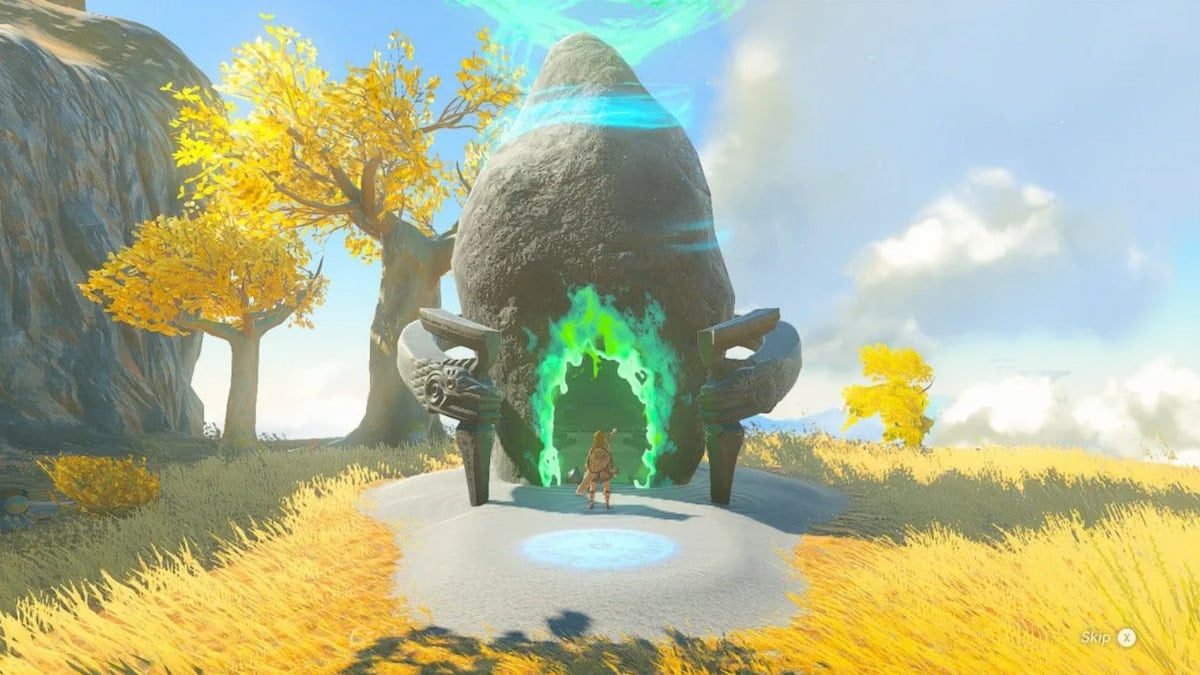
Before you can complete the shrine, you need to first locate it. The Jonsau Shrine can be found in the Lanayru Wetlands at coordinates 1745, 0016, 0025, as shown on the map below. It sits atop a hill in the northern part of the bog, and its neon green and blue aura makes it hard to miss.

How to get to the Jonsau Shrine
If you’ve yet to locate the Jonsau Shrine, first head to Lookout Landing. The shrine is immediately east of this camp. We recommend traveling on horseback if you’ve caught a horse at this point in your playthrough, although your own two legs will suffice if you haven’t.
Related: How to catch and tame a horse in Zelda: Tears of the Kingdom
How to complete Deep Force trial
The Jonsau Shrine requires the use of both the Ultrahand and Recall abilities. It centers heavily around one gimmick: get a yellow ball to hit a target above it. You’ll be tasked with this challenge twice, and once you get the hang of it, the trial becomes a breeze.
Step one: Hit the first target
When you enter the Jonsau Shrine, you’ll see a giant yellow ball in a pool of water with a glowing target on an overhang above it. It’s clear you’ll need to hit this target with the ball, but Ultrahand only allows you to carry objects so far. You’ll need to find a way to get the ball past Ultrahand’s height limit.
Luckily for players, you won’t need anything more than Ultrahand. Grab the ball using the ability and submerse it in the water beneath the overhang, as shown in the video below. Let it go and it will then shoot up into the air, smacking the target and opening the door that leads into the chamber.
Step two: Open the chest and repeat the process
After you head through the chamber’s door, you’ll be greeted by a construct. Once you’ve killed the machine, take a look around using Ultrahand. You’ll notice the shrine’s chest is submerged at the bottom of the water in this chamber. Target the chest using Ultrahand and pull it out of the water. When you open it, you’ll be rewarded with a Strong Construct Bow.
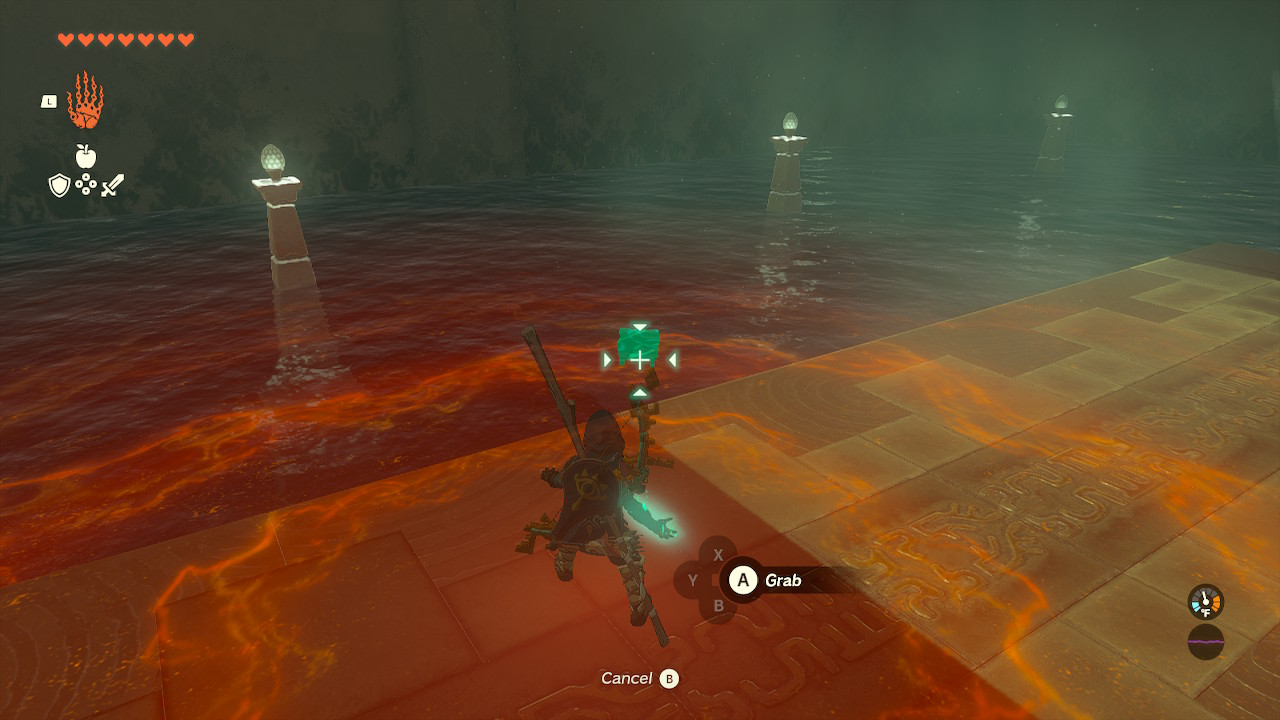

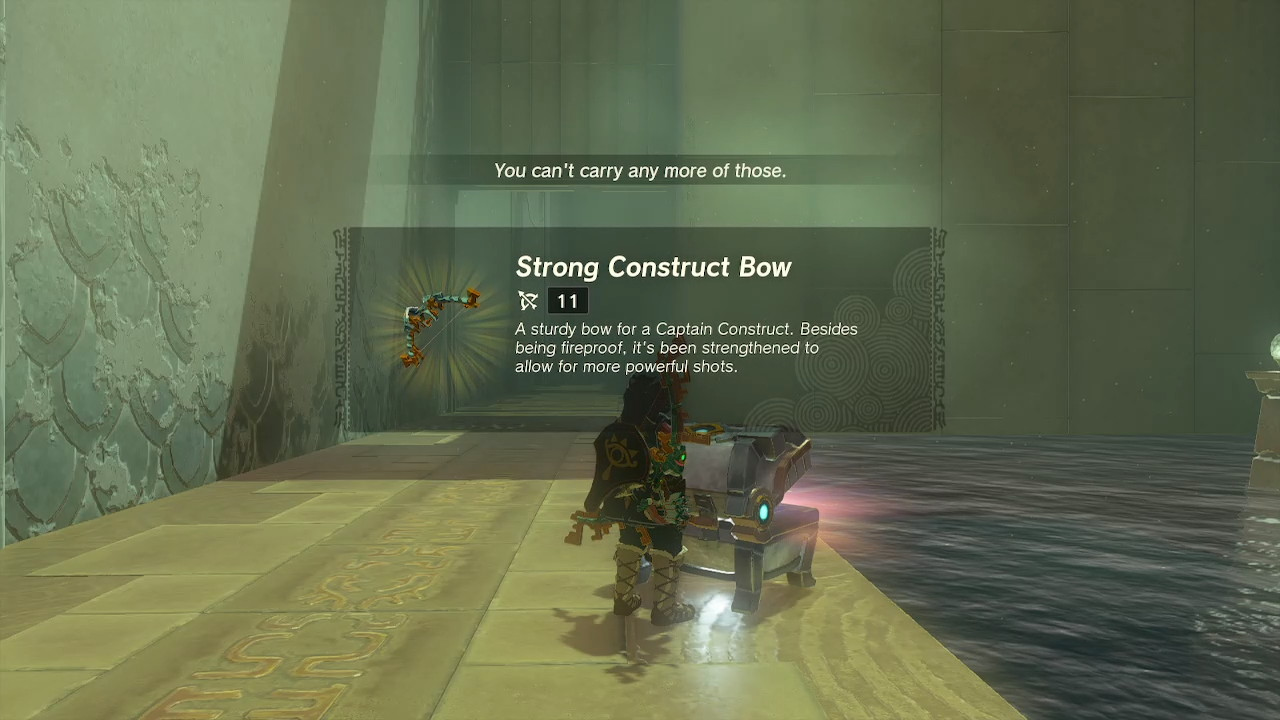
Before you proceed, return to the first chamber and grab the ball and carry it with you into the second chamber. This second room will look nearly identical to the first chamber outside of one small difference: there’s a rectangular raft floating in this pool instead of a ball.
In our experience, the raft wasn’t necessary to complete this part of the puzzle. If you carried the ball from the first chamber into the second room with you, you’ll be able to submerse it into the water and launch it towards the target, just like the first time. Once the target is struck, it will open the second door, allowing you to proceed into the final room.
Step three: Knock the basket down and launch yourself up
The third chamber is where things get difficult. As you enter this room, you’ll notice a second yellow ball floating in a pool, as well as an overhead platform with a wooden plank that’s blocking a metal basket. You’ll need to use the ball to knock the wooden plank away, allowing the basket to fall to the water.
To knock the plank out of the way, you’ll need to use Ultrahand once more. Submerge the ball under water below the wooden platform. Let it go, and it should knock the plank out of the way as it launches into the air. This may take a couple of tries, depending on where you hit the plank. Once the wood is out of the way, the basket will fall splashing into the water below.
From here, you’ll want to attach the float to the bottom of the basket. We ran back into the second chamber to grab the rectangular raft to get a bit closer to the basket for this part. Once you’ve situated your raft on the water, use Ultrahand to lift the basket up, hold it for a few seconds in the air, and then quickly switch to Recall. Select the basket, and it should return to the height you held it at and stay there momentarily. While it’s in the air, switch back to Ultrahand, grab the ball, and attach it under the basket, as shown in our video below.
Once the ball is securely attached to the basket, use Ultrahand one final time to lower it into the water. If your raft is close enough, you’ll be able to walk directly into the basket from the raft. As you do, the Ultrahand connection will break, and because the ball is glued to the bottom of the basket, you’ll head in only one direction: up.
Related: How to solve the Tukarok Shrine in Zelda: Tears of the Kingdom
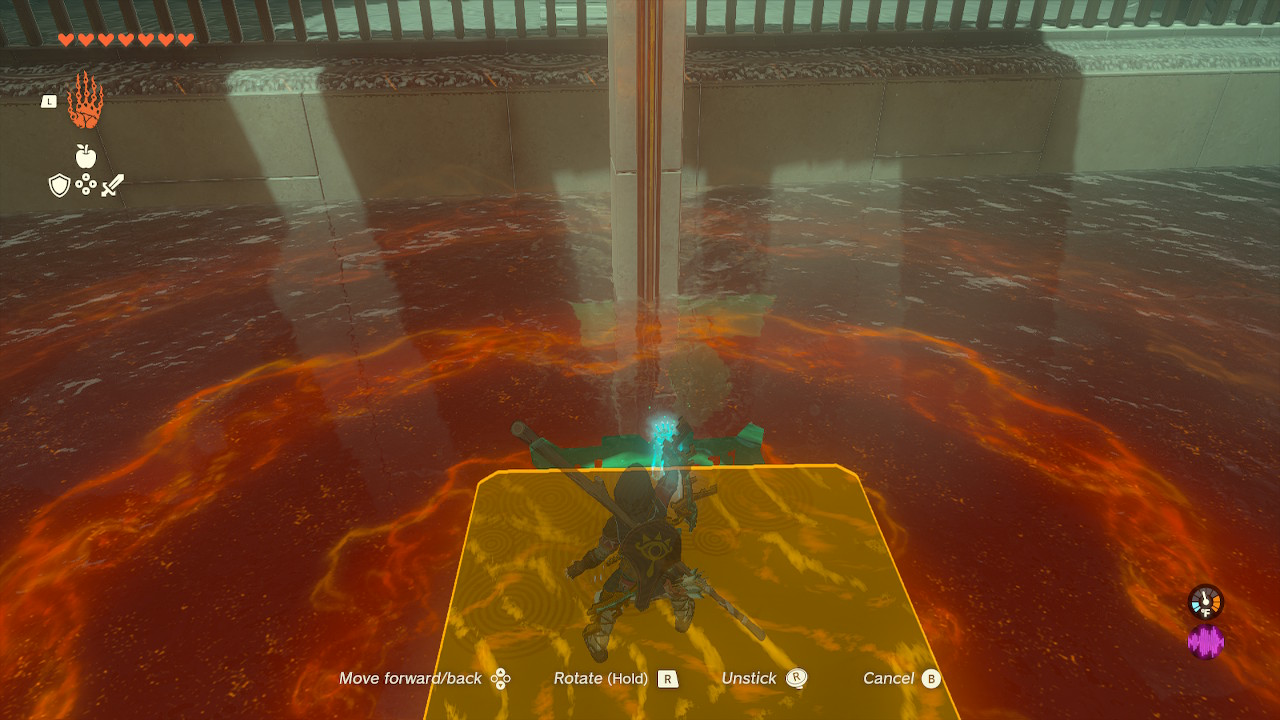

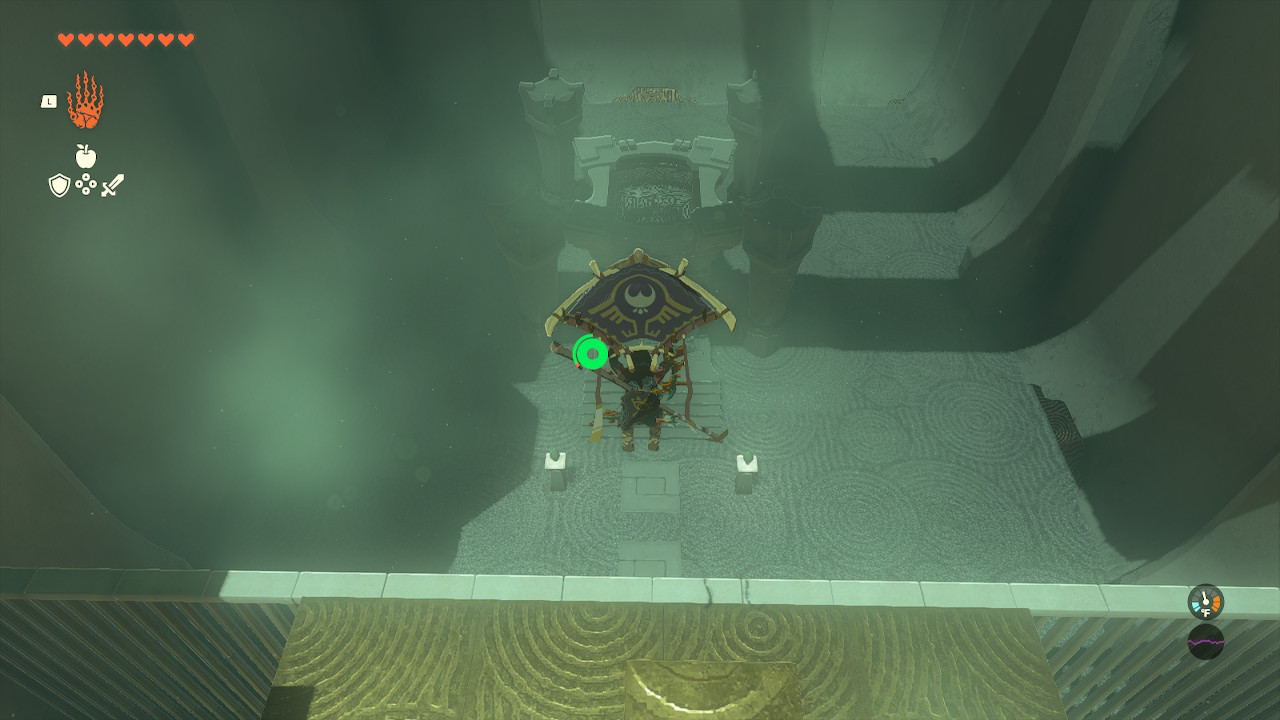
From here, it’s smooth sailing—literally. As the basket rockets into the air, you’ll be launched with it. After you’re tossed above the platform, whip out your paraglider using the X button and you can glide to the Zonai statue which will reward you with a Light of Blessing, which you can use to increase either your health or stamina pool at a Goddess statue.



Published: May 16, 2023 09:06 pm