
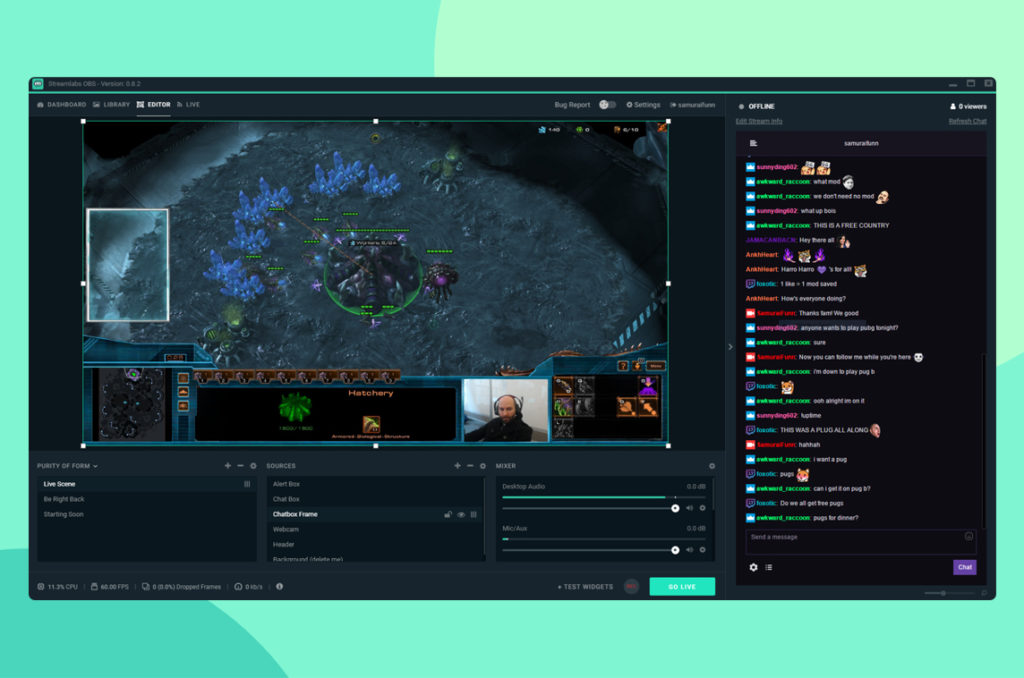
Streamlabs Desktop is a free, open-source program that serves as a one-stop-shop for streamers to record and broadcast their live stream on Twitch, YouTube, Facebook, or any other platform they choose.
The first and most important step is optimizing the program’s settings to ensure the best possible speed and quality relative to your hardware. After all, there’s no one-size-fits-all formula. Every set-up is different.
This can be done automatically by letting the program scan your internet speed and hardware to determine the best possible settings. However, if you want to fine-tune things yourself, you can do that too.
To find the settings menu, open Streamlabs Desktop and click the cog icon, which is located in the lower left-hand corner of the program. There, you’ll have access to various options that can be used to optimize your stream.
Best Encoder settings
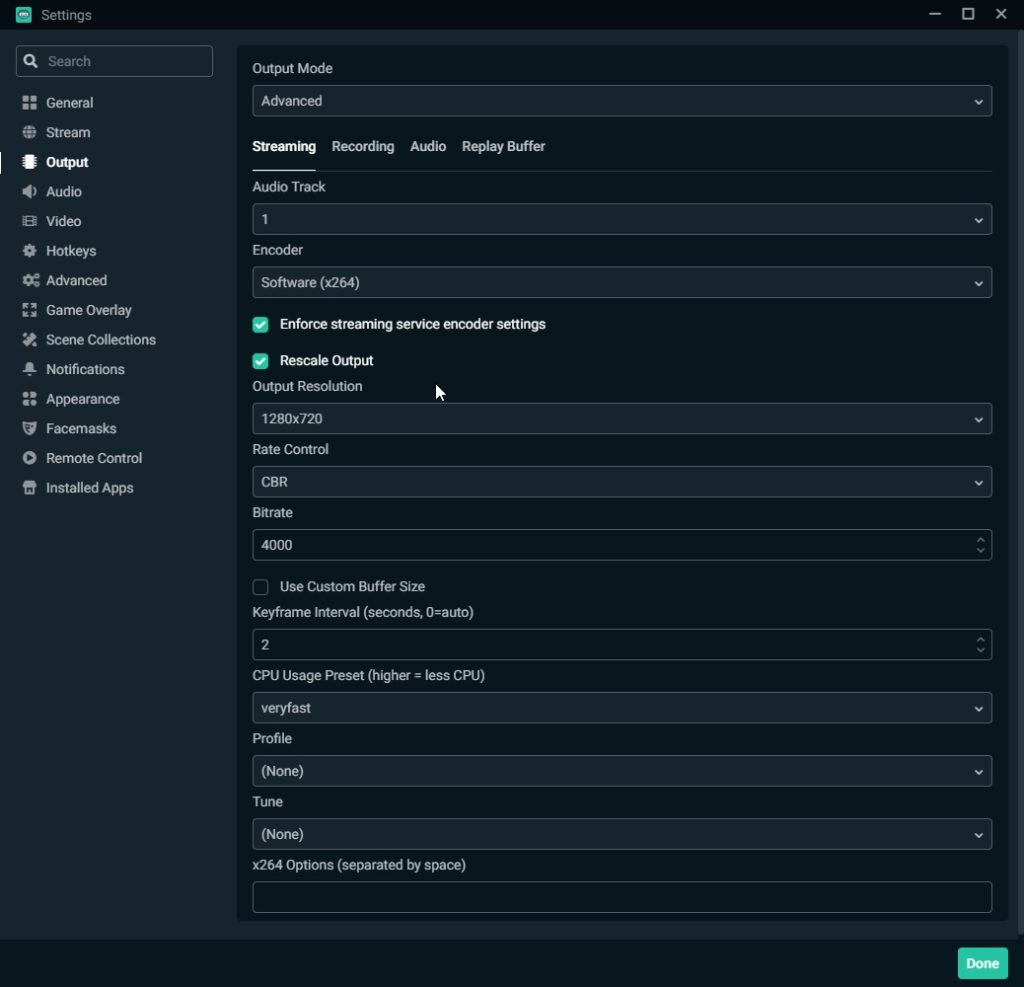
First, you’ll want to select an encoder, which can be done by clicking on the output section in the settings menu.
Streamlabs Desktop offers two types of encoders, software (x264) and hardware (NVENC). The difference is the software encoder uses the CPU while the hardware encoder uses the GPU. The best one depends on your hardware.
The software encoder has a better output quality than the hardware encoder, so that’s typically the best choice. However, the hardware encoder is a good option for those who have particularly powerful GPUs, or those who want to decrease the CPU’s workload.
Best Quality & Resolution settings
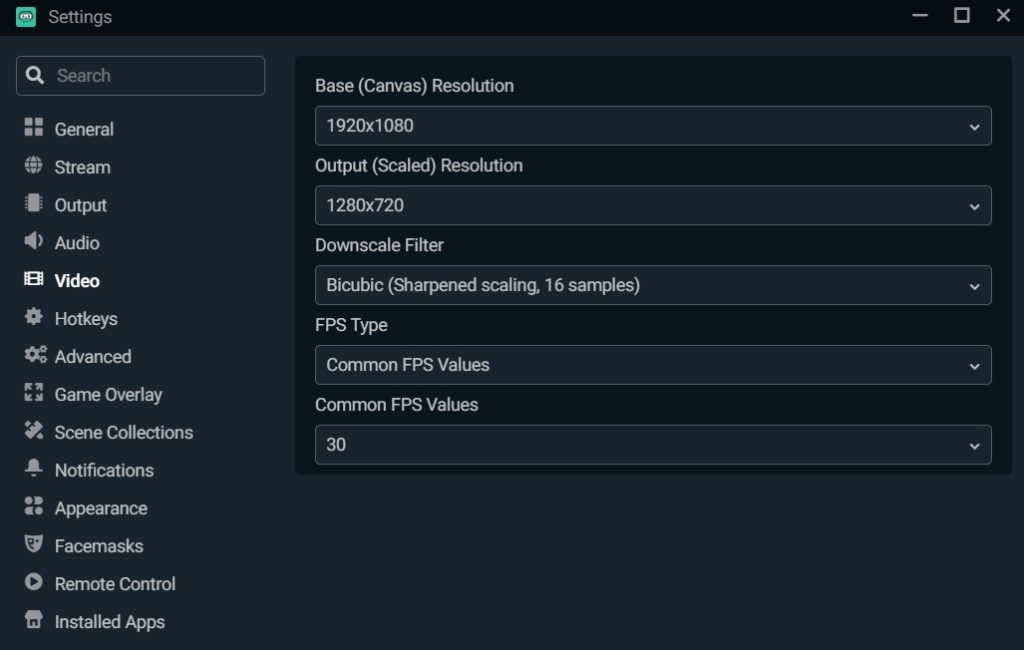
Next, pick the output of your video resolution, which can be done in the video section in the settings menu.
The output of your video resolution plays a major role in determining the quality and performance of your stream. What works best depends on your hardware and internet speed. The higher the resolution, the more demanding the stream will be. Typically, the best setting is to leave the base resolution at 1920x 1080 (1080p) since it’ll most likely be the resolution of your screen. However, it’s best to set the output resolution to 1280×720 (720p), since it’ll still look good without compromising performance.
You can bump it up if your computer and internet speed can handle it, but the improved quality won’t be particularly noticeable to your viewers, nor will it change the overall experience. So, although it’s good, it’s not necessary.
Best CPU Usage Preset
After that, you’ll want to change the CPU Usage Preset, which can be done in the output section in the settings menu.
Essentially, it determines the rate at which your CPU will encode the video. The faster it goes, the less CPU it’ll use. Naturally, that means it’s best to leave it on ‘Very Fast,’ which hits the nail on the head in performance and quality. It’s the default option for a reason.
Best Bitrate settings
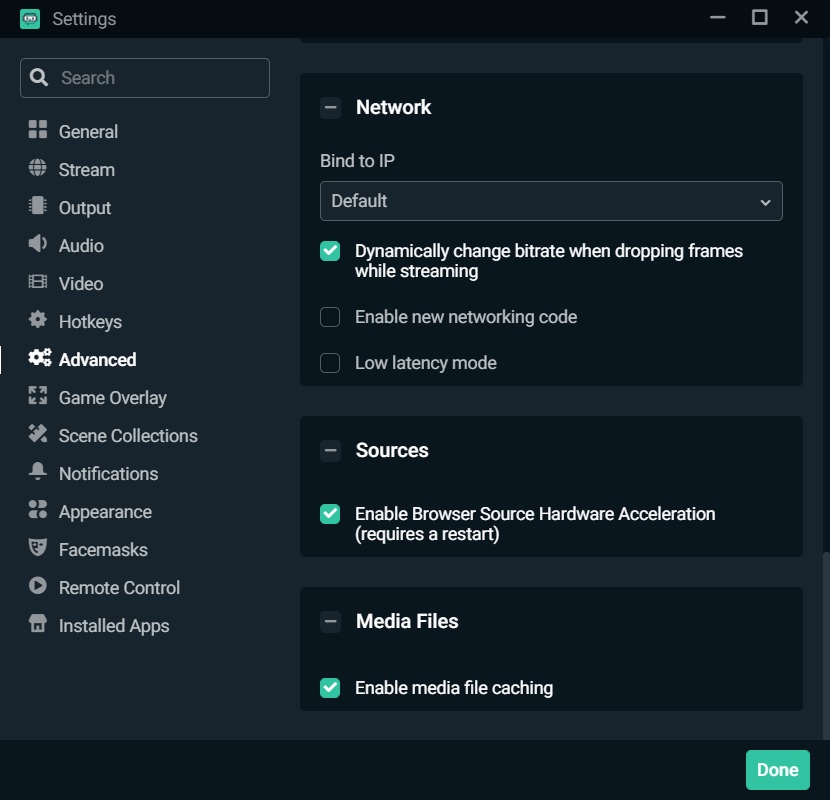
Streamlabs Desktop now comes with a feature called Dynamic Bitrate, which lets the program automatically adjusts the bitrate depending on the stability of your network. It helps ensure that the stream won’t drop frames when your internet connection is struggling.
It’s a better option than a static bitrate, which drops frames the moment your internet connection becomes unstable to maintain stability at the expense of quality – something that most viewers find frustrating. So, it’s best to turn it on.
To do that, click on the advanced section in the settings menu and navigate down to the toggle box next to the option that says “Dynamically change bitrate when dropping frames while streaming,” then click on it. If you’d rather stick with a static bitrate, Twitch has a set of guidelines to help determine what will work best depending on your needs.
These settings also work when broadcasting to YouTube and Facebook.
If you follow these settings, or if you let the program determine them for you automatically, you’ll have successfully optimized the program to suit your streaming needs. All that’s left to do now is start streaming!
As you upgrade your hardware, you can always come back and tweak the settings accordingly to suit your needs. Still, these ones are the perfect place to start, and might even still be optimal considering how balanced they are.


Published: Jun 23, 2022 09:00 pm