Most missions in Starfield are cake walks—go to the objective, do the thing, and enjoy the story. Absolute Power, a mission within the Crimson Fleet storyline, breaks free from this trend. This mission requires stealth, creativity, and problem solving to complete.
Starfield‘s Absolute Power mission can be completed in multiple different ways, and while there isn’t technically a “right” way, there is an easy way, and there is a hard way. It shouldn’t come as a surprise that there is a better reward for doing things the hard way. In this case, the hard way means using finesse and not being spotted during the mission.
How to start Absolute Power in Starfield
Before you can start the Absolute Power mission, you first have to complete The Best There Is, another mission in the Crimson Fleet questline. This mission automatically begins when you return to Commander Ikande after successfully stealing the ComSpike.
Your first objective is simply to return to Delgado and Naeva onboard The Key, who will provide the groundwork dialogue for where the mission really begins, which is in Neon City.
Starfield: Absolute Power mission walkthrough
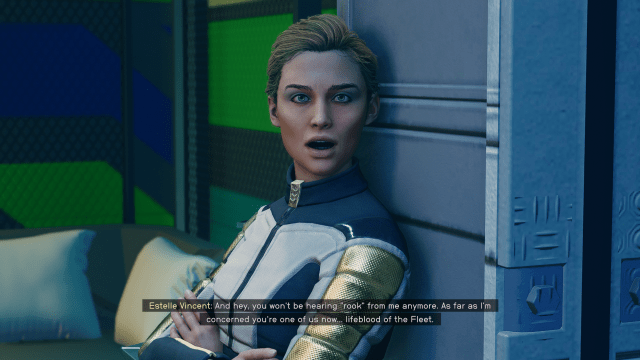
When you find Delgado on the Key, he tells you to speak with Estelle Vincent in Neon City. Your mission is to reach Neon City’s Power Core, where Delgado believes you can steal tech that enables you to use the ComSpike.
Go to Madame Sauvage’s, a bar in Neon City, as prompted by your mission marker. You will find Estelle within, and she tells you that you’ll need to sneak your way into a Generdyne facility to reach the Conduction Grid tech you’re after.

Estelle also asks you to plant a virus into Generdyne’s system, which adds an optional side objective. You do not have to do anything extra to complete this side objective—the chance to plant it will arise naturally towards the end of the mission.
Ask Myka about Ayumi’s whereabouts
Estelle believes that shady businesswoman Ayumi Komiko is the key to gaining access to the facility. More specifically, that her keycard is the key. Head to Euphorika, and ask the bartender, Myka, where Ayumi is. You will have a Crimson Fleet dialogue option that gets her to tell you that Ayumi is in the Member’s Lounge of Euphorika. If you haven’t already, you need to purchase a Euphorika Member’s Lounge pass from Myka.
You have options on how to get the keycard from Ayumi—you can kill her, bribe her, or extort her.
Locate evidence to extort Ayumi Komiko (optional)
This is optional, but you should absolutely do so if you’re going for the “perfect” completion of Absolute Power.
Head to Generdyne Industries by taking the elevator marked with a mission tracker. Once inside, speak to Ji Nashida at the front desk. He asks you for advice about what he should do about his incompetent CEO, Breyson Bayu. It does not matter what you tell him.
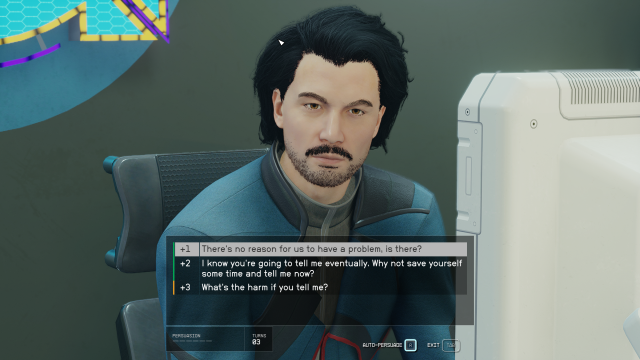
Afterwards, you have the option to Persuade information out of him. Should you fail, you can load an Autosave from when you exited the elevator.
After passing the Persuasion Check, go to Ayumi’s wall safe as instructed by Ji, and find the recording of her incriminating argument with Benjamin Bayu inside. After this, return to Ayumi and use the tape to extort Ayumi.
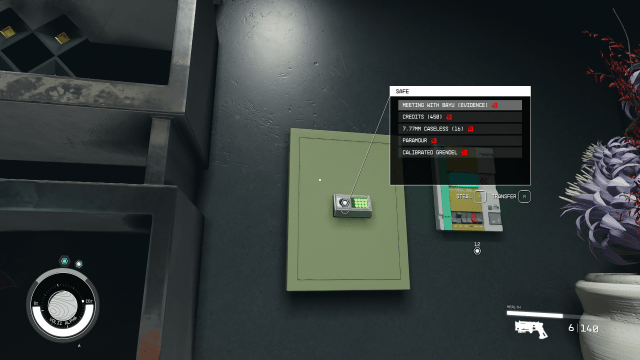
If you don’t do this optional objective, you have to either kill Ayumi or pay her 4,000 Credits.
Enter Generdyne through the storage entrance
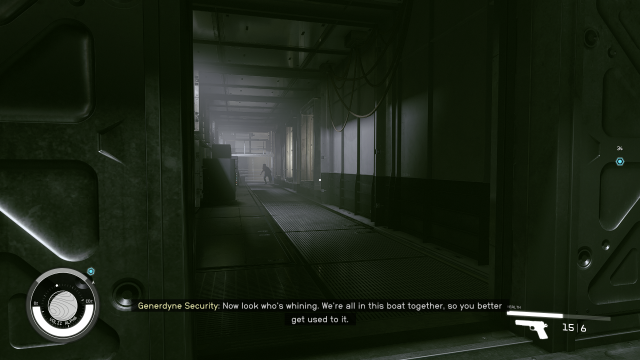
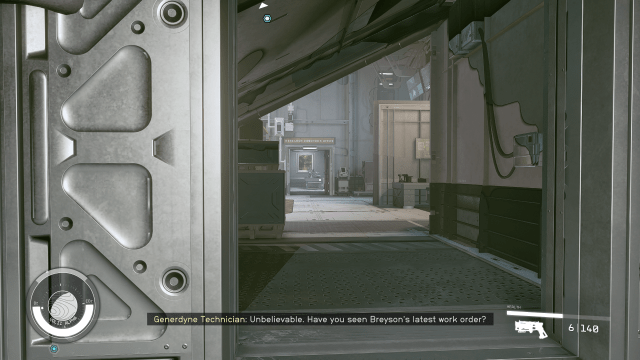
Follow your mission marker to the Underbelly, and use Ayumi’s keycard to enter Generdyne’s facility. At this point, you are officially trespassing, and will be shot on sight.
From this point forward, it is a great idea to Quicksave often if you are trying to complete Absolute Power without using violence. It is very easy to get spotted, and once you are, peace is no longer an option.
Proceed to Generdyne’s Power Core
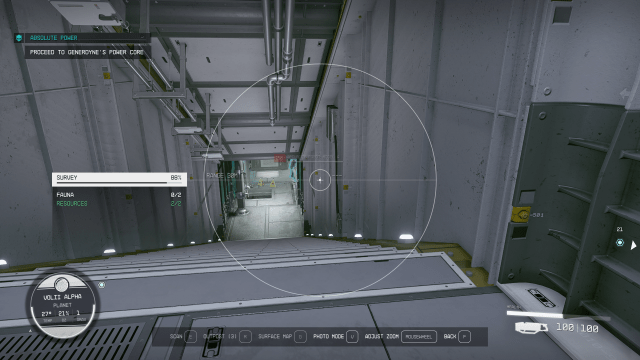
This is, without a doubt, the hardest part of the Absolute Power mission. You have to go a very long way without being spotted, using vents and other line of sight tricks.
Enter the first vent, which should be marked for you. After exiting the vent, continue down the hallway. You will see a Sanitation Bot, but you don’t have to worry about that—Sanitation Bots will not blow your cover.
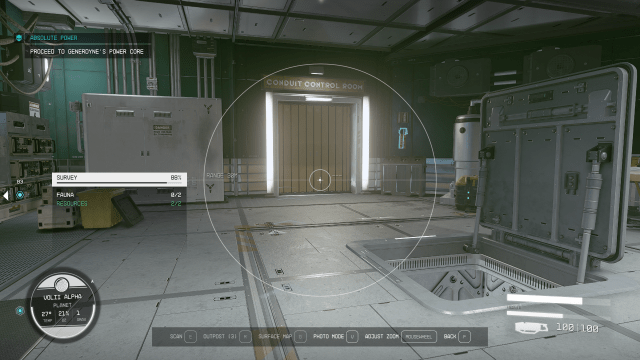
After the Sanitation Bot , you encounter a Security Robot that can and will shoot on sight. To bypass the robot, you must wait for it to turn around and walk away. While crouching, follow quickly and drop down into the open vent on the floor. Continue a short ways, and you’ll see another vent like the one you dropped through. Use the two grated vents to ensure that the robot is not facing you, and then exit the vent and go through the next door Conduit Control Room.
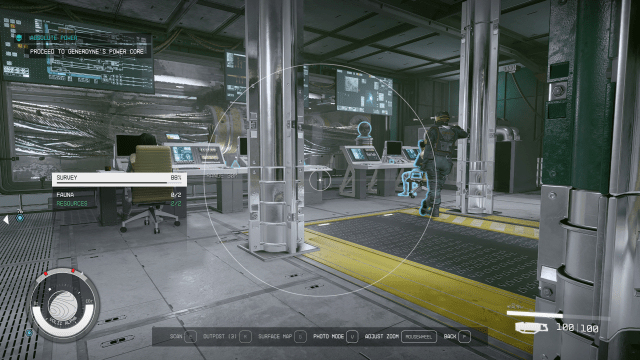
You have to sneak behind some analysts at terminals, but this isn’t difficult, simply continue forward through the next door.
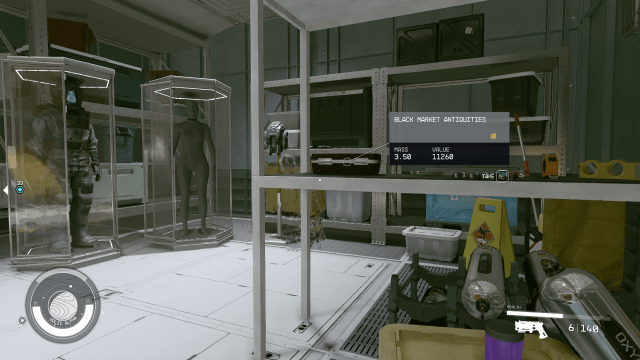
Within, you’ll see a custodial supplies closet and a Novice level terminal. This terminal grants entry to the closet, which has a Black Market Antiquities item that sells for 11,260 Credits. Entering the closet is totally optional and does not advance the mission.
Continue forward, and you’ll come to a large cylindrical boiler with a guard standing behind it. Wait behind this boiler for quite about 15 seconds, and the guard walks away, allowing to go past. Continue all the way to the wall on the far left of the room, and then turn right and move along the wall to find another vent.

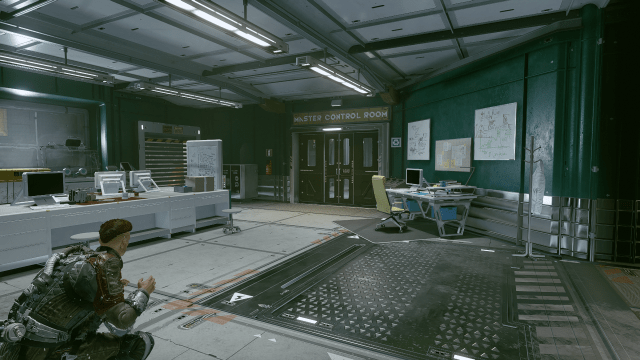
At the exit of this vent, you’ll see a guard leaning against the wall. You must about 10 seconds for the guard to walk away before you can safely exit. Once you exit, do NOT go into the door labelled Master Control Room—you will be caught. Instead, go through the vent on the wall to the left of the door.
This vent lets out with a drop down to a lower area. It is safe to drop down, however you should still Quicksave first to be safe. After dropping down, go immediately through the door on the left, which leads to a large open room with a pit in the middle and two Sanitation Bots circling the room.
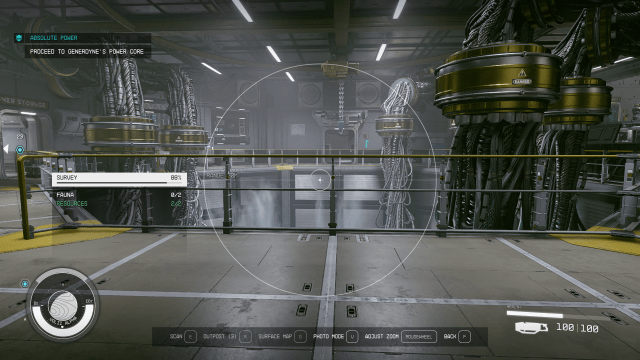
Continue into the room—you will not be spotted. Take a left, and follow that path until you get to the elevator.
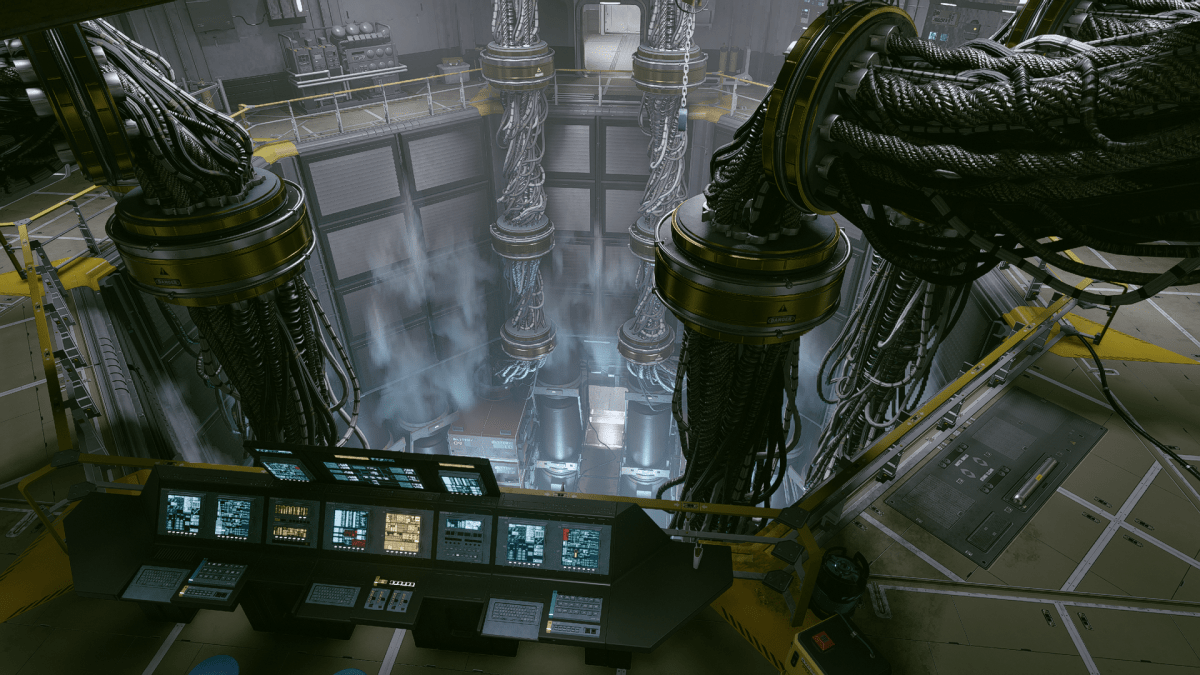
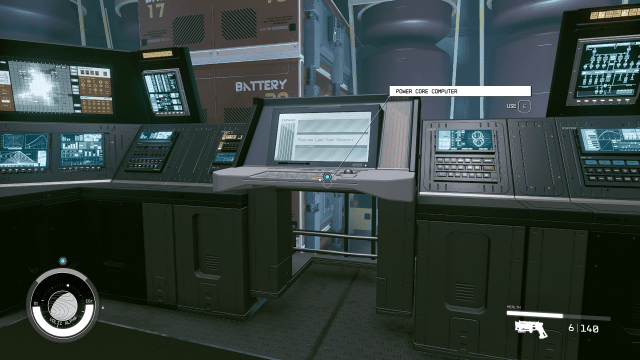
Obtain the Conduction Grid Data
This step is nice and easy. Simply walk forward and activate the terminal named Power Core Computer. Within the computer, select the option to Download Conduction Grid Plans, which will conveniently tell you that the file you are downloading is encrypted, and can be decrypted with a cipher from Breyson Bayu.
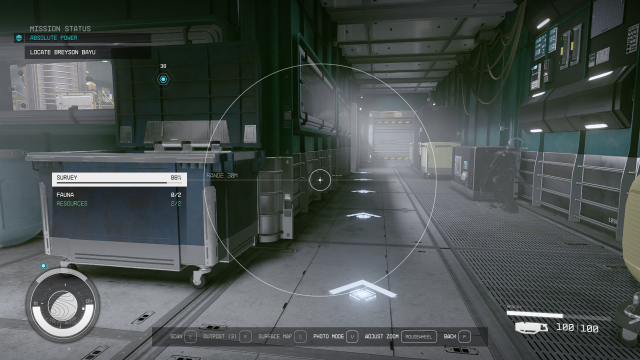
Locate Breyson Bayu
Open the first door and continue forwards a short distance. You’ll come to a second door, and you’ll be able to hear voices behind it. Do not open this door, you will be caught. Instead, find a vent on the right.
This vent lets out underneath a staircase in an open room. Directly across the room is an open door labelled Research Director’s Office—this is where you must go. Crossing this room seems to require a little bit of luck, as there is no good way to get a beat on the guards without simultaneously exposing yourself. Quicksave before slowly creeping across the open room.
In the Research Director’s Office, you’ll find another vent. Take it, and when it lets out, you’ll see a door to Generdyne Industries.
Gain the Encryption Cipher from Breyson Bayu
This door leads you to the office of Breyson Bayu. If you followed this guide, you don’t have to do anything special to get the cipher from him. Breyson wants things to stay nonviolent as they have so far, and he also has a bone to pick with his brother, Benjamin, who owns the company (and Neon City).
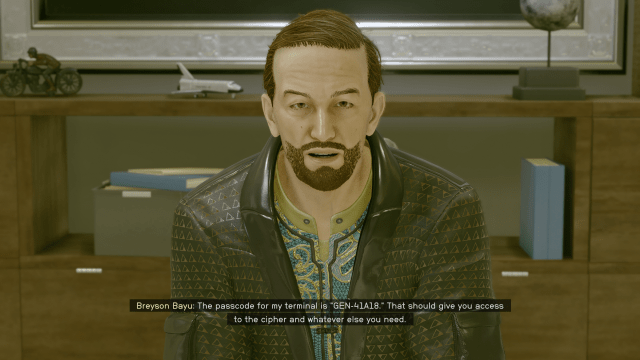
Breyson will give you the passcode to his terminal, which is located on the wall just behind him. This terminal is also where you can upload Estelle’s virus for the optional side objective.
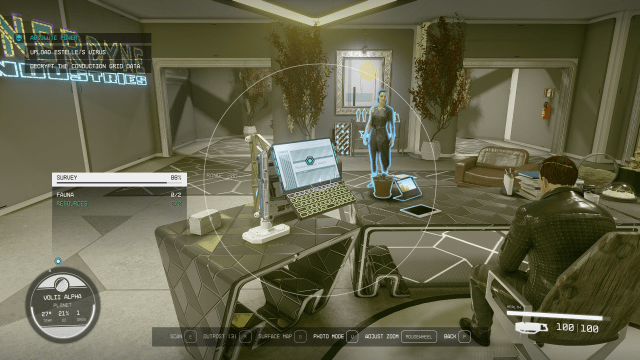
Decrypt the Conduction Grid data and upload Estelle’s virus
The terminal automatically unlocks so long as Breyson has told you the code. Once inside, select the option Decryption Routine, which will complete your main objective here. Afterwards, selecting any other option within the terminal automatically uploads Estelle’s virus—it’s pretty much going down whether you like it or not.
Return to Estelle
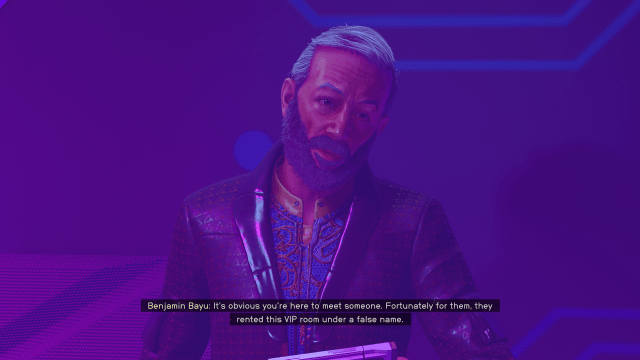
After you’ve finished with Breyson’s terminal, you are prompted to meet with Estelle in the the Astro Lounge. Follow your mission marker back to the main street of Neon City, go into the Astro Lounge, and head upstairs to find…Benjamin Bayu?!
That’s right, it was a trap. Bayu, the corrupt owner of Neon City, is waiting for you in Estelle’s place. He admits that he doesn’t know who you were supposed to be meeting, but demands you tell him who put you up to planting the virus in his company. You have three options.
You can lie and blame Breyson, which results in Bayu promising to deal with his brother swiftly. If you choose this option, it isn’t exactly clear what happens to Breyson, but you never see him again.
Alternatively, you can lie and say you were working alone, which results in Bayu informing you that guards are about to discover a corpse with clear evidence that you’re the murderer. Real classy, Ben.
Finally, you can tell the truth and admit that Estelle put you up to it. This option results in Estelle being killed by Bayu. If you value the Crimson Fleet or believe in honor among thieves, you should take the first or second option.
Locate Estelle at Madame Sauvage’s Place
It’s really her this time, don’t panic. She explains that she got a last minute tip that Bayu was onto you, and narrowly avoided showing up at Astro Lounge herself. She then explains that she is down bad after the virus plan failed, and you have the option to give her Credits (2,000, 4,000, or 9,000)—alternatively, you can simply tell her that you’ll put in a good word with Delgado. Your choice will not affect the outcome of the mission.
Return to The Key
After you’ve wrapped things up with Estelle, it is time to return to Naeva on The Key. When you dock your ship, however, you find her waiting for you at the entrance in a panic.
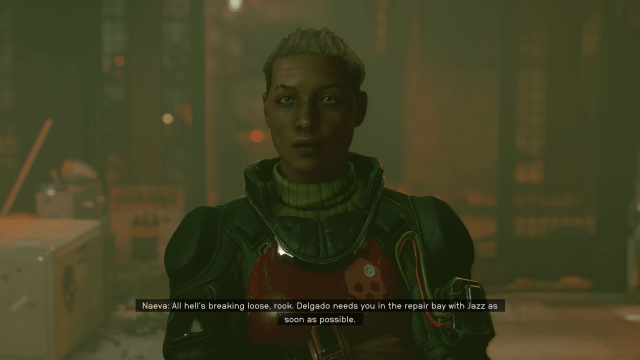
Naeva explains that things are “real bad,” and that you need to meet Delgado and Jazz in the Repair Bay immediately. At this point, Absolute Power is completed, and Eye of the Storm will automatically begin.
Starfield: Absolute Power mission reward
This mission gives a hefty chunk of experience and Credits upon completion. You’ve earned it, assuming you didn’t just blast your way through and actually took the time and effort to use stealth on the mission.
When you return to Naeva and complete the mission, you receive 14,000 Credits and 350 XP.


Published: Sep 20, 2023 07:01 am