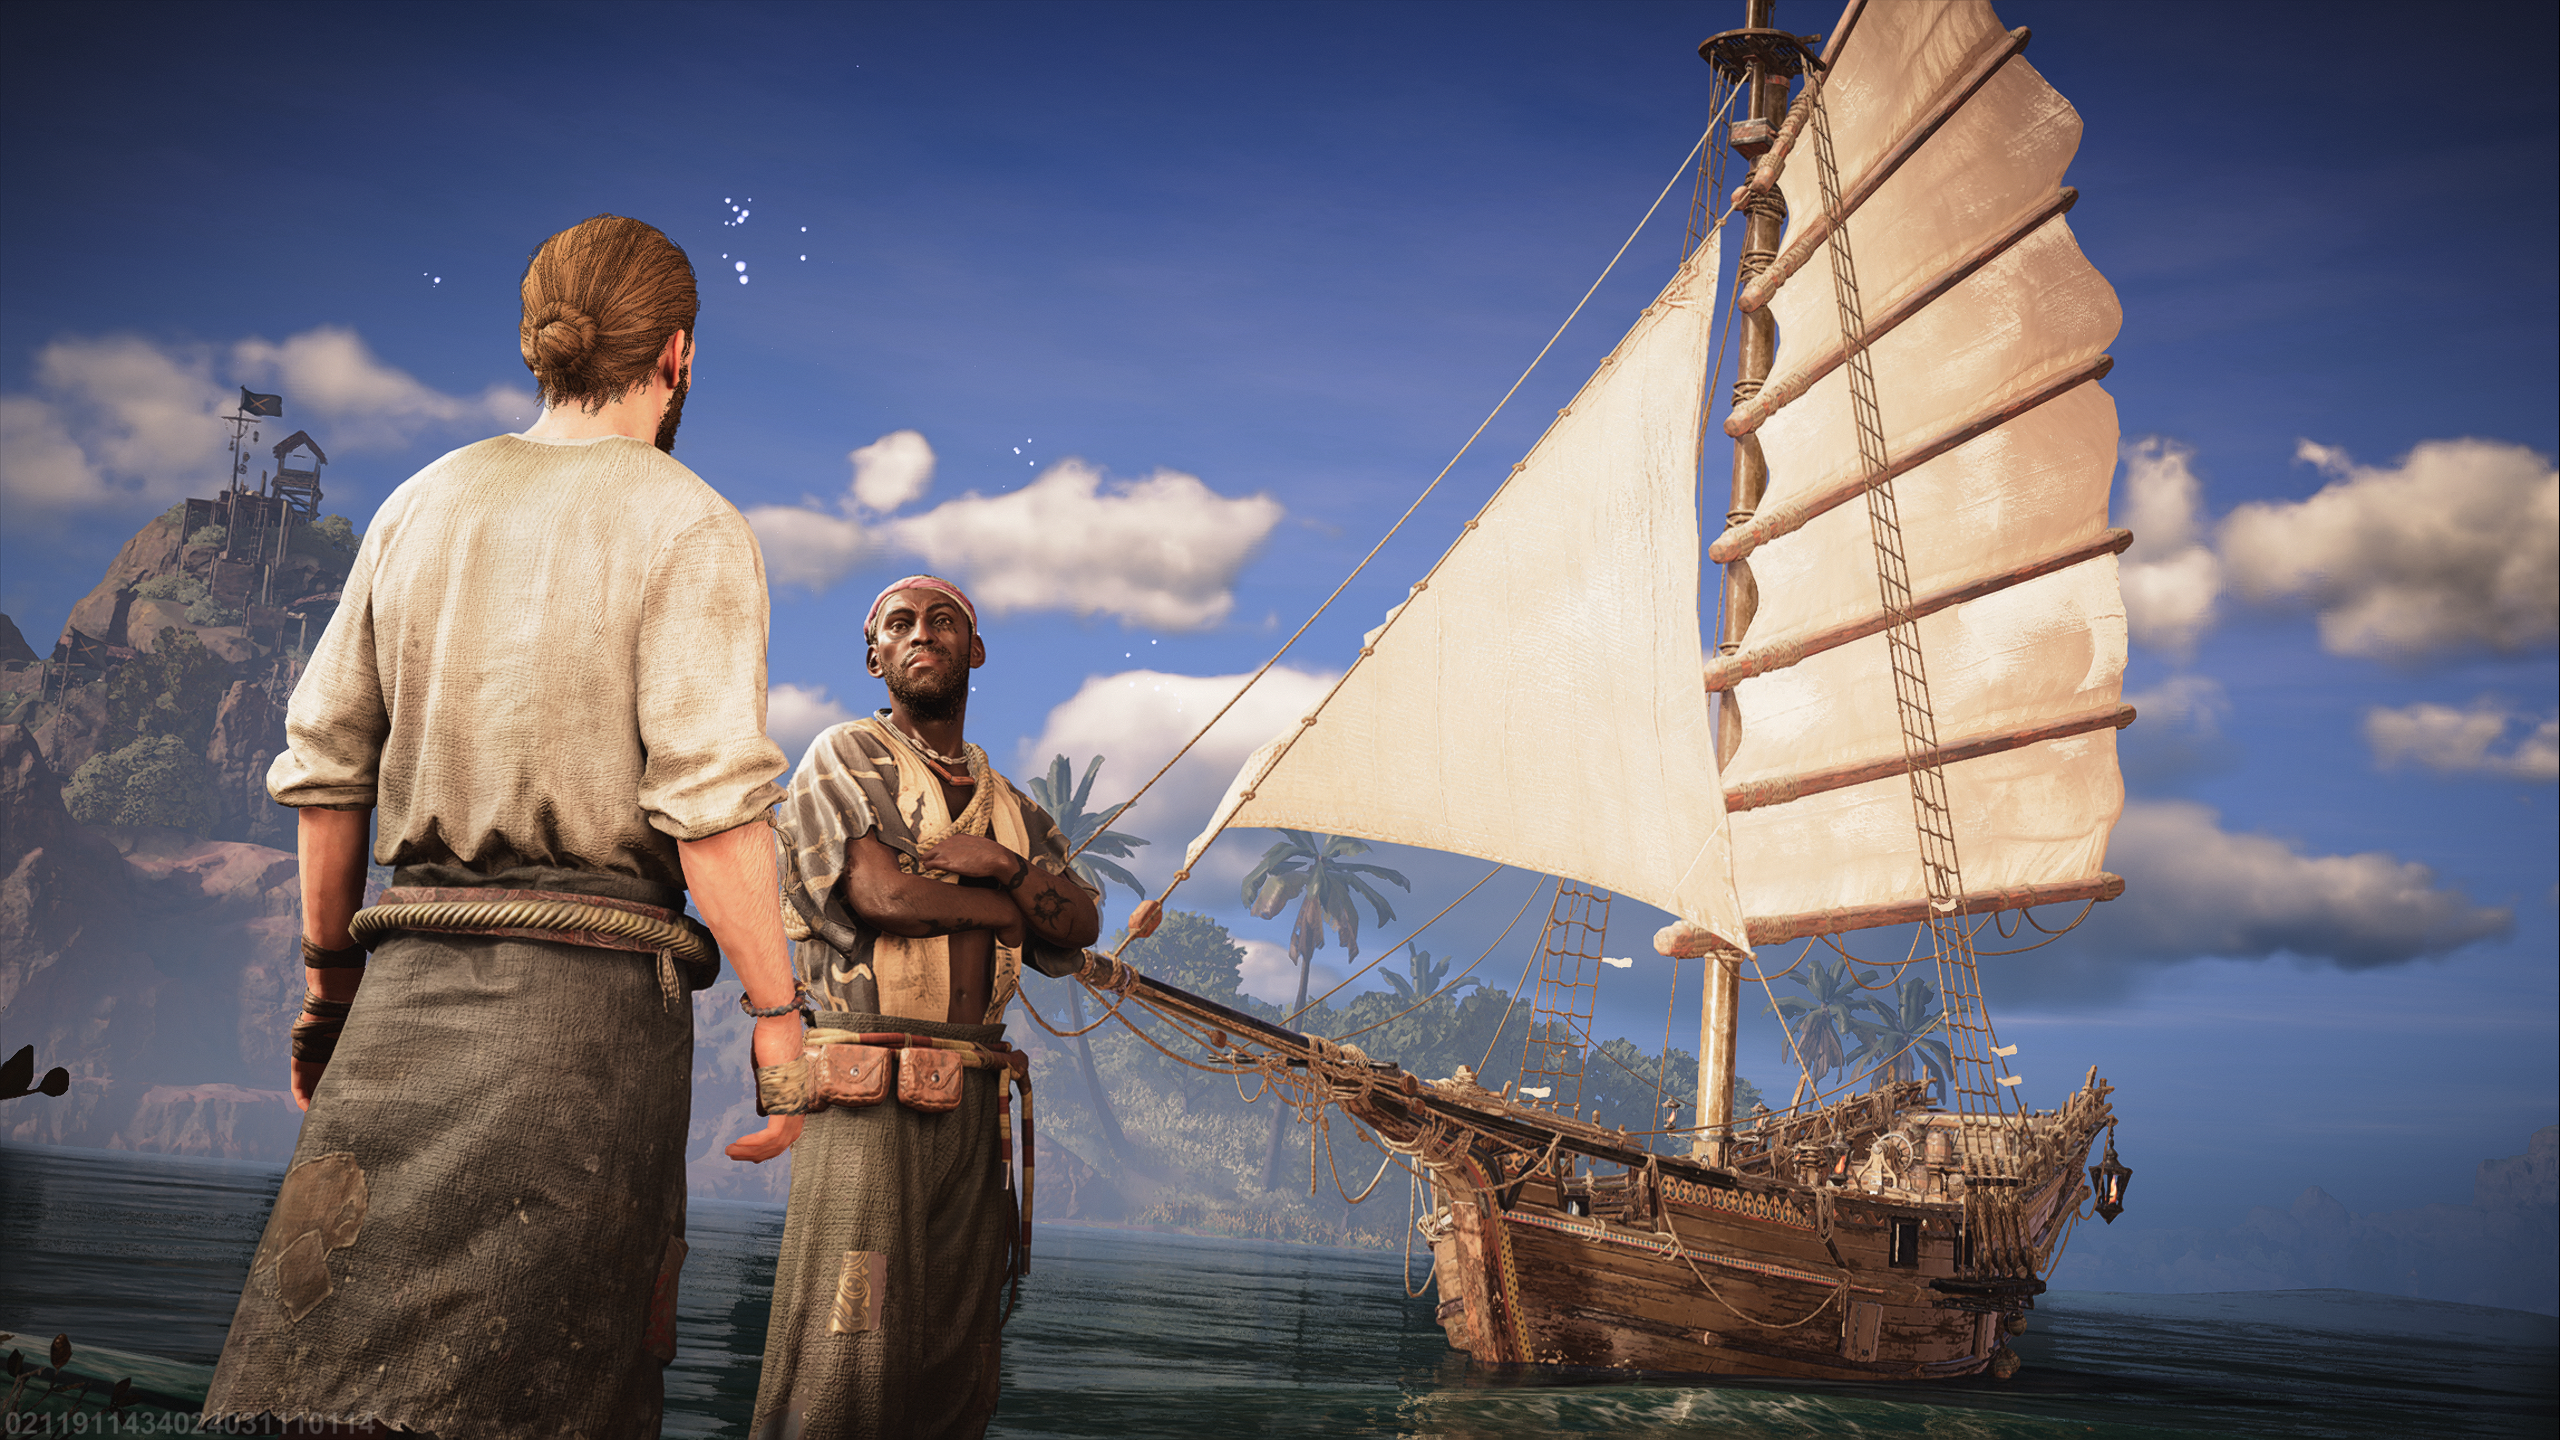
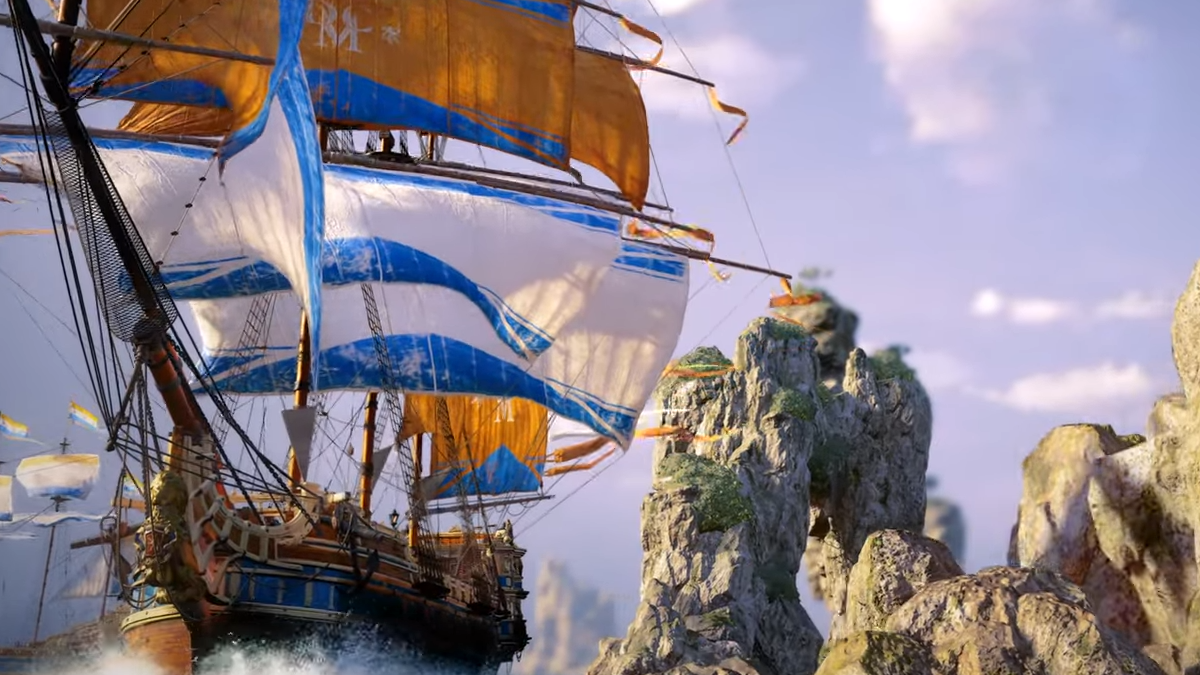
A big ocean lies dead ahead you in Skull and Bones, and it’s clear from the start you’ll being as the lowest of low as a survivor of a disastrous wreck.
In a world full of cutthroats, you’ll need someone watching your back. The crafting NPCs are plenty helpful, but don’t quite provide you with a ton of direction. Every ship needs a captain, but every ship also needs a navigator, especially when that captain is still get their sea legs.
Our Skull and Bones beginner’s guide has some helpful tips for your great voyage.
1) Scavenge as much as you can hold around the Exeter
It’s better to have too much of something than not enough. Once you start sailing on your makeshift raft, or Dhow, after the opening sequence, take a few laps around the Exeter wreckage. The waters are filled with Broken Planks, Metal Salvage, and Rusty Nails, and although these are considered “flawed” materials, they’re better than nothing. Store these in the Warehouse as soon as you get to St. Anne.
Take on as much Explosive Firearms and Opulent Rum as you can when completing the quest A Pirate’s Deal, as you can sell them for some quick starting cast in St. Anne.
2) You have limitless spears, so use them

While sailing around the Exeter, use your spears to hunt as much Shark and Fish as you can carry. The meat from these can be cooked into food that restores stamina need for sailing, or it can be sold outright. Make sure to charge up your spear before throwing it to ensure maximum damage and accuracy.
3) Claim rewards from A Son of Liberty at the mailbox right away
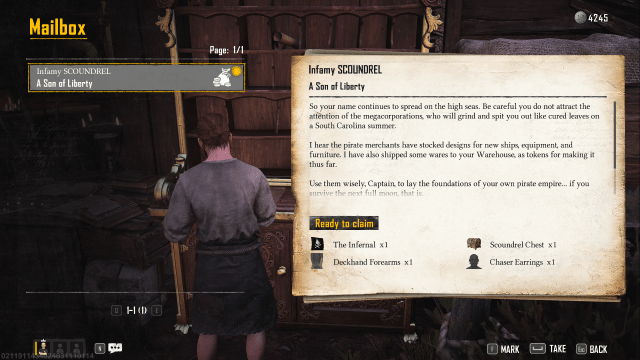
Once you’ve arrived at St. Anne, head to the mailbox next to the Warehouse, where you’ll find a message from an anonymous Son of Liberty. You’ll get a recipe for a useful coconut cake called Godrogodro, five Repair Kits, and a couple of flags. Repair Kits can save your life, so getting five for free shouldn’t be passed up on.
As you level up, more and more rewards are unlocked from the mailbox, so make sure to check it frequently.
4) Take the extra time to board enemy ships
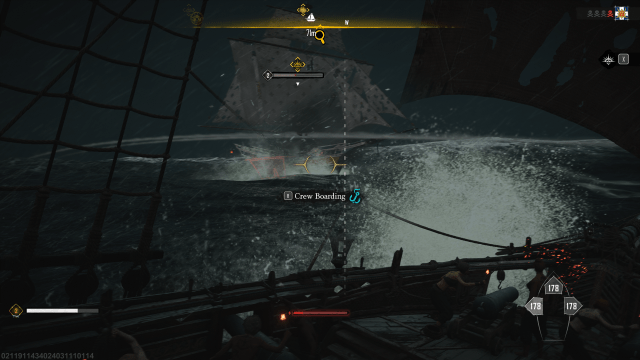
You have a choice between destroying a ship or boarding it once it’s gotten down to a low amount. Boarding the ship is the better option, as you’re guaranteed not to lose any items to sea, and you’re also guaranteed to loot extra items that were not on the manifest revealed by your spyglass. Actually boarding the ship can be tricky and sometimes irritating, but it’s worth it.
5) Store everything that’s not food, repair kits, or cannonballs in your Warehouse
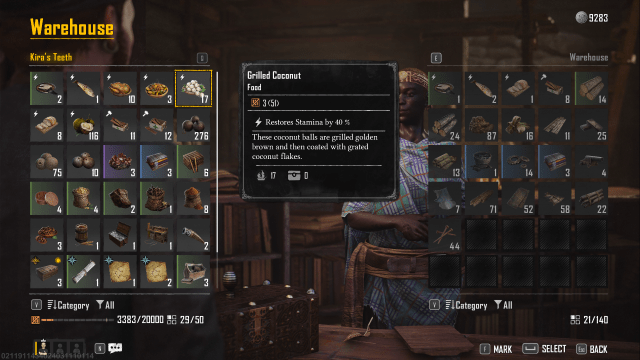
Even with your first real ship, you will start to fill cargo space quickly as you’re hunting and harvesting. Load all building and crafting materials like planks and metal into the Warehouse as soon as you arrive at a den or outpost, and only take the survival essentials with you: cooked food, repair kits, and cannonballs.
6) Invest in an upgraded Crowbar first and hunt shipwrecks
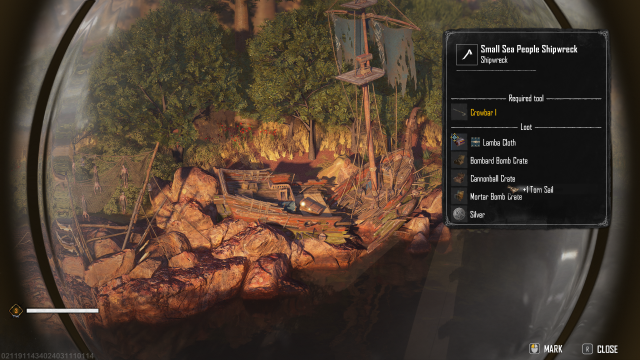
You’ll be given a number of tools during your introductory quests at St. Anne, but the first one to upgrade on your own is definitely the Crowbar. With an upgraded Crowbar, you can break into larger shipwrecks, which are loaded with silver, materials, and valuable commodities.
7) Go out of your way to discover fast travel points
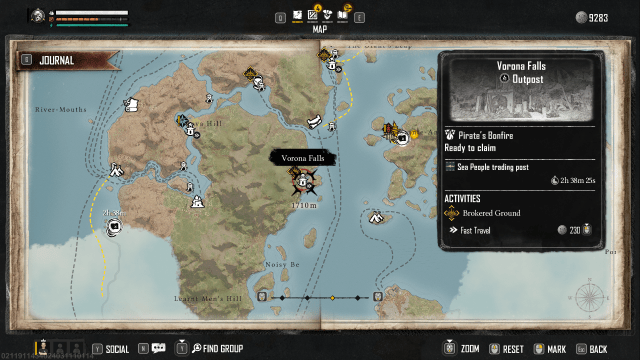
The map is rather large in Skull and Bones, and both rocky terrain and unfriendly wind can make the long treks feel even longer. By unlocking various fast travel points at outposts and dens, you can save time on a long voyage for a relatively small Silver cost.
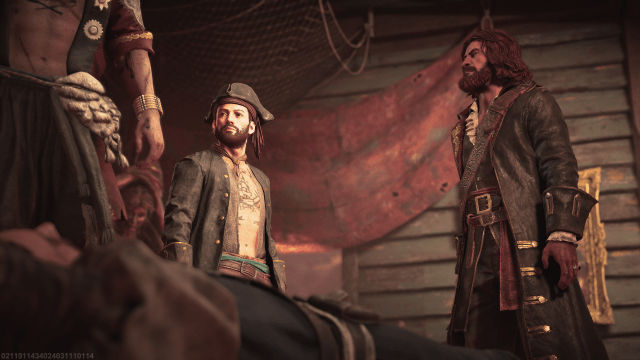
8) Finish John Scurlock’s story
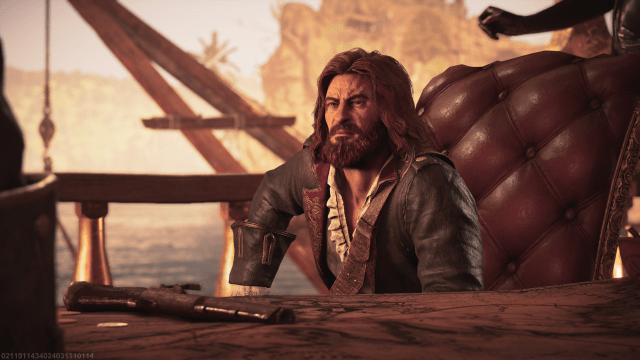
The main golden quest line is your priority. It can be very tempting to start sailing around, meeting and messing with other factions. But the fastest path to increasing your level and getting new ship designs is to do John’s story line.

Published: Feb 8, 2024 08:39 pm