There are lots of new challenges to overcome in Remnant 2’s new DLC, The Forgotten Kingdom, with hidden items and unlockables stashed in every nook and cranny. In the Proving Grounds, a new optional area, there are three well-hidden secrets that are very easy to miss.
Whether you’re a die-hard collector or just like experimenting with new builds, these hidden items are all worth grabbing. Keep reading to find out how to get all the Proving Grounds secrets in Remnant 2′s latest DLC, The Forgotten Kingdom, or watch our videos to see how we did it.
Remnant 2 Proving Grounds secrets guide
First secret: Floodlit Diamond (Ring)
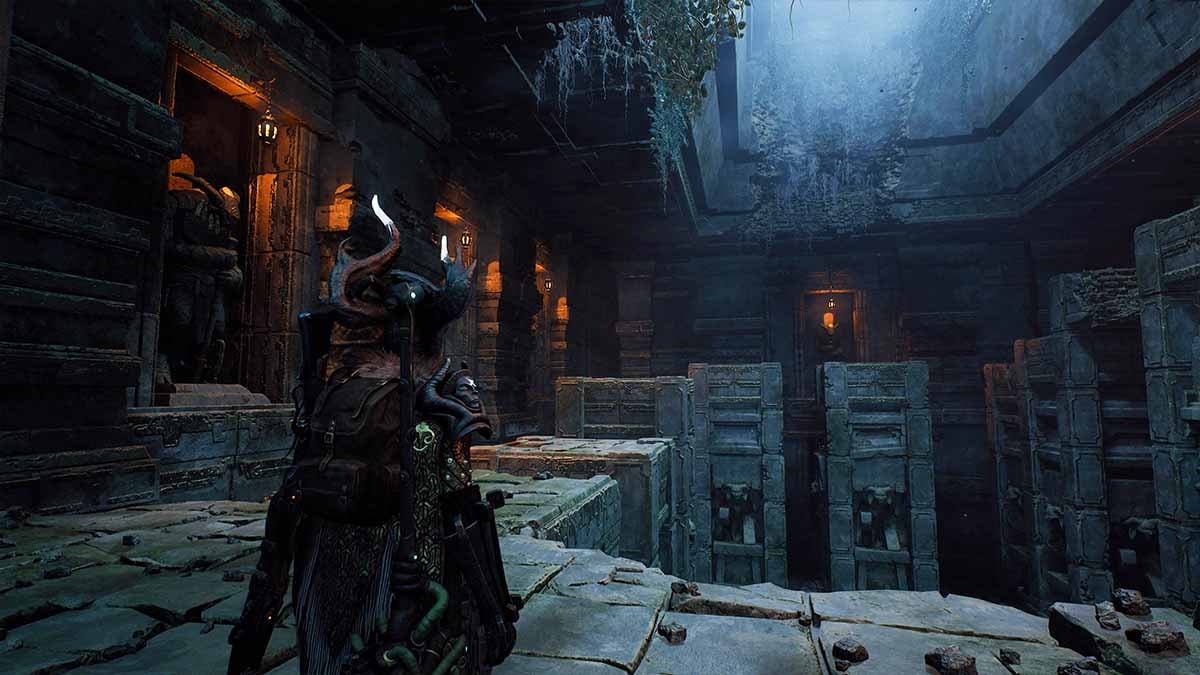
For the first secret, head left from the Proving Grounds checkpoint and navigate through the first obstacle course until you reach the second checkpoint. Head out of the checkpoint room and turn right, and you’ll enter a square room full of raised pillars. The first secret is hidden in this room, and it’s a doozy.
Go straight ahead while carefully dodging the dart traps, then turn left. There’s a pressure plate tucked in the corner (you can see it clearly in the video above) that you need to stand on to lower a giant pillar. Stand on the pressure plate, then run to the pillar before it starts rising again.
The first secret is hidden behind an illusory wall directly ahead of the pillar. Instead of jumping to the platforms left or right, jump straight through the wall in front of you. You’ll pass straight through it. Just remember to jump quickly, otherwise the pillar will crush you against the ceiling.
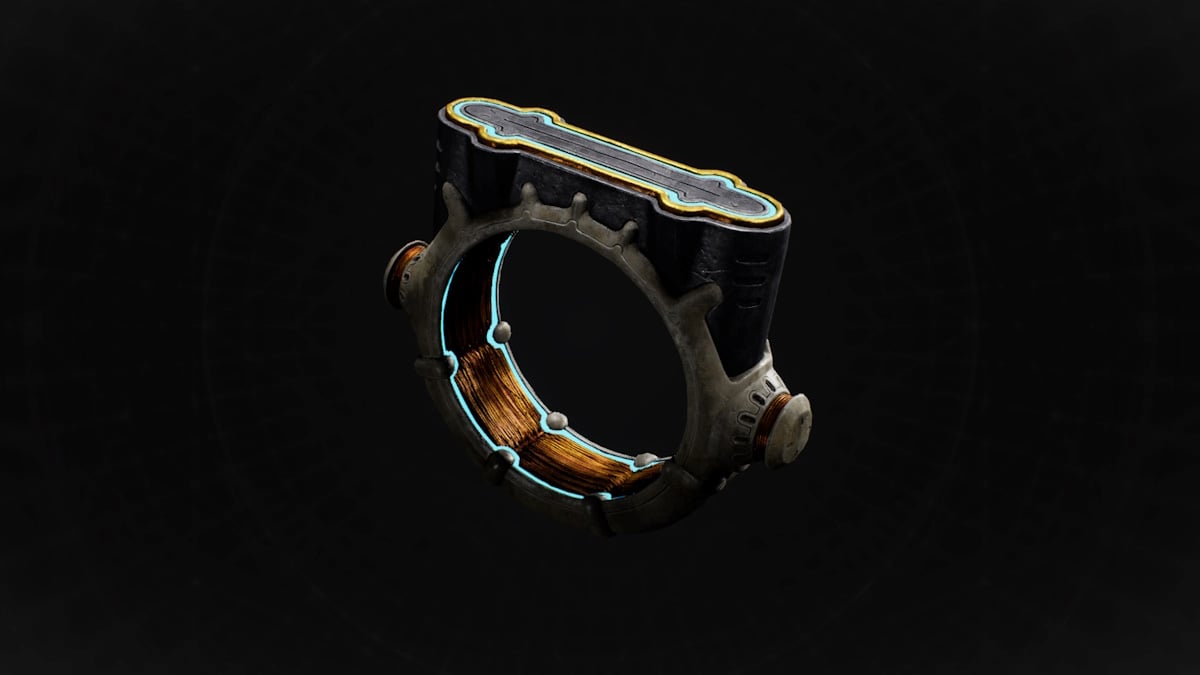
Behind the illusory wall, you’ll find a secret room containing a chest with a few helpful resources, plus the Floodlit Diamond Ring, which increases your weakspot damage by 12 percent, increasing to 24 percent against Exposed enemies. After you’ve picked up the loot, drop down through the hole to skip the rest of this section.
Second secret: Dark Sea Armada Crest (Ring)
Continue through the Proving Grounds until you reach the final obstacle course—a long room with dozens of circular saws. On a normal run, your objective would be to stand on the pressure plate, then sprint through the saws until you reach the door at the end. Don’t go the normal way. Instead, your prize is off to the right, behind a secret second door.
You have to be very quick to reach the door, but it’s possible without any speed enhancements—check out the video above to see how I did it. Just sprint straight through, jump over the gaps, and don’t stop moving. The Shielded Heart is particularly helpful here, because it lets you soak up a few hits from a circular saw to keep up your pace.
Behind the secret door, you find the Dark Sea Armada Crest. This Ring increases your Elemental damage by 15 percent for 15 seconds after you use a Relic, which could be powerful with an Archon build, especially one that uses the Lifeless Heart.
Third secret: Battle set (Armor)
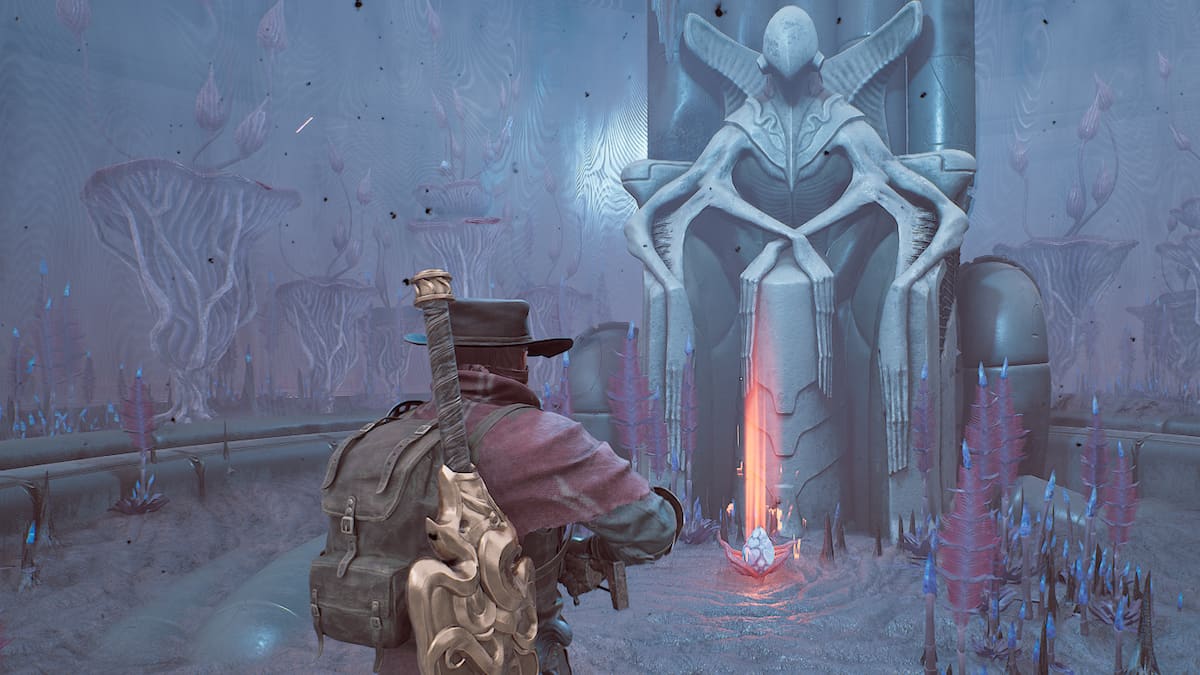
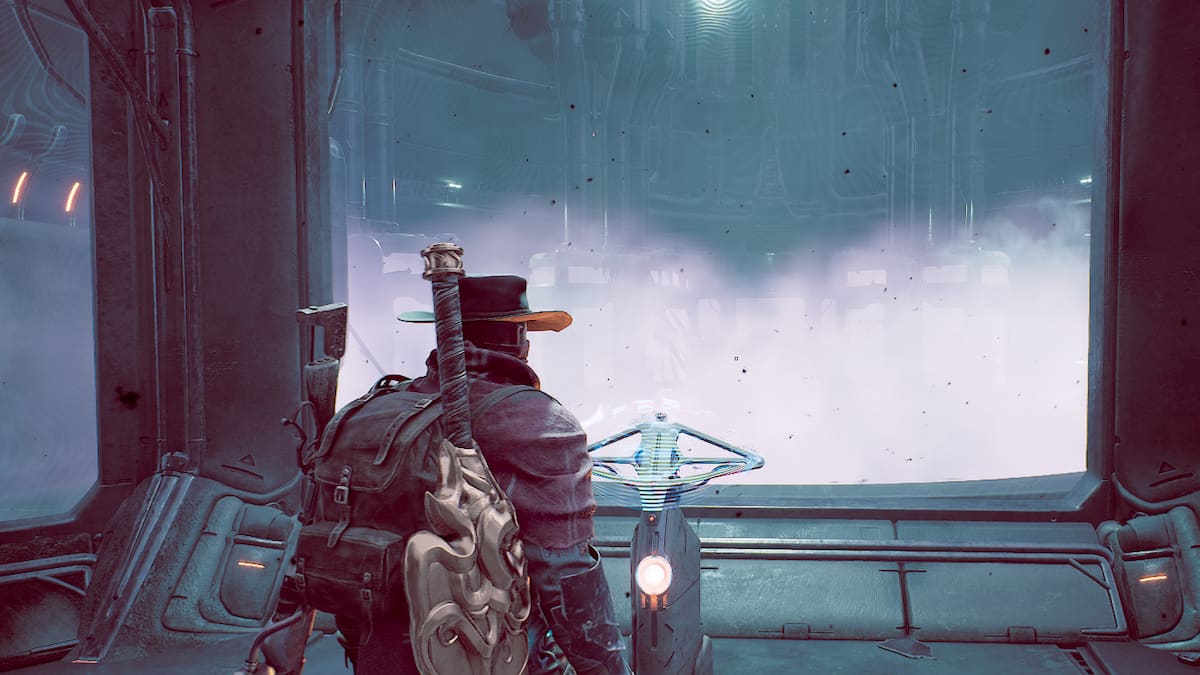
The last secret is probably the easiest to get. After grabbing the Dark Sea Armada Crest, you’ll nearly be at the end of the Proving Grounds. Head to the balcony overlooking the final area (where you can see an epic item on a pedestal from above) and use the lever to drain the water. Proceed downward, pick up the item (it’s the Ceramic Flask, which unlocks the Flying Bomb Trap mod), then head through the shortcut back to the start of the area.
You just lowered the water level, which made a new area accessible toward the beginning of the Proving Grounds. Head to the room with the first jumping puzzle (go left out of the checkpoint room) and you’ll notice there’s dry land visible where the water used to be. Drop down and kill the enemies here, then loot the Battle armor set from the corpse in front of the door.
Injectable areas
According to Fextralife, two optional mini-areas can also appear in the Proving Grounds: the Waterfall and the Hidden Library. They aren’t guaranteed to appear in every run and can also appear in other zones, so don’t count on them showing up. The Waterfall reportedly also appears in Endaira’s End, and the Hidden Library appears in Endaira’s End and the Earthen Coliseum.
The Waterfall
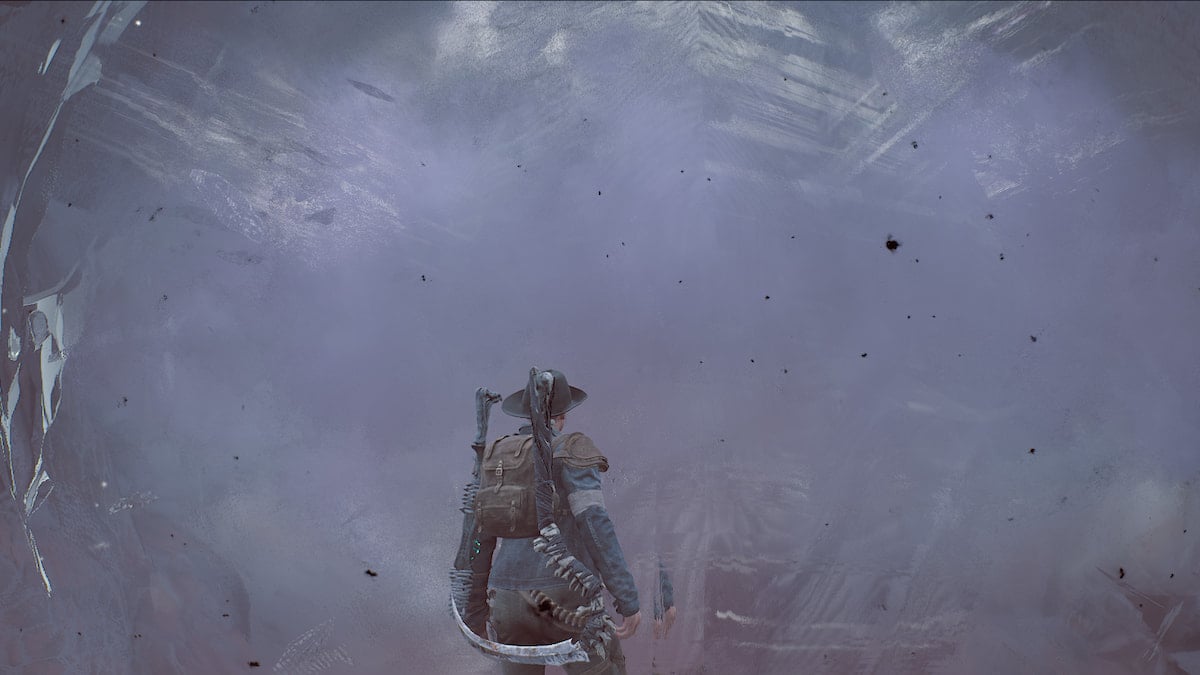
A room with a waterfall sometimes appears in the Proving Grounds or Endaira’s End, and in it, there’s an illusory wall between two lanterns above a small ledge. Climb up the ledge to get through the wall.
Behind it, there’s a secret room containing the Archer’s Crest Ring, which increases your Projectile Speed by 20 percent and decreases your Weapon Charge Time by 25 percent.
Hidden Library
A stone alcove with a pan statue, a glowing crystal lamp on the left-hand side, and a red banner sometimes appears in the Proving Grounds, Endaira’s End, and the Earthen Coliseum. If you see it, vault up the ledge and check the back-left corner. You’ll find a hole you can drop through to enter the Hidden Library.
Here, you can loot the Burden of the Follower Ring, which reduces your Fire Rate by 15 percent but increases your Mod Power Generation by 25 percent. Next, a hidden pressure plate in the corner of the room reveals yet another secret passage, through which you encounter two minibosses, Atrophy and Rot Stalker. Kill them to get the Bulletweaver Mod, which increases Fire Rate by 10 percent for seven seconds.


Published: May 3, 2024 03:00 pm