Overwatch 2 players aim to make a difference in matches and outside the game as well. More often than not, you’ll find yourself trying to become the player that tips the scales in close matches and snatch a victory.
Your player profile lets you distinguish yourself from the crowd and showcase your taste via the available icons. The images are also known as Avatars, and they are often the first sight players will get to see while visiting each other’s profiles.
Throughout your Overwatch 2 adventures, you’ll unlock plenty of icons. Here’s how you can cycle through them by designing your profile.
How to unlock Player Icons in Overwatch 2
Player Icons can get unlocked by completing Challenges and leveling up the Battle Pass in Overwatch 2.
Players who originally purchased the first Overwatch will also have their icons migrated to the second iteration, meaning you may already have a decently sized icon collection to start out.
How to equip Player Icons in Overwatch 2
To start using Player Icons in Overwatch 2, players will need to:
- Navigate to the Overwatch 2 main menu.
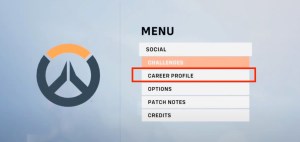
- Press Options and choose Career Profile.
- Switch to the Customization tab.
- Choose the Player Icon that you’d like to use and select Equip.
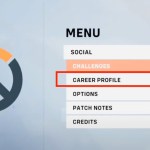

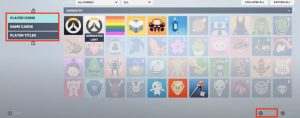
Players can adjust their Name Cards and Titles from the same menu. Once you make the changes you want and equip the items you’d like to show on your profile, you can leave the Career Profile section and continue playing the game. As you unlock new Icons, Cards, and Titles, you can visit the Career Profile section to make new changes.




Published: Jan 2, 2023 09:43 am