The Murmurs in the Forest mission will be given to you by Mary as you follow the Once Human story quests. You need to be at least level eight to unlock this mission, but we recommend starting it at at least level 12 because of the level 14 difficulty.
How to get to the Abandoned Hideout in Once Human
You’ll probably be closest to the Meyer’s Market when you receive Once Human‘s Murmurs in the Forest quest, so head there to make it the starting point of your journey to the Abandoned Hideout. Follow the yellow lines on the map to the main road north, and as you make it to the side of a bridge, turn right to go under it and enter the main road again.
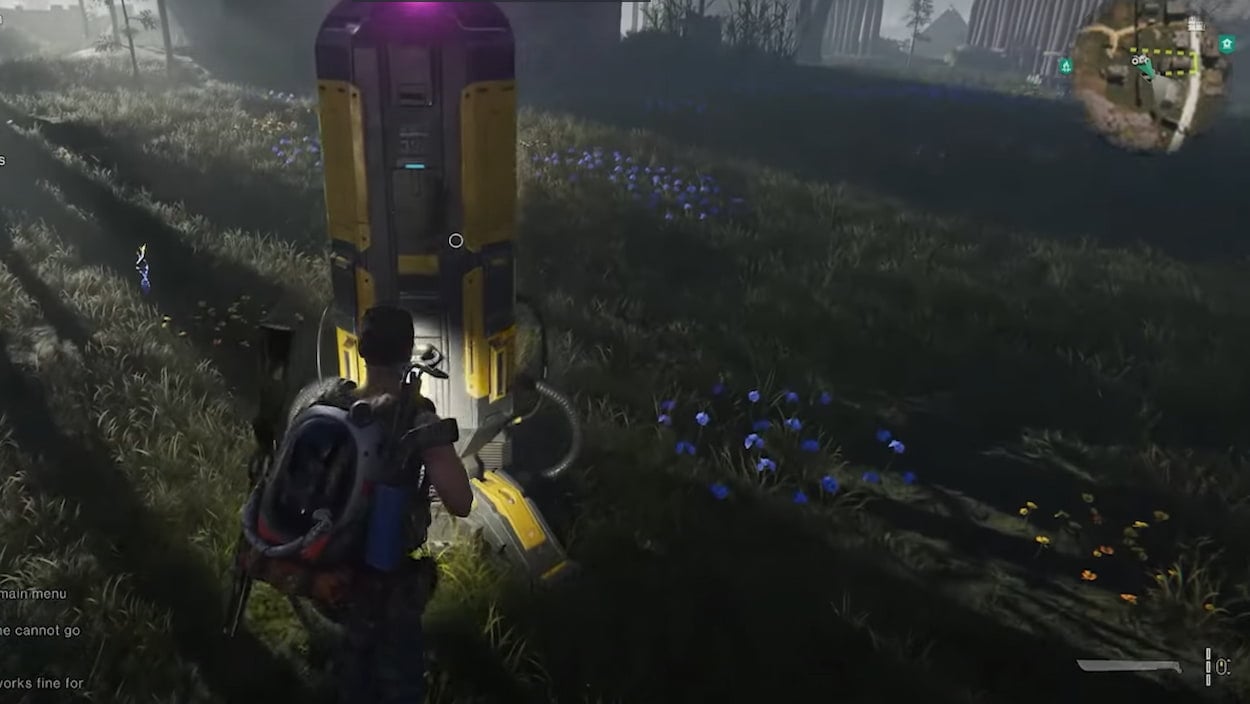
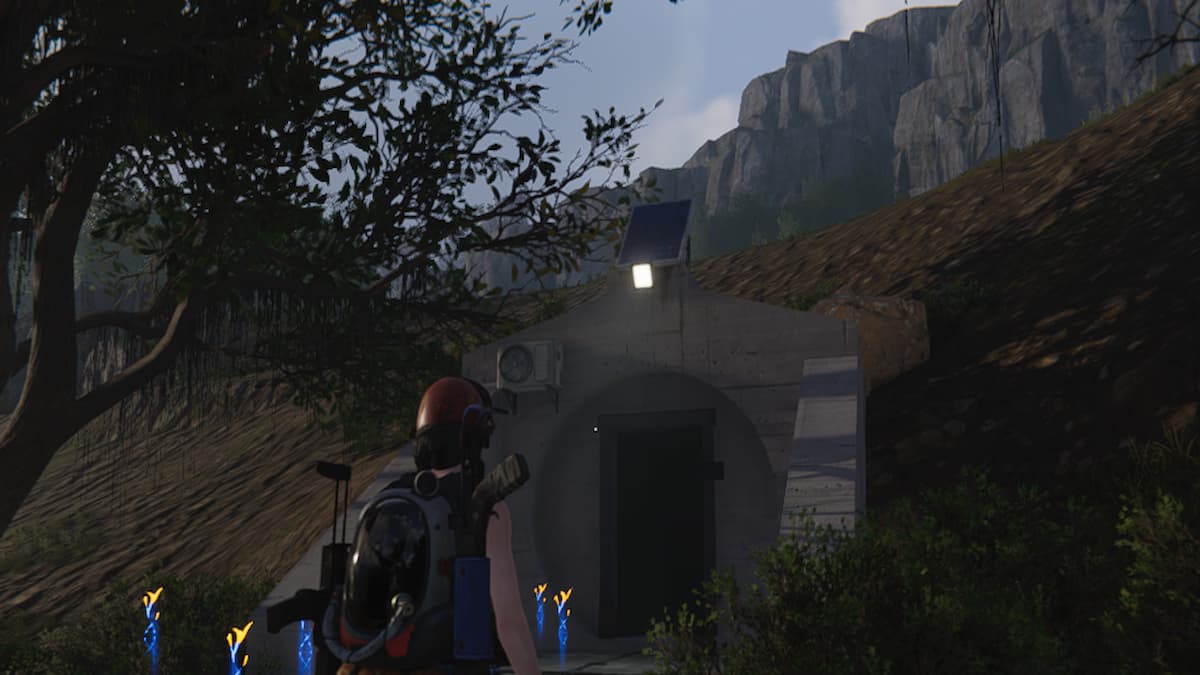
You’ll have to go off-road again near the High Banks Nest, before the Teleportation Tower. Eventually, you’ll arrive at a red building. Turn right behind that red building and follow the off-road path until you reach the entrance to an underground bunker next to the river.
How to investigate the Abandoned Hideout anomalies
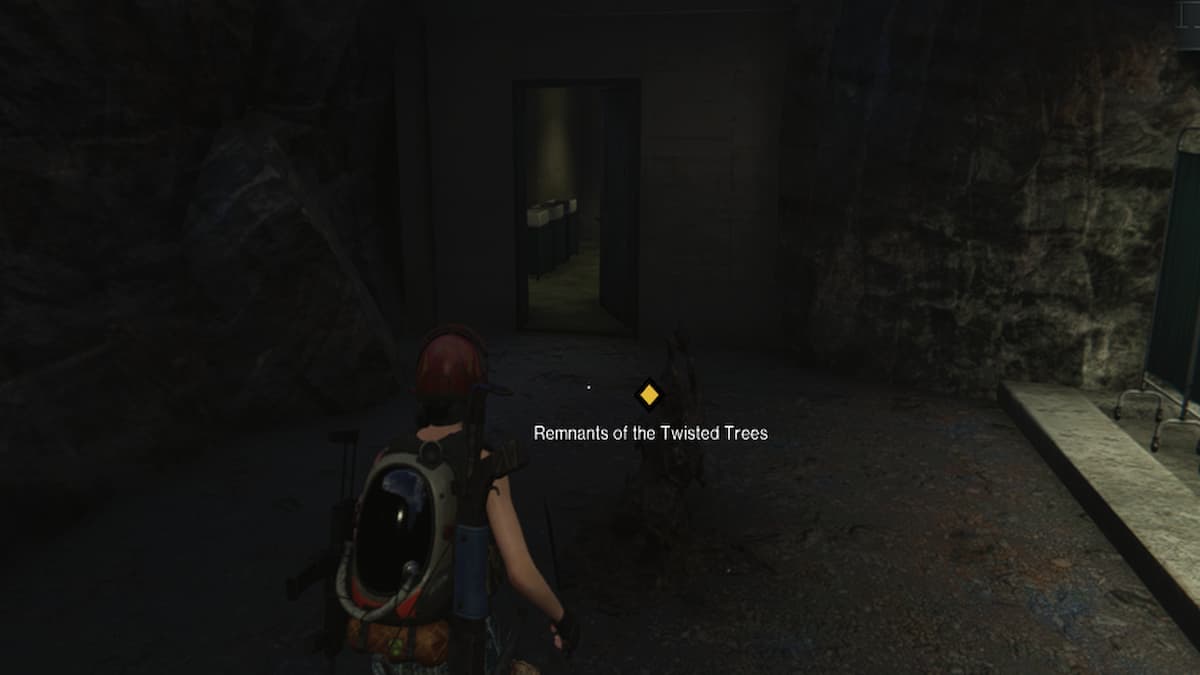
You’ll find the Remnants of the Twisted Trees at the back of the bunker on the upper floor. After you investigate it, you’ll be teleported to another area where you’ll have to face some Twisted Trees as you uncover the story.
There are four level 20 enemies with different patterns of long-distance attack. We recommend attacking them using a melee weapon and dodging their close-range attack to save your ammunition for Treant’s Doppelganger.
Try to save as much ammo and arrows as possible since it’s easier to defeat Treant’s Doppelganger from afar. This boss will mostly use its arms to attack by smashing the ground, and will do a long-range attack every three to four ground attacks.
As soon as the battle starts, jump on the glowing area and get up on the floating rock to avoid its ground attacks, focusing your shots at its face, since you’re more likely to hit a critical area. When Treant’s Doppelganger is charging an attack, jump to the ground to avoid the ranged attack, then go back to the stone. It’s an easy battle regardless of your level; you’ll just spend less ammo if you are at a higher level.
How to defeat the Rift entity in Gaia Cliff
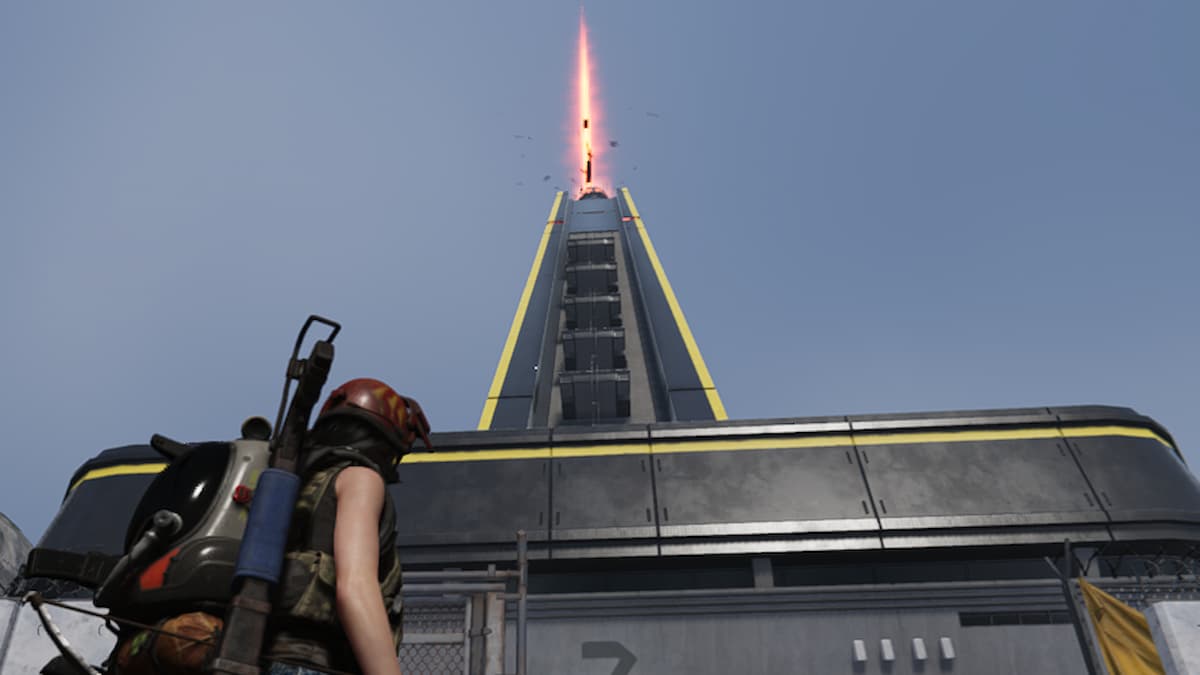
After you defeat Treant’s Doppelganger, you’ll have to activate four Rift Anchors in the Broken Delta area to unlock Gaia Cliff. These are simple and easy to do if you haven’t already. After you activate the four Rift Anchors, head to the Gaia Cliff Monolith.
There, you’ll have to clear the monsters in the initial area before you enter the dungeon where you’ll battle against the real Treant, a level 20 boss. It will be a really long battle if your level is below 15, so either pack a massive amount of ammo or create a team so other players can help you defeat it.
This time, Treant’s weak spot won’t be concealed, but you’ll notice an “Immune” tag will appear if you shoot it. You’ll have to defeat the Twisted Trees in the area before you can deal any damage to Treant. After you clear all the Twisted Trees, you’ll be able to attack Treant for two minutes. Focus on the red area to deal critical damage.
Once you defeat it, the quest will be completed and you’ll receive 800 Energy Links and several other items, such as Gear mods and materials.


Published: Jul 30, 2024 04:45 pm