
It doesn’t matter whether you’re trying to explore, fight, or reach a treasure chest perched atop a cliff, No Rest for the Wicked is a tough game through and through.
And the difficulty doesn’t miraculously drop when you start tackling side quests like Of Rats and Raiders in No Rest for the Wicked. This quest, in particular, can take you from three to five hours to complete and is not as straightforward as Winnick makes it sound. That being said, it’s the one way to unlock housing in the game, so it’s one you shouldn’t skip. In this guide, I’ll show you how to start and complete every step of Of Rats and Raiders in No Rest for the Wicked.
How to start Of Rats and Raiders in No Rest for the Wicked
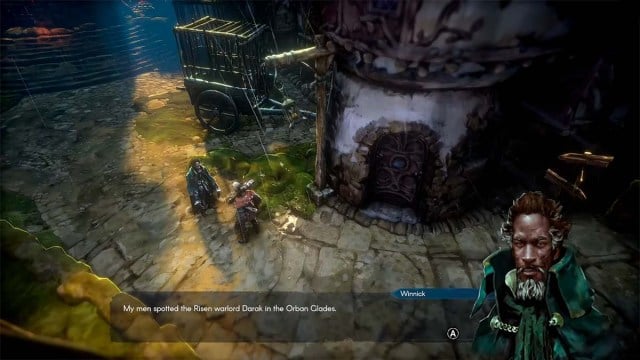
After arriving in Sacrament, head to the top left of the town where Odessa is held captive. There, you meet Winnick, who gives you the lowdown on your mission.
No Rest for the Wicked: Of Rats and Raiders Walkthrough
Darak’s location
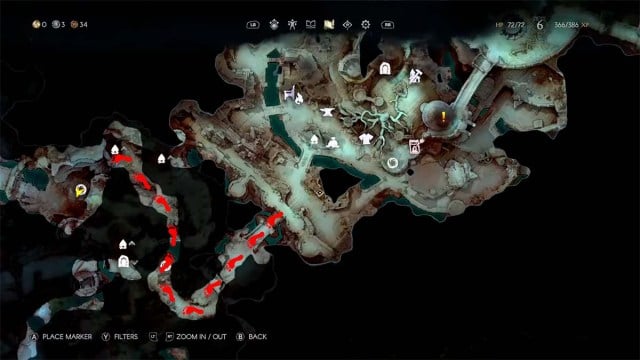
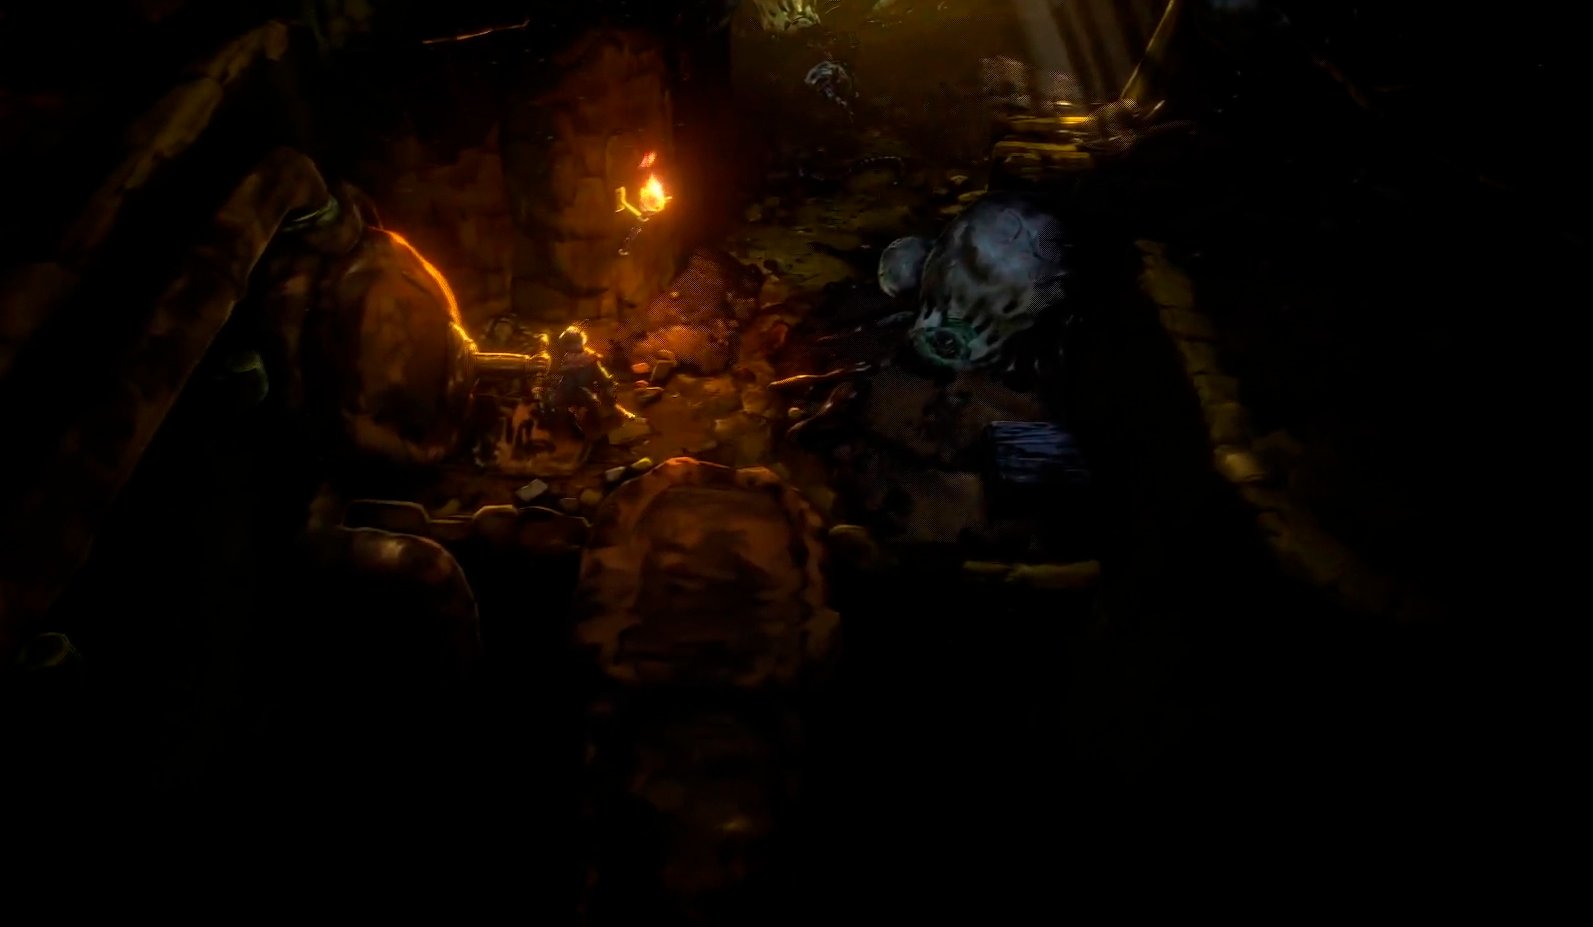
The first step to complete Of Rats and Raiders is to locate Darak, the leader you’re tasked with confronting.
Darak can be found to the west of Sacrament, near the cave where you previously battled Warrick the Torn. Use the blue Whisper above and traverse through the cave until you reach a burning bridge area. This is where the showdown with Darak begins.
Falstead Darak: first encounter

Darak is no pushover, but you can get through this first encounter at level five in No Rest for the Wicked.
- Equip rare quality or higher gear. Your weapon should be one-handed or ranged so that you can stay agile.
- Dodge his attacks, using the terrain to your advantage and timing your strikes carefully.
- Whenever Darak raises his sword or shield, roll past him and strike his back.
With perseverance and a bit of grit, you can deplete half of Darak’s health, which is enough for him to flee. This outcome paves the way for the next phase of the Of Rats and Raiders quest.
How to free Rattigan
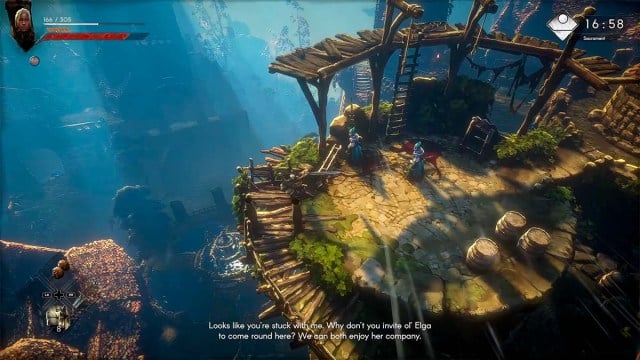
With Darak dealt with (for now), it’s time to focus on freeing the imprisoned raider, Rattigan in No Rest for the Wicked. Head back to Sacrament and speak with Winnick. After a chat with him and Odessa, you’re tasked with breaking out Rattigan from his cell.
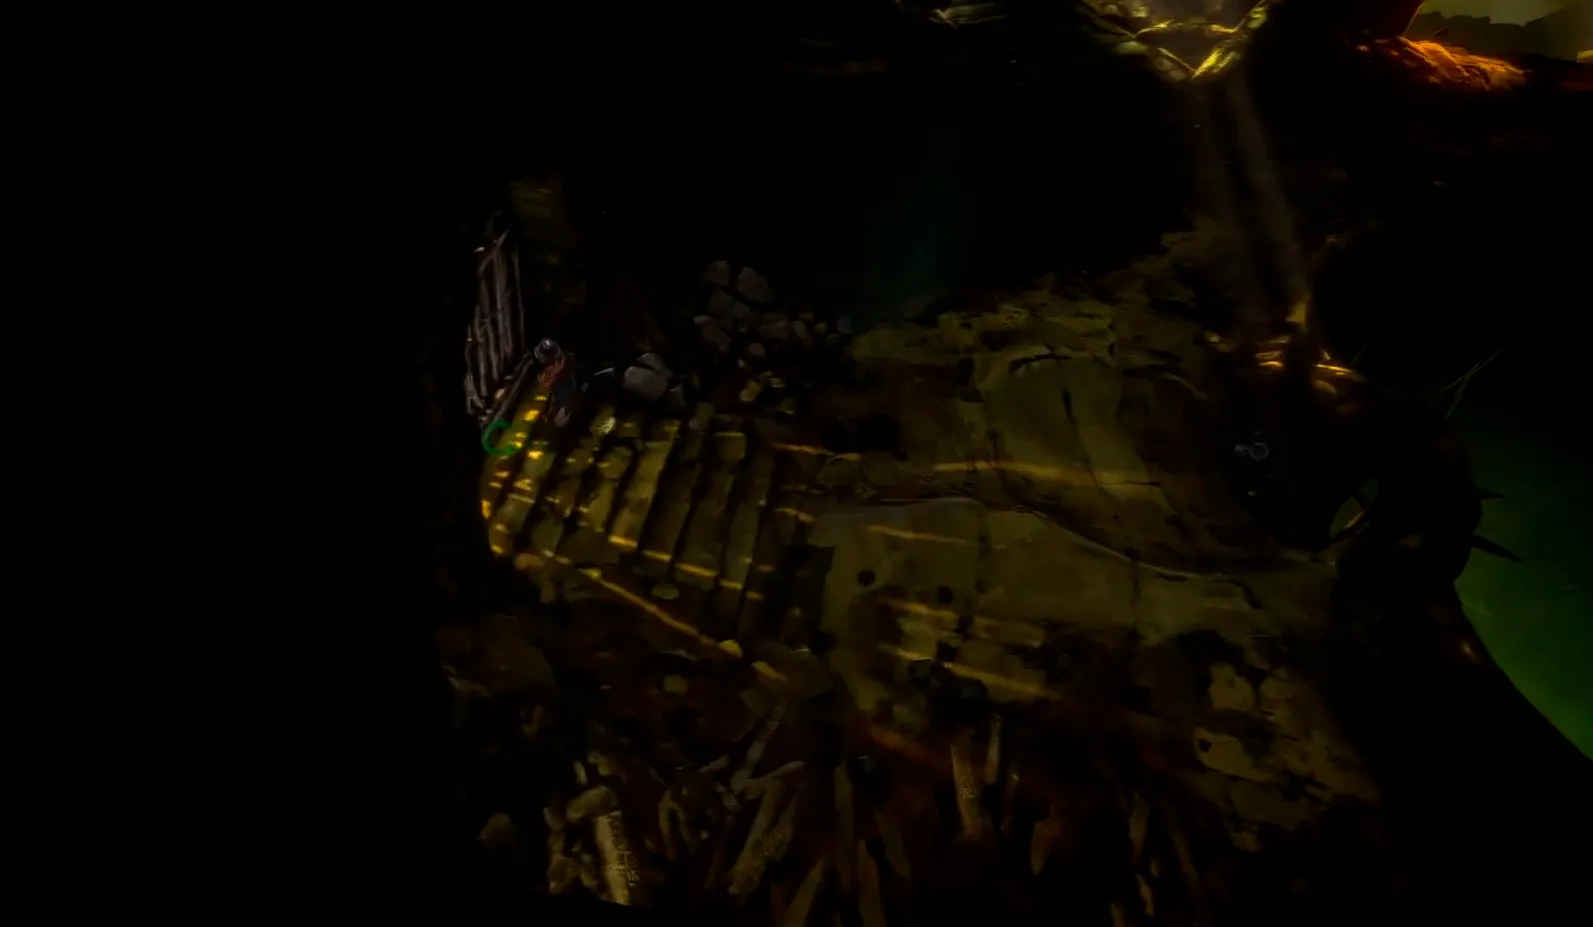
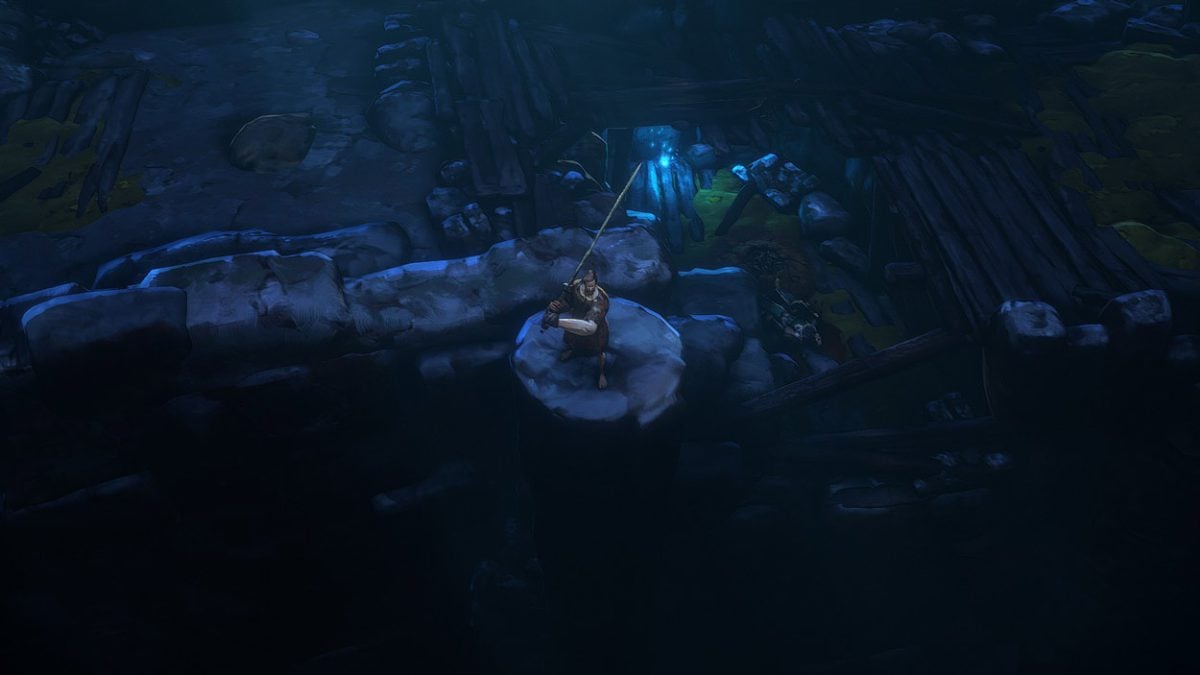
Head up the tower left of Rattigan’s cell to overhear the guards stationed there. They provide valuable information on how to free their prisoner.
You learn that one of the guards holding the key is conveniently passed out near a fountain. Retrieve the key from the guard and release Rattigan. Once freed, they ask that you meet up with them at the Black Trench Sewers’ entrance, setting the stage for the final leg of the Of Rats and Raiders quest.
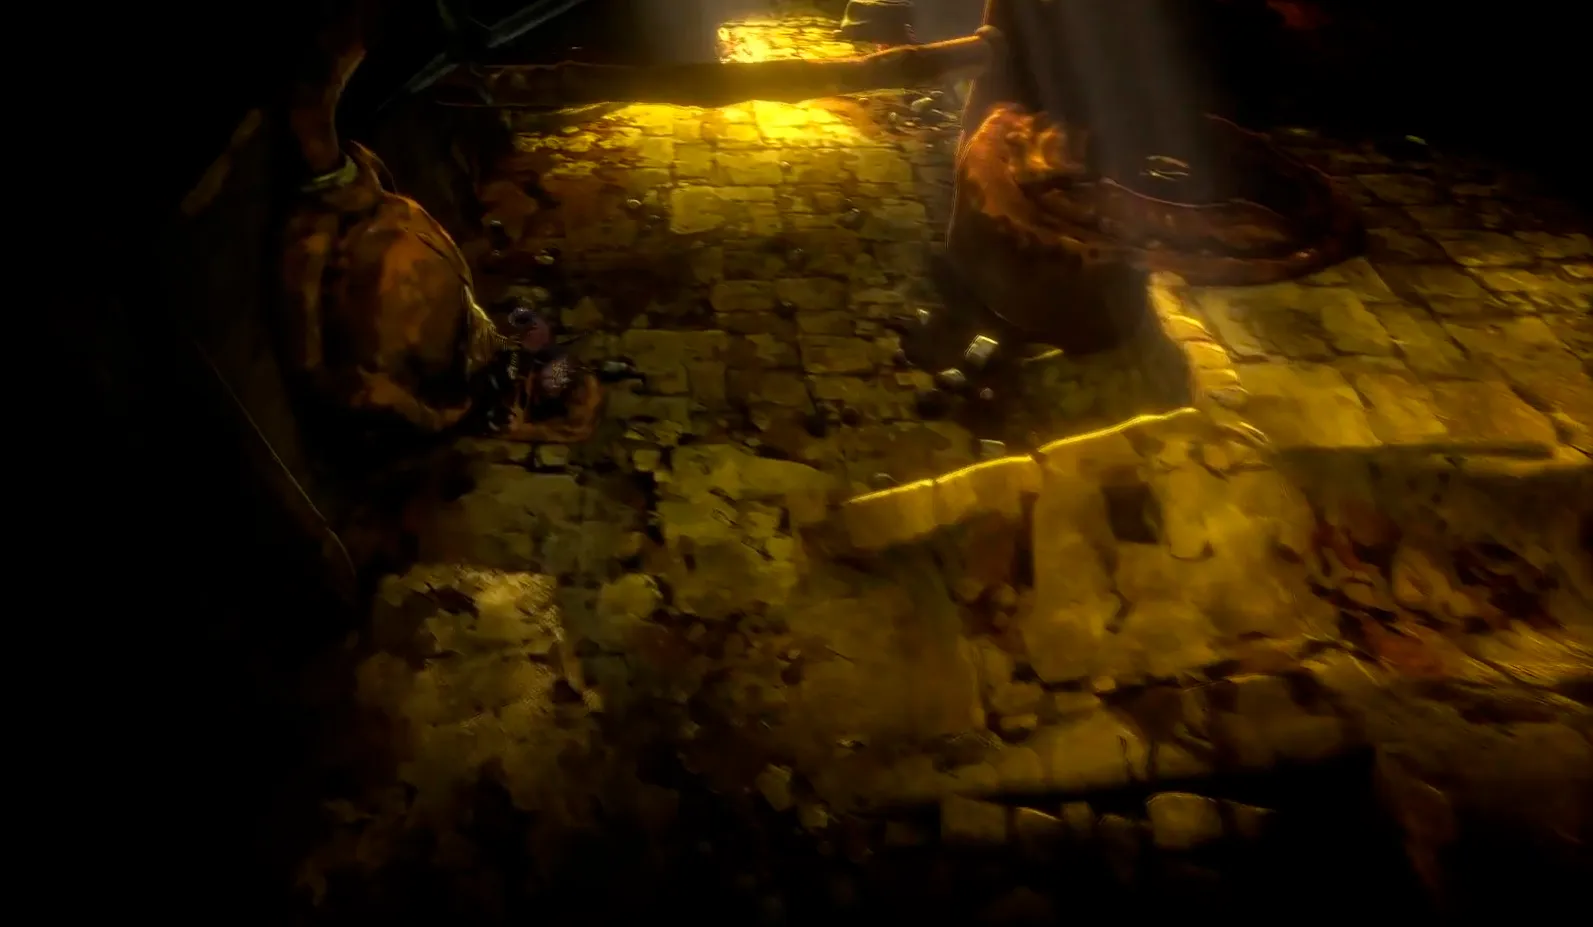
Sewer lever puzzle
Here’s how to get through the Sewers to fight Darak in No Rest for the Wicked:
| Visual Reference | Instructions |
|---|---|
 | From the sewer’s first Whisper, head down the spiral stairs and grab the Drainage Cellars key at the very back of the bottom level. |
 | Head back upstairs, follow the path left, and open the previous door using the Drainage Key. |
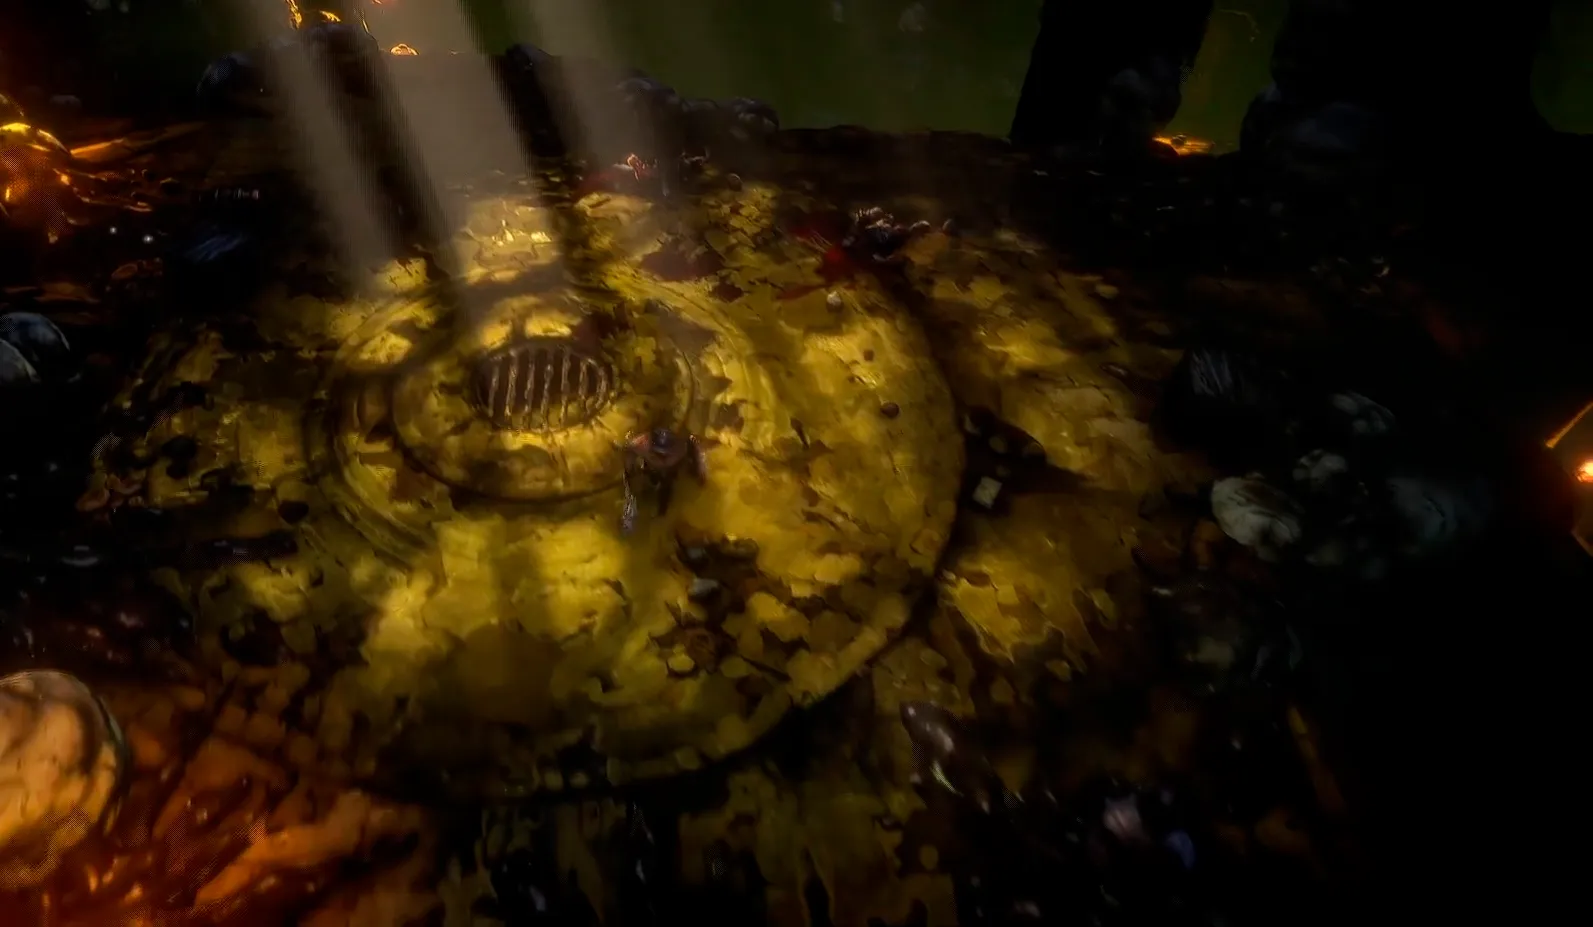
 | Head south and downstairs to find a lever. Pull it to deploy a bridge. |
 | Use the bridge to reach the area south. Keep heading straight south until you spot a second lever to the left. As soon as you pull the lever, sprint to the circle platform to the right to reach the level above. |
 | Jump to the platform on the right. If you fall, use the ladder to get back up. Hug the wall on the far right of this platform to reach another lever. Pull it to deploy another bridge. |
 | After you cross that bridge, you find yourself in the starting area once again. Follow the bridge to the left and walk up the spiral staircase to find a set of enemies. When you defeat them, they drop the Water Channel Key. |
 | Use the Water Channel Key on the big wooden door downstairs. |
 | Pull the lever north of this area and run to the circular platform to the left. Once upstairs, pull the lever to drain the water. |
 | After clearing the enemies, look for a Whisper to save to the left. Then, drop down to the bottom of the sewers and follow the path southwest until you run into a spiral staircase. Look for a log to cross to the opposite side. Here, grab the lever handle on the floor, place it on the mechanism on the right, and pull it to get the water flowing. |
 | Now that you have a portable handle, use it to activate the lever back on the Water Channel’s entrance. As soon as you pull this lever, make a run for the circular platform on the bottom right. |
 | Then, drop down to the lower level and look for another lever to the right to raise the water. |
 | Next, swim southwest, climb out of the water, and use a ladder to reach higher ground. Stick to the right to re-enter the starting area of the sewers. |
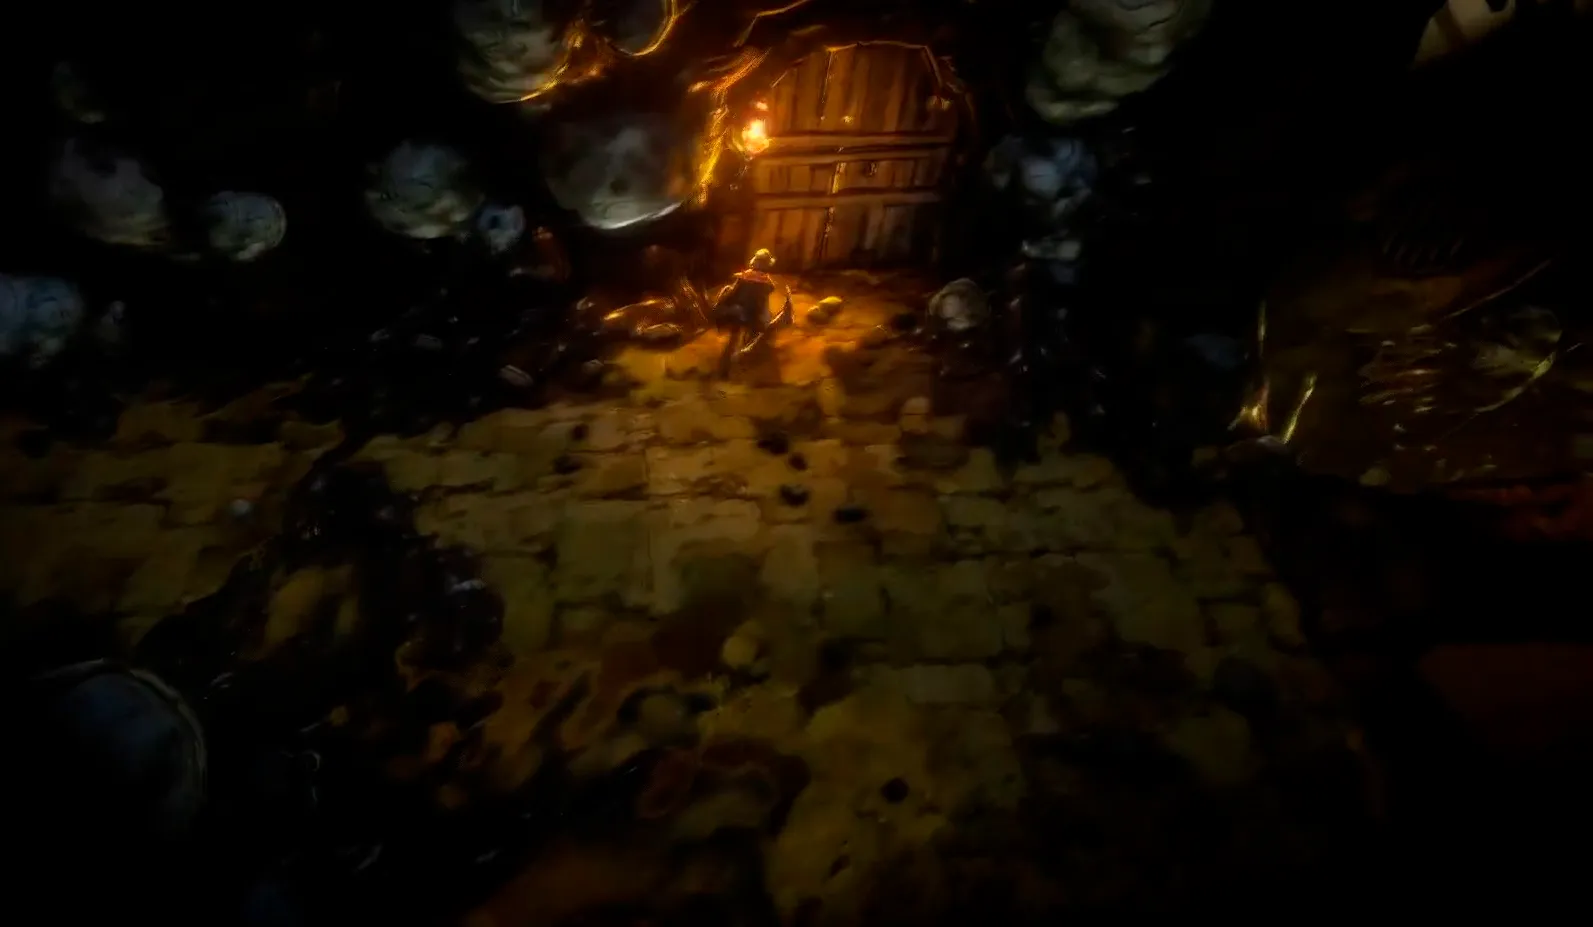
 | If you climb the stairs, you can knock down a ladder for later. To progress to the final boss, pull the lever right next to the entrance. |
 | Use the first Whisper to save. With the lever handle you acquired, pull the lever next to the Whisper. All that’s left is to follow the path to the right and upward to reach the Darak boss battle area. |
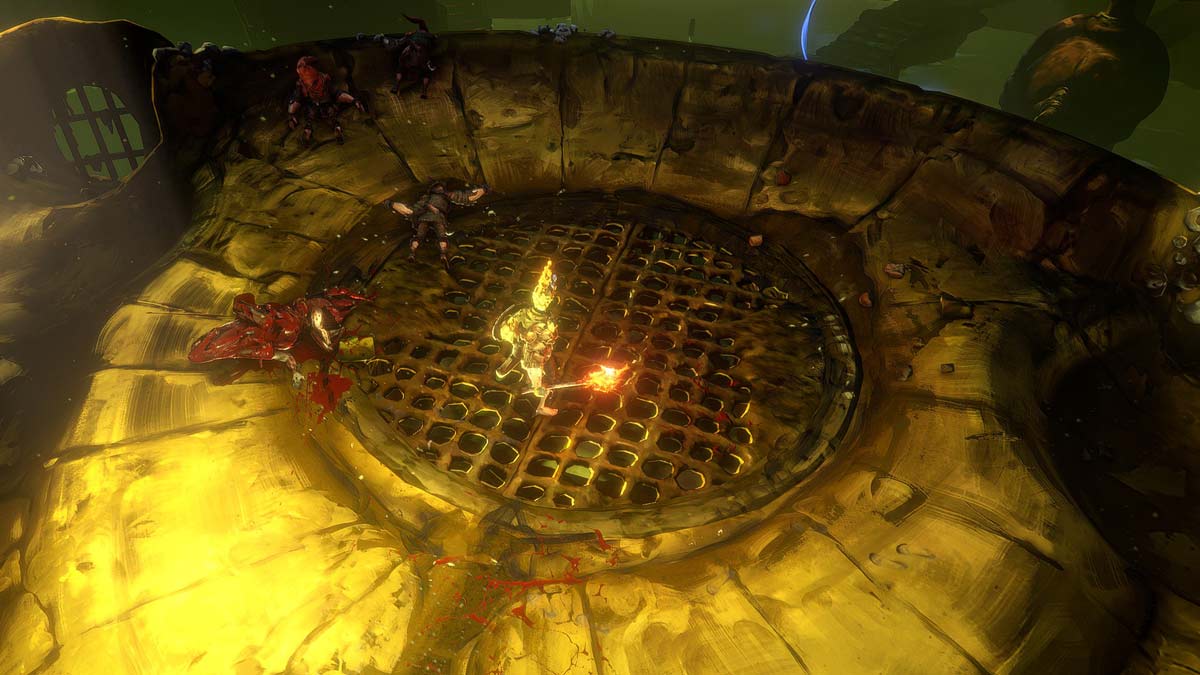
Darak second encounter
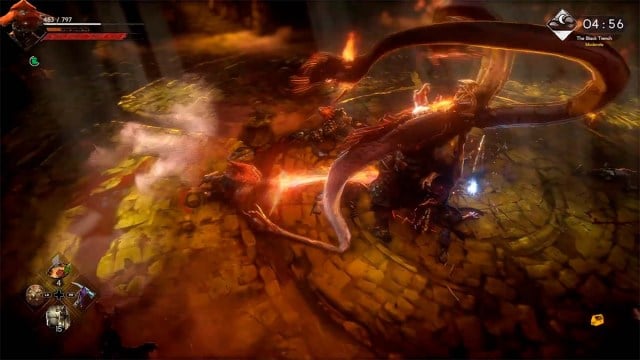
Getting through the sewers wasn’t easy, but it made you stronger. I walked in being level seven, and by the time I encountered Darak, I was level nine. This didn’t make the encounter any easier, as Darak is a tough boss who tests your mettle like no other.
The battle is long, and you are bound to make mistakes, so keep a healthy stack of meals to eat and recover health and stamina during the boss fight. Plus, distribute as many stat points into stamina as possible, as your speed and agility are your strongest assets against Darak.
The best strategy to beat Darak in his second phase is to keep your distance, and just when he closes the gap between you two with a sword strike, roll behind him and deal two or three blows. Then, retreat into safety.


Published: Apr 20, 2024 09:11 am