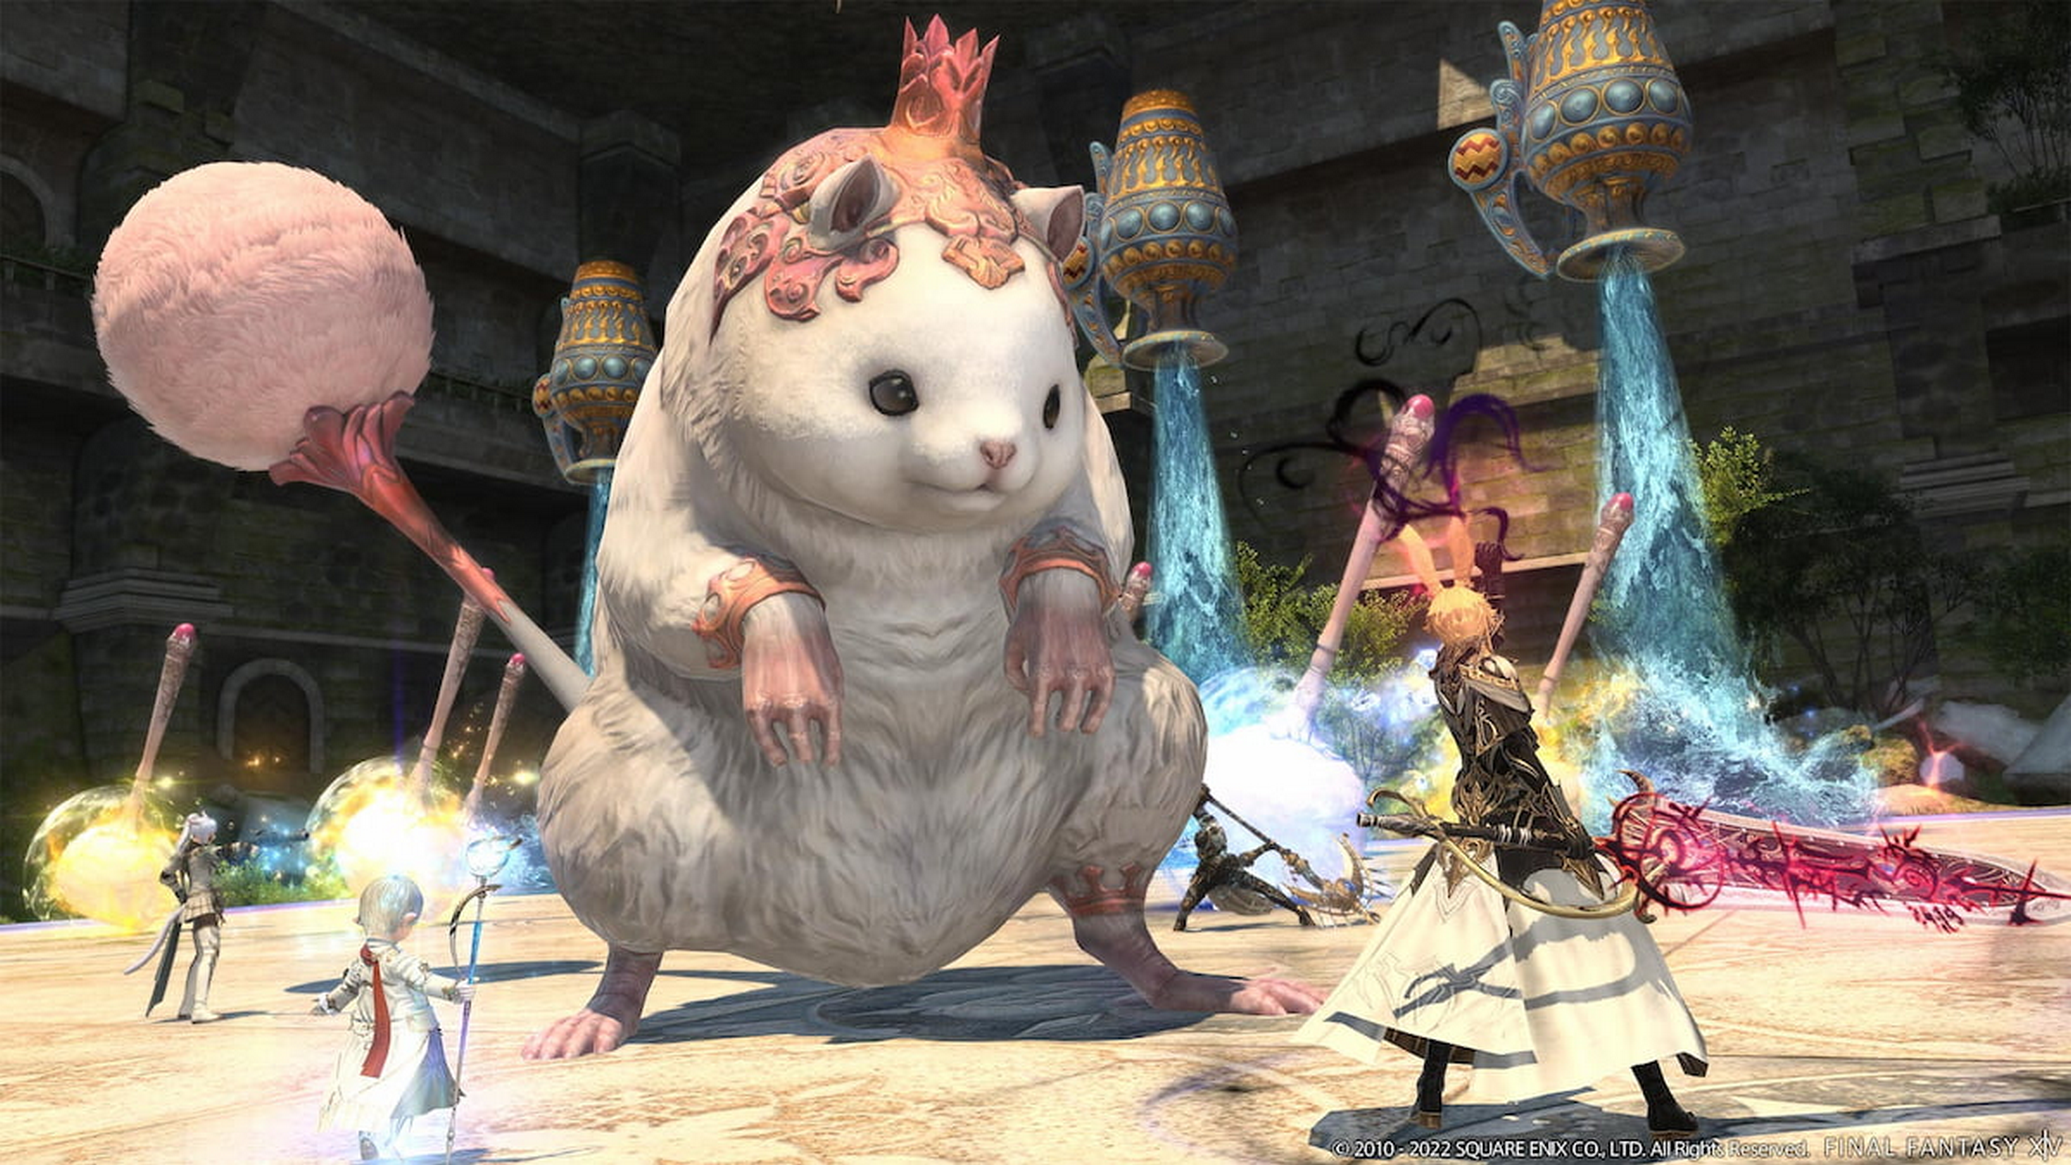
Final Fantasy XIV’s Variant Dungeons, which were added in Patch 6.25, have been a pretty popular destination for those looking for end-game content, mostly because it requires an element of solving puzzles.
Variant Dungeons in Final Fantasy XIV are extremely casual content and can even be done alone. Players can enter The Sil’Dihn Subterrane Variant Dungeon, where they will be asked to choose a door. Behind each of those doors are four different scenarios players can unlock in the V&C Dungeon Finder book.
After players unlock all 12 chapters in the book, they are rewarded with the Silkie Mount, which is highly sought-after, so players are turning to each other to figure out how to get all 12 entries.
Here is how players can unlock every single entry in the book to earn their Silkie Mount.
Note one
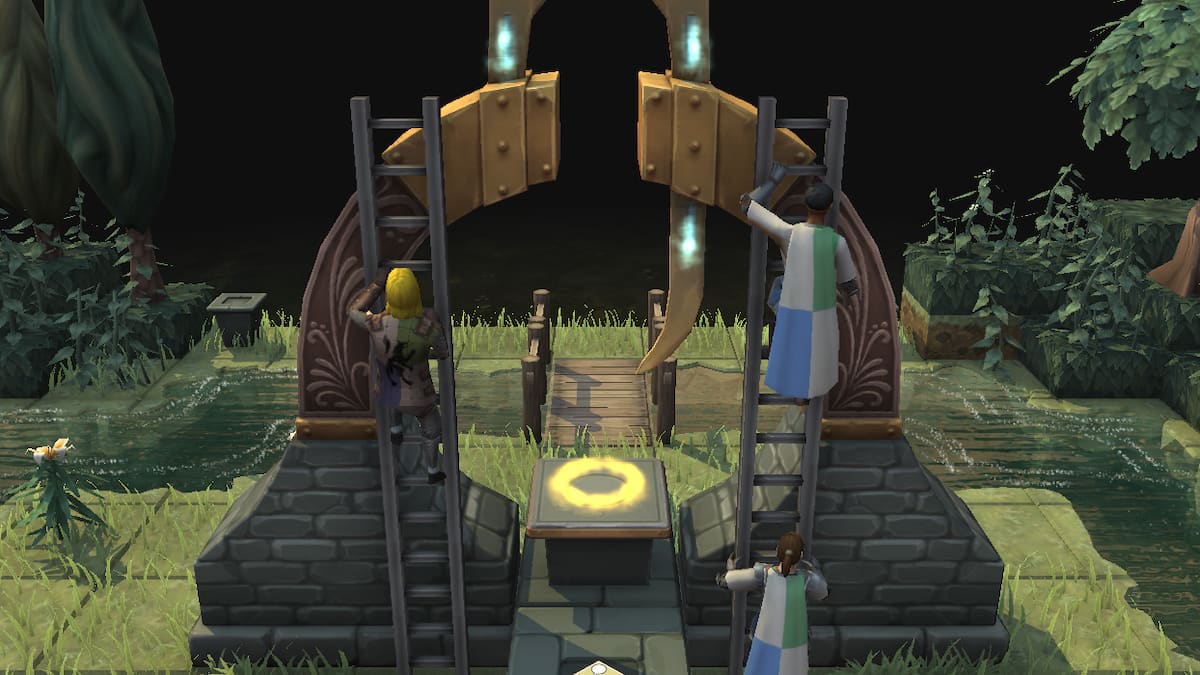
Players will choose the left door. When you get to the room with the sacks in it, pick up the green sack in the northeast corner on top of a ledge, and then pick up the yellow sack in the southeast corner on the floor. Place the sacks on the pillars and wait for Nanamo to talk. Stand on top of the yellow circle on the floor and it will take you to the next room.
After you teleport and clear all enemies, there will be a gate ahead of you and some rubble to your left. Do not go up to the gate. Wait until Nanamo is done talking and then head around the rubble to the left, where you will find a door. Click on the door to open it, and then you can head to the gate and continue through the rest of the instance.
Note two
Note two is the same path through the instance, except you will want to skip the door.
Note three
This time, when you get to the room with the sacks in it, choose any two sacks different from the ones in note one. Trigger the puffy flower circles after the door opens while you are clearing enemies, and then continue through the instance.
Note four
Use the same path and mechanics as note three, except do not trigger the puffy circles after the door opens. Avoid them completely and then move through the rest of the instance.
Note five
The door on the right will take players through the next few notes and one particularly complicated one. For note five, when you reach the winch, take it to the left. Continue through the instance and when you get to the final boss, choose the spark.
Note six
Continue the same path as note five, except select the fire option before the final boss.
Note seven
After you’ve defeated the first boss, go to the right instead of the left. You will come to a room with Drakes in it. Defeat the Drakes from biggest to smallest. It should go in the order of dad, mom, brother, sister, and then Drakeling. Make sure to also grab the incense in the room with the Wraiths as well.
Note eight
The next few notes are the middle path. After you choose the path, put anything except the helmet and fruit on the scales, and then use the right lever in the room before the boss.
Note nine
This is the same as note eight but use the left lever.
Note 10
Before the final boss when you reach the scales, put the helmet on the left and the scales on the right. Then just before the boss, choose the Nald statue on the left.
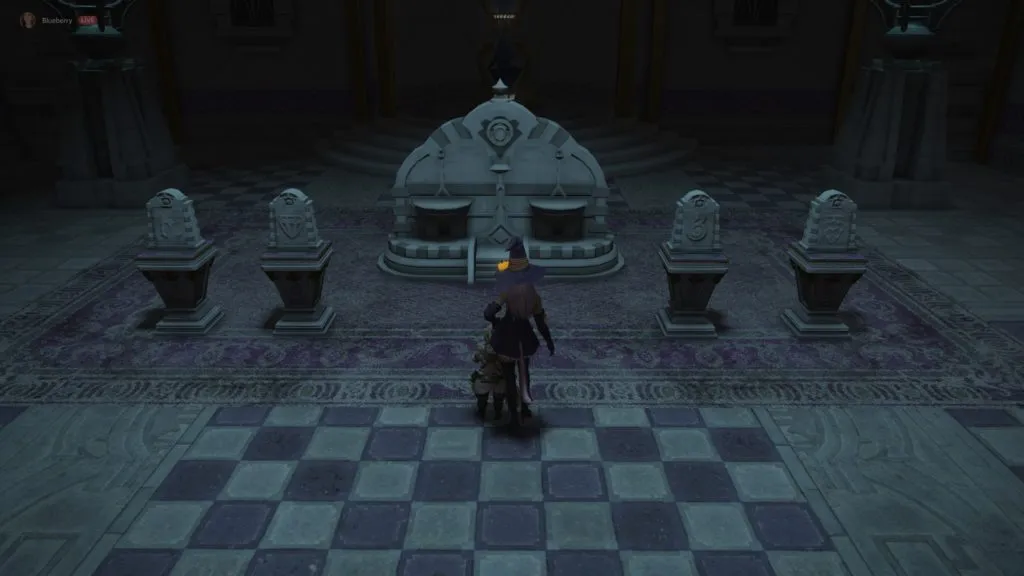
Note 11
This is the same as note 10 but pick the Thal statue instead.
Note 12
Note 12 is fairly tricky to get, and that’s because there is simply a lot to it. For this note, players will need to go back to the path on the right. After the first boss, take the lift to the right. Kill the Drakes from largest to smallest, just like note seven. In the Wraith room, once the room is clear, quickly pick up the incense. Then, go up to the coffin and target it, but do not interact with it. You will need to do the following emotes in order, with a small pause in between each one.
- /bow
- /respect
- /vpose
- /kneel
You will know that you did everything correctly if Nanamo has dialogue. Only one person in the party needs to do the emotes in order for it to count for the whole group.


Published: Oct 19, 2022 03:18 pm