Honkai: Star Rail‘s Starhunt Game event features plenty of activities, and Sealed Sector is the one that’ll take you the most effort to complete.
You’ll have four levels of difficulty to clear after finishing the event’s main quest. Three of them will take place in the same map, and the last one will be a little different. We didn’t find those very different from the previous Signs of Fragmentum activities in the Storage Zone.
Sealed Sector is the most challenging activity from the Starhunt Game event, compared to Hidden Codes, which requires you to find various graffitis, and Access Screening, giving rewards for scanning specific elements.
Related: Honkai: Star Rail players would like to see more of two practically nonexistent characters
In addition, you’ll get the opportunity to complete more objectives to get more rewards, such as not having several teammates down and finding all hidden graffitis called “Hacking Callcards.”
Here is how to complete all Sealed Sector levels and difficulties, as well as all graffiti locations.
How to clear all Sealed Sectors and scan graffitis in Starhunt Code event
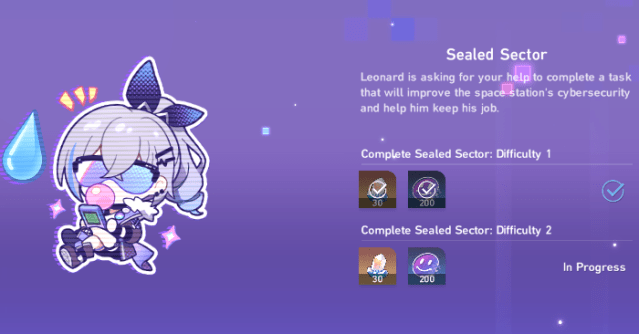
There is one Sealed Sector level to complete in four Difficulties. You’ll earn 30 Stellar Jade and 200 Always Smiling currency for completing each one.
The Always Smiling currency can be spent into a store dedicated to the event, such as Trace and Ascension materials, as well as Superimpose material for the “Before the Tutorial Mission Starts” Light Cone.
All Sealed Sector graffitis in Honkai‘s Starhunt Game event
There are 12 graffitis to find in all Sealed Sector levels, with three per difficulty level. When scanning those, you’ll earn bonus rewards upon completion, as well as combat bonuses to clear the remaining enemies. Here are all their locations.
- Starhunt Game Sealed Sector: Difficulty One

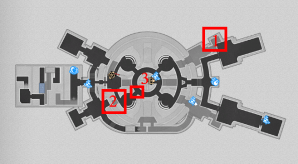
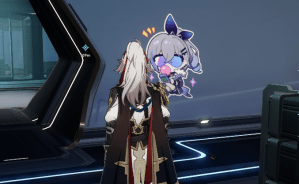
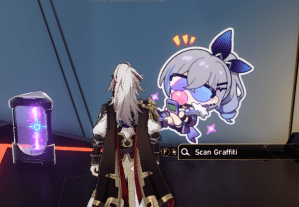
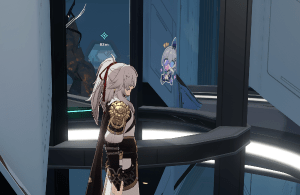
All three of these graffitis can be missed if you’re not careful, so be aware of your surroundings. You won’t notice the first one unless you turn around in the hallway. The second one is locked behind a small tiles puzzle, and the third one is sprayed on the wall of the central platform.
- Starhunt Game Sealed Sector: Difficulty Two

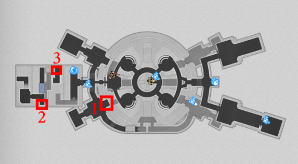
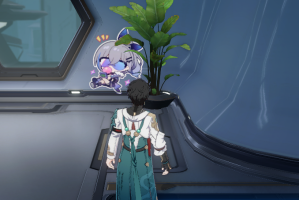
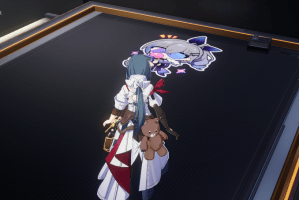
You’ll find the first graffiti near the one you need to progress. The second one will be a little more challenging: you’ll have to go to the platform linked with the red platform (before activating the switch). The last one is the easiest: It’s on the wall, on your way to your next fight.
- Starhunt Game Sealed Sector: Difficulty Three

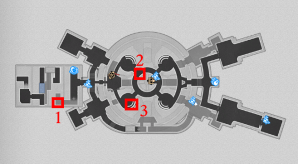
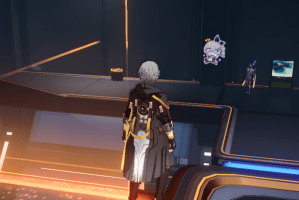
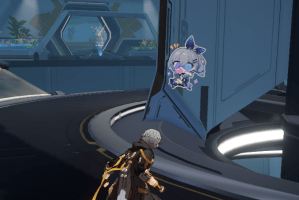
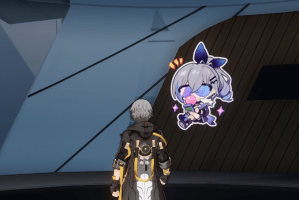
This one will get trickier, but we found the first graffitis pretty easily. They’ll both be near your main path. The third one, however, will be harder to spot. To do that, you’ll need to tinker with interrogation marks.
We managed to find the graffiti by defeating the boss (after reverting its level using Level One graffiti), then using the interrogation mark graffiti on the South-East corner of the map, and going to the location where it appeared. If it doesn’t work for you, test out some mechanics with those interrogation marks to make it appear.
- Starhunt Game Sealed Sector: Difficulty Four

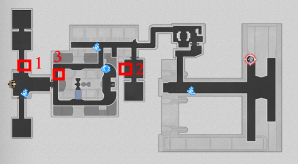
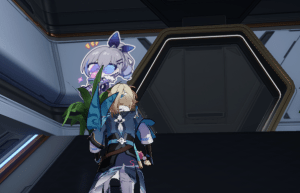
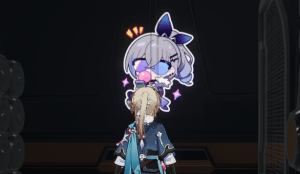
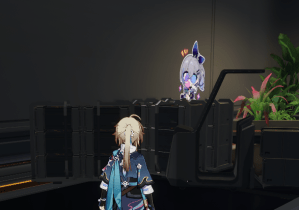
This time, the Sealed Sector will take you to the Supply Zone. The three graffitis will be easier to find than for the lower Difficulty level, however. None of them are locked behind puzzles.
The one you might miss the easiest is the third one, which will be located on the right side of the door taking you to the widest area of the map. You’ll see that the path to it is blocked and that you’ll have to make your way around it.
Once it’s done, you might want to quickly complete both other Activities from the Starhunt Game event, if it’s not done already. One will require to find various graffitis left by Silver Wolf, and the other wants you to scan elements from the environment in the Herta Space Station. They’ll be way faster to clear compared to the Sealed Sectors.




Published: Jun 7, 2023 10:50 am