GTA Online is an online version of Los Santos with all that you’d expect from the main game, except you get to create your own character and try to rise to the top of the food chain with them.
While there are many ways to make a name for yourself, one of the more fun mission types introduced in the main game made its return in the online version as well.
Here are all Heists in GTA Online and how you should approach them.
Table of contents
Heists are essentially an end-game feature in GTA Online, where you will have to put your wits together and find a crew capable of pulling off these missions with you. There are several Heists in the game, with each one getting more and more challenging as the game goes on, with substantial rewards awaiting you should you choose to take them on.
All Heists in GTA Online
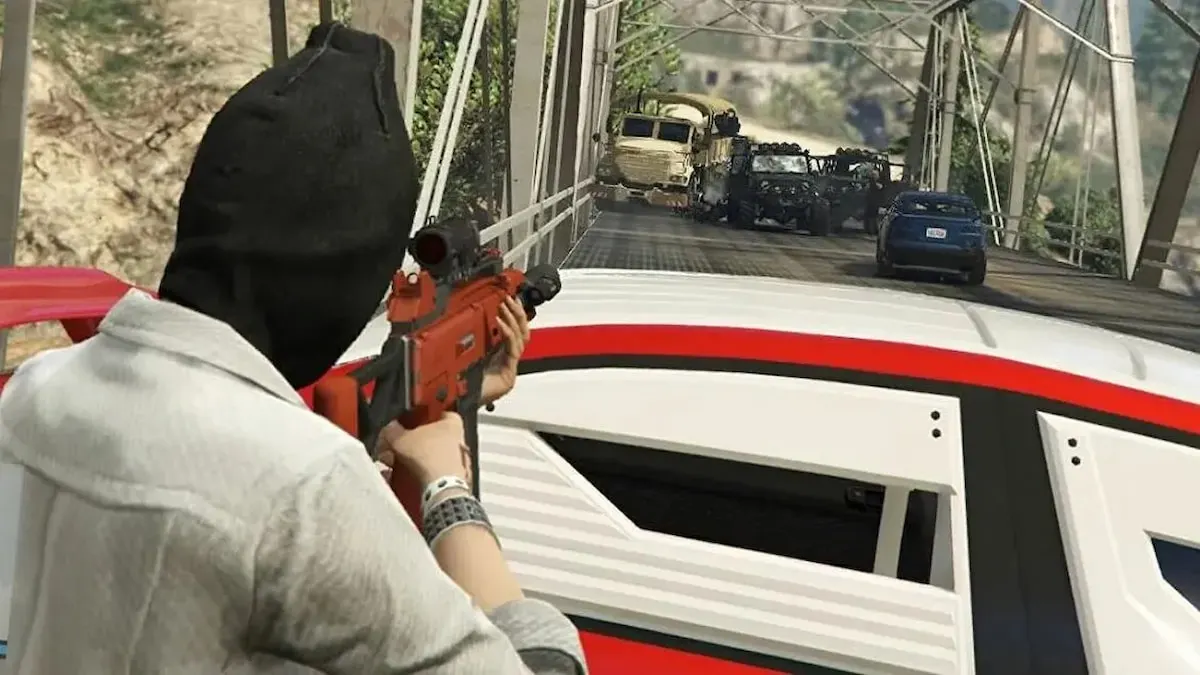
The Heists in GTA Online are divided into two parts: the setup missions and the finale. Setup missions provide their own rewards, but they pale in comparison to the real deal. To run these missions effectively, we recommend a party of four players. While random teammates are not a bad idea, Heists require a decent level of coordination, so it would be more effective if you played them with friends instead.
You gain access to Heists once you reach level 12 and own a high-end apartment. Lester will coordinate the Heists and allow you to replay them again. They all come with Easy, Normal, and Hard difficulties, each offering more rewards than the last.
At the time of writing, there are eight major Heists in GTA Online.
- The Fleeca Job
- The Prison Break
- The Humane Labs Raid
- Series A Funding
- The Pacific Standard Job
- The Doomsday Heist
- The Diamond Casino Heist
- The Cayo Perico Heist
In addition to the standard payout of each job, you also get a bonus of $100,000 each time you complete any of them for the first time. You can also gain an additional $100,000 if you complete them in first-person mode from start to finish. You can also earn further bonuses if you complete the Heists in the order listed above.
1) The Fleeca Job
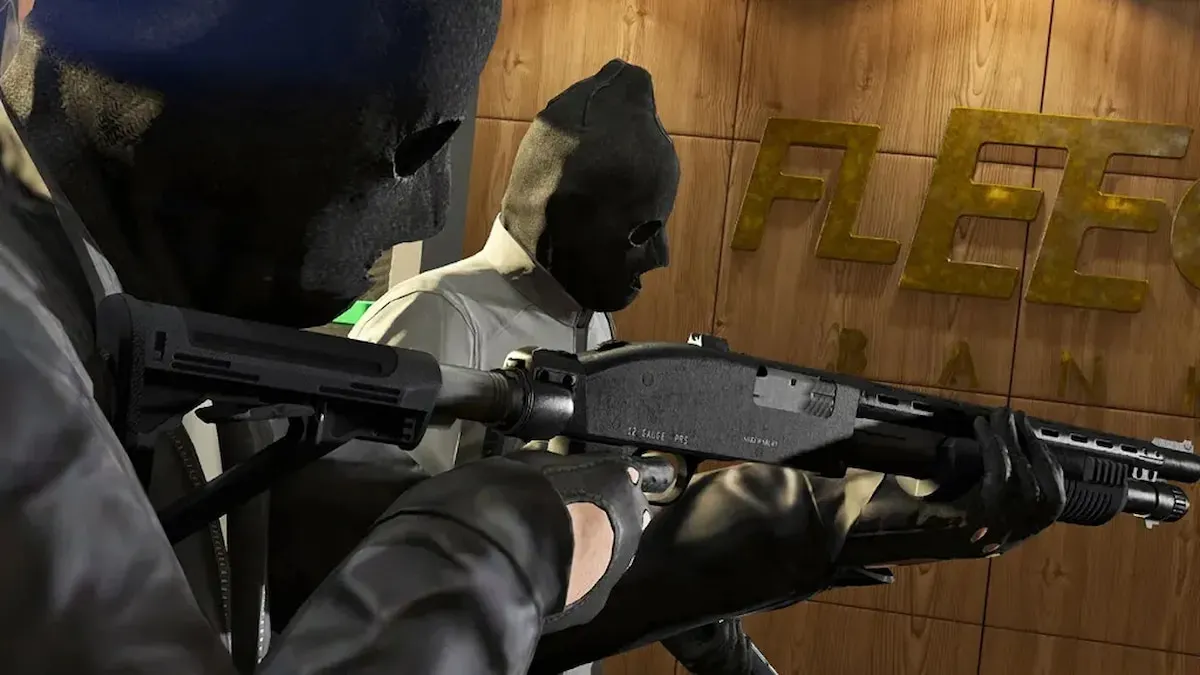
- Mission cost: $11,500
- Mission reward:
- Easy – $100,625
- Normal – $201,250
- Hard – $250,250
This was the only Heist in the game that supports two players instead of four, but the newer heists are more flexible. This is because the Fleeca Job is intended to be a tutorial for the more difficult Heists that come later on.
To begin this mission, visit Lester at his place when he informs you that the Heist is ready to begin. From here on, there will be two objectives in the setup section of this mission.
- First setup mission: Scope Out – Scope out the Fleeca Bank with Lester to find the best point of entry. After doing so, drive Lester back to the garment factory, where you will pick up Paige and some necessary equipment. Drive everyone back to the garage to complete this objective.
- Second setup mission: Kuruma – The next setup mission involves getting the Armored Kuruma getaway vehicle for the Heist itself. This vehicle sits in a parking lot in Del Perro, and you will have to get it back. Let one player drive the Kuruma back while the other protects the vehicle from attack. Reach Lester’s factory to complete this objective.
Following this, there will be one mission in the finale section.
- Finale mission: The Fleeca Job – The final mission involves completing the Heist itself, with one player playing as the Driver while the other plays as the Driller. The Driver’s job will be to get the crew to the bank and hold the witnesses hostage, while the Driller hacks into the security system and breaks through the security deposit boxes.
After getting your take, the Driver will have to evade the cops successfully to complete the Heist.
2) The Prison Break
- Mission cost: $25,000
- Mission reward:
- Easy – $350,000
- Normal – $700,000
- Hard – $875,000
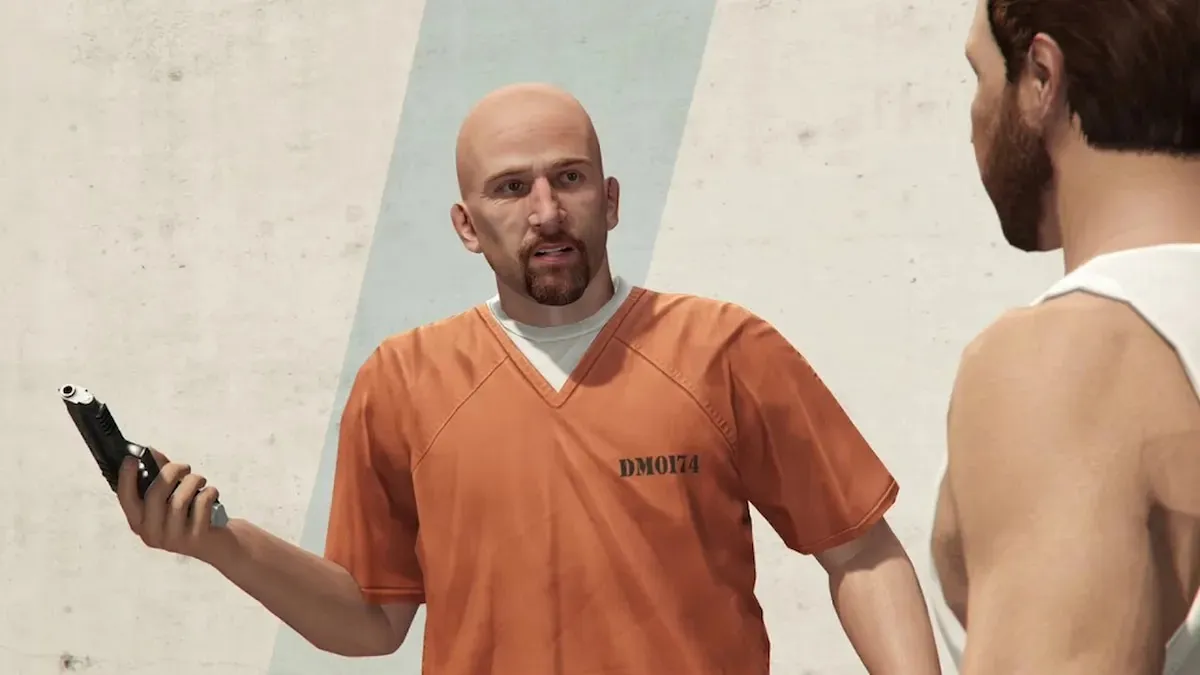
This Heist is unlocked after completing The Fleeca Job, and it involves breaking the inmate Maxim Rashkovsky out of prison. This is your first four-player Heist, and it involves four objectives in the setup section.
- First setup mission: Plane – Go to the McKenzie Airfield and steal the Velum. One team of two people can steal the plane itself while the other team clears the airfield of enemies. Then, deliver the plane to the hangar.
- Second setup mission: Bus – Get a prison bus to infiltrate the penitentiary. Ambush the bus on its route to Paleto Bay and let one team steal the bus while the other team gets rid of the cops. Then, drop the prison bus off at the scrapyard.
- Third setup mission: Station – Steal Rashkovsky’s Casco sports car and get the inmate transfer schedule. One team steals the sports car while the other breaks into the prison dressed as cops to steal the schedule. Drop off these items to complete the mission.
- Fourth setup mission: Wet Work – Tying up loose ends. One team heads to the mansion in Richman Glen to kill the associate, Popov, while the other team heads to City Hall to kill the lawyers involved.
After these missions, there will be one mission in the finale section.
- Finale mission: The Prison Break – Break into the prison to save Maxim Rashkovsky. One team disguised as a prisoner and an officer are tasked to break him out, while the other team is tasked with handling the escape. The Heist ends once the entire team and Rashkovsky get on the plane and evacuate successfully.
3) The Humane Labs Raid
- Mission cost: $25,000
- Mission reward:
- Easy – $472,500
- Normal – $945,000
- Hard – $1,181,500
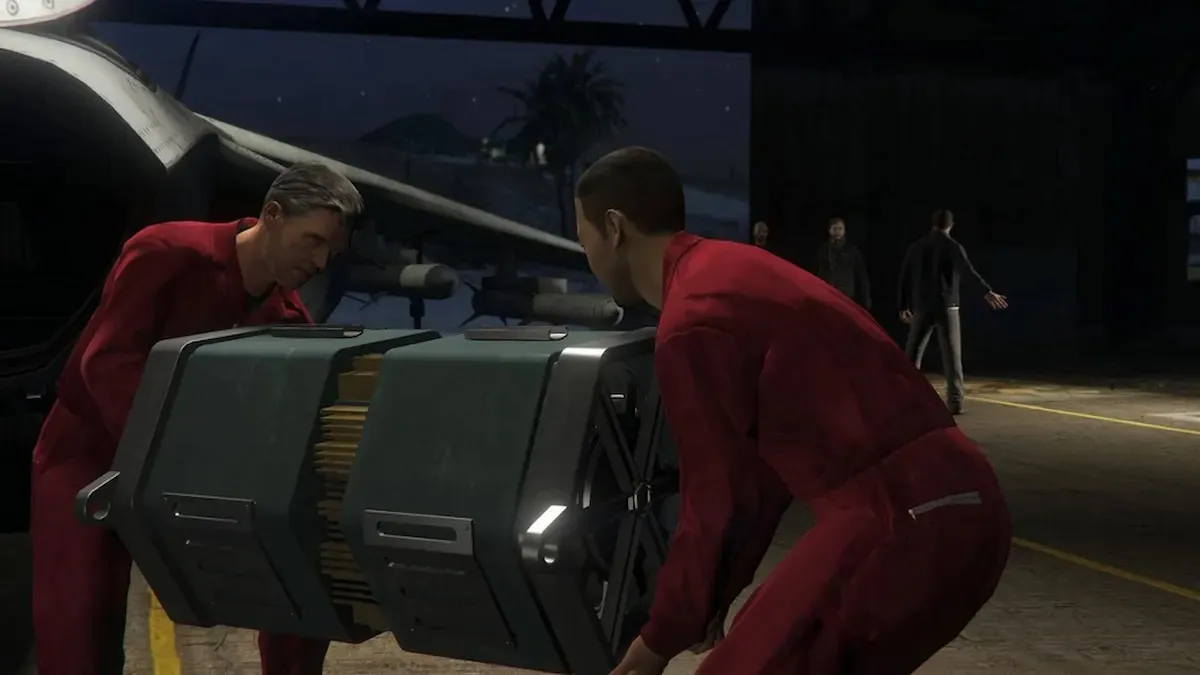
This mission involves raiding the Humane Labs to find evidence of any possible chemical weapons and nerve agents. It involves five setup missions.
- First setup mission: Key Codes – To start, you need to buy key codes to enter the Humane Labs. One player poses as the buyer, while the other acts as the bodyguard. The other team stands as lookouts to ensure the crew’s safety. FIB agents intercept, forcing the crew to fight their way out to complete the mission.
- Second setup mission: Insurgents – The second mission will see the crew steal two Armed Insurgent vehicles. Each team can operate one vehicle involving a driver and a gunner. Merryweather agents will give chase, so clear them all and head to the drop-off point to complete the mission.
- Third setup mission: EMP – Steal an EMP charge from a Hydra jet. One player flies the Hydra to safety while the others protect him. Take out the chasing fighters and fly the Hydra to the drop-off point to complete the mission.
- Fourth setup mission: Valkyrie – Steal the Valkyrie attack helicopter from Merryweather. One player pilots the helicopter while the others take out the Merryweather pursuers. Deliver the Valkyrie to the drop-off point to complete the mission.
- Fifth setup mission: Deliver EMP – The final setup mission will have you deliver the EMP device to Humane Labs. You’ll have to get into an Insurgent with the EMP device in it and drop it off at Humane Labs while fighting off enemies on the way there.
Following this, there is one finale to cap off this Heist.
- Finale mission: The Humane Labs Raid – The actual Heist involves one team breaking into Humane Labs with night vision equipment while the other team fires off the EMP charge. The first team breaks in and fights their way through the facility before getting the data off their main computer. The second team then extracts the first team and escapes to complete the Heist.
4) Series A Funding
- Mission cost: $25,000
- Mission reward:
- Easy – $353,500
- Normal – $707,000
- Hard – $883,750
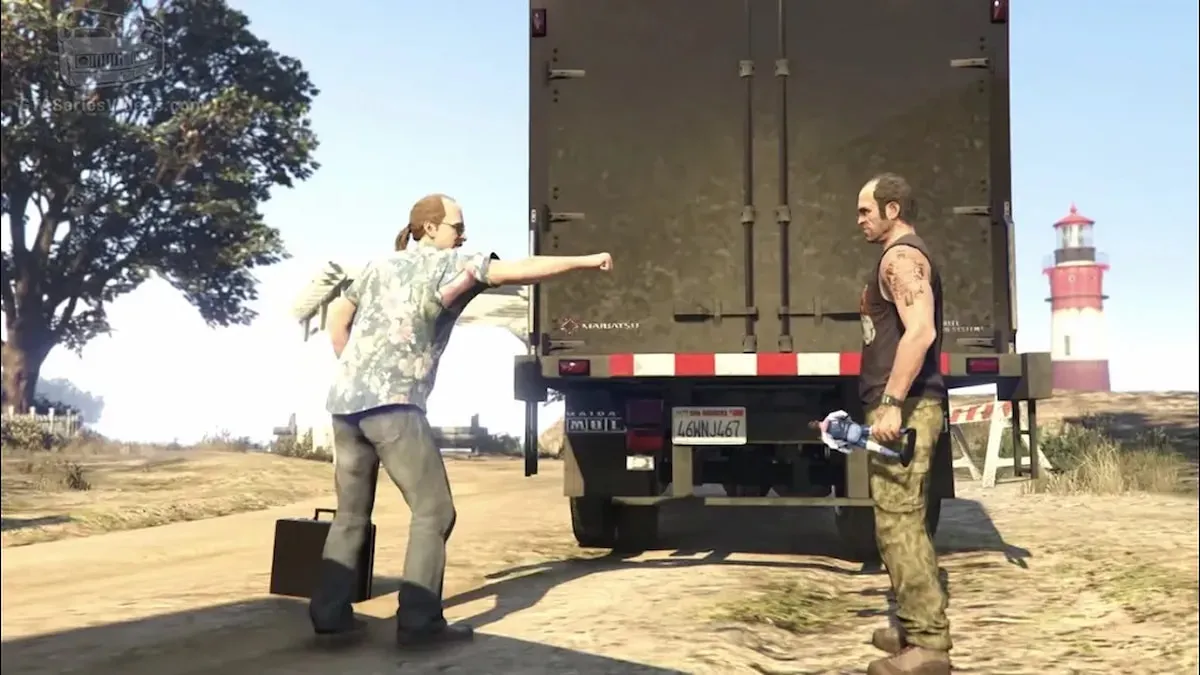
This Heist sees players steal a variety of drugs for Trevor to facilitate his drug deal. It starts off with five setup missions.
- First setup mission: Coke – This mission involves players getting into two teams: one by air and one by sea. Both teams converge at the yacht, fight off enemies, steal the coke and escape successfully to complete the mission.
- Second setup mission: Trash Truck – Teams of two head out to collect trash bags from four different locations. Each location will have enemies guarding the bags, so one team protects the collectors while they do their job. Deliver the bags to the warehouse to complete the mission.
- Third setup mission: Bikers – This mission involves stealing drugs from the Lost MC. Head to their hideout via boat and take out the defending members. Then, steal the van to drop off the drugs at the warehouse to complete the mission.
- Fourth setup mission: Weed – Two teams head to the sawmill to steal the Technical and the Bensons. The lookout team covers the other while they break in. Then, one team drives the vehicle back while the other team steals the Bensons nearby to complete the mission.
- Fifth setup mission: Steal Meth – Head to the O’Neil Brothers’ farm and take them out. One team steals the tanker and takes it back to Trevor’s meth lab while the other team escorts them back. Reach with the tanker intact to complete the mission.
Once the setup is complete, it’s time to finish the job.
- Finale mission: Series A Funding – This mission sees all the gangs return for revenge and assault the warehouse. Fight them all off and then prepare to take the drugs to the exchange point. Once the transaction is complete, this Heist is successful.
5) The Pacific Standard Job
- Mission cost: $25,000
- Mission reward:
- Easy – $750,000
- Normal – $1,500,000
- Hard – $1,875,000
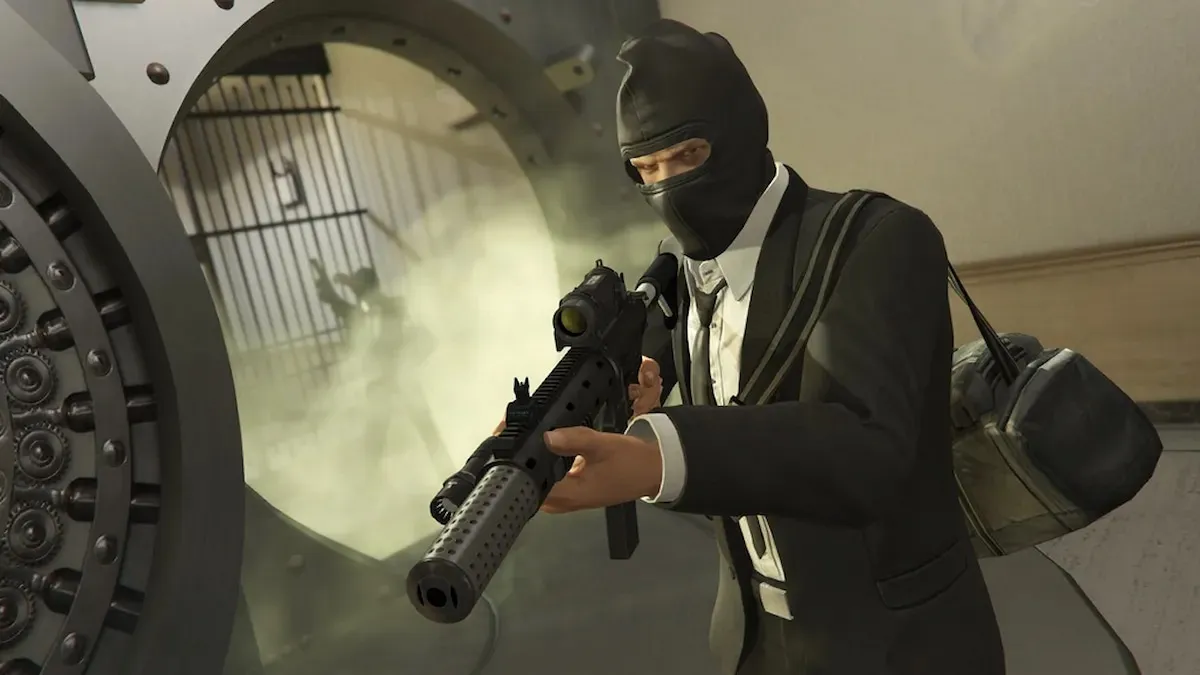
The next Heist involves breaking into the main branch of the Pacific Standard Bank. This is the most lucrative Heist of the initial five and has five setup missions.
- First setup mission: Vans – Teams of two have to identify four Boxville vans and find out which of them carries a transponder. Once confirmed, steal the van and head back to complete the mission.
- Second setup mission: Signal – Take the transponder to Avi Schwartzman, who is surrounded by the government on an island. Kill the cops and rescue Avi, taking him to the drop-off point across the Alamo sea. Once he successfully escapes, the mission is complete.
- Third setup mission: Hack – One driver and three decoys head out to steal equipment. The driver steals the equipment from the black van while the decoys steal the van itself with two identical black vans to distract and confuse the enemies. Once the equipment is delivered and the real black van is destroyed, the mission is complete.
- Fourth setup mission: Convoy – This mission involves stealing an armed truck. Block off the bridge that the truck emerges from with vehicles and fight off the enemies guarding the truck. One team drops the truck while the other guards it. Deliver the truck to complete the mission.
- Fifth setup mission: Bikes – Head to the Lost MC’s hideout to steal their bikes, kill all the members guarding the goods and escape. Then, fight off any pursuers and head back to the drop-off location to complete the mission.
Now it’s time to get ready for the final haul.
- Finale mission: The Pacific Standard Job – Since this is the final Heist, it will be more challenging than the rest. Split your team into a hacker, a demolitionist, and two members for crowd control. The crew enters the bank, and the crowd controllers keep the NPCs hostage while the hacker and demolitionist crack open the bank’s vault.
After successfully stealing as much as possible, regroup at the bank entrance and fight off the hordes of cops surrounding you. Fight your way to the bikes and escape through the getaway route to the canyon. Parachute off to reach the boat below and take it to the drop-off point to complete the final Heist.
6) The Doomsday Heist
- Mission Cost: $1,250,000-$5,767,500 for a Facility
- Setup Cost: $25,000 per act
- Mission Reward:
- Act I: $975,000-$1,218,750
- Act II: $1,425,000-$1,781,250
- Act III: $1,800,000-$2,250,000
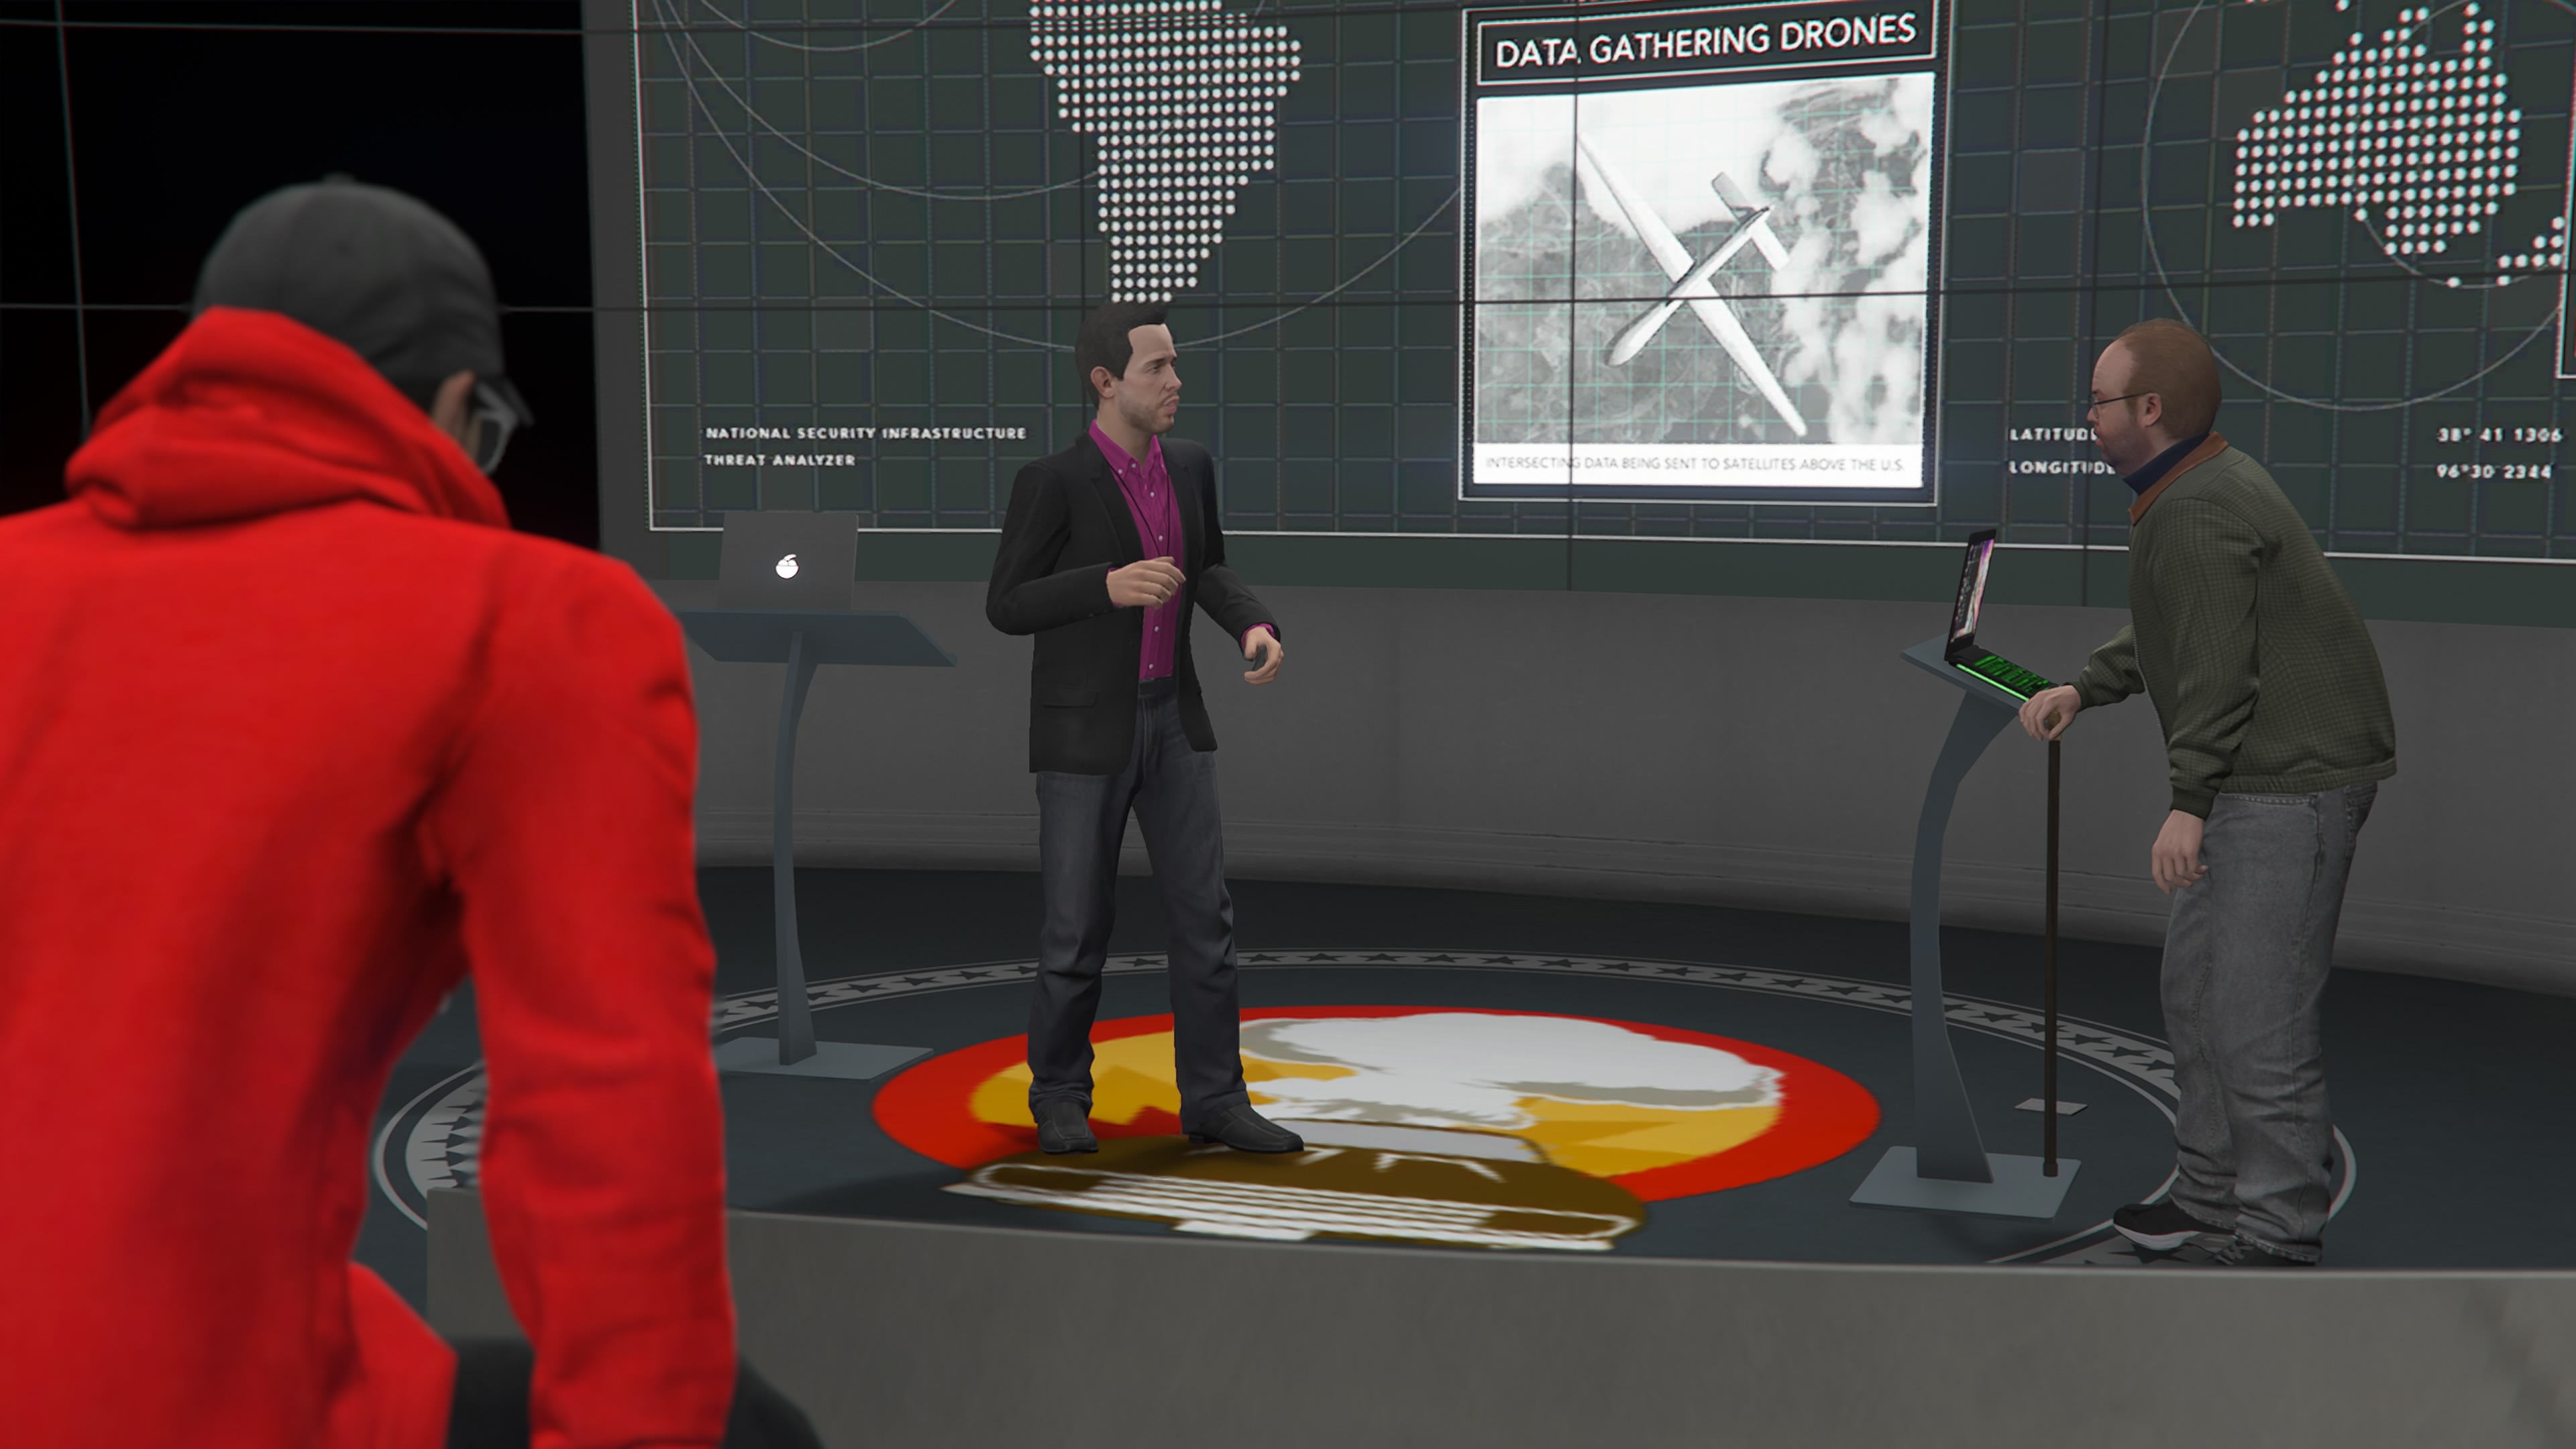
The Doomsday Heist is a beast of a challenge that was added in the update of the same name, separate from the rest of the heists up to that point. It’s broken up into three different acts: The Data Breaches, The Bogdan Problem and The Doomsday Scenario. To start the heist, purchase a facility from the Maze Bank Foreclosures website.
The Doomsday Heist is also the first heist in GTA Online to introduce Prep Work, which are freemode missions where you gather supplies for the rest of the heist. These missions can be intercepted by other players in the session who can steal your equipment for their own heists. If you don’t want to go through that, you can also purchase these supplies for just short of $100,000 and skip right to the setups.
- Act I – The Data Breaches
- Preparations: There are three different preparation missions for the Data Breaches: Paramedic Equipment, Deluxos and Akula. These missions are where you acquire the materials you’ll need for the rest of the setups and final job, like collecting the different vehicles and disguises.
- Setups: There are also three setup missions: Dead Courier, Signal Intercepts and Server Farm. These missions will take you to places you will be accessing during the final part of the act, so it’s a bit more high-stakes than the setups.
- Finale: The Data Breaches mission is where everything comes together. You have to invade and take control of an IAA base to complete the heist. The main point is to just keep moving through and taking out groups of enemies to fortify the defenses until all the enemies are out of the picture.
- Act II – The Bogdan Problem
- Preparations: The Bogdan Problem has even more setups than The Data Breaches, with five missions to get everything together for the heist. These missions are Keycards, ULP Intel, Riot Control Van, Strombergs and Torpedo ECU.
- Setups: There are also more setups for the Bogdan Problem than The Data Breaches. These setup missions are Avenger, Rescue ULP, Salvage Hard Drives and Submarine Recon.
- Finale: The final mission of The Bogdan Problem consists of two teams: Air Support and the Submarine Team. Air Support will provide cover from the Avenger as the Submarine Team goes to the submarine in the Stromberg, where they carry out the mission by taking out enemies and interrogating Bogdan. After the Submarine Team finishes their task, all crew members meet back at the Avenger to finish the mission.
- Act III – The Doomsday Scenario
- Preparations: There are six different preparation missions to complete for The Doomsday Scenario: Marked Cash, Recon, Chernobog, Flight Path, Test Site Intel and Onboard Computer. These will be key for completing the setup missions before the final heist.
- Setups: The Doomsday Scenario has five setup missions to complete before the finale: Rescue Agent 14, Escort ULP, Barrage, Khanjali and Air Defenses. These missions tee up the finale to Act III, which is the biggest of them all.
- Finale: For the finale, You will choose between the Barrage and the Kanjali tank, and whichever is not used will be sold afterward. Then, make your way through Avon’s facility under Mount Chiliad, fighting waves of enemies and juggernauts.
- There is a hacking section, followed by a section where you must take out four mobile trucks to destroy the Clifford AI. You then go to take out Avon, who runs away on a Thruster jet pack, giving pursuit in Thrusters of your own. Then, meet up at the Observatory and complete the heist.
7) The Diamond Casino Heist
- Mission Cost: $1,235,000-$4,082,500 for an Arcade
- Setup Cost: $25,000
- Mission Reward: $2,115,000-$3,619,000
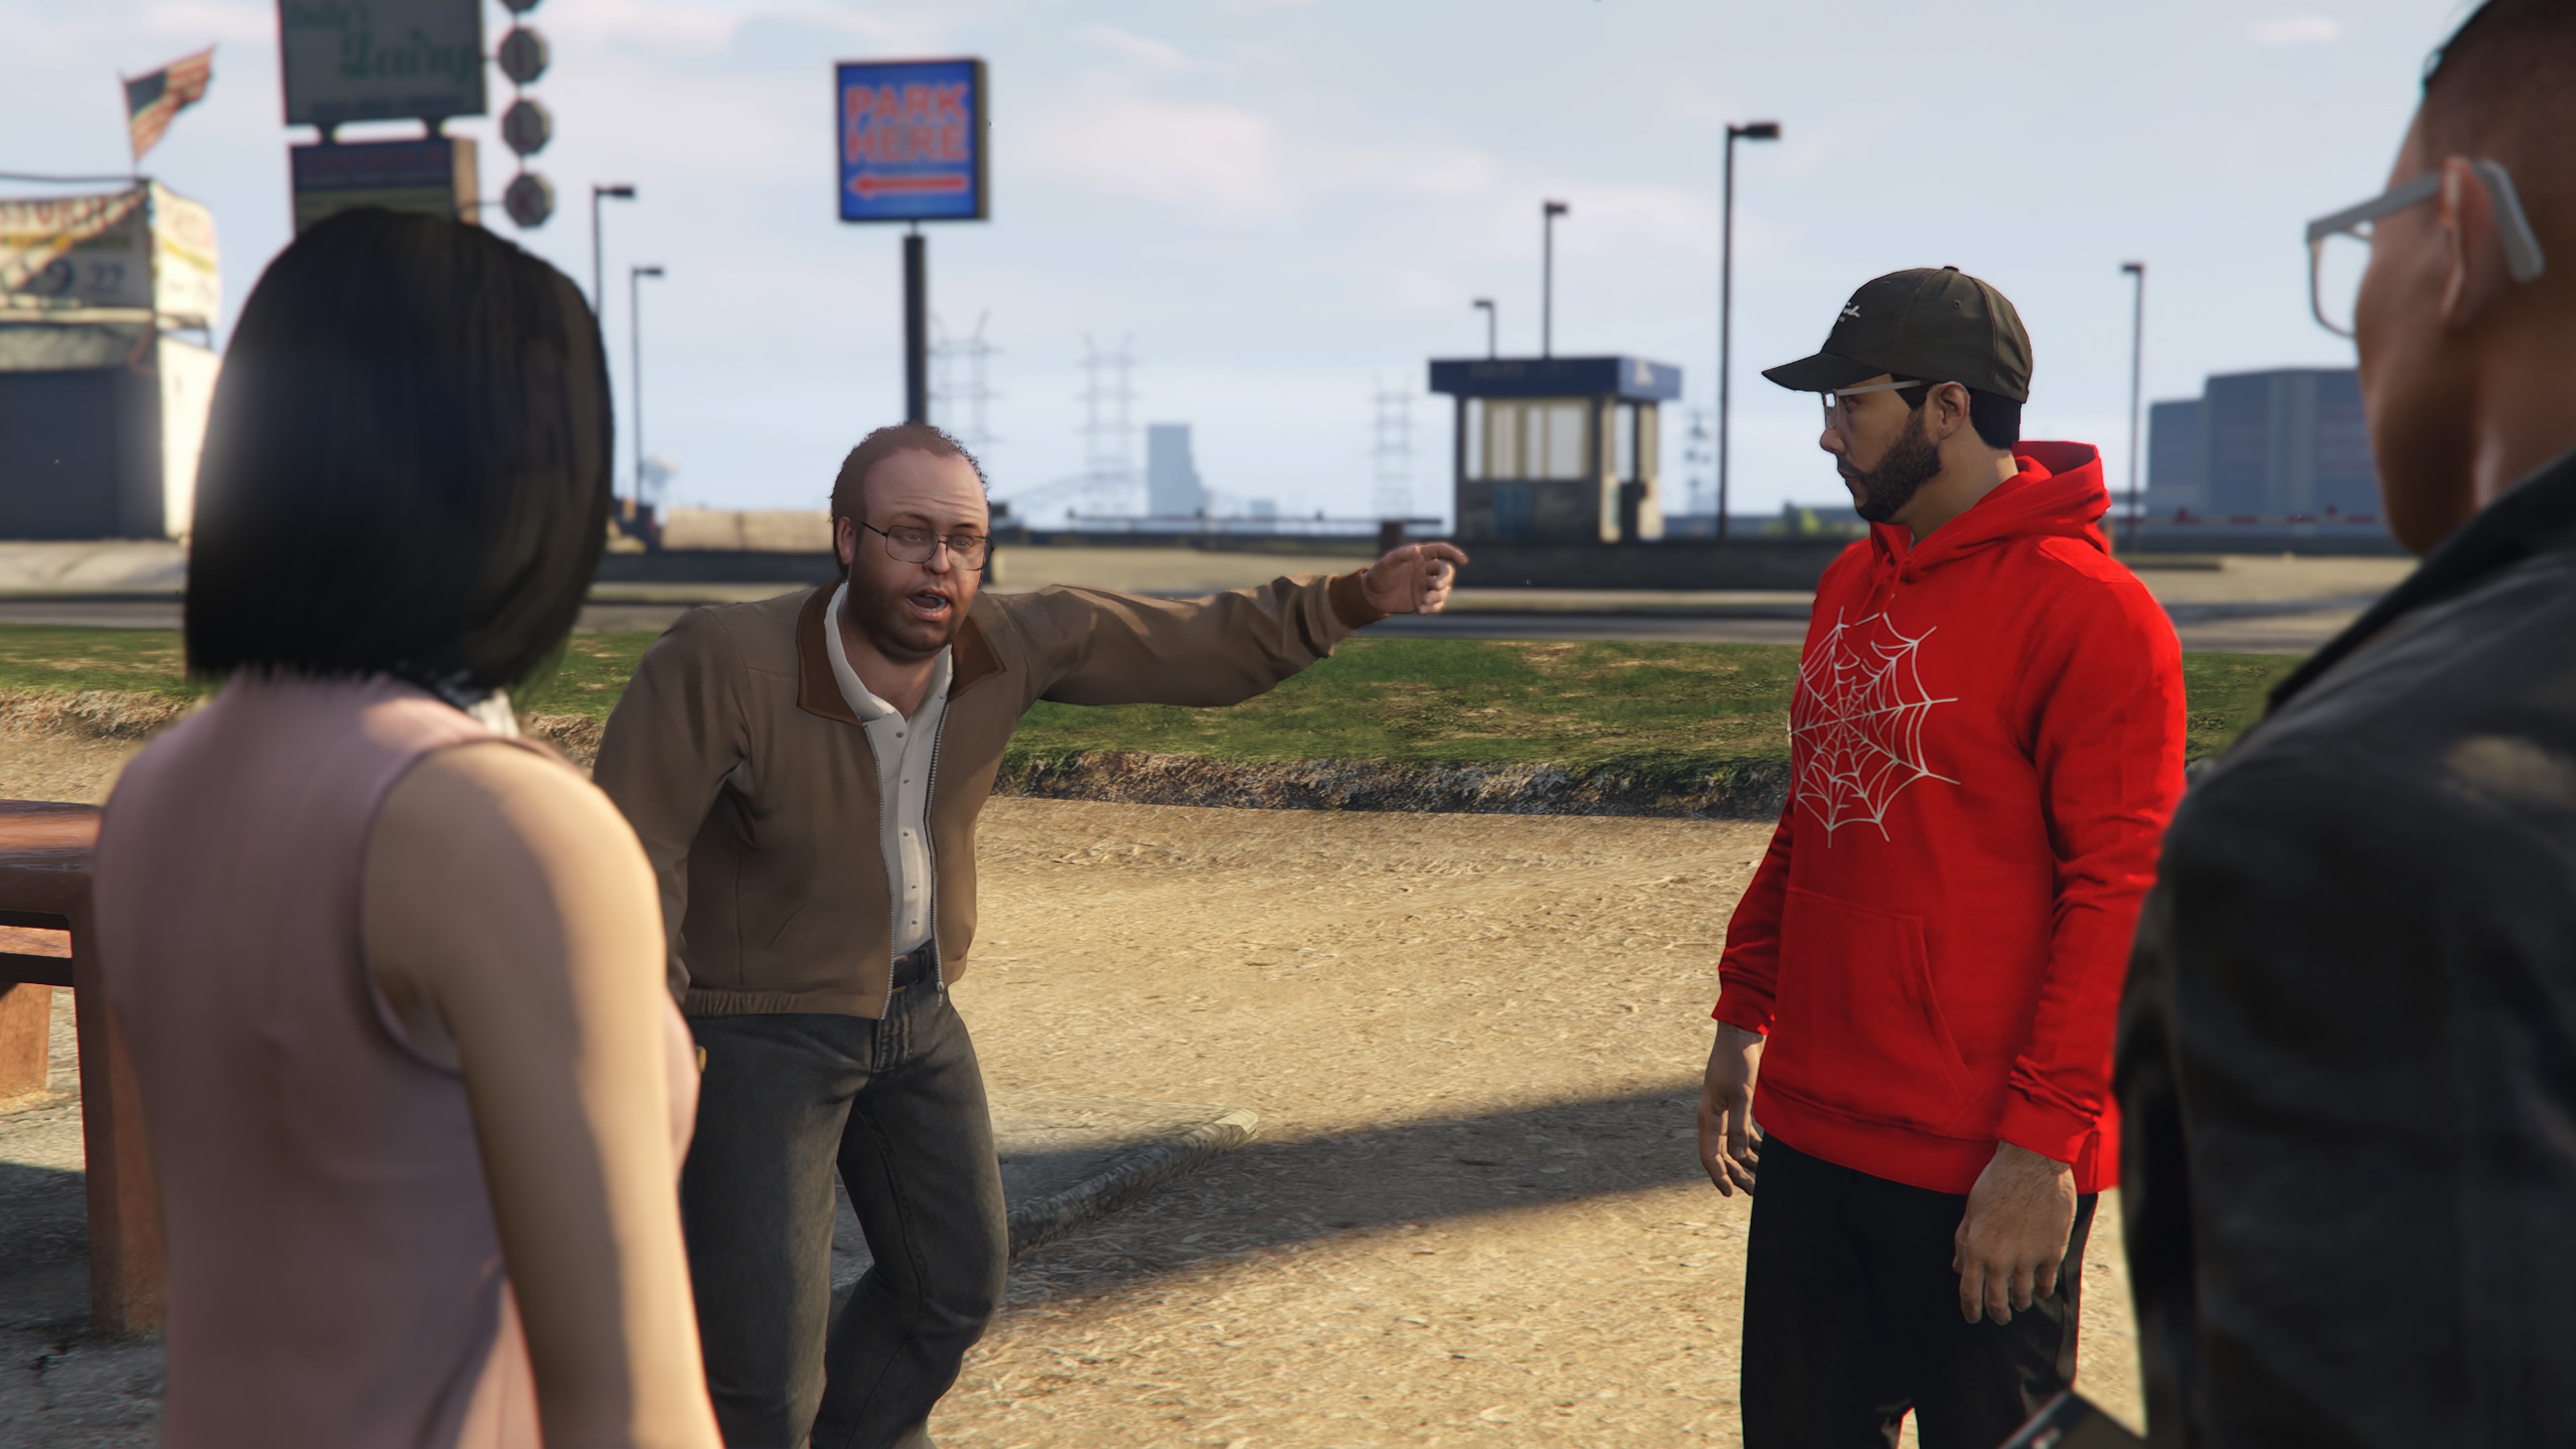
The Diamond Casino Heist was added in another update after the Doomsday Heist, but it’s not quite as expansive as its predecessor. It does still have preliminary preparation and setup missions, but some of them are optional to make your life easier during the actual heist. They all take place in freemode, so other players can still make your life more difficult.
You can take three different approaches to the Casino Heist: Silent and Sneaky, The Big Con, and Aggressive. This contrasts with the Doomsday Heist, where there are three acts, all with their setups and preps. Before any of it, though, you’ll need to own an Arcade and complete the equipment prep for the business.
- Setup Mission: Casino Scoping – The goal of the setup is to scope out the casino and determine weak points in the security features. You will drive to the casino and photograph the entrance before going inside and photographing a security guard, a keypad and a camera.
- You can end the setup here and leave the casino, but if you go to the roof, you can meet Yung Ancestor, who will offer two more setup missions—Dead Weight and After Party.
- To set up the Big Con approach for the heist, you can also go into the tunnel under the racetrack and photograph the security tunnel.
- To set up for the Aggressive approach, you can enter the sewer tunnel and photograph another access point.
- If you own a Master Penthouse at the casino, you can access Agatha Baker’s office and find vault blueprints, which will allow you to buy a vault door for $900,000 to practice drilling before the heist.
- Preparation: Vault Contents – You will be sent to one of a few different potential locations to find a security guard from the casino. Hack the guard’s phone without alerting him—otherwise, you have to kill him. You then pick up the phone and have to lose a wanted level.
- Once the phone is hacked, you must go to the casino and use the Sightseer app on your phone to search for a signal. Once found, you’ll have to find the feed from the vault to identify what’s inside before leaving the casino and completing the prep.
- Approach-Specific Preparations: The Diamond Casino Heist has different preps to complete depending on what approach you want to take.
- Silent and Sneaky – The preps for the Silent and Sneaky approach involve getting the equipment you’ll need to carry out the heist quietly.
- Mandatory Preps
- Nano Drones
- Vault Lasers
- Optional Preps
- EMP Device
- Infiltration suits
- Mandatory Preps
- The Big Con – You can choose a disguise for the heist based on what preps you choose to do for The Big Con, but not all of the rest are mandatory.
- Mandatory Preps (Only one gear choice necessary)
- Gruppe Sechs Gear
- Bugstar Gear
- Maintenance Gear
- Vault Drills
- Optional Preps
- Dead Weight
- Afterparty
- Firefighter Gear
- NOOSE Gear
- Mandatory Preps (Only one gear choice necessary)
- Aggressive – The preps for the Aggressive approach are based on getting the equipment and armor for the team to enter the casino loud and proud.
- Thermal Charges
- Vault Explosives
- Reinforced Armor
- Tunnel Boring Machine
- Silent and Sneaky – The preps for the Silent and Sneaky approach involve getting the equipment you’ll need to carry out the heist quietly.
- Final Mission: The Diamond Casino Heist – The main heist can be done with three different approaches, each with unique ways to approach and get away. The host can also change the buyer you go to after getting away, and the farther you go, the bigger the payday.
- Silent and Sneaky: To complete the heist with the Silent and Sneaky approach, choose one of the following entry points: Staff Lobby, Roof Terrace, Waste Disposal or the Helipad. You have to use the Stun Gun to disable security cameras and metal detectors and sneak to the vault, but you can use the EMP Device from the prep to turn out the lights and make it easier to sneak. To succeed, you’ll also need the optional Infiltration Suits for their night vision.
- From there, you have to drill into both sides of the vault, and if you don’t alert the guards, you’ll have more time inside. Afterward, make your way to one of the exit points (same as the entry points) and avoid being spotted by the now-alerted guards. Then, just evade the police to get to your getaway vehicles, lose the wanted level and make your way to the buyer.
- The Big Con: Where you go and what you do in the Big Con approach is determined by the preps you did before the heist, but the end goal is still to get to the vault in the casino basement.
- The Bugstars preps will lead you to Agatha Baker’s office with 10 cans of tear gas before having to hack a level three fingerprint panel to get to the basement.
- The Maintenance preps will take you to the laundry room, where you can evade some guards to get to the basement.
- The Gruppe Sechs preps will take the crew to the security tunnel near the racetrack, which will take you to the loading bay with access to the vault.
- If you get to the vault undetected, a vault guard will open the door for you before you knock him out.
- Yung Ancestor’s preps will have the crew go to the casino management area. A cutscene will play where Yung shoots Brucie in the leg to distract the receptionist, so the crew just has to avoid security to get into the basement.
- Regardless of how you get to the basement, you’ll have to get into the vault and get out before the nerve agent releases, unlocking level 3 security locks. To get out, you make your way back through one of the entry points before losing the police and heading to the buyer’s location.
- Aggressive: The Aggressive approach can take you through any of the same entry points as the Silent and Sneaky method, adding the Main Entrance and Sewer Tunnel (with the Tunnel Boring Machine prep completed). Regardless of where you choose to enter through, the missions consist of fighting your way to the vault from wherever you choose to enter.
- Once you’re at the vault, you’ll plant five bombs on it to blow it open. This is instead of having any hacking sequences, but you’ll have less time in the vault. Afterward, head back to any of the exits, but the sewers can’t be used to leave if they were used to enter due to a cave-in. Once you’re out, you can avoid the police and head to the buyer.
The Diamond Casino Heist pays out differently depending on where the buyer is and what is being stolen from the vault. The first time will be cash, but other times, it can be Artwork, Gold or Diamonds during special events.
8) The Cayo Perico Heist
- Mission Cost: $2,200,000 – $9,085,000 for Kosatka
- Setup Cost (after the first heist): $100,000
- Mission Reward: $630,000 – $2,303,484 (varies by difficulty, number of players and secondary targets)
The Cayo Perico Heist is the most recent heist added to GTA Online. You will have to go to The Music Locker to meet Miguel Madrazo to unlock the Kosatka submarine on Warstock Cache and Carry. The goal of the heist is to break into the island of Cayo Perico and steal varying items (it will always be documents for Madrazo the first time), with the reward being 10% more for completing the heist on Hard.
You will have to go after the primary target and find secondary targets to earn extra income once on the island, but before any of that, you’ll have to do some recon, preps and setups. From there, you can access the prep screen, which shows the different missions you can do.
- Gather Intel: You will have to explore the island of Cayo Perico to gather intel about the defenses, secondary targets and other points of interest. Doing this can take as long as you want and can be repeated each time the heist is completed to learn new information.
- Prep Missions: There are four different types of prep missions to complete, but what mission you get will vary from heist to heist: Approach Vehicle, Equipment, Weapon Loadout and Disruption. Disruption preps are the only ones that are optional for completing the heist.
- Approach Vehicle: You can choose from six different vehicles to use during the heist, each with its own prep mission where you steal the vehicle from varying locations.
- Kosatka: Steal a sonar deflector from Merryweather. This enables your team to scuba dive to the island.
- Alkonost: Steal a RO-86 Alkonost from Fort Zancudo. This lets you parachute to the island.
- Velum: Steal a Velum 5-Seater from drug smugglers and deliver it to LSIA. With this, you can pose as drug smugglers yourself (so the Weapon Stash support option allows for weapons not to alert guards on arrival).
- Stealth Helicopter: Steal an Annihilator Stealth and fly it to LSIA. This lets you to rappel to the island from the helicopter.
- Patrol Boat: Steal a Kurtz 31 Patrol Boat and deliver it to a drop-off. This lets you approach the island in an armed boat.
- Longfin: Steal a Longfin from a police station with a freight truck. This also allows you to pose as drug smugglers and enter the island from a chosen dock.
- Equipment: The equipment missions will determine how you enter the compound based on the tools that you take.
- Safe Code: Collect the safe code from the head of security in the Diamond Casino Penthouse.
- Plasma Cutter: Steal a plasma cutter from a heist crew.
- Fingerprint Cloner: Steal a fingerprint cloner from the head of El Rubio’s cybersecurity.
- Cutting Torch: Steal the cutting torch from an armed construction site.
- Demolition Charges: Steal the demolition charges from the basement of the O’Neil Ranch.
- Weapon Loadout: You can choose from five different loadouts to bring to the island, but they’ll all need to be stolen the same way.
- Aggressor: Assault Shotgun, Machine Pistol, Machete, Grenades (5)
- Conspirator: Military Rifle, Pistol .50, Knuckle Dusters, Sticky Bombs (5)
- Crack Shot: Sniper Rifle, AP Pistol, Knife, Molotov Cocktails (5)
- Saboteur: SMG Mk II, SNS Pistol Mk II, Knife, Pipe Bombs (5)
- Marksman: Assault Rifle Mk II, Pistol Mk II, Machete, Pipe Bombs (5)
- The Saboteur and Marksman are only available if you have a bunker with a Weapon Workshop. Suppressors can also be purchased for $5000 before the start of the heist.
- Disruption: Disruption missions are optional for the Cayo Perico Heist, although they will make things significantly smoother.
- Disrupt Weapons: Kill three of El Rubio’s arms dealers to weaken the weapons used against you in the heist and take away enemy ballistics.
- Disrupt Armor: Destroy ten crates of body armor so that El Rubio’s men won’t have any while you’re on the island.
- Disrupt Air Support: Destroy 10 attack choppers around the map to prevent Buzzards from spawning against you while you’re on the island.
- Approach Vehicle: You can choose from six different vehicles to use during the heist, each with its own prep mission where you steal the vehicle from varying locations.
- Finale Mission: Once you’ve completed all the preps you’re interested in, you’re ready to start the heist on the finale screen. You’ll choose your approach vehicle, infiltration point, compound entry point, escape point, time of day, weapon loadout, support crew and crew cuts.
- Regardless of how you get to the island, the goal will be to reach the compound, sabotage what you can and steal what you can. Even if you plan to go in sneaky, this heist allows you to change plans as you go, so you can start sneaky and end up going aggressive.
- The primary target will be in the compound’s basement vault, where you will be texted a code from Pavel with the combination to open the safe. There will also be a case filled with valuables that you can open with the plasma cutter from the equipment mission. Secondary targets will be all over the island, with opportunities to fully stuff your loot bags before you leave.
- Note that taking damage while you have loot in your bag will reduce its value, so make sure you’re doing what you can to stay out of the line of fire.
- To leave the island, you can go to the chosen escape route from the finale screen, or you can improvise and head to one of the other exits if you have the proper requirements.
After you’ve completed the heist, you can continue to return to the island of Cayo Perico and continue pulling off heists against the compound. It’ll cost $100,000 every time, but you can walk away every time with enough to cover the upfront price. Every time you recon the island, it’ll compound with previous attempts, meaning you can eventually know all there is to know about Cayo Perico’s loot.
If you complete all of the initial five Heists in the order mentioned above, you will complete the “All in Order” challenge, which will reward all players involved with a $1,000,000 bonus. Complete all five Heists with the same team to gain an additional $1,000,000 bonus.
The ultimate challenge involves completing all five original Heists on Hard difficulty without dying. If you manage to accomplish this feat, each player gets a whopping $10,000,000 bonus. The newest three heists actually don’t have any effect on these challenges, so you only have to focus on the first five. There’s no better time than now to complete your Heists and get the full GTA Online experience.



Published: Jan 5, 2025 03:20 pm