The Casting of Frank Stone has Trinkets scattered throughout its paths, perhaps left behind as souvenirs of Stone’s past victims.
Unlike Artifacts and Relliks, you cannot track your Trinket progression in the menu. Instead, the Trinket boxes appear throughout The Casting of Frank Stone and often spawn near a Rellik or Trinket. Here’s where to find all 12 Trinkets in The Casting of Frank Stone.
All Trinket locations in The Casting of Frank Stone
Unless you get the best ending in your first playthrough, you’ll likely head back into the film in search of any undiscovered Artifacts, Relliks, and Trinkets. While the Cutting Room Floor (a default feature for Deluxe Edition, or unlocked after your first playthrough) is readily available for you to jump to key moments in The Casting of Frank Stone, not every Trinket can be seen on this feature. In fact, it is impossible to find all 12 Trinkets in a single playthrough.
As the Cutting Room Floor doesn’t show every Trinket location (unless you’ve already chosen every path in The Casting of Frank Stone), we doubt you’ll want to replay the game from the very start to find every Trinket. So, here are all the Trinket locations in The Casting of Frank Stone.
Iridescent King location
Chapter 1: The Burning Man – Mill Entrance
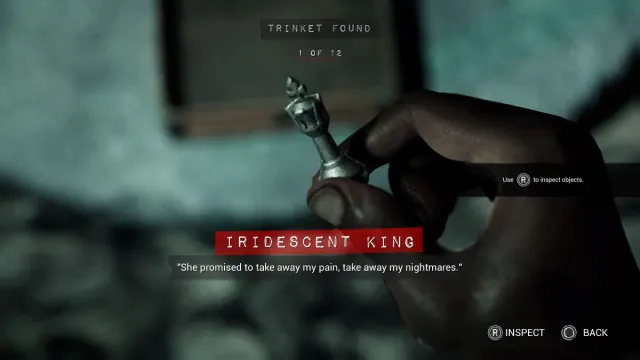
The first Trinket is in the Mill yard. You can find it opposite the open window to enter the Mill and the entryway where Sam walked in at the start of the scene. Locate the hole in the barbed wire fence and squeeze through. The Iridescent King is in its collectible box on the floor within this small area. Face the way you came in to spot it.
Wooden Horse location
Chapter 1: The Burning Man – Storm Drain
After falling off the ladder while descending the storm drain as Sam, do a 180 degree turn, facing the path in the sewers behind where Sam started once the cutscene ended. Follow this path to an open door, where the Wooden Horse is hidden this room, located in its collectible box at the back.
Waterlogged Shoe location
Chapter 3: A Curiosity on Main Street – Drugstore
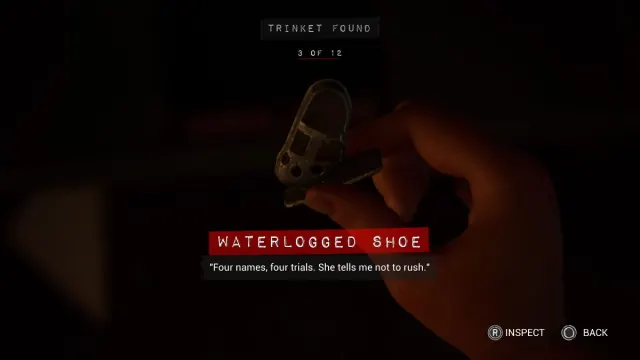
Regardless of whether you enter the Drugstore first, you can pick up the Waterlogged Shoe as Chris in the far right aisle of the store.
Tattooed Middle Finger location
Chapter 5: The Phantom of Cedar Steel – Creek South
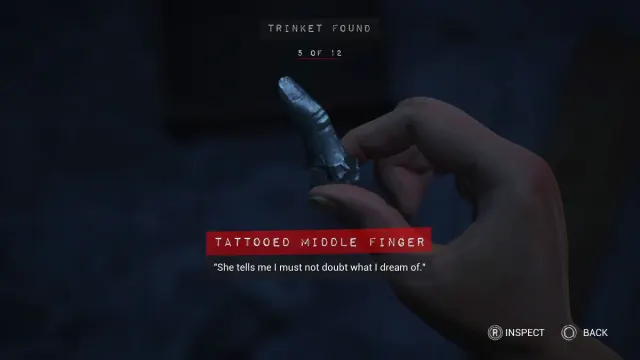
Choose to cross the bridge and follow Robert to the sewers. Balance across multiple beams to reach the Tattooed Middle Finger. Robert drops down, but instead of following him, you should walk across the wooden beam and onto the building roof across from you. The collectible box is on this roof. You can drop down to Robert once you pick this item up, continuing the story from here.
Mother Daughter Ring location
Chapter 5: The Phantom of Cedar Steel – Creek North
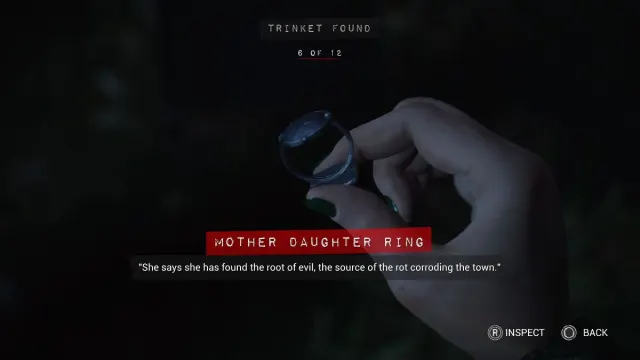
Choose to climb the wall, taking Sam’s patrol path. Follow this linear path forward, but lookout for a gap to squeeze through on your left-hand side. The Mother Daughter Ring is on the floor in this small section.
Wooden Oni Mask location
Chapter 5: The Phantom of Cedar Steel – Yard
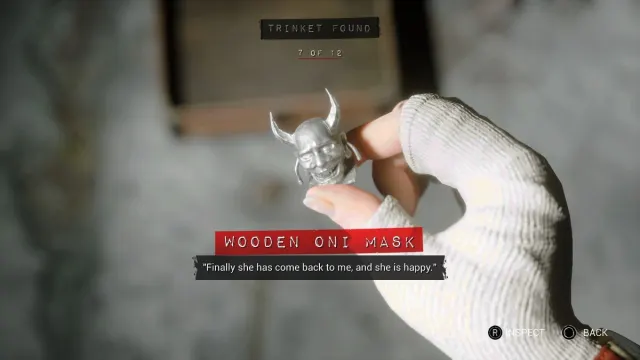
Don’t follow Chris into the furnace. Instead, backtrack into the yard and go to the grate that Sam opened back in 1963. The crowbar will still be here. Pick it up and head to the ajar door on the other side of the yard. Use the crowbar to open it. You will find the Wooden Oni Mask inside.
The Iridescent Head location
Chapter 5: The Phantom of Cedar Steel – Passageway
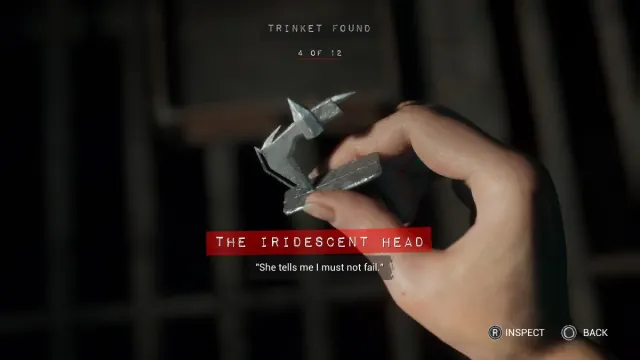
Before you head into the Machine Shop, you can explore this large area with Jaime and Robert. Here, you can move two units on wheels (similar to Resident Evil 2’s library). You can then access this area via a yellow ladder next to the units and leap across them. Interact with the nearby ladders to climb down to the main explorable area. The collectible box is next to the ladder on the far side and you can reach it after jumping over the two units you set in place.
Victor’s Soldier location
Chapter 6: Beyond the Gate – Sanctum
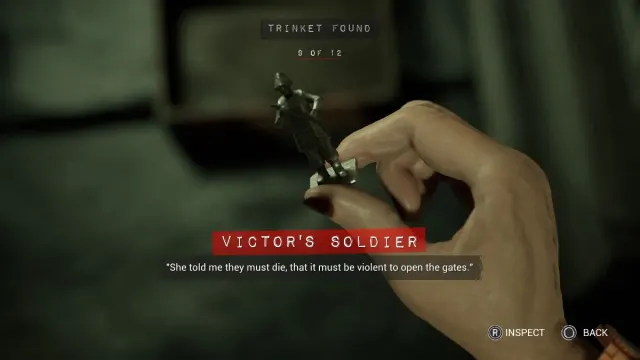
Before interacting with the table in Augustine’s relic room, you should walk behind it and to the right of the locked double wooden doors. A small white table is in the corner of this room, with the Victor’s Soldier collectible box on the floor beside it.
Blighted Rat location
Chapter 7: A Perilous Place – Furnace Chamber
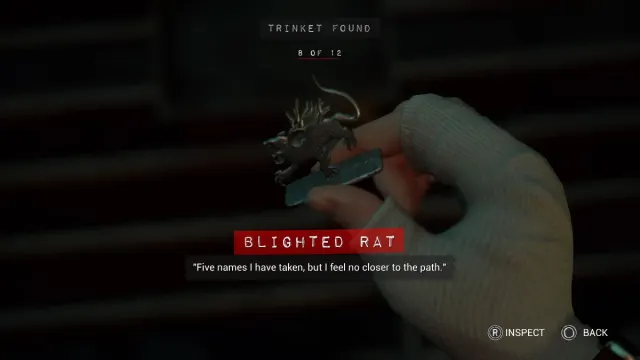
I’m not sure how the crank was added here, but you can only pick this collectible up on your second visit to the furnace chamber. This is after Linda talks to Bonnie outside. You’re here playing as Linda both times, but the crank is nowhere to be seen the first time around. You need to get to Chapter Seven and use the crank to move the platform toward you. This lets you walk over and pick up the Blighted Rat.
Diamond Cufflinks location
Chapter 7: A Perilous Place – Wagon Shed

After surviving your encounter with Frank Stone inside the wagon shed, Linda can walk across the beam rather than head downstairs to progress the story. The Diamond Cufflinks are at the end of the line, in the usual small collectible box.
Sacrificial Knife location
Chapter 12: Closing the Noose – Corridor

After following the secret passage to the lower floor from the bedroom with Madi and Stan, you need to turn left and head down the long corridor. Moving away from the door to progress, you can interact with the tape recorder to listen to Frank Stone’s session tape and pick up The Twins Rellik and the Blacksmith’s Hammer as you explore the corridor.
Blacksmith’s Hammer location
Chapter 14: The Massacre at Gerant Manor – Hunted

You must power the elevator while running from Frank Stone. Instead of entering the door that clearly progresses the story, head around the corner, away from the projector room. The collectible box with the Blacksmith’s Hammer is at this dead end.


Published: Sep 3, 2024 11:11 am