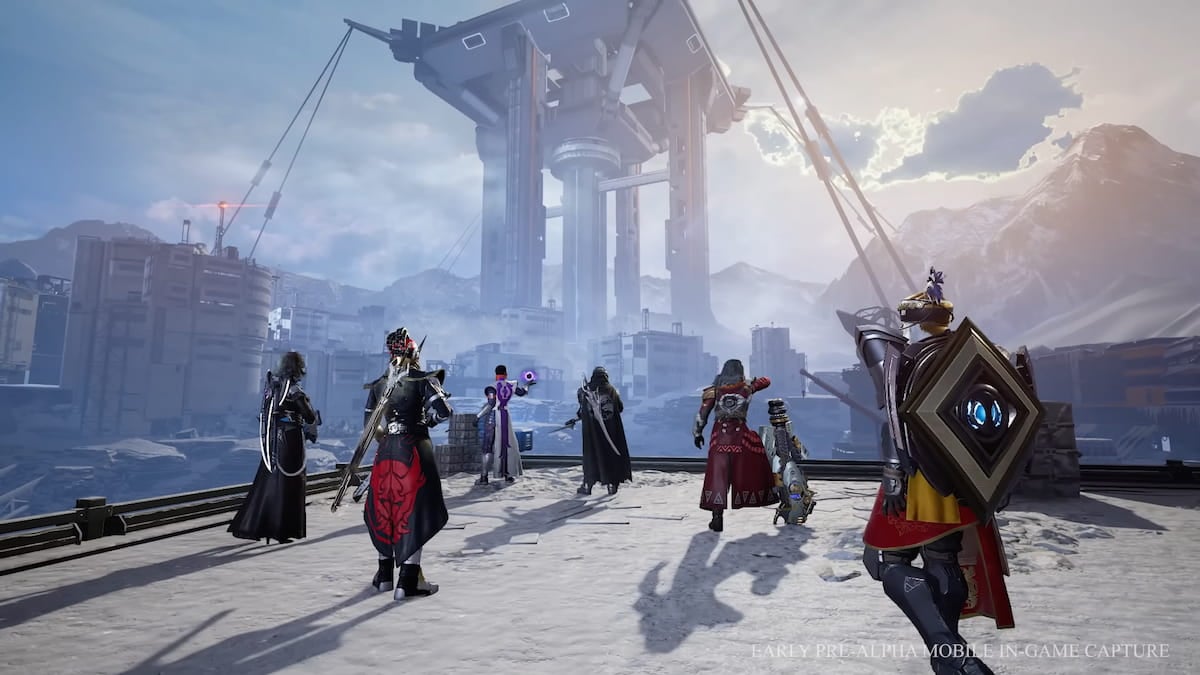
The Macrocosm encounter stumped players during the (exceptionally short) Root of Nightmares Race to World First. The Cosmic Equilibrium challenge in this encounter, however, won’t be nearly as painful as the contest version of the raid, especially since players already have an idea of the mechanics.
The Cosmic Equilibrium challenge retains most of the combat flow from the original. In a sense, it’s similar to both the Illuminated Torment (first encounter) and Crossfire (second encounter) challenges. These challenges require players to do the normal mechanics with just minor changes.
If you’re familiar with the Macrocosm encounter, odds are you’ll quickly get the hang of the Macrocosm challenge.
Luckily for Destiny 2 players, the third encounter challenge in the Root of Nightmares raid is the simplest so far. Players won’t have to rely on the other team shooting the crystals or worry about managing their Field of Light buff to kill Tormentors. Here’s what you need to do in the Cosmic Equilibrium challenge if you want to secure more loot (or just improve your odds of getting the Conditional Finality shotgun).
Cosmic Equilibrium challenge guide for Destiny 2‘s Root of Nightmares raid
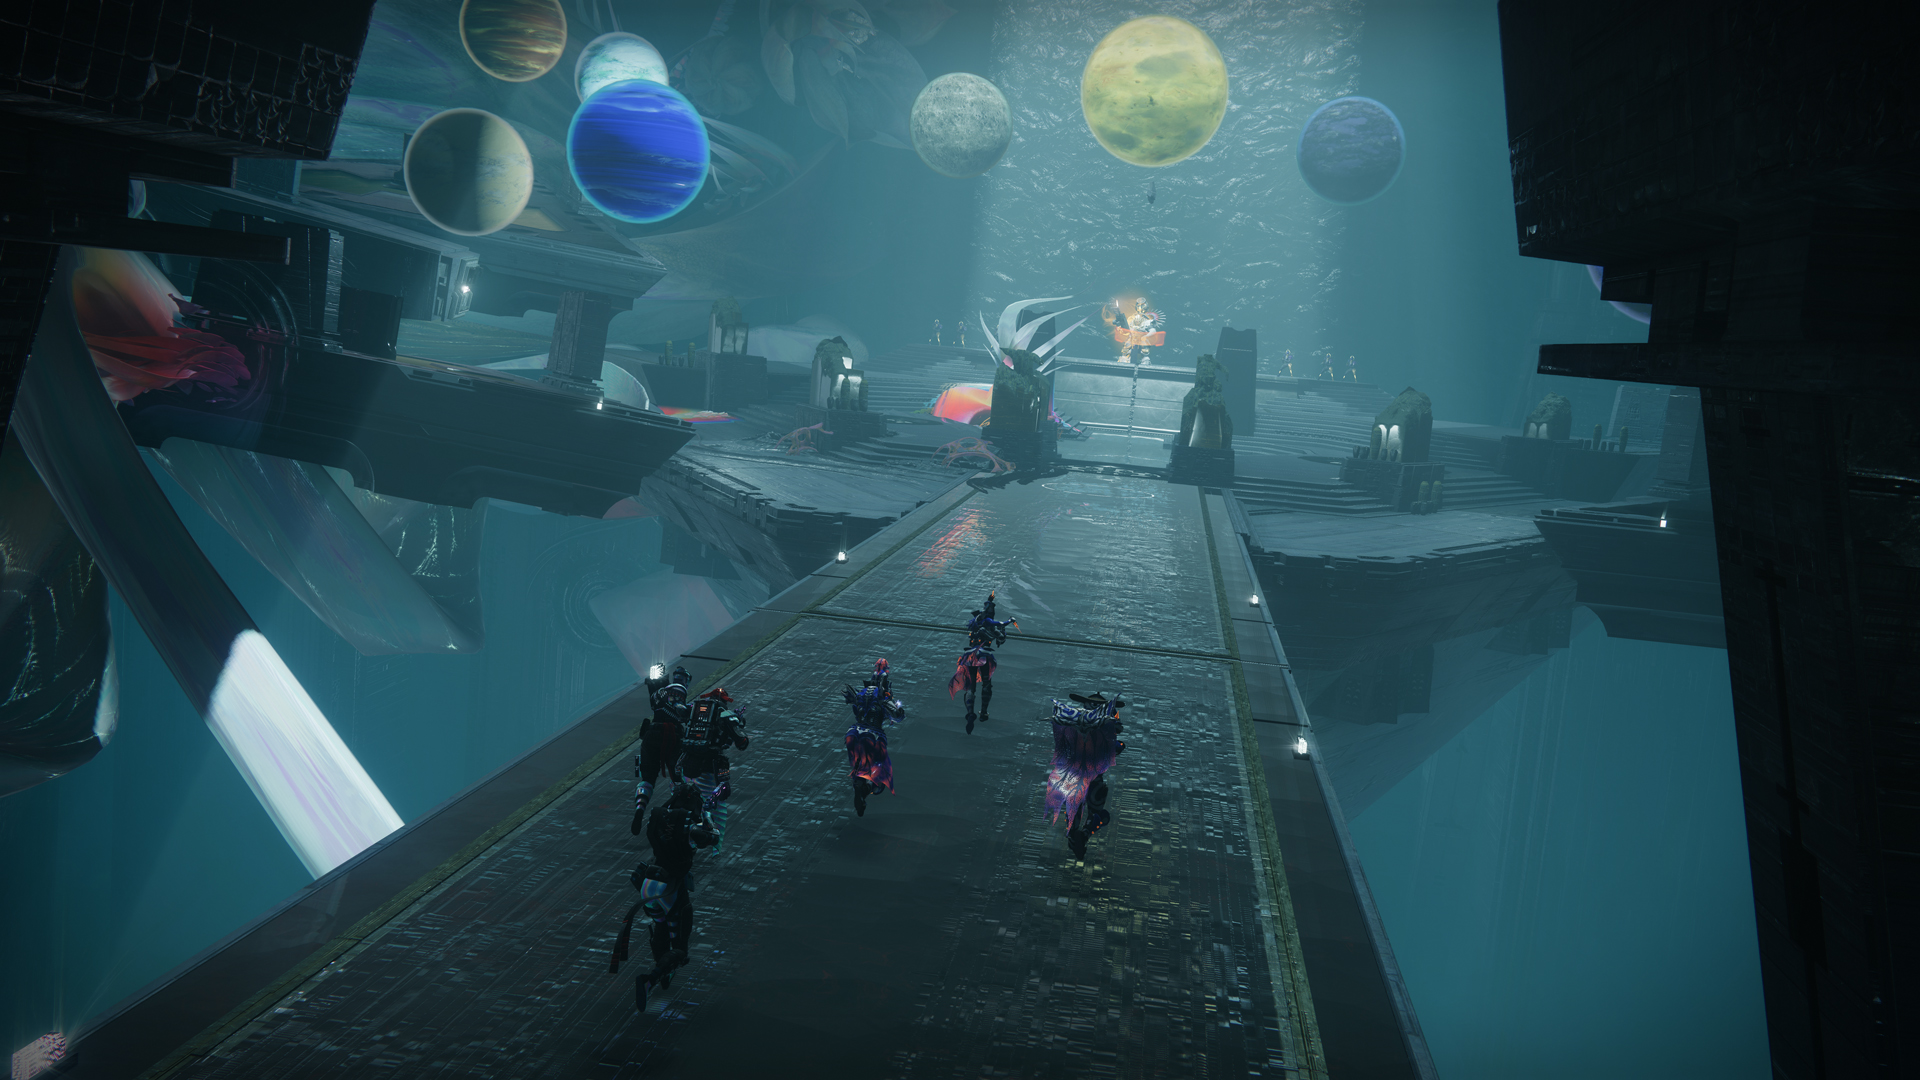
In the regular Macrocosm encounter, players must bring the light planets to the left side of the room and the dark planets to the right. The encounter seemingly proceeds as long as all the planets with the same glow are on the same side, so if you’re looking to complete the Cosmic Equilibrium challenge, you’ll need to invert your prerogative.
For the Cosmic Equilibrium challenge in the Macrocosm encounter, you’ll need to bring the light planets to the right side and the dark planets to the left. This is the exact opposite of how the encounter takes place normally.
As another condition, you should only move one pair of planets per plate on each phase. The inversion means you’ll have two planets you need to bring to each side (instead of one), so you’ll take twice as long to get to the damage phase. Players can take advantage of the crystal above Zo’Aurc to speed up the encounter after they’ve swapped planets.
Once the indexed planets are aligned in their new formation, the plates in the middle should light up, and the rest of the phase will proceed as normal. Keep in mind the planets will be in the opposite direction as they would in the normal encounter, though, which can throw off your muscle memory. On the Master version of the raid, the Colossi you need to destroy will be Barrier Champions, so plan accordingly.
After damaging Zo’Aurc, the cycle repeats again, and players will have to bring more planets to the other side.
Keep this up until Zo’Aurc dies to obtain an extra encounter chest.


Published: Apr 11, 2023 08:44 pm