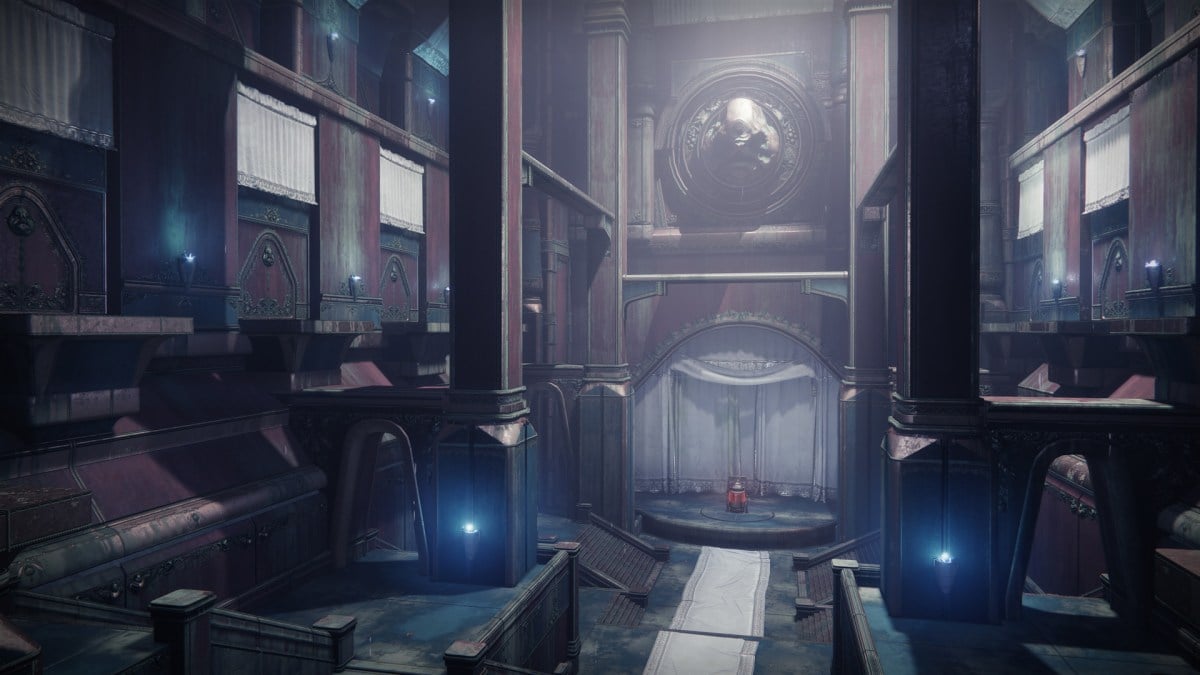
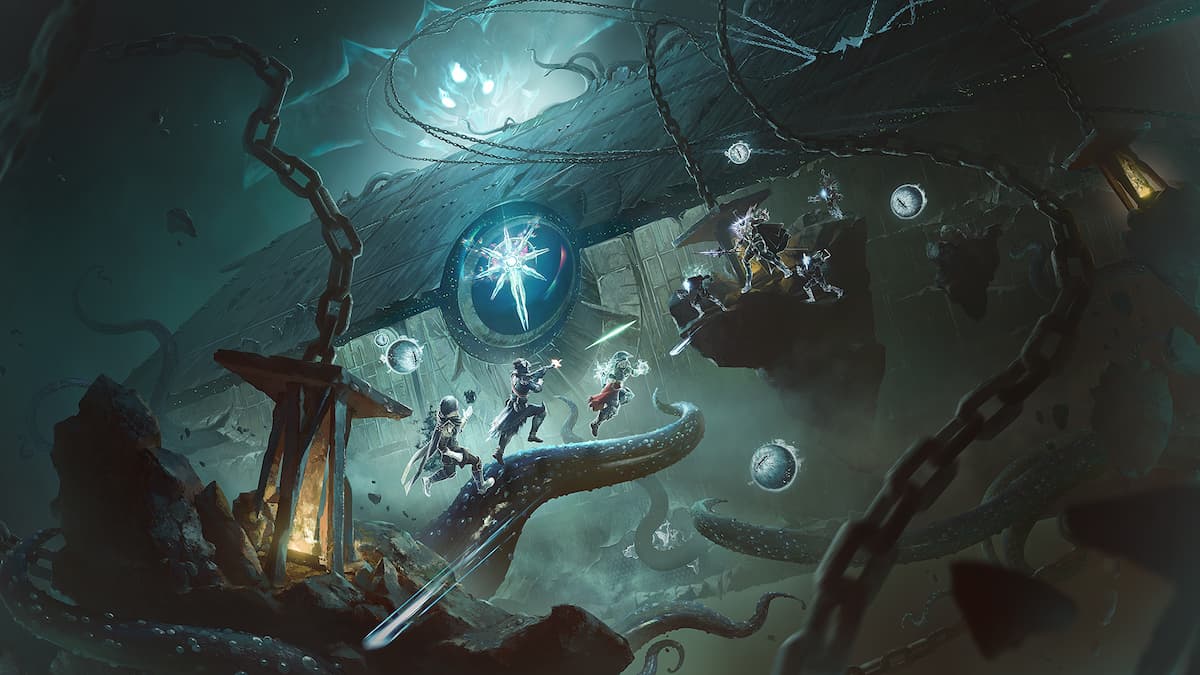
Season of the Haunted gave fans the first of two dungeons included in The Witch Queen‘s Dungeon Key. The Duality dungeon has players go deep inside Calus’ consciousness with a little help from Eris Morn. The dungeon progresses the seasonal story and gives players insight into Calus’ background, as well as arming players with some shiny loot to use.
Duality has three encounters, and it pits players against the Sorrow Bearer, has them unlock a vault to discover Calus’ deepest secret, and finally, face off against Calus’ greatest shame. Here’s what you need to know to complete Duality. This guide will only focus on the three encounters, however.
The Nightmare Bell
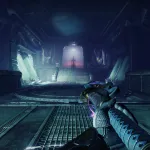
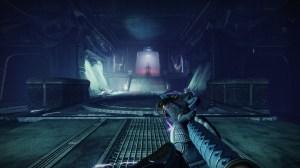
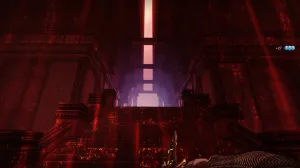
The first part will introduce you to an important mechanic throughout the dungeon, the Nightmare Bell. From when you drop in, you’ll see a bell across the room. Shoot it to go to another dimension (which we’ll call the nightmare realm thanks to its blood-red hue). After you’re inside, stay close to the bell and shoot it again while within its radius to be teleported back. If you’re inside the nightmare realm and a fireteam member shoots the bell, whoever isn’t within its reach will die. The same principle doesn’t apply when you go inside the nightmare realm, however, so you can safely shoot to teleport into it. If the bell is surrounded by nightmare energy, this means you have to kill Bellkeepers (Cabal enemies) so you can hit the bell and teleport back.
Related: All Calus Repressed Memories (collectibles) in the Duality dungeon in Destiny 2

First encounter: Nightmare of Gahlran, the Sorrow Bearer
Gahlran is back. This is the first major fight using the bell mechanic, so get acquainted with it. For this encounter, keep track of the two bells (one on each side of the room) and the four doors with banners hanging close to them. Each banner has a symbol or a standard on it (Chalice, Axe, War Beast, and Sun), so keep track of where they are. There are two doors on each side of the room, and they line up with each bell.
Related: How to defeat the Nightmare of Gahlran in Destiny 2’s Duality dungeon
In the normal realm, there’s a locked door behind each spot where you can deposit a standard. This will be essential to triggering Gahlran’s damage phase.
Make note of the position of the doors. Once you’re ready, head into the nightmare realm and split your team, keeping track of the timer that will wipe you if you’re in the nightmare realm when it ends.
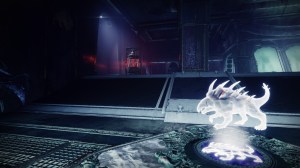
Two people should head for the doors on each side of the room, while the other member of the fireteam should head to the other bell and take out the Bellkeepers. Two of the doors will have enemies, including a Standard Bearer. Killing it will give you some time and summon a standard in the room, so pick it up. In the meantime, whoever is not in a room should head across to the other bell to kill the Bellkeepers and enable your ride back. Once two people have the buffs and the Bellkeepers are down, flock back to the bell you came in from and shoot it while everyone is inside to go back to reality.
After returning from the nightmare realm, do some add clearing and find the doors that match the buffs you picked up. Depositing each buff will open the door behind it, summoning even more enemies (including an angry Colossus). Once the two have been deposited and the rooms are clear, have one player go inside each now-open room while the third activates the bell. And prepare for a fight.
Each room will become a hallway filled with shades of Gahlran, which must be defeated to trigger a damage phase. While Gahlran’s shades don’t have as much health, they can hit hard, so swing away if you have a sword or a glaive. In the meantime, whoever is not in a room should go kill Bellkeepers again. Killing the Bellkeepers is vital here since it allows for a quick getaway.
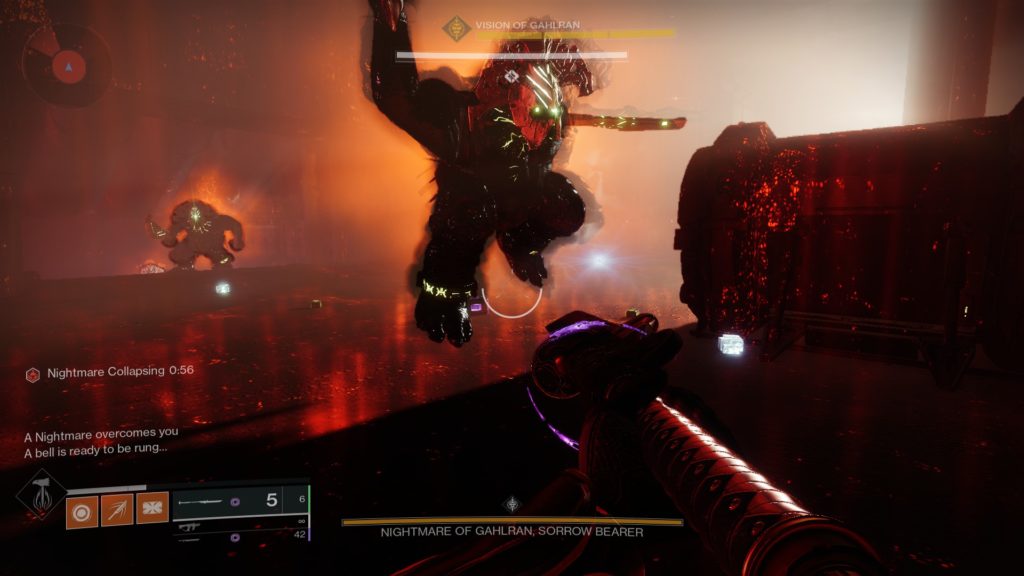
After all the shades are down, the damage phase will begin. Hit Gahlran with everything you have, keeping track of the timer until you must make a run back to reality. The process repeats after it until Gahlran goes down and you’re done with the first encounter.
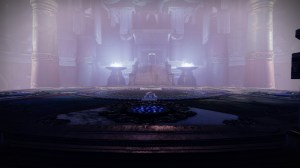
Second encounter: Unlocking the vault
This might be the simplest encounter in the dungeon, and it also boasts some good rewards for players who get past it. In the vault encounter, players have to take down three mini-bosses, but the mechanics to summon them are fairly straightforward and they don’t hit as hard as Gahlran or Caiatl. That said, the sheer amount of adds in the room can be overwhelming, especially with the nightmare’s imminent collapse if the debuff timer runs out.
Related: How to finish the second encounter in Destiny 2’s Duality dungeon: Vault map, walkthrough, and guide
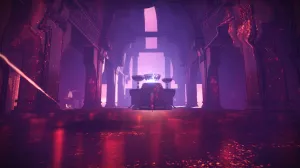
When the encounter begins, you’ll notice two standards will light up out of the four symbols in the Gahlran encounter. These will be either Cup, Axe, War Beast, or Sun. You’ll also spot two bells, one on each side of the room.

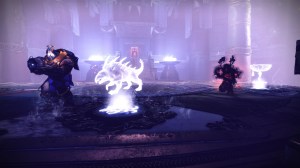
When the two symbols light up, the teams should split in the same manner as in the Gahlran encounter: two go find the location matching the while one looks after the Bellkeepers, which will be across the room and below the main walkway where one of the two bells is. There are four barricade-like obstacles in the vault encounter, and each of them conceals a symbol. Go behind them so you can see what they are, then find a symbol that corresponds to the ones lit up. Once the two players are ready, the team can go inside the nightmare realm by shooting the bell.

If you’re not on Bellkeeper duty and are close to the symbol, the game will teleport you close to a stairwell in the nightmare realm. Shake off the Cabal enemies coming for you, then head up the stairs into a room with more Cabal. Clean out the area, including the Colossus. If you’re on the right spot, a Standard Bearer will appear. Killing it will drop a buff, so pick up the standard it dropped and head back to the bell.


In the meantime, the fireteam member who was on Bellkeeper duty has to go to the other side of the room (related to the bell they used to teleport) and kill the Bellkeepers to unlock the bell. This is usually the quickest part. After that, it’s a matter of clearing adds and/or providing support for the rest of the team.
After the two standards have been picked up and everyone is ready to go back to reality, huddle up by the bell and shoot it again. The dunkers will have to deposit their buffs in the lit-up areas that match their symbols, and once the two symbols are down, the nightmarish shield around the first mini-boss will disappear. There doesn’t seem to be a timer for this, so whittle its health down while keeping track of the adds that will swarm you. After taking out all three bosses, a passage will open below you and take you to the final encounter, where you will find Calus’ greatest shame.
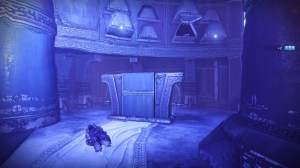
Third encounter (final boss): Nightmare of Caiatl
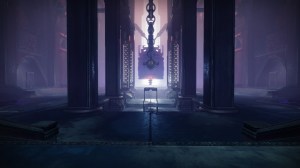
The final encounter of Duality also uses the bell mechanics, but subverts them a fair bit. Before you start, keep track of the layout of the arena and its three smaller bells (one on the left, one on the right, and one in the middle), as well as the colossal bell in the background (which you can’t ring). You’ll see some plates light up with symbols, just like in the vault encounter. This time, though, the symbols and the Standard Bearers will spawn on the balconies at each end of the room. If you can’t find them, just look for the pesky Psions trying to snipe you. Each balcony has a symbol heralded above it, so you know which one to go to by looking at it.
Related: How to defeat the Nightmare of Caiatl in the Duality dungeon in Destiny 2


The players who will grab the standard can already perch themselves up on the balcony and wait to be pulled into the nightmare realm. The Standard Bearer will spawn shortly after, so mowing it down quickly means there’s more time to help your team unlock the bell and get back to it more quickly. In the meantime, whoever isn’t chasing the standard (and, later, the rest of the team) should help take down the Bellkeepers quickly.
After doing this, you’ll get a message that the Bell of Conquest (the big bell at the end of the room) is ready to ring. You can do this by shooting the glowing chains close to each of the spots where you deposit the standards. Before shooting the Bell of Conquest, each squad member should stay close to one of the bells to make the damage phase easier.
Triggering damage phase on the Nightmare of Caiatl
Ringing the Bell of Conquest will send players back into the nightmare realm, and this time, Caiatl will also be after them—and trying to escape. Caiatl will try to use the bells to send you back to reality, and she also has a tremendous amount of damage mitigation that makes bombarding her with damage impossible. Instead, you have to use the bells, and not like you’ve been told throughout the rest of the dungeon.
As soon as you spawn in, kill the Bellbearers closest to you, then stand guard at your bell. Caiatl will move toward one of the three bells, and if she activates it, the damage phase ends. Once you know where Caiatl is going, the fireteam should flock to the same bell and activate it while she is close, and preferably while more allies are inside the bell’s radius. Activating the bell won’t kill allies outside of its area, but it will cause a significant DPS loss and should be avoided if possible.
Activating a bell while Caiatl is close to it has two important effects. One, it will stun the boss for a long time, giving players around 10 seconds of sheer, unmitigated damage against a stationary target. Second, if you were by the bell when it rang, you’ll get a buff called Waking Resonance, which vastly increases the damage done to Caiatl.
Caiatl will try to reach all three bells, per damage phase, which means you’ll have to stop her from doing it two more times. If you see your buff timer is about to run out, you can move to another bell to get a head start, and any player can bait Caiatl’s stomp attack to keep her in place for a bit. After doing this three times, she will head back to the Bell of Conquest and send everyone back to reality. At this point, it’s back to the same mechanics until she is done—usually in two or three damage phases.


Published: May 30, 2022 01:19 pm