
Orin the Red is a critical antagonist during Act Three of Baldur’s Gate 3. In this final Act, it’s up to you to find the Netherstone-holder, rescue her victim, and defeat her. She’s challenging to beat, and if you’re playing the Dark Urge, there are additional decisions you must make.
The way you go about attempting to save this victim can take several steps. Thankfully, Orin lets you know when this person has been removed from your camp and that she’s planning to kill them if you do not give in to her demands. It feels like a race against time, though, and tracking down Orin takes a bit of detective work by exploring Baldur’s Gate. Here’s what you need to know about how to complete Rescue Orin’s Victim in BG3.
Table of contents
- How to complete Rescue Orin’s Victim quest in Baldur’s Gate 3
- How to save Orin’s captive in BG3
- How to find the Bhaalist Murder Tribunal
- Infiltrating the Bhaalist Murder Tribunal
- How to get to the Temple of Bhaal
- How to defeat Orin the Red in Baldur’s Gate 3
- Dark Urge playthrough: Accepting or Rejecting Bhaal’s Gift in Baldur’s Gate 3
- All Orin the Red boss loot in Baldur’s Gate 3
How to complete Rescue Orin’s Victim quest in Baldur’s Gate 3

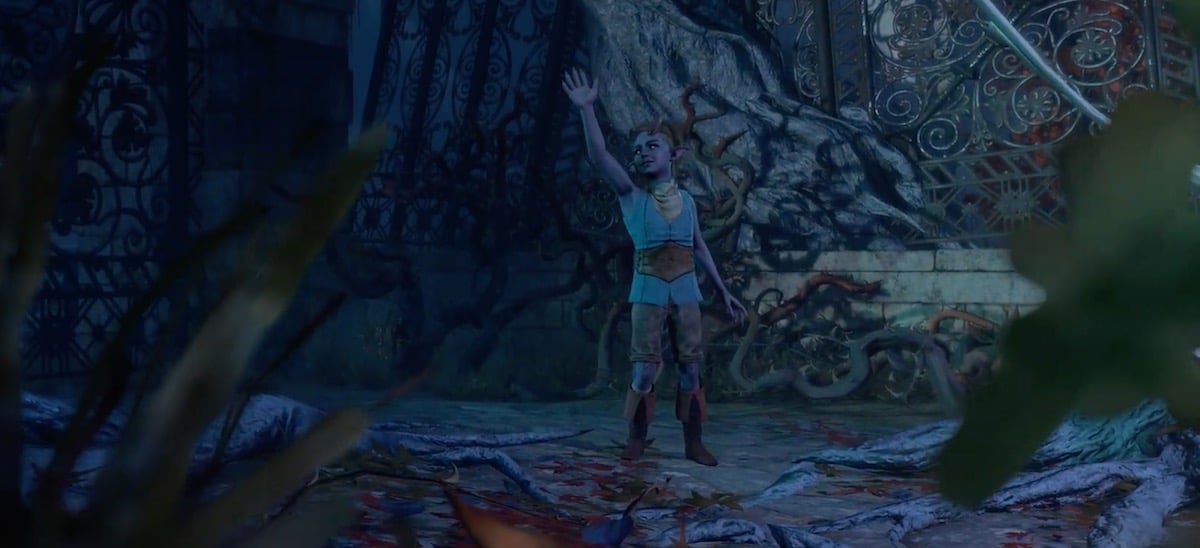
Rescue Orin’s Victim is a subquest of the Netherstones’ questline in Act Three of BG3, where you must recover Orin’s Netherstone or you can choose to side with her, making a deal. Midway through the questline, when you first enter the sewers of the Lower City in Baldur’s Gate, you meet a shapeshifted Orin disguised as Lae’Zel (if she’s one of your companions) who acts like she’s on the brink of death. The appearance of this individual varies based on the companion Orin has taken from you. For us, it was Lae’Zel.
Further conversation with “Lae’Zel” will reveal she is Orin. Once she reveals her true form, Orin will tell you she kidnapped Lae’Zel and held her captive somewhere underneath the city. It’s now up to you and your companions to find out where Orin is holding them captive and save them before too many days pass, or they will be lost forever.
If Lae’Zel isn’t one of your companions (or you’re playing as Lae’Zel), Orin could abduct Gale, Minthara, Halsin, or Yenna. Either way, you have a few days to figure out how to save your companion from Orin’s clutches. Before leaving, she will inform you if you kill Gortash, she will release her captive, but can you trust her?
How to save Orin’s captive in BG3
There are two options to complete the ‘Rescue Orin’s Victim’ quest and save your companion. You can either:
- Do what Orin asks and kill Enver Gortash
- Find the Bhaalist Murder Tribunal yourself.
Both options lead to the same result; you will still need to defeat Orin to get her Netherstone. However, eliminating Gortash means Orin won’t harm the captured companion while you attempt to complete other tasks. Still, you’ll have to face off against Orin for control of the Netherstones. Before choosing a path, know each one has its own set of challenges, which is why we will explain how to get through each of them optimally.
Should you kill Gortash for Orin in Baldur’s Gate 3?

Killing Enver Gortash is the choice Orin would prefer you take because it’s what she wants you to do, and she does promise to let your companion go if you do this. Since she’s cunning and a follower of Bhaal, though, it’s doubtful she would follow through with her promise, and we can guarantee you that by taking out Gortash, she still chooses to challenge you and your party.
This path is the longest of the two and will take you through other questlines before you can even get to Gortash. You can choose to immediately go after Gortash, or you can attempt to work your way through two distinct quests that tie directly back to Gortash, and have significant impacts on your campaign if you don’t complete them in a timely fashion. These are the two quests you want to complete before you attempt to confront Gortash in BG3:
The first will take you to his underwater prison, the Iron Throne, to free the Gondian captives. Doing so will help you greatly in the next quest. Depending on how many prisoners you free, you can end up with a handful of valuable allies in the coming fight, especially the Grand Duke, who happens to be Wyll’s father and important to Wyll’s questline.
The next part is also optional but will make your eventual fight against Gortash much easier when the time comes as you draw a close to your BG3 playthrough. We will need to defeat his Steel Watch to have such a favorable outcome. With the Gondians in tow, head to the Steel Watch Foundry on the western side of Baldur’s Gate’s Lower City and bust in.
Once inside, you must:
- Beat the guards on the first two levels.
- Head to the heart of the factory.
- Defeat three Steel Watchers and the Steel Watcher Titan. They’re tough, so be prepared for a tedious fight and stock up on health potions before entering the Foundry.
- Blow up the Steel Watch Foundry.
As soon as you’ve taken care of Gortash’s strongest guards, you can now storm Wyrm’s Crossing and assault his fortress. Since the Steel Watch is now disabled, you only have to contend with Gortash’s soldiers. Once you wipe them out, head to the throne room. You can do this at any time before completing the previous quests, but finishing those tasks makes your life much easier to defeat Gortash in BG3.
Before entering the room, you should take a long rest to recoup your health and hit points because the battle will be tough. It’s doable if you avoid the explosions and can defeat him quickly. You also have to be cautious of the traps in his room. Once you defeat Gortash, return his Netherstone to Orin to continue the questline.
As this option for “Recuing Orin’s victim” is long, tedious, and can lock you out of other quests, I chose not to do this. Instead, I went to find the Bhaalist Murder Tribunal because it was easier, and I didn’t have to worry about rushing to complete the four quests I would be locked out of, on top of two more quests just to get to Gortash.
How to find the Bhaalist Murder Tribunal
If you opt against the Gortash path (at least right now), we can go down the detective route and solve the Open Hand Temple Murder cases instead because doing so will lead you to the Bhaalist Murder Tribunal.
When you first get to Baldur’s Gate, the citizens you talk to will tell you assassins are murdering certain people. This, of course, is the work of the Bhaalist Murder Tribunal—the same group Orin leads.
To start the quest, investigate Father Lorgan’s corpse in the Open Hand Temple in Rivington, then talk to Investigator Valeria in Sharess’ Caress (roughly at the coordinates X:25 and Y:95) once you have enough evidence.
Collecting the evidence takes time, but it’s fairly straightforward. After talking to Investigator Valeria, the quest to find the Murder Tribunal will progress, and Valeria will no longer be here.
The next part of the quest will involve going back underground to the sewers to find the Temple of Bhaal. Before heading to the sewers, you must make a quick trip to Candulhallow’s Tombstone. This building is located northwest of the Basilisk Gate in Baldur’s Gate, roughly at the coordinates X: 72 and Y: 23.
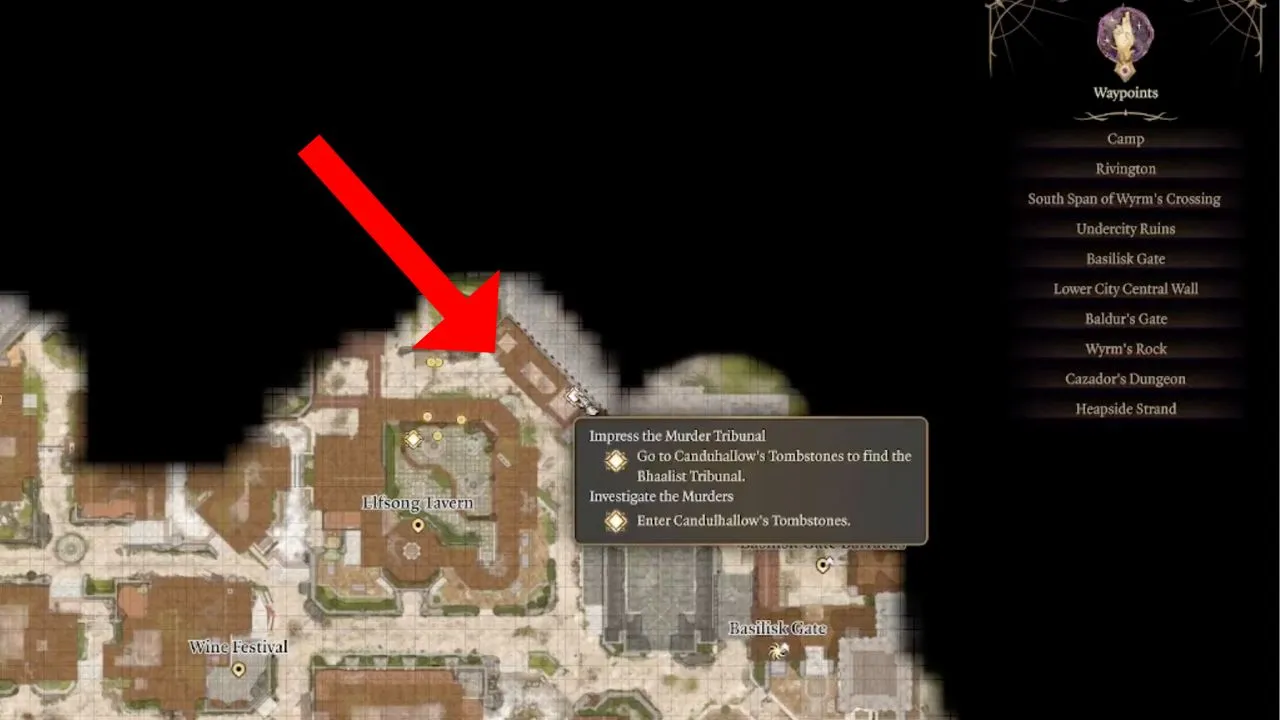
Lockpick this building or destroy the door, and make sure you have one more prerequisite fulfilled. Now, you can either kill the main suspect involved in the serial killings or kill the targets yourself and collect their hands (they’ll come in handy, wink).
The culprit of the murders is a Bhaal prodigy dwarf, who is eager to demonstrate his prowess. After subduing him, search his body to find a bag containing severed hands—a crucial item for progressing to the next area. So make sure you’ve got the hands because doing so will open the entrance underneath Candulhallow’s Tombstone, and you will be allowed into the Bhaalist Murder Tribunal. This is the point where both paths converge, and we can continue the questline from here.
Infiltrating the Bhaalist Murder Tribunal
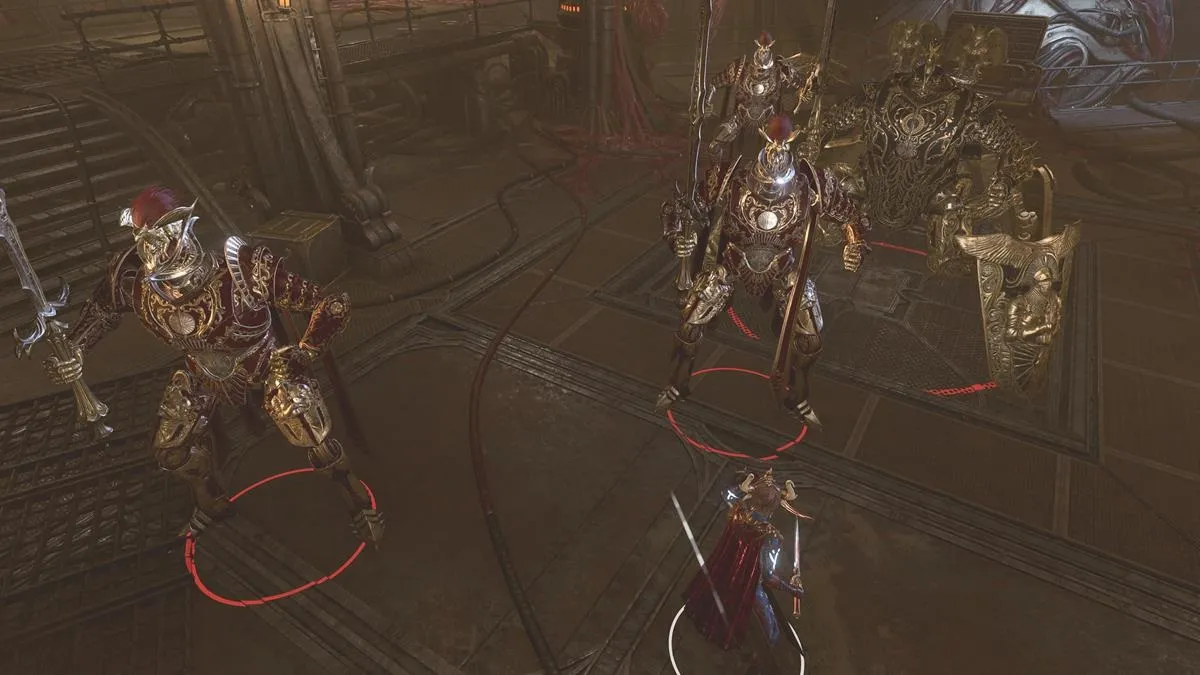
Once you enter the Bhaalist Crypt, talk to the Death Knight further inside. He tells you to give him a gift or else he’ll rip the flesh from your bones, and this is where you respond with, “I killed to be here – and took the victims’ hands as proof.”
You’ll hand over the bag of severed hands, and he will let you go so you can attend the Dread Lord’s Trial. After this scene, the door opens, and you will be allowed into the Murder Tribunal. Once you’re in, you will meet Sarevok (the main antagonist of the original Baldur’s Gate), and you will have to convince him you genuinely accept the principles of Bhaal.
Once you succeed in convincing him, you will be allowed into the inner sanctum, where you have to make a choice:
- Either kill the chained Investigator Valeria here and prove your allegiance to Bhaal
- Reject them and face Sarevok and his cultists in battle. This battle is difficult if you choose to go down this path, but Sarevok’s Sword of Chaos is a worthy reward.
Regardless of your choice, you will gain the Amulet of Bhaal and be allowed into the main Temple of Bhaal, where you will find Orin’s victim.
How to get to the Temple of Bhaal
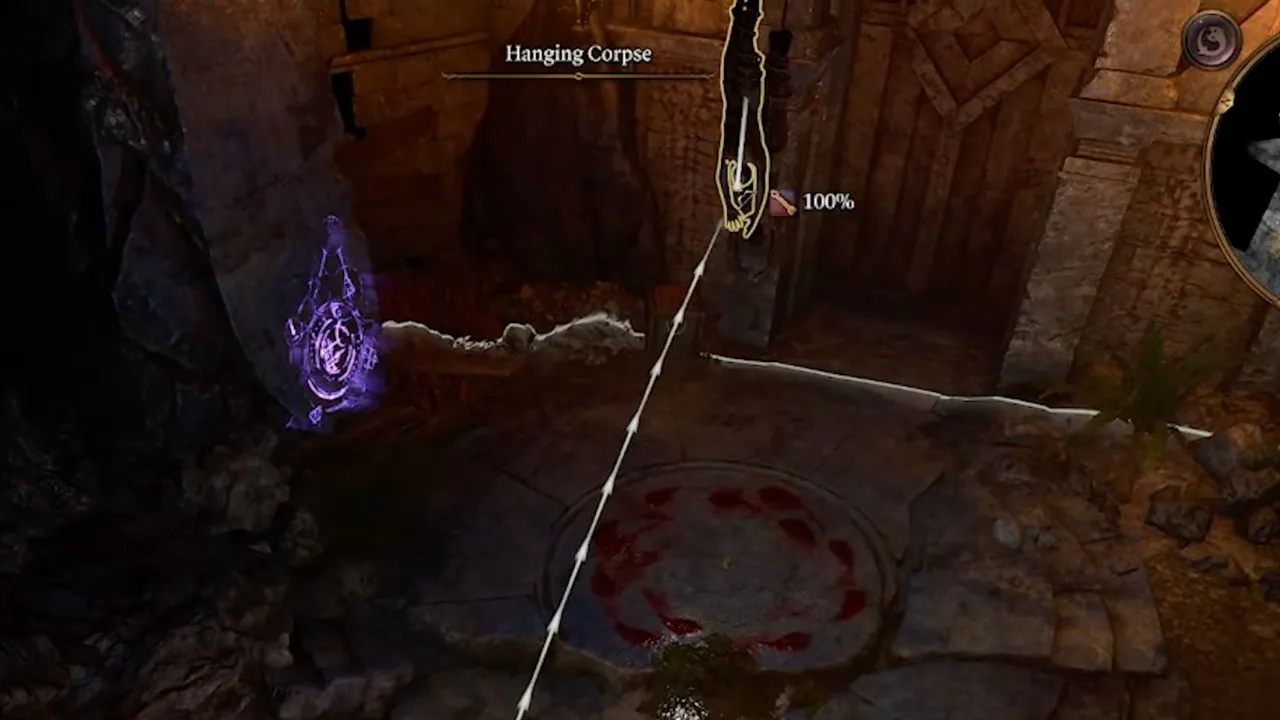
After the encounter in the Bhaalist Crypt, your next goal will be to get to the Temple of Bhaal and confront Orin herself. You can get there through the Undercity and follow the path north till you reach a door near the Undercity Ruins waypoint, roughly at the coordinates X:-141 and Y:936.
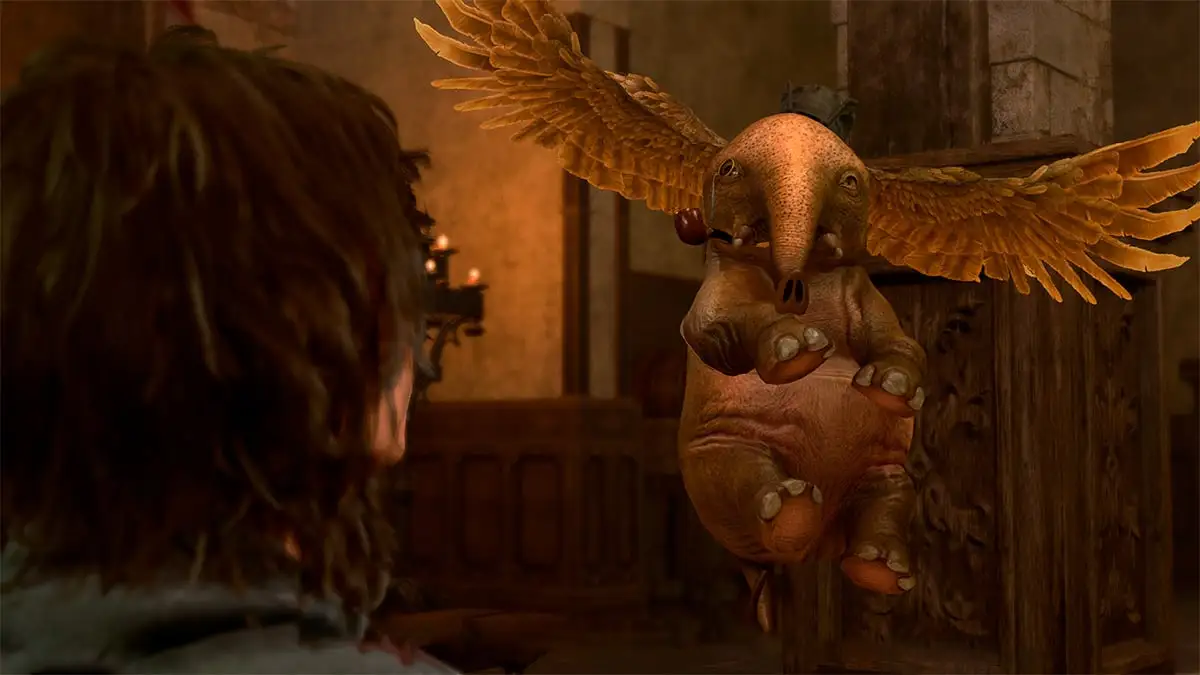
Hanging from the ceiling near the door’s entrance, you will see corpses you can shoot down. Dropping the bodies down and offering their blood as a tribute will open the door. Can you Bhaal-ieve it’s that easy?
Once inside, defeat Ghislev, the Farslayer of Bhaal, down the treacherous path full of cultists. After you break down his damage-blocking shield, unleash your strongest attacks on him to kill him. When he dies, you can proceed further.
The last part involves placing the Amulet of Bhaal on the temple’s main door. After you get in, feel free to explore the area and take everything because you’re in for a tough fight.
How to defeat Orin the Red in Baldur’s Gate 3

The last part of this questline involves taking down the chosen one of Bhaal, Orin the Red. You’ll need to know a few things before starting this fight, including her stats, weaknesses, and resistances, what items to bring, and her attack patterns.
How to prepare for the Orin the Red boss fight
At this point in Baldur’s Gate 3, you should easily defeat a boss with 145 health. However, there are a few things you can do to prepare for this fight with Orin to make things easier for you, including:
- Take a Long Rest. This will restore your health and hit points. And if you want to change your team composition, now is the time to do it.
- For this fight, you should use a Wizard or a Sorcerer with Magic Missiles, a Fighter for the extra Actions, and then a Cleric, Paladin, or Rogue. If Lae’Zel was captured in your playthrough, you can respec another companion into a Fighter or hire a Hireling, if necessary.
- Stock up on Necrotic Resistance elixirs. This is a common elixir you can craft from mixing Vitriol of Oleander with any sublimate, and it will make an Elixir or Necrotic Resistance.
- Ensure each of your companions has at least two health potions. I like my companions to have at least four, but that’s just because I like to be extra-prepared.
- Cast any buffs, armor, or resistance spells before entering the room.
- Summon any animal companions or elementals before the fight.
- Orin has, HP: 145, her AC is 16, and her attack types include Slashing, Bludgeoning, Piercing, and Necrotic.
When your team is ready and prepared, you can enter the room and begin your fight with Orin the Red.
How to beat Orin the Red guide in Baldur’s Gate 3
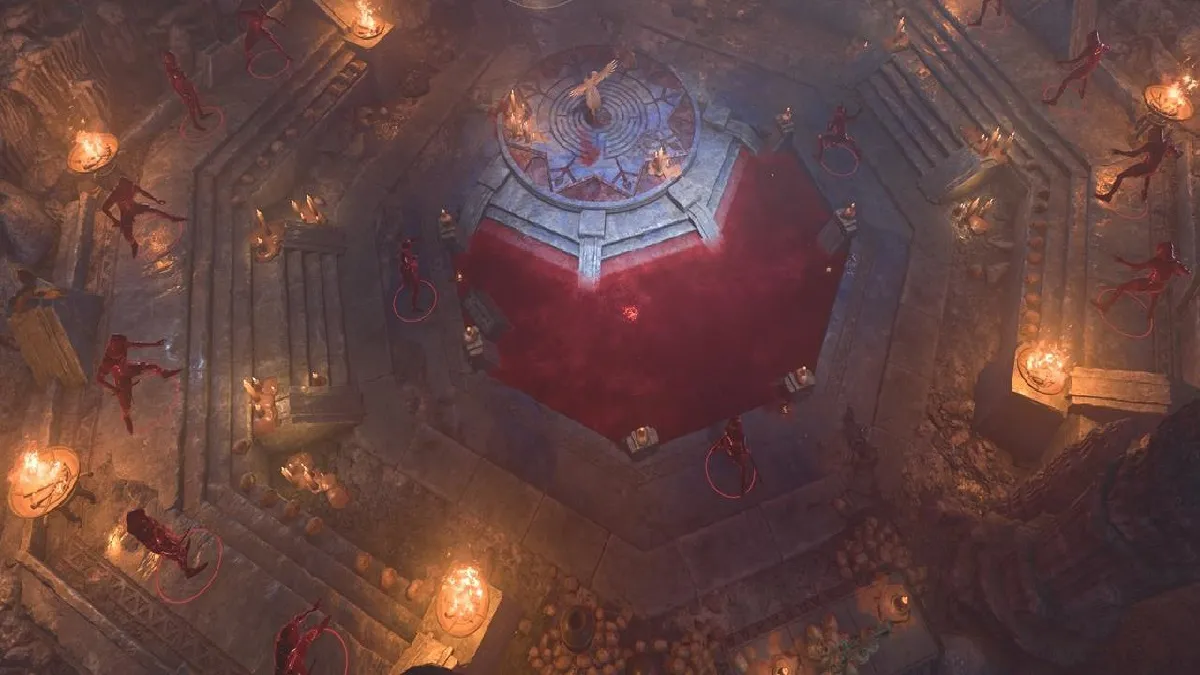
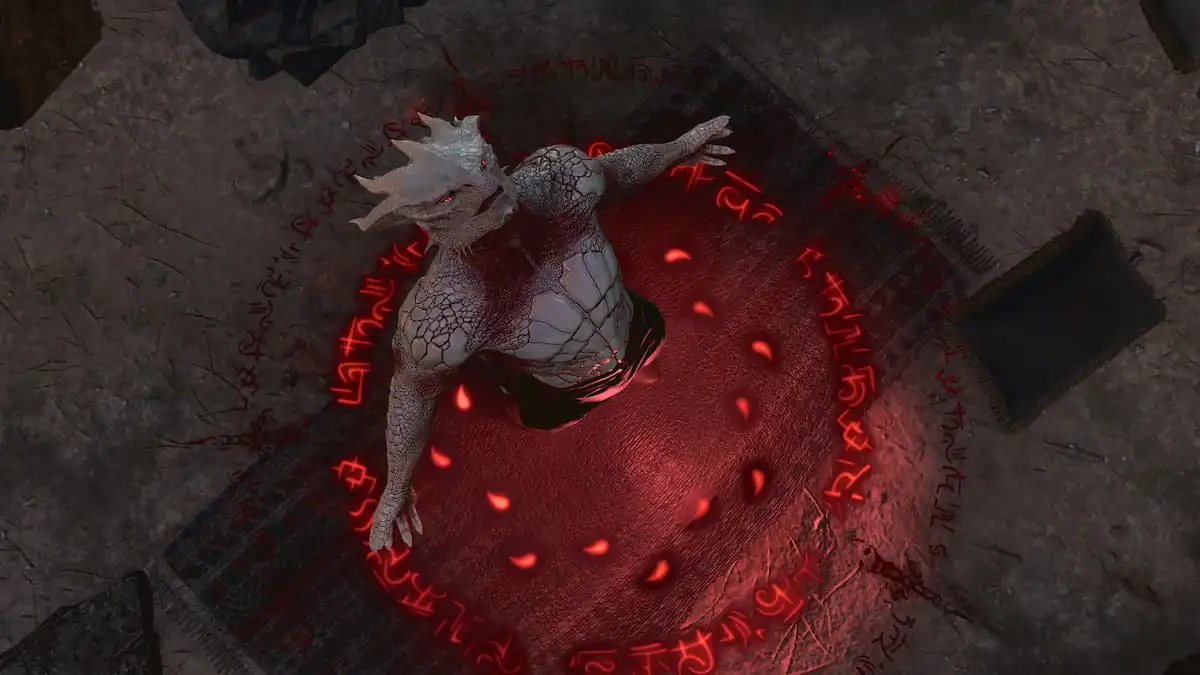
Orin will turn herself into a slayer, and her cultists will buff her with advantage rolls and heal every turn. For this fight, you’ll want to focus on the following:
- Use Magic Missle to get rid of a few cultists to lessen her healing.
- Ensure your companions use their Action Surges or Haste abilities so they can get in extra attacks. This means you will do more damage and can finish her off quite quickly.
Although she doesn’t have a massive health bar, the heals from the cultists are annoying. So, you’ll want to kill as many as possible. You’ll also want to use Magic Missile to help destroy Orin’s “Unstoppable“‘“ feat, which means you must use different attacks to remove the Unstoppable charges.
As each of the three missiles from Magic Missiles is technically counted as a separate attack, this means you can lower these charges quickly and then deal as much damage to Orin through your high-damage abilities and extra actions as possible to beat her.
Once you beat Orin, head to the center of the main room to find Orin’s victim unconscious on a ritual table. Now that no more cultists can or will interfere, you can save them, and you’ll have completed the Rescue Orin’s Victim quest in Baldur’s Gate 3. You must loot Orin’s body to get the Altar key to save your companion.
What happens for the Dark Urge when defeating Orin in Baldur’s Gate 3
The battle with Orin will vary if you are playing as a Dark Urge character because it turns into a one-on-one duel instead. Besting her will not be easy solo, so ensure you prepare for the fight almost as you would on a non-Dark Urge run.
For the Dark Urge, your companions must buff your Dark Urge before fighting Orin. It’s a good idea to cast armor or resistance spells and stock up on extra healing potions, as this will be a long fight.
During this fight, it’s also vital your allies don’t interfere because that will prompt the cultists to constantly heal Orin, making the fight almost impossible. So, as long as you keep attacking her and don’t trigger the healing, you can defeat her relatively quickly.
Dark Urge playthrough: Accepting or Rejecting Bhaal’s Gift in Baldur’s Gate 3

Once you beat Orin, Sceleritas Fel will appear, which leads to him being impaled, and Bhaal will speak to you through his corpse. Bhaal will offer you two choices: accept his gift and become his Chosen or reject it.
By accepting Bhaal’s gift, you’ll not only lose Minsc and Jaheira, as they’re two companions who’ve actively been fighting against Bhaal, but you’ll also have to kill them as they will ambush you outside the temple. Your other companions will also disapprove of your choice. However, they won’t leave the party.
In addition, you will gain a Slayer form and a new spell called Power Word Kill, a single-use spell that allows you to kill an enemy instantly under 100 HP.
If you reject Bhaal, the God of Murder, he will kill you. But given his title, that shouldn’t be too surprising. On the bright side, Withers will bring you back, you’ll have thwarted an evil God, and you’ll no longer have the Dark Urge curse, which means he can’t control you. The downside, though, is if you reject this gift, this will be the end of your Dark Urge questline.
All Orin the Red boss loot in Baldur’s Gate 3

Beating Orin the Red in Baldur’s Gate 3 is worth it because you’ll gain invaluable rewards, such as:
- Crimson Mischief—This is a Legendary Shortsword that deals 10 to 21 damage and seven additional piercing damage if you have Advantage.
- Netherstone-Pomelled Bloodthirst—This is a Legendary Dagger that deals between 11 and 17 damage, and those hit by this dagger will become Vulnerable to those who deal piercing damage.
- Altar Key—This is to unlock your kidnapped companion’s chains
- Orin’s Outfit, the Mutilated Carapace—This was added in Patch Five, which went live on Nov. 30, 2023.
Depending on your choices, you will end up with varying allies when taking down the Elder Brain at the end of the storyline. This is everything you need to know on how to find and beat Orin the Red and how to save her victim in BG3.
Others Asked
What is the main choice players have to make in the "Hunt the Devil" side quest in Baldur's Gate 3?
Players have to choose between killing either Karlach or Anders.

What is the main reward for completing Arabella's quest in Baldur's Gate 3?
The main reward for helping find Arabella's parents is the Shadowblade Ring, which allows the wearer to cast the second-level spell Shadow Blade.
What strategy is recommended for defeating Orin in Baldur's Gate 3?
The recommended strategy for defeating Orin involves attacking the surrounding cultists with area of effect spells to remove Orin's unstoppable charges, which prevent regular attacks from being effective against her, especially prioritizing the inclusion of spell casters in the fight.


Published: Nov 8, 2024 01:49 pm