The Void Vessel Facility dungeon in Remnant 2 can be found in the N’Erud region. It can be dangerous and intimidating when you are new to the game. With plenty of nice loot, a great armor set, and a hidden boss fight, it has a lot to offer curious players.
Complete Void Vessel Facility dungeon walkthrough
Map and Legend
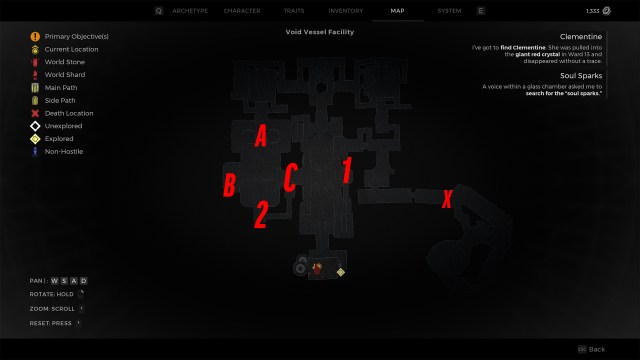
- 1 – The first door, called the Stasis Pod, contains the Space Worker Armor Set.
- 2 – A seemingly ordinary door that you cannot open.
- A – The location of the key to get into Door 1.
- B – The location of an enemy tube you need to get into to get to the boss fight and open Door 2.
- X – This area should be avoided until the rest of the dungeon is complete.
Void Vessel Facility Hints and Tips
- Many enemy encounters in Remnant 2 are random, so it is hard to warn you about certain powerful enemies. If you hear a dramatic sting in the soundtrack, it means something big is coming your way.
- Take out as many enemies as possible with your melee weapons to save your ammo for the tougher enemies like the mini Abominations or shielded Drones.
- The bigger rooms can have randomly placed items and chests, so explore them fully before you move on.
- If you see a purple or golden glowing item above you, then just use the stairs around the outsides of the rooms to get up to it.
- If you are feeling brave, head for the X marker on the map, make your way through the area and wake up the scary alien Orb. It will slowly follow you, doing damage in an area around it. This allows you to run past all enemies, and it will eat them for you. This can make the dungeon very challenging, however, as you need to constantly outrun it, or it will suck you in and kill you.
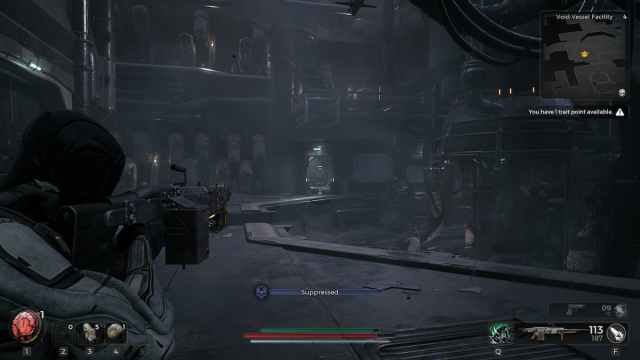
- Do not stand in the pools of purple goo dropped by many enemies. If you do, you will become Suppressed.
Detailed walkthrough
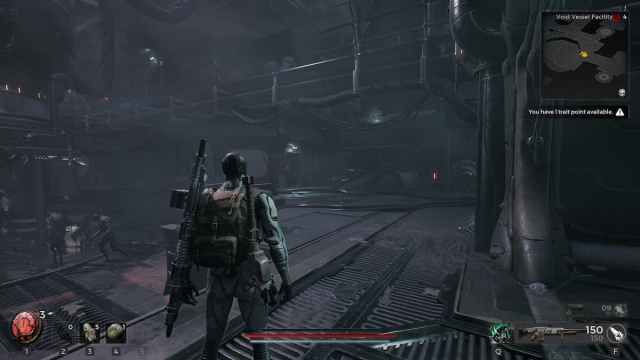
To start the dungeon, walk onto the elevator and make your way down. At the bottom, turn to the left and prepare for your first batch of enemies. Clear them out, making sure to deal with the ones that come from the tubes. Most of the paths from this room are blocked with wreckage, so turn to the right, and you will see a ramp going up.
Follow the ramp up to the top, then make your way along the wall. You will come to a locked door with a strange red and yellow symbol on it. We will be calling this Door 1, as per the map above, and it will lead to a Stasis Pod that contains the Space Worker armor set. Ignore this for now, as you won’t have the means to open it for a while. Ahead of you will be a gap in the platform, so jump across to get a crate of resources, then jump back. Follow the platform around to the other side, taking out all enemies as you go.
You will see a group of enemies standing near yet another door with a bright red mark on it. You cannot get through this door now, but it is a shortcut from the end of the dungeon, which will prove useful. It can be opened from the other side at a console marked by the letter C on the map above, but we will need to make our way through the rest of the dungeon to get there.
Keep following the platform to the right, and head down the ramp at the end. Straight across the room from the bottom of the ramp is a door. Go inside, and after this, the dungeon actually becomes quite simple to get around after one simple choice.
After moving down the hallway, you will come to a bright, red-lit area on the right. There will be some robot enemies in there. Do not go this way. There is a strange alien enemy here that will haunt you as you try to make your way around, and unless you wish to try and outrun it all the time, you should leave it alone for now.
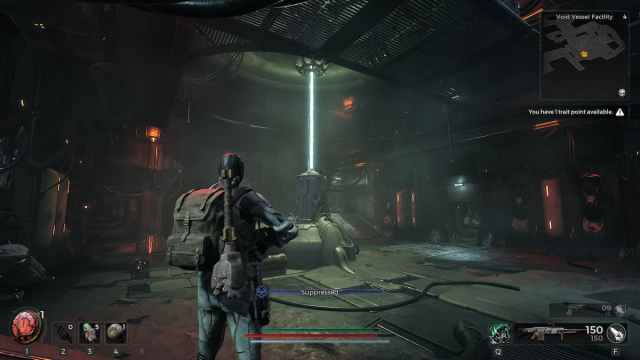
Instead, take the small door at the end of the room on the left and follow the corridor until you reach a room with a beam of white energy shooting out of a machine in the center. This is the first of three large rooms you will need to move through. The room can spawn multiple tough enemies, including mini Abominations that you will need to clear out. When you are finished, move into the next room, make your way all the way across, and then head to the end of the far corridor. You will find a small door at the end of the right wall. Be sure to keep an eye out for purple loot spawns, as they are randomized in these rooms.
Continue moving forward through the last large room, then make your way through either door on the left. Moving down a small corridor will bring you to the vast open room that signifies the end of the dungeon. This is filled with enemies and is quite dangerous. I would suggest you run through it and up the ramp at the end, then to the lone console near the door with the red symbol on the left side of the room. Interact with the console (marked by C on the map above) to open the door, and you will find yourself staring out at the area where you started. At least if you die here, you will have a nice shortcut.
Now, clear out all the enemies in the room and make your way to the three small chambers on the ground floor marked by A on the map. Open all the pods, kill the enemies, and grab the loot. There should be an item to collect, although it will be random. I got the Tightly Wound Coil, a ring that gives you some shield as you work through your weapon’s magazine. Another of the pods here will contain a quest item called Stasis Pod Glyph that you can use to open Door 1. Just interact with the door, select the glyph, then go inside and grab your new Space Worker Armor Set.

Make your way back to point C, and you will see another ramp to the left running down toward a door that won’t open. To get in here, you need to prepare for a boss fight. Go to the far side of the ramp, marked by B, and open the tubes. Kill the enemies, then jump in the tube on the far left, and you will be whisked away to fight the dungeon boss, called The Fetid Corpse.
How to beat the Fetid Corpse
The Fetid Corpse fight is really just a game of keep-away. Maintain your distance from the boss, deal with the adds as they spawn in, and whittle away at the Fetid Corpse when you can. The important thing to do is to take out the floating enemies who launch projectiles at your the second they appear.
If you fail to deal with these guys early, it will often lead to you being staggered, and the rest of the enemies are likely to pounce on you. If you have opted for the Hot Shot mod, this is great, as the fire damage will tear the Fetid Corpse to pieces.
This fight really just boils down to stamina management. Put out damage when you can, be aware of what is behind you while you back up, and make sure you roll when you need to. The Fetid Corpse has very limited attacks and is mostly just a buffed version of the gangly enemies you have been fighting through the dungeon.
When the fight is over, make your way up the stairs and open Door 2. If you haven’t gone to the X yet, doing that now is a good idea. It’s a simple area with no twists or turns, and you can grab all the items and then easily outrun the purple alien orb to get back to the elevator.
Once you are done there, you can make your way out of the dungeon and continue your adventures.


Published: Jul 21, 2023 04:51 pm