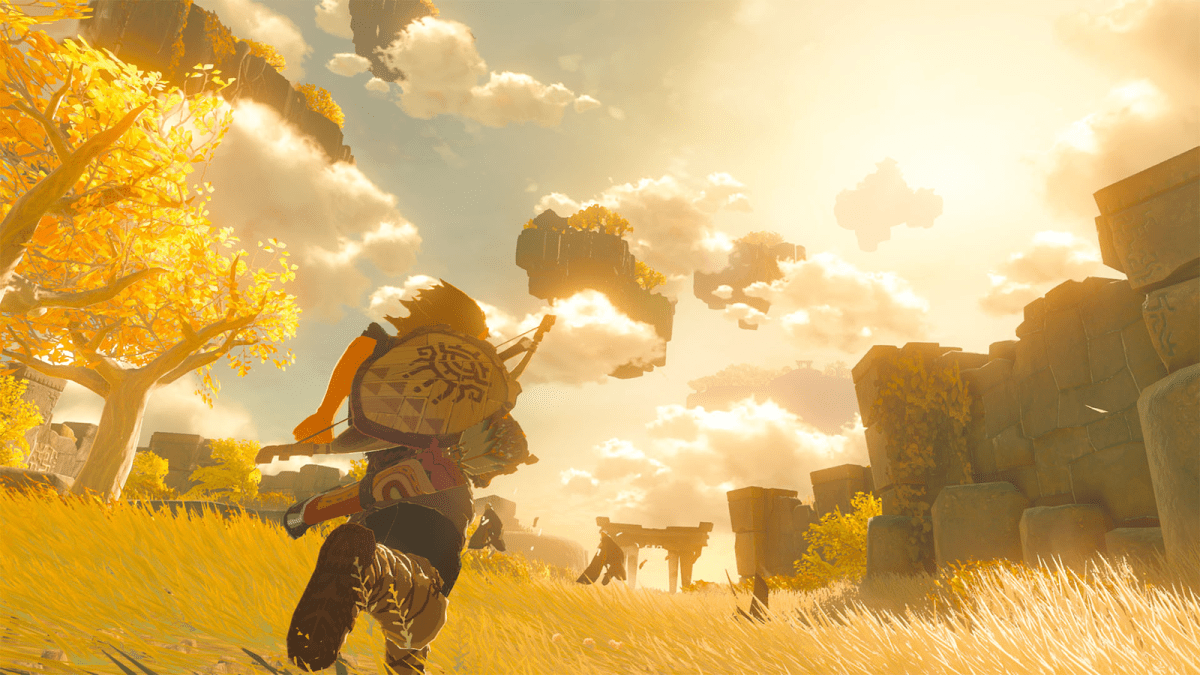
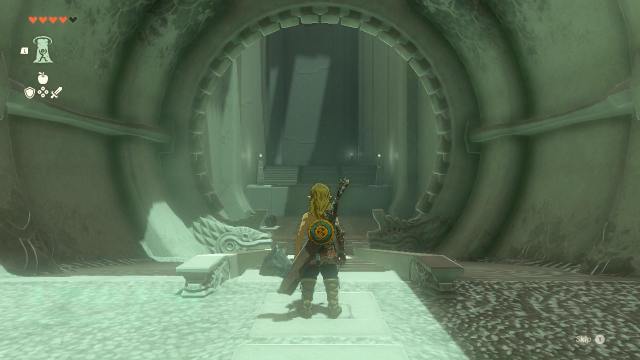
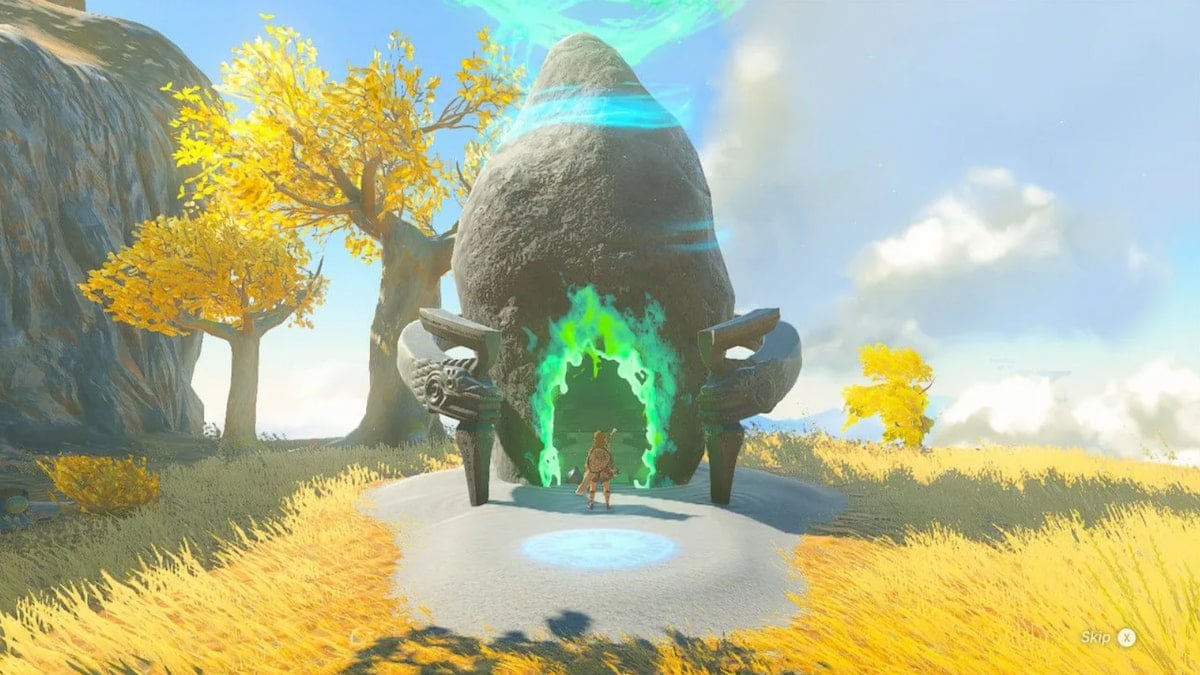
Tears of the Kingdom has plenty of puzzling action and as you venture through completing all of the game’s Shrines you’re going to come face-to-face with Ishodag.
The Ishodag Shrine is one of the simplest Shrines, but if you aren’t cued into how things work then you, it can be a challenge. To make things as simple as they can be, here’s everything you need to know to complete this goal in just four steps.
How to complete the Ishodag Shrine in Zelda: Tears of the Kingdom
There are three stages to solving Ishodag shrine and they all involve using Ultrahand. Here’s how you can solve each step and quickly earn your reward.
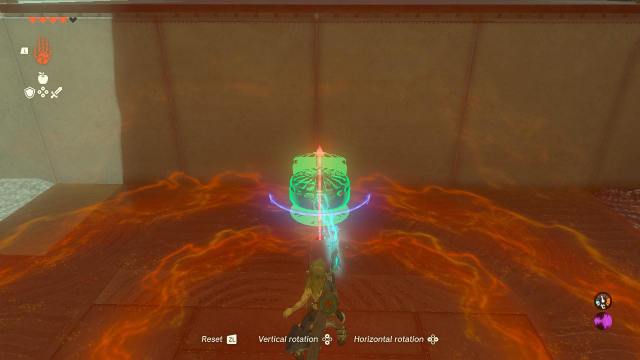
The first is easy. Simply grab the fan using Ultrahand and tilt it to face upwards while leaning against the wall. Smack the object to start it up and use your glider to fly up to the next stage.
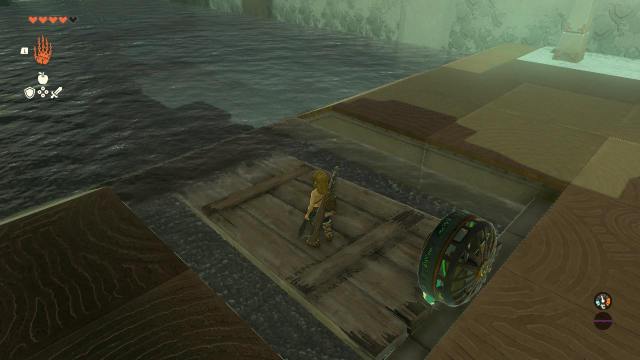
Now you’ll want to craft a boat. To do this, pick up one of the wooden slabs and flatten it on the ground. Glue a fan to the back of it and drop it in the water using Ultrahand. Jump aboard and hit the fan which will send you driving straight towards your goal on the other side.
Related: How to solve the Orochium Shrine in Zelda: Tears of the Kingdom

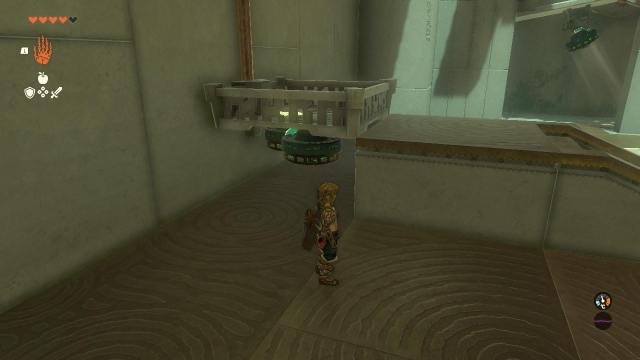
You’re finally at the last stage but there is a detour your can make here to get some extra look. On my first playthrough of this Shrine in Tears of the Kingdom, I missed it but if you glue a fan to the platform on the right-hand side of the lift, you can activate it to balance out flat and use Ascend to get up and gain access to the chest.
With all that done, you’re finally ready to reach the end. Simply get the two fans on either side of the lift and glue them to the bottom, jump in, and switch them on. Now you’re headed on the elevator to the goal: The Light of Blessing is yours.


Published: May 15, 2023 12:45 am