Your introduction to Silent Hill consists of multiple puzzles to get yourself truly settled in. As the mist envelopes the town’s entrance, the path from Neely’s Bar to Wood Side Apartments feels miles away. You find the warm embrace of the apartments, but this is only the beginning.
Here is our full guide on how to complete the Wood Side and Blue Creek Apartments in the Silent Hill 2 remake.
This guide has Standard puzzle difficulty solutions and combinations.
Silent Hill 2 remake Wood Side Apartments walkthrough
To get to Rosewater Park, James must find three Coins: Man, Woman, and Snake. What was once an abandoned apartment complex has quickly filled with monstrosities upon obtaining the Flashlight from the open apartment on 2F. You pick up the Chute Courtyard Key from this room after fighting the featherweight champion, the Mannequin. Take this key and use it on the 1F backdoor next to the Reception. This leads you to the Garbage Chute, a key location for one of the Coins.
Mannequins work similarly to the Stalker in The Last of Us II, so be sure to watch those corners as you explore the inside of apartments.
How to solve the Coin puzzle in Silent Hill 2
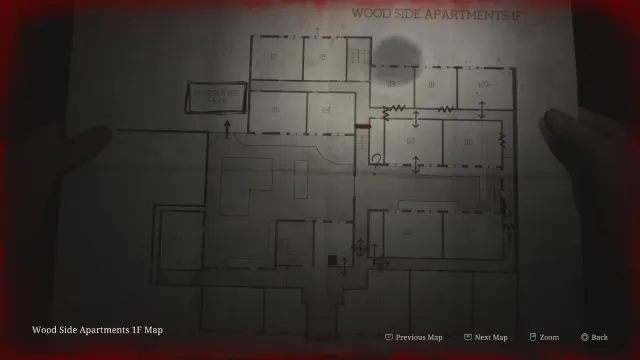
Move the wheelie bin to the open window with white cloth on its windowsill. Once inside, circle around past Room 110 and interact with the key beyond the gate. Your introduction to Laura shows her kicking away the key. Out of arms reach, you need to head back to the Apartment Lobby, where the gates to the first floor are now open. Lying Figures roam the corridors, so be ready to fight or outmaneuver them. Explore 1F in its entirety, picking up the 2nd Floor Hallway Key Laura kicked away from you earlier.
Coin [Man] location: Apartment 206 safe combination
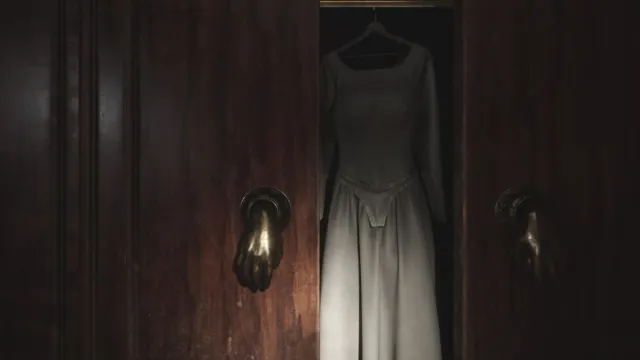
You need to grab the Golden Apple Handle from the closet in Room 108. Now, head to 2F and turn left immediately, using the Hallway Key to enter this section of the second floor. Remember the location of the small room next to 212; this is the halfway point of the Garbage Chute.
It’s helpful to head to 217 next, as the Handgun is here. We don’t recommend using this weapon to handle Mannequins or Lying Figures however. You should stockpile ammunition instead for Brookhaven Hospitals and boss fights. To progress, find the Apartment 212 Key from Room 213. Pyramid Head will disappear, giving you safe passage into the other side of 2F.
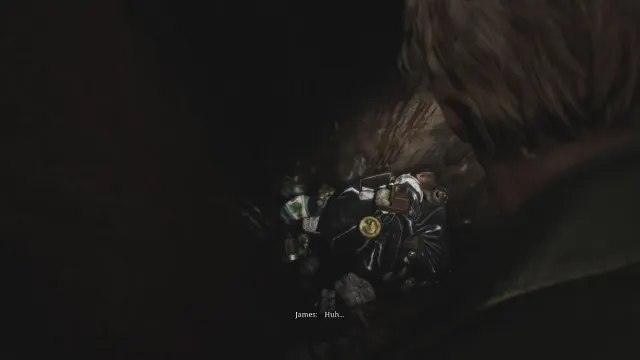
You can interact with the outside staircase between 210 and 207 to lower it onto 1F’s Courtyard, giving you another way back to the ground floor. Continuing your exploration, you can use the Golden Apple Handle on the closet within 208, taking you straight to 206 and trapping you inside a puzzle box. The safe combination is as follows: Right 13 – Left 7 – Right 11. You will get the Coin [Man] and key to escape the room.
Coin [Woman] location: Garbage Chute guide
One Coin down, head to 205 to pick up the 2F Small Staircase Key. Backtrack to Room 213 and use the key on the northern staircase. Remember that side room with the Garbage Chute? Ascend the northern staircase and head to that side room via the third floor.
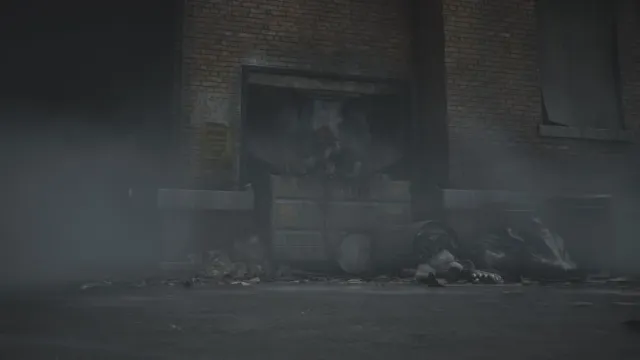
Use the Canned Juice in the room and pour it inside the chute. The blockage will clear with the Coin rolling out into the center of the Courtyard. You can quickly access this area from the northern staircase, returning to 1F and unlocking the door to the Courtyard. You can also find Eddie in Room 116 while you’re on the way to pick up this Coin.
Coin [Snake] location
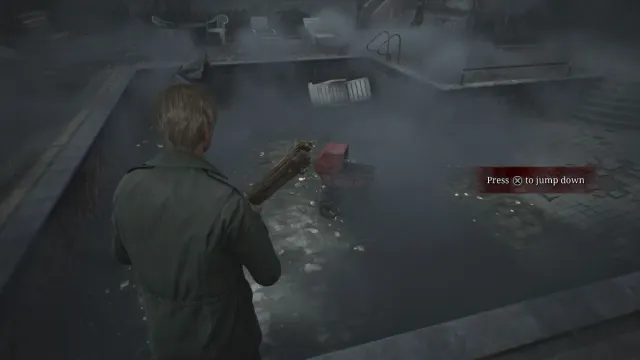
The final Coin is incredibly easy to find after meeting Eddie. Room 116 opens out to the pool outside. Lying Figures protect the pram in the drained pool as it houses the Snake Coin. You can either lure them out of the pool, defeat them with your weapon of choice, or leg it to the pram in hopes that you don’t take any damage. I bravely chose the latter.
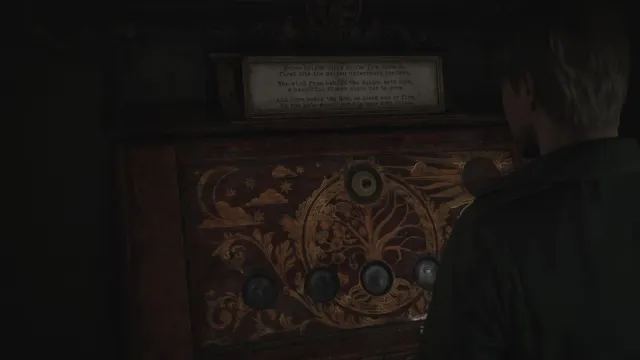
Coin Cabinet solution
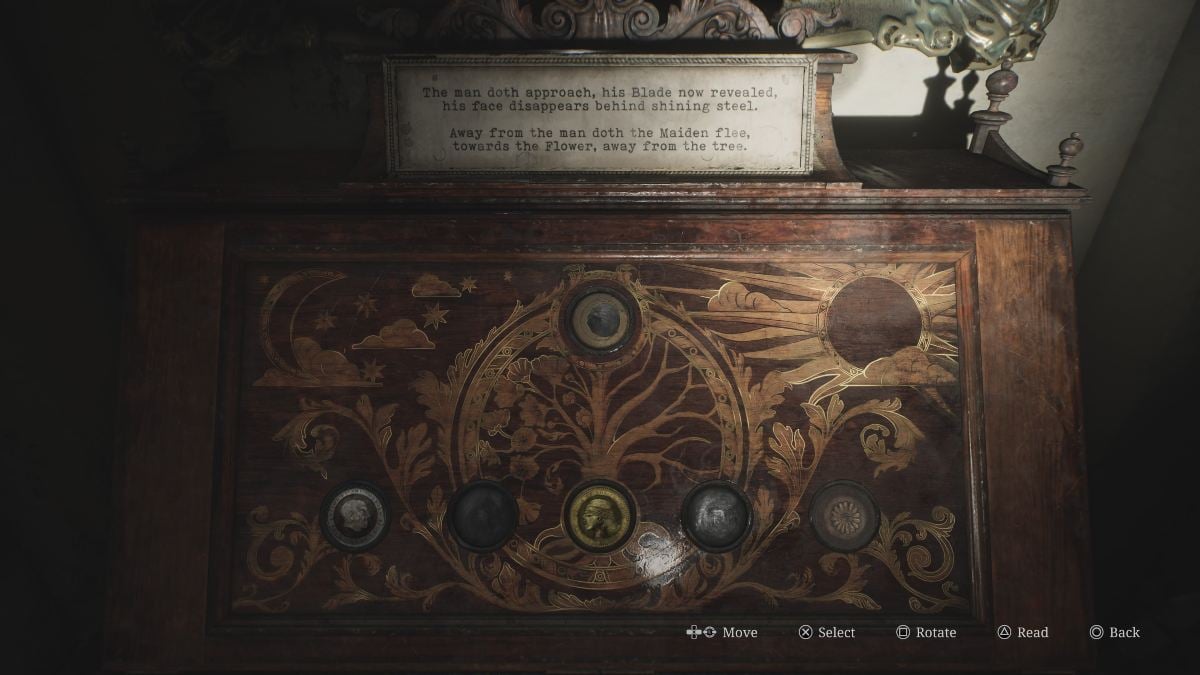
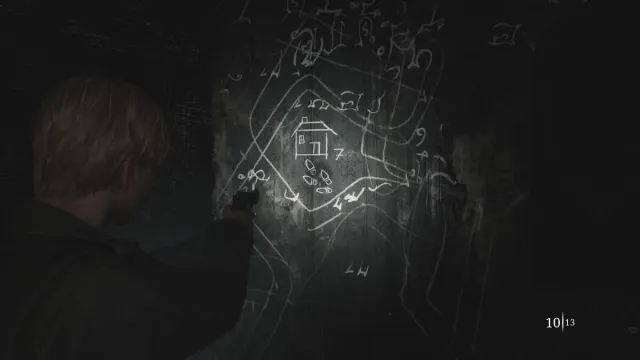
Return to the Reception room of Wood Side (where you can save the game) now that you have all three coins. The Coin Cabinet puzzle tells the tale of the Maiden and Man. You must put the three Coins in the correct slot, corresponding to each part of the tale. Each Coin can be flipped to reveal a different engraving. Here is the order:
- First part: Man (slot one), Woman (slot three), and Flower (slot five).
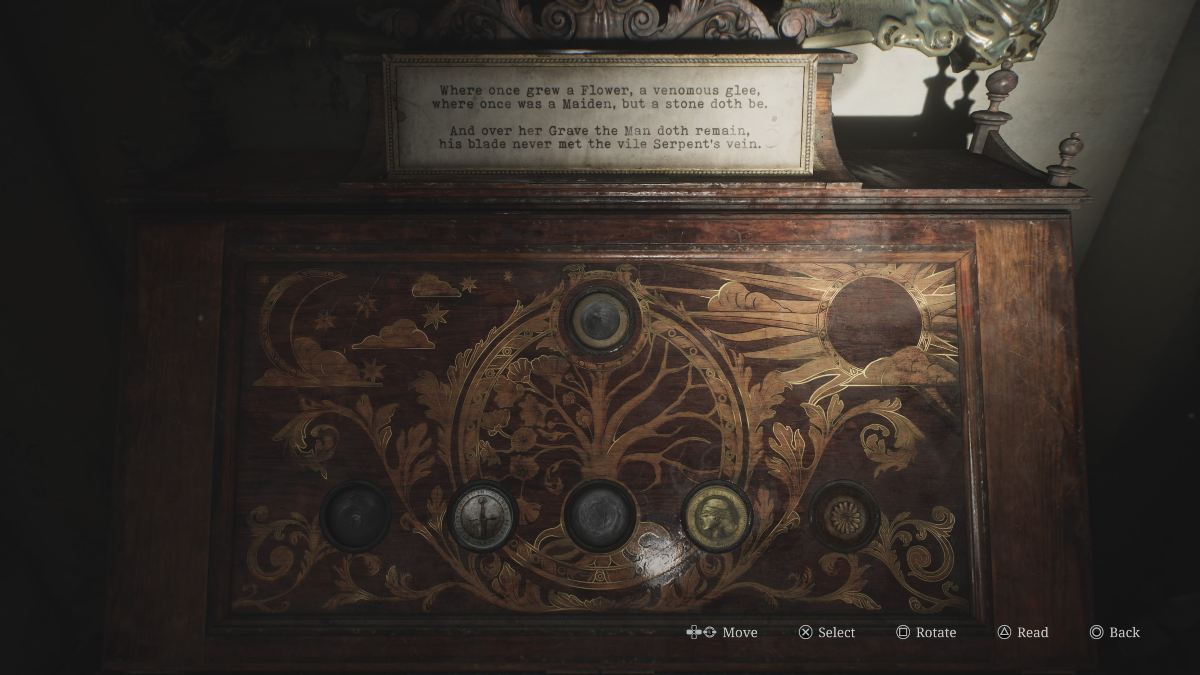
- Second part: Sword (slot two), Woman (slot four), and Flower (slot five).
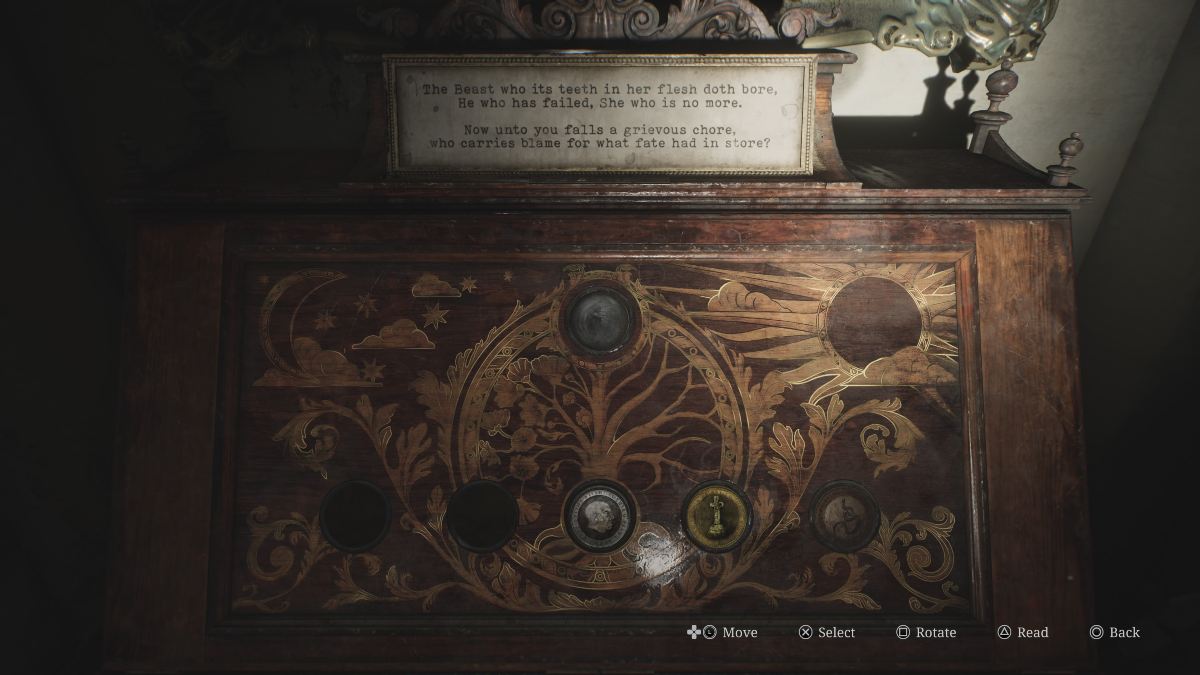
- Third part: Man (slot three), Gravestone (slot four), and Snake (slot five).
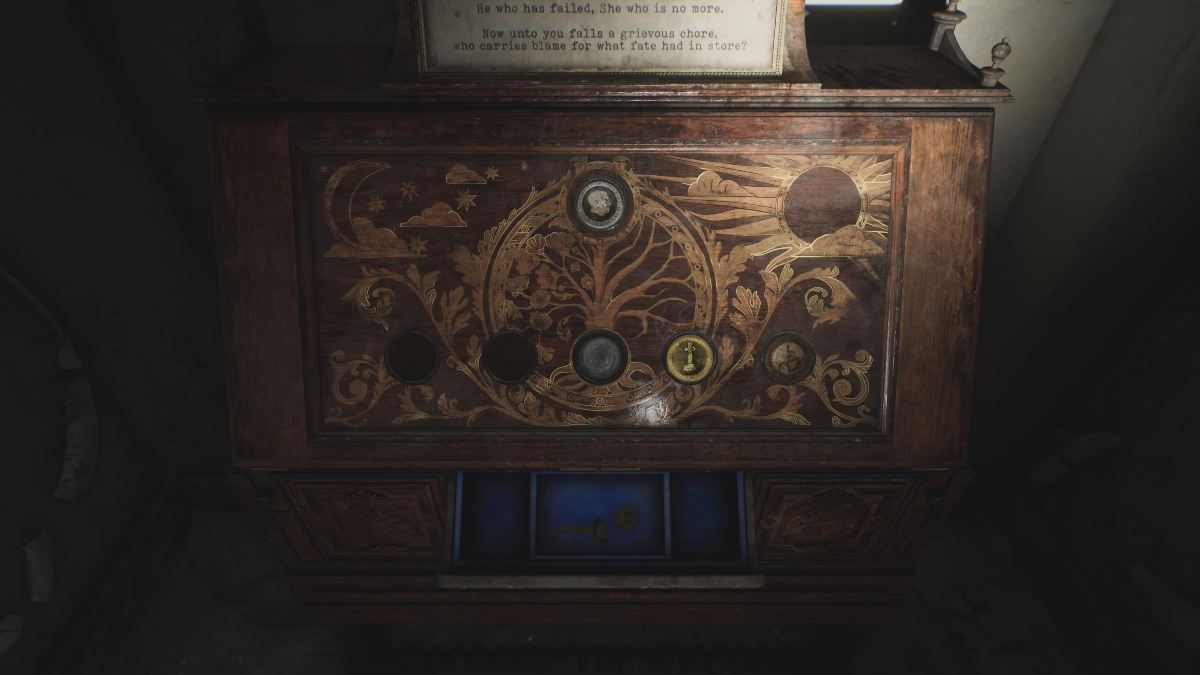
- Fourth part: Man carries the blame (place Coin in the slot atop the tree).
From here, the path is laid in front of you; head to Room 201 and enter the otherworldly Blue Creek Apartments.
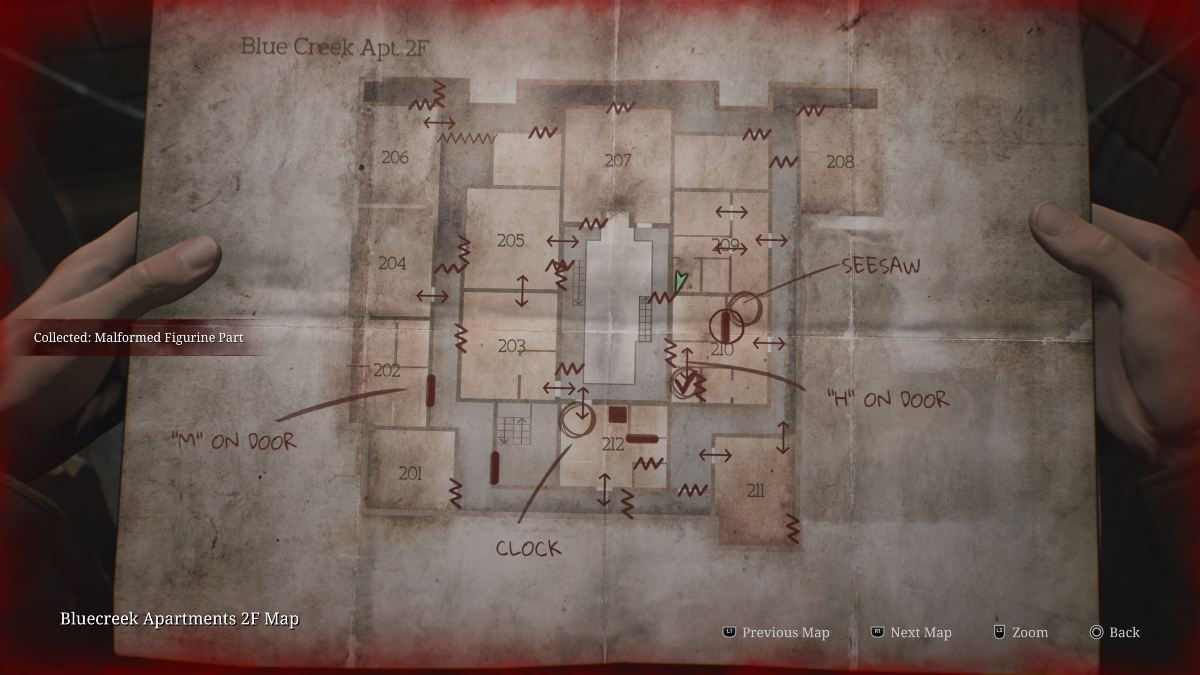
Silent Hill 2 remake Blue Creek Apartments walkthrough
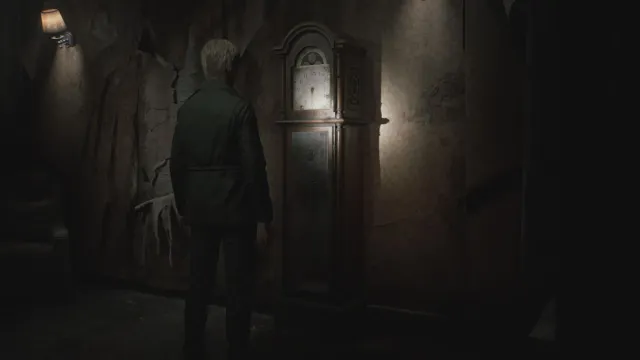
The Blue Creek Apartments centers around the Grandfather Clock puzzle. Instead of simply opening a path behind the clock after solving it (as seen in the original), the other world’s multi-layered clock puzzle takes center stage as an appetizer to the Pyramid Head’s boss fight. The clock requires its hands to function. You need to find the Hour, Minute, and Second hands to complete the puzzle. The best place to start is in Room 307.
Hour Hand location: Radio puzzle solution
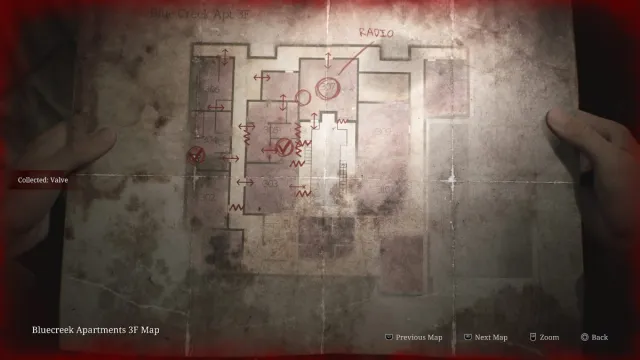
To get to Room 307, go onto the balcony of 212 (Clock Room) and walk through 203. I’m ashamed to say that it took me quite a while as I wandered around aimlessly before I found the breakable wall in 203. You can get to the third floor via the staircase directly outside Room 205.
Locate the Valve from the wall opposite 304’s entrance to release the Radio inside 307. This will get you the Hour Hand from the Radio when you place and turn the Valve in the Radio Room. Be sure to pick up the Apartment 306 Key from Room 305 while you explore. Backtrack to the Clock Room and place the Hour Hand on nine. This unlocks the H Door on the balcony.
Minute Hand location: Seesaw puzzle solution
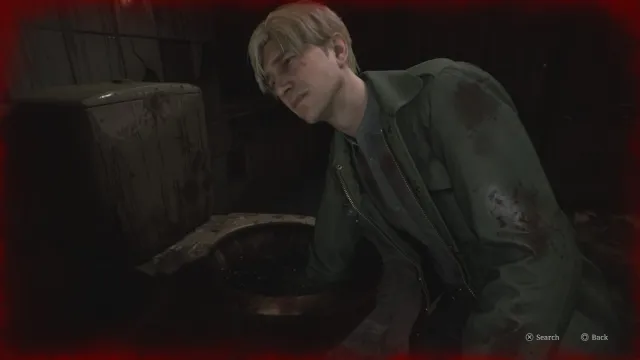
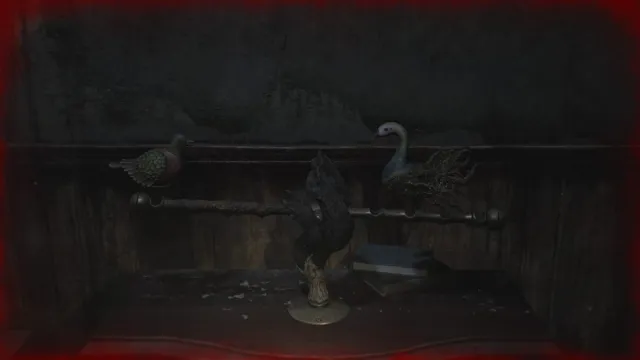
James is a lucky man, as the Minute Hand follows shortly after obtaining the Hour. Head into the H door and immediately into the room on your right. Interact and search the clogged toilet to obtain the Minute Hand. You can’t leave this room so easily, though. A Seesaw puzzle requires your attention, where a Pigeon and Swan Figurine are key components to finding the solution. The Pigeon Figurine reveals itself to you upon finding the Minute Hand. But, the Swan is tougher to obtain as it comes in two parts.
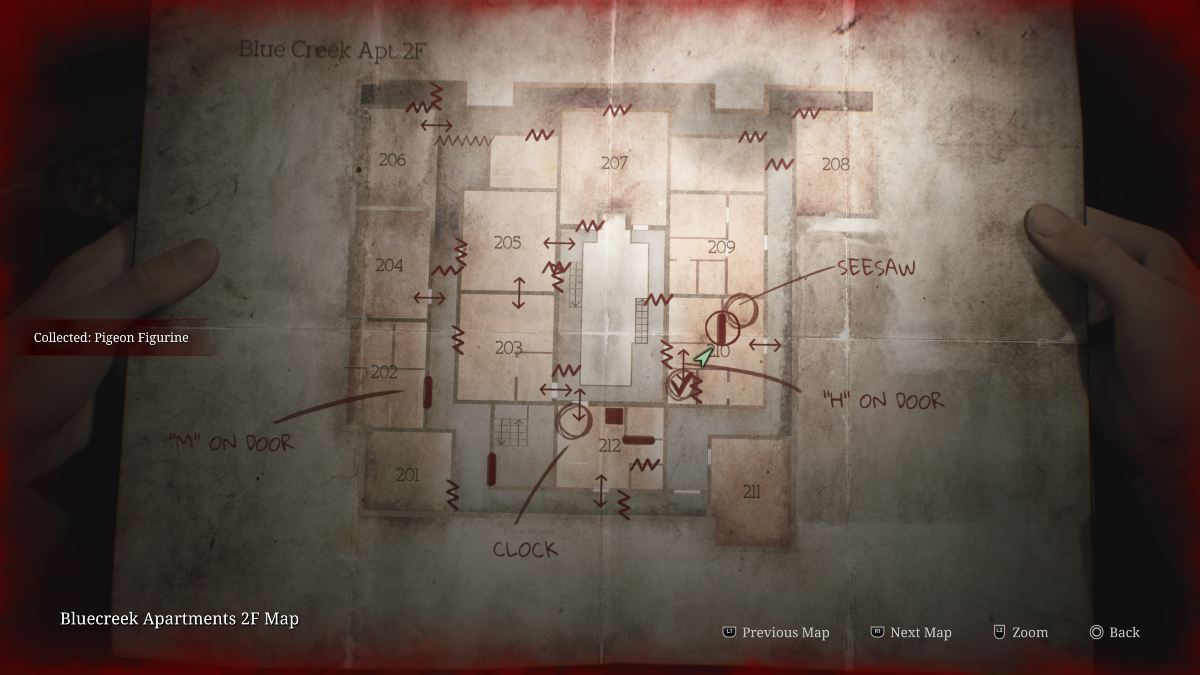

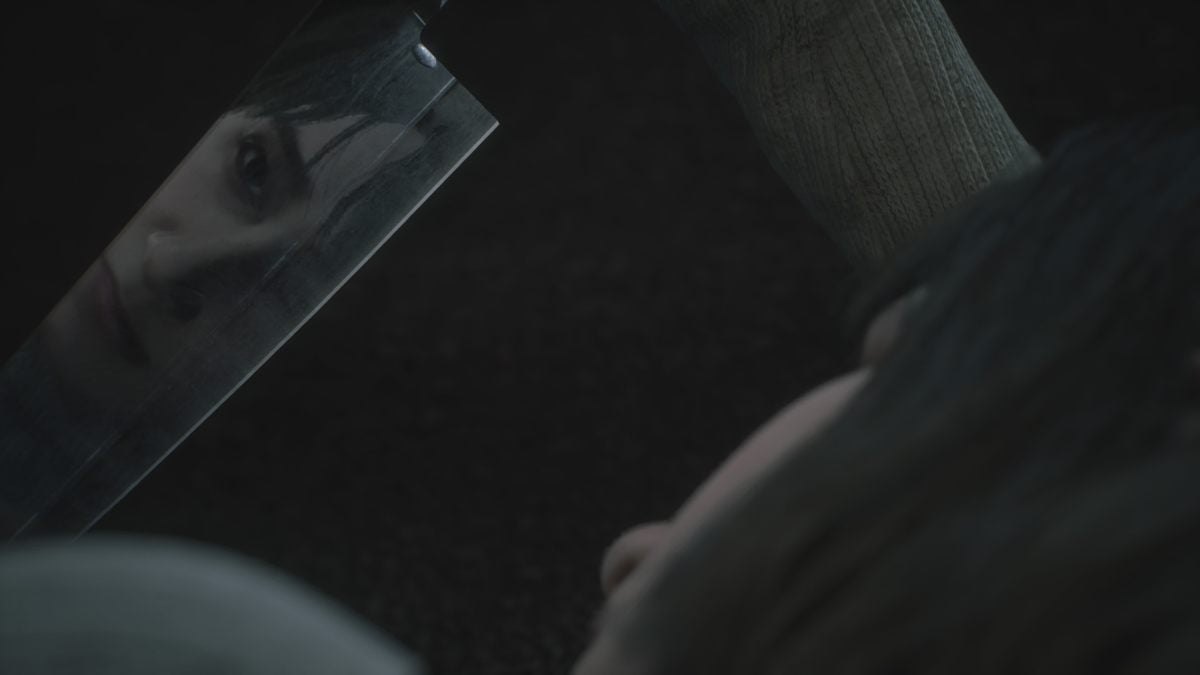
Find the Wooden Swan Head inside Room 211, after which you can find the Malformed Figurine Part from the bathroom of 209 (break the glass in the shower to pull the item from the rope). Combine these items back in the H Room and place the Swan on the second slot to balance the seesaw. The puzzle gives you the Winged Key, which lets you drop into Blue Creek’s first floor. From here, go to Room 109 to find Angela, her knife, and the Key of Resilience (which is a bit dramatic for a key name).
Although the S Door is on the first floor, you have to head back upstairs and place the Minute Hand onto the clock. Set it to two (or ten past nine).
Second Hand location: Moth puzzle solution
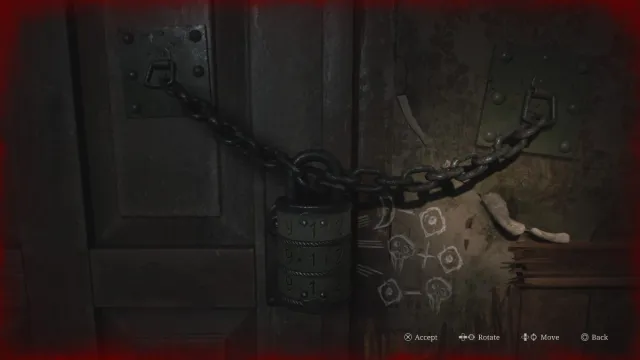
With the Hour and Minute Hand successfully added to the clock, the M Door is now unlocked. Head to Room 202, where the Moth puzzle demands your attention. Massive dead moths are scattered across the apartment, each with clipped wings and unique markings. You need to add up the total number of eye, crescent moon, and skull markings on each wing and use these numbers to solve the short math equations on the door.
There are eight crescent moon, five eyes, and two skull markings across the moth displays in this room. With these you can work out that the combination is 3 7 3.
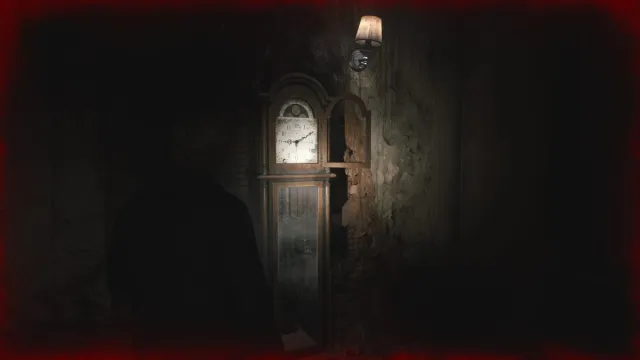
The final hand is pulled out of the ominous hole with dripping green slime. With all three hands acquired, backtrack to the Grandfather Clock for the last time and set the Second Hand to three (or 15 seconds).
How to survive your Pyrmaid Head first encounter in Silent Hill 2
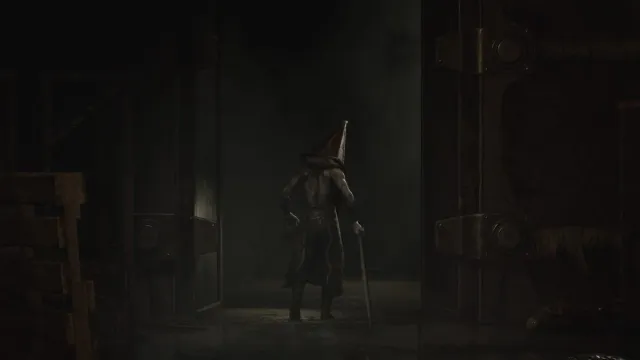
Heal yourself if you’ve taken damage before you venture beyond the S Door on 1F, for danger lurks behind the final door of Blue Creek Apartments. Pyramid Head has sharpened his blade and is eager for your arrival. But it’s best not to face him head-on. Save your ammunition and maneuver around the room, avoiding his heavy strikes. All you need to do is survive the encounter for 2 minutes 40 seconds. Then, a horn sounds, signaling Pyramid Head to leave.
The Wood Side and Blue Creek Apartments have been conquered. It’s time to proceed to Rosewater Park and Brookhaven Hospital.


Published: Oct 7, 2024 05:47 am