The survival crafting system in Once Human is so in-depth and detailed that you probably weren’t expecting the ultra-difficult puzzles needed to complete certain side quests. Honestly, you probably weren’t even expecting side quests. Well, Unfinished Expedition would like to speak with you.
Unfinished Expedition starts out under the guise of a normal exploration fetch quest. It starts at a lighthouse and tasks you with gathering from nearby journal fragments, all of which have quest markers. Once you actually start the gathering leg of this quest, however, everything changes. Unfinished Expedition makes you solve a deviously challenging puzzle to reach one of those quest markers—and the game doesn’t even tell you that the puzzle exists. Here is a full walkthrough on how to complete the Unfinished Expedition quest in Once Human.
How to start Unfinished Expedition in Once Human
There isn’t any hard level requirement to begin Unfinished Expedition, but there is a quest prerequisite. You need to have progressed the main quest long far enough to have met Maxie in Meyer’s Market before this quest will show up. Thankfully, that point in the story comes very early.
Outside of needing to have met Maxie, this quest doesn’t have special requirements. With that said, you will need to be able to deal with plenty of level 17 Rosetta enemies, so do with that information what you will.
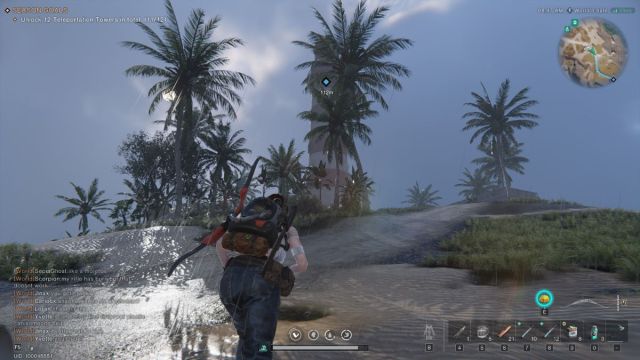
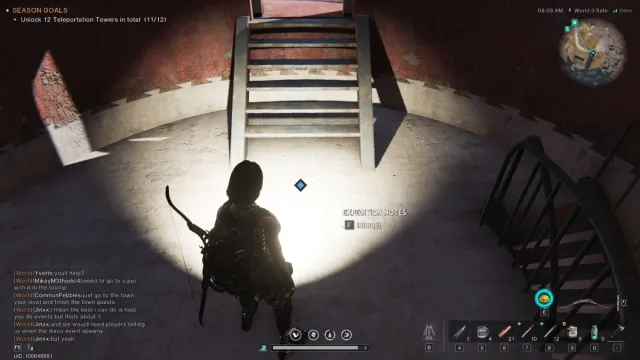
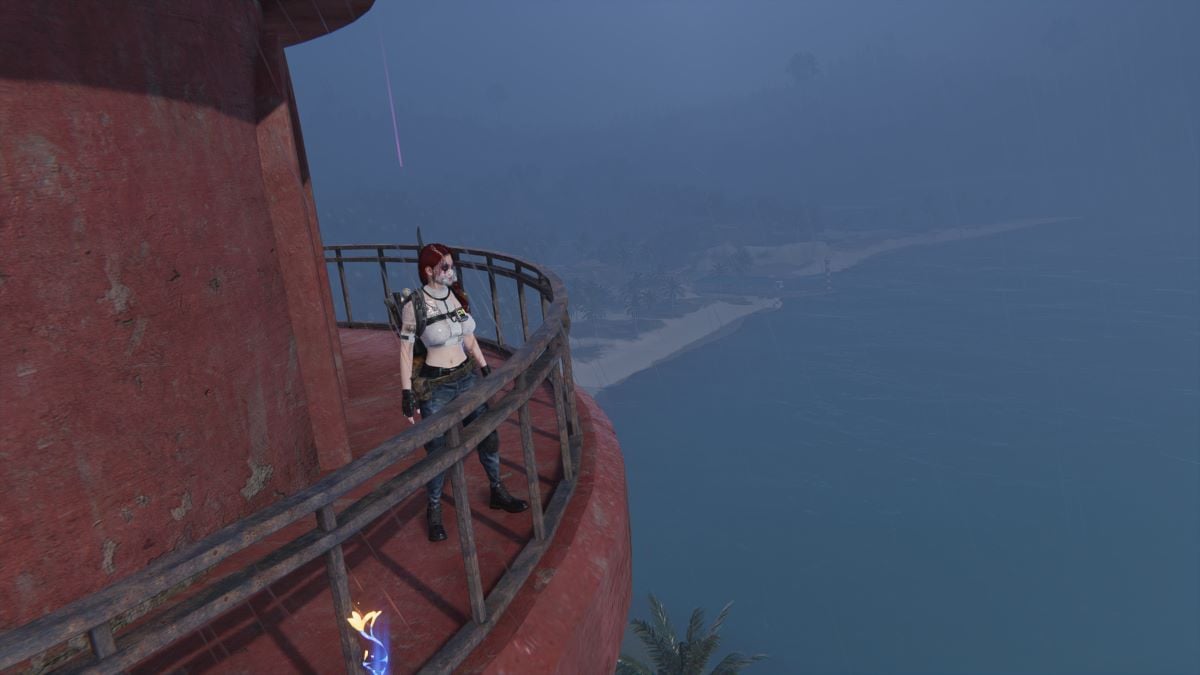
To begin Unfinished Expedition, go to the lighthouse southeast of Meyer’s Market, coordinates (6648, -9999). Go up the seemingly endless staircase and interact with the Expedition Notes clue when you finally reach the top of the lighthouse. This will begin the quest and update your Journal to the brunt of the task, which is finding three Rosetta research documents on the nearby island.
How to find the Rosetta Research Documents in Unfinished Expedition
There are three documents you need to find, and jumping from the top of the lighthouse towards the closest marker will put you on track to finding each one in “order” (you can technically get them in any order) from simple to tricky to downright cruel.
How to reach the shipwreck Rosetta Research Document
This first document is the easiest one to reach. As you approach the quest marker from the direction of the lighthouse, you’ll come to a dock filled with Rosetta Agents. Take out the agents, and you should see that the marker is pretty clearly on the hull of a large half-sunken ship about 50 meters out to sea.
I think you probably can reach the ship by swimming, but that’s a “probably” that you shouldn’t test out. On the right end of the dock, there is another mini lighthouse with a ladder. After climbing that ladder to reach the top of the lighthouse, you can jump and glide to reach the ship quickly and safely.
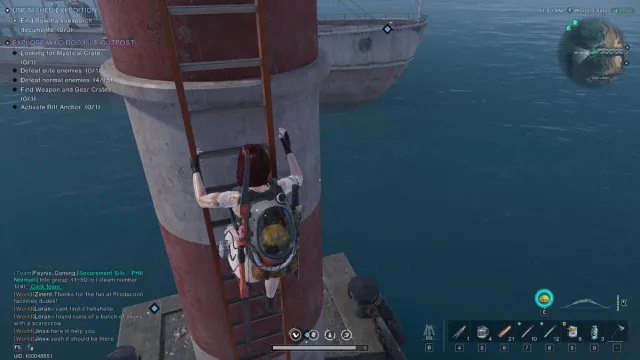
The first Research Document, named Environmental Security Records, sits on the deck at the front of the ship. Unless you count gliding to the ship as a puzzle, there is no puzzle-solving needed for this first document—just grab and go. The other two are not so simple.
How to find and solve the Medical Records Document
The next Research Document requires a key card and the completion of a pretty simple puzzle. Follow the quest markers to make your way into the Rosetta base on the island beneath the lighthouse, and before long, you’ll come to a hospital with a locked glass door that requires a key card to open.
To get this key card and reach the Medical Records terminal visible past the glass door, you need to defeat and loot a nearby elite enemy. To the right of this hospital, there is a fenced-off landing pad with a helicopter parked in the middle of it. Go to the helicopter on the landing pad, and you’ll immediately get jumped by a hulking knock-off Iron Man with a shield.
The fight isn’t too difficult, but you do need to make sure you’re landing headshots or finding some other cheeky way to bypass the elite enemy’s shield. When you defeat him, make sure to loot the Rosetta V2 Access Card from his corpse, as this is the only way to progress the quest.
If the elite enemy isn’t there or something goes wrong with the looting step, don’t panic. Elite enemies respawn about every 10 minutes, and you can also quickly swap to a different world and repeat the fight.
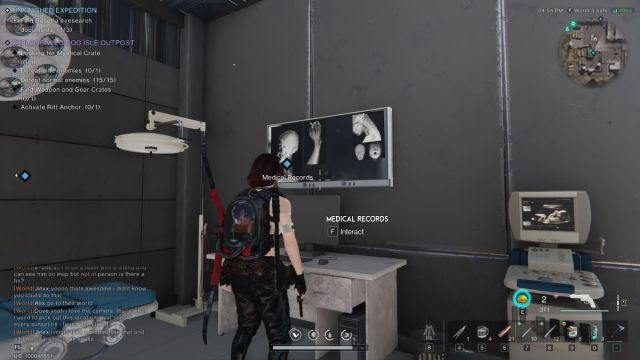
Once that is sorted, go back to the hospital and use the access card to unlock the glass door. Head up the stairs and interact with the Medical Records terminal, which will display a pretty convoluted-looking puzzle made up of a large circle and a “Current Progress” loading bar at the bottom.
To solve the puzzle, you need to use the three icons on the right to rotate each individual layer of the circle until the numbered chunk of the corresponding layer is lined up with the bottom of the circle. Moving the outer layer also rotates the two inner ones, and the same is true of the middle and innermost layers, so you should start with the outside and work your way in when solving this puzzle.
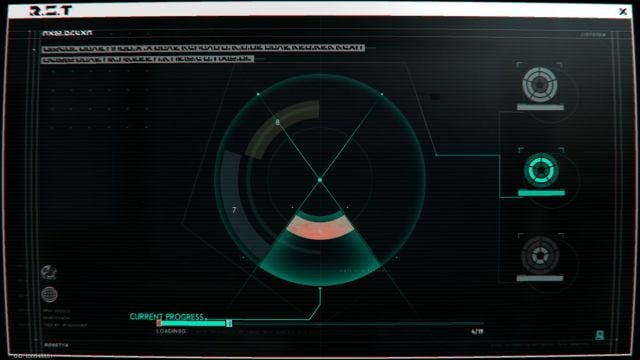
Once all three layers are lined up at the bottom of the circle, the Medical Records puzzle will be completed, and you’re ready to head to third and final Research Document. Strap in, because this one is a doozy.
How to solve the Army Records hidden door puzzle
Continue past the hospital and into the Rosetta Army Base. One of the first buildings on the right clearly hosts the third and final quest marker for the last Research Document. There’s just one problem: the building doesn’t have any doors.
Don’t worry, this isn’t a bug—just an evil puzzle. Face the building from the gate where you entered the army base, and you should see that there are two halves of a single picture painted on the side of the building and a storage crate resting alongside it. The fractured picture is of a little girl in a garden, and at face value, the puzzle feels simple enough: find the right angle to line up the halves of the picture.
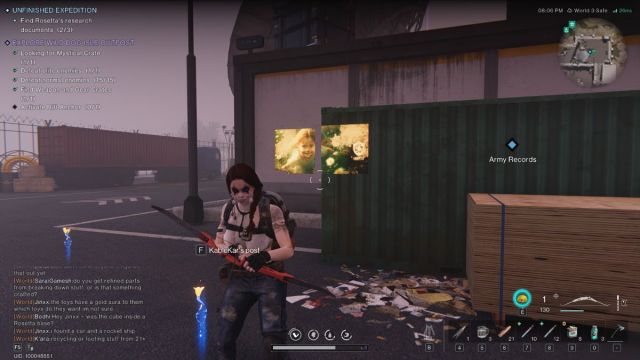
The problem is, you need to get that angle 100 percent perfectly spot on, or the hidden door will not appear. Now, you will likely see tons of Whispers on the ground telling you that you need to use the game’s camera mode here, and that just isn’t true. Kudos to the people who somehow managed to do this in camera mode, but you don’t have to, and navigating the less fine-tuned controls makes this puzzle even more difficult than it actually is.
There are likely multiple spots where you can properly line the picture, but after about 10 minutes of tinkering and frustration, I was only able to find one very specific spot that works. To line the picture up, I stood with my character’s right foot perfectly lined up with the right edge of the opening in the chain-link fence.
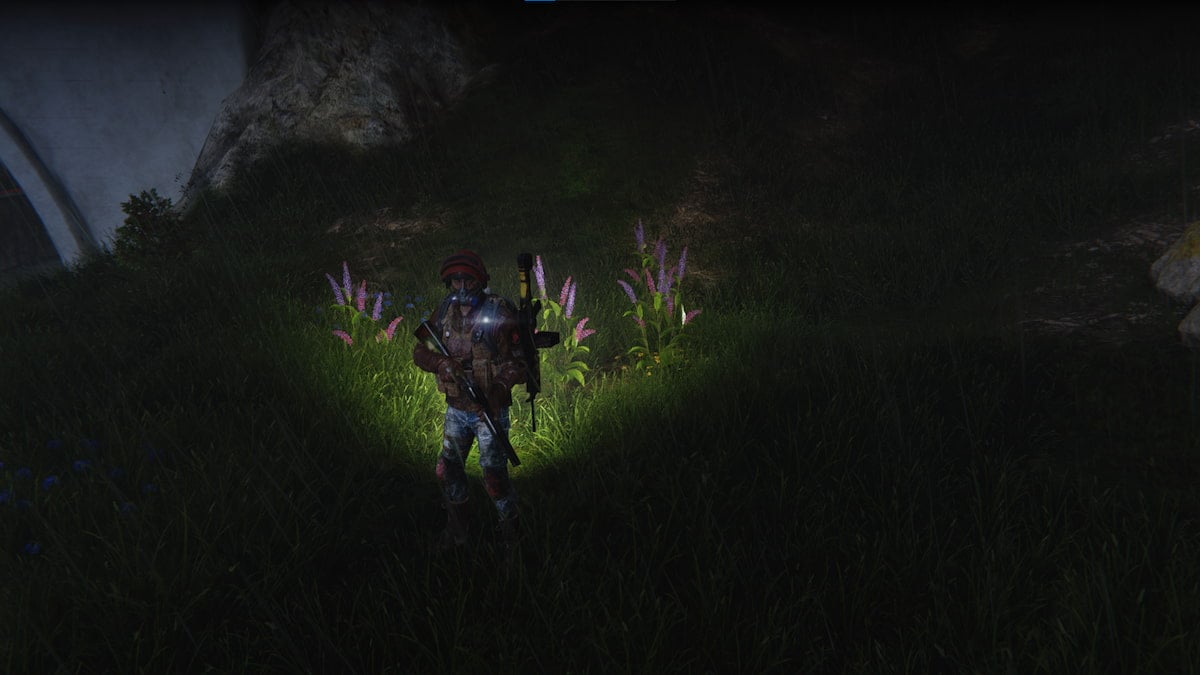
Standing here meant that my character wasn’t actually facing the picture, and that wasn’t a problem. In fact, I think it’s the only way. It doesn’t matter if your character is facing the picture, just that your view port is. Here is a photo of the exact place and direction I faced when I finally managed to line the picture up properly.
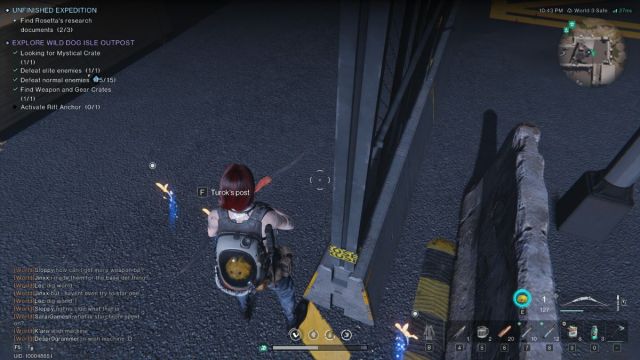
As soon as you get the proper alignment, the game makes it obvious. The picture will disappear entirely, and the half that was on the building itself will be replaced with an open doorway. You can walk inside and grab the Army Records Document with no further tomfoolery.






Published: Apr 10, 2024 12:45 pm