The Black Trench is one of the most challenging areas you’ll face early on in No Rest for the Wicked. The labyrinth of sewers underneath Sacrament features unfamiliar enemies and plenty of corridors to get lost in.
Exploding monsters, plague-bearing leeches, and enemies that split in two after you destroy them await you down here. So here’s some help to make it through the Black Trench in No Rest for the Wicked.
Table of contents
How to reach the Black Trench in No Rest for the Wicked
To reach the Black Trench, you’ll first have to unlock and reach the Sacrament sewer entrance. Doing so requires you to progress the Of Rats and Raiders questline past the first fight against Darak and the freeing of Rattigan from the cells in Sacrament.
How to complete the Black Trench in No Rest for the Wicked
To complete the Black Trench, you’ll need to activate a series of sewer levels and collect a Sewer Level Handle to eventually reach Darak. All the sewer level locations, in the order they need to be hit, are marked on the map below, with a full walkthrough underneath.
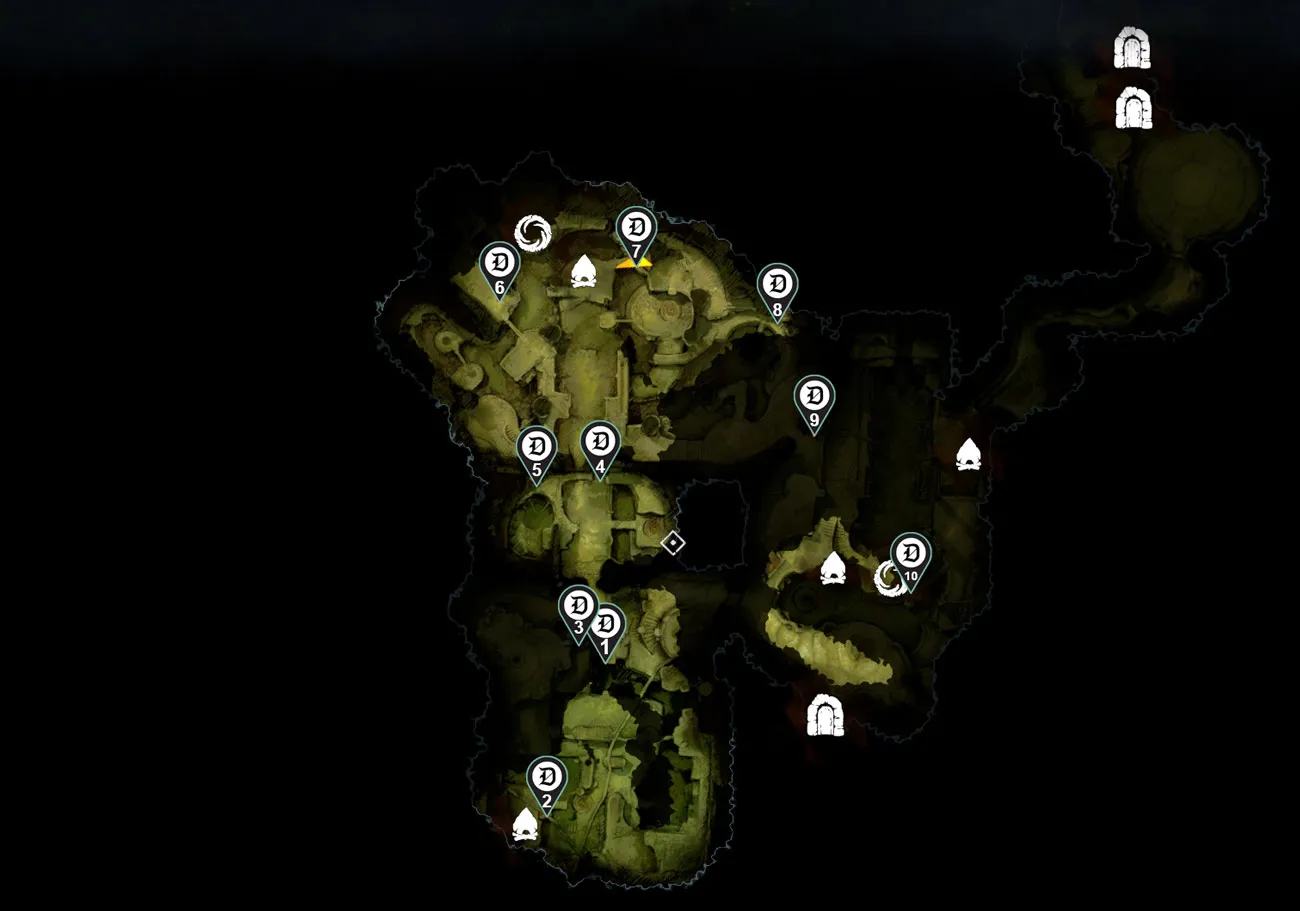
Once you enter the Black Trench, connect to the nearby Cerim Whisper. Then, walk down the spiral staircase and head to the end of the sewer channel to grab the Drainage Cellars key. Head back and use the key to open the door to the left of the main entrance.
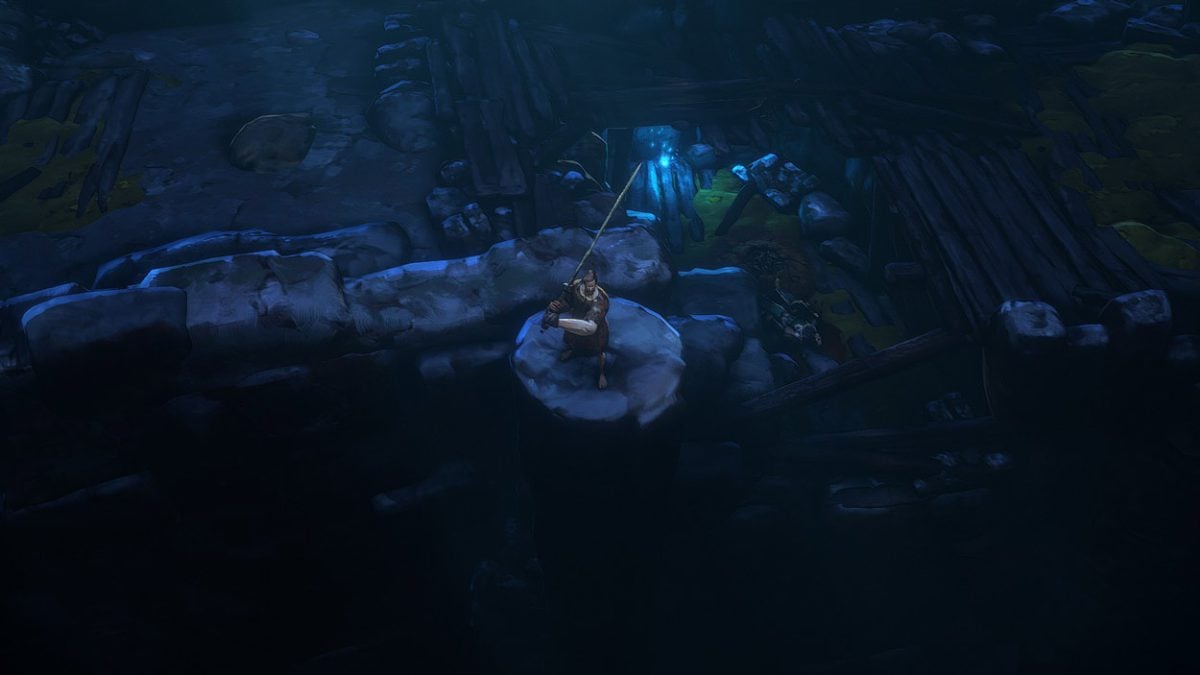
Head down the staircase that leads south and pull the lever to extend the bridge. Continue heading south until you find another level, pull it, and jump on the platform it raises. Jump to the platform to the left and hug the left wall until you reach a lever that extends the other bridge where you started.
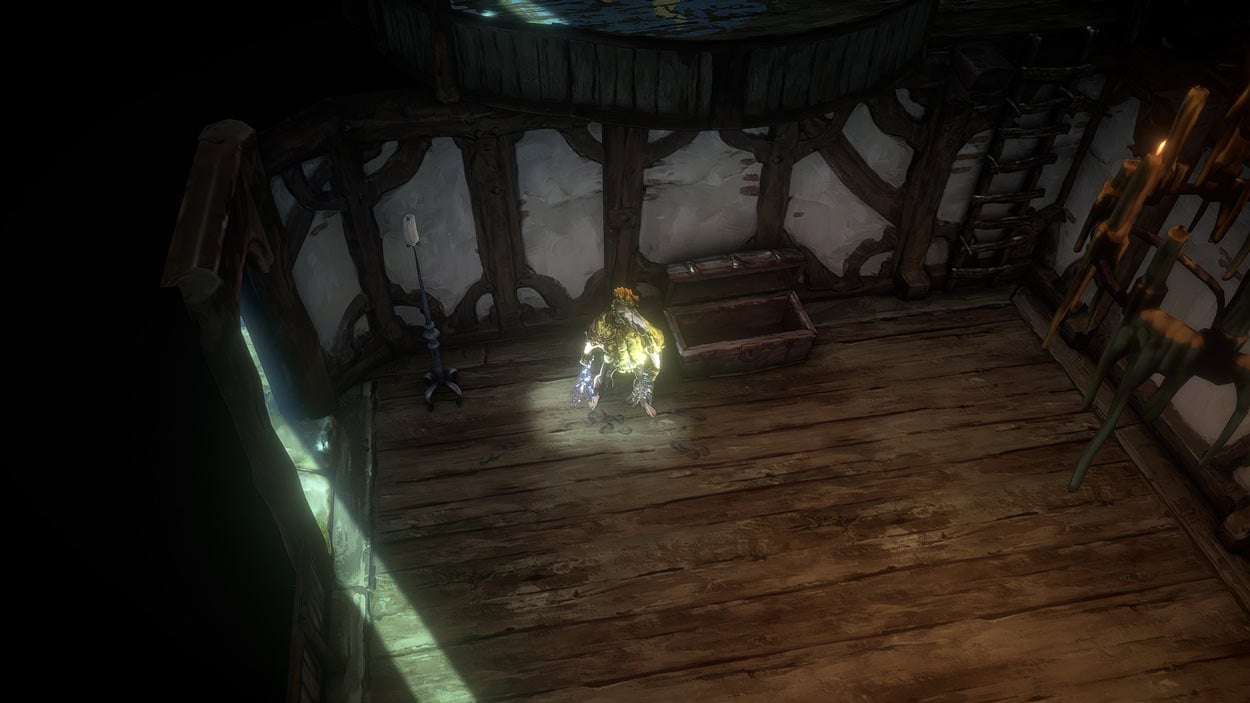
Now cross the bridge to the left and walk up the spiral staircase. You’ll either find an elite enemy or a chest containing the Water Channel key. Take the key back to the big wooden door you passed. In the next room, pull the lever to raise the platform to reach the second level, which will drain the water, allowing you to progress to the next room.
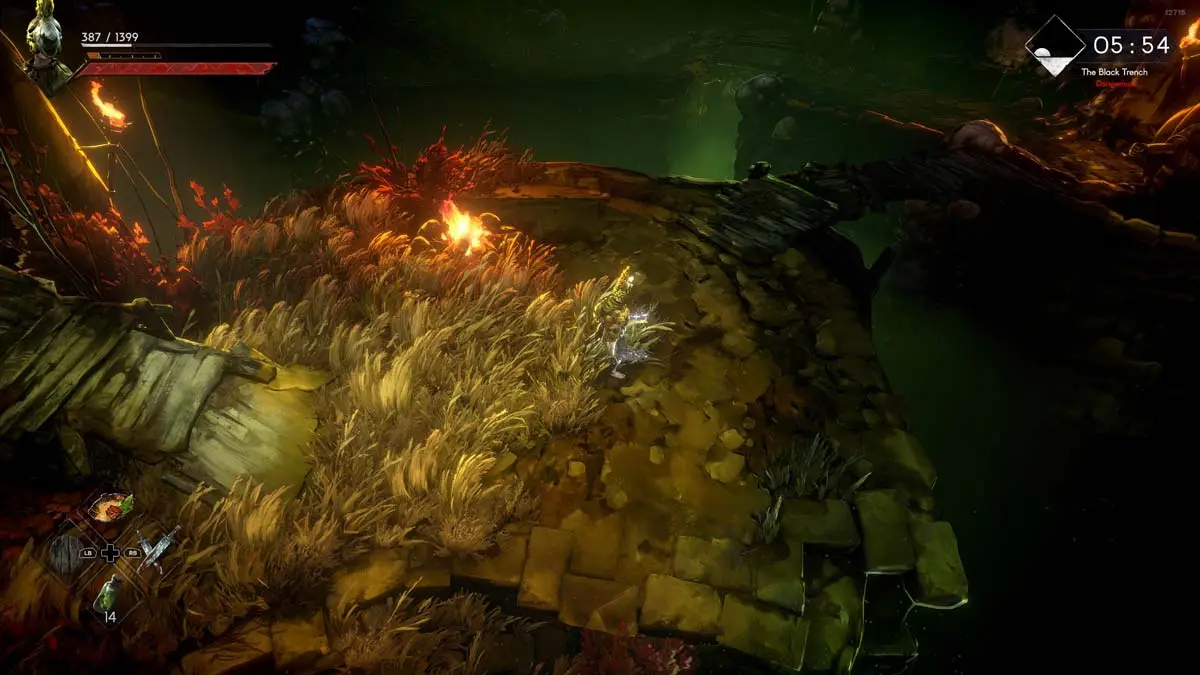
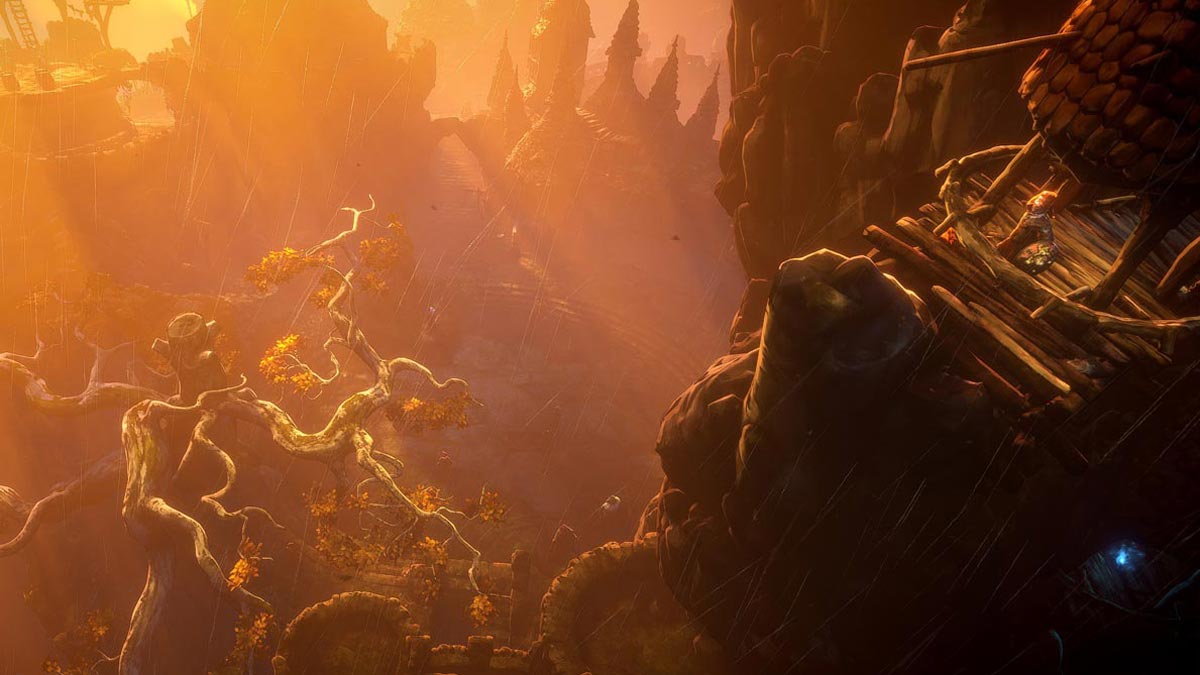
In the next room, walk through the grass toward the campfire, take a right, and go up to reach the Cerim Whisper. Then, drop down left of the campfire and follow the path until you reach a spiral staircase. Continue heading up onto the ramparts and cross a log to reach a Sewer Level Handle next to another sewer lever. Head back to the campfire, go right, use the lever there, and run to the raised platform south of you, where the pipes lead.
Hop off the platform and go right down to a circular room filled with pipes. Activate the sewer level there to raise the water. Head left onto the wooden bridge and jump down onto the large pipe. Swim across the gap between the two wooden walkways. Climb the ladder, follow the path to the right, and activate another sever lever to raise the water in the main chamber. Before jumping down, head up the spiral staircase and kick down the ladder.
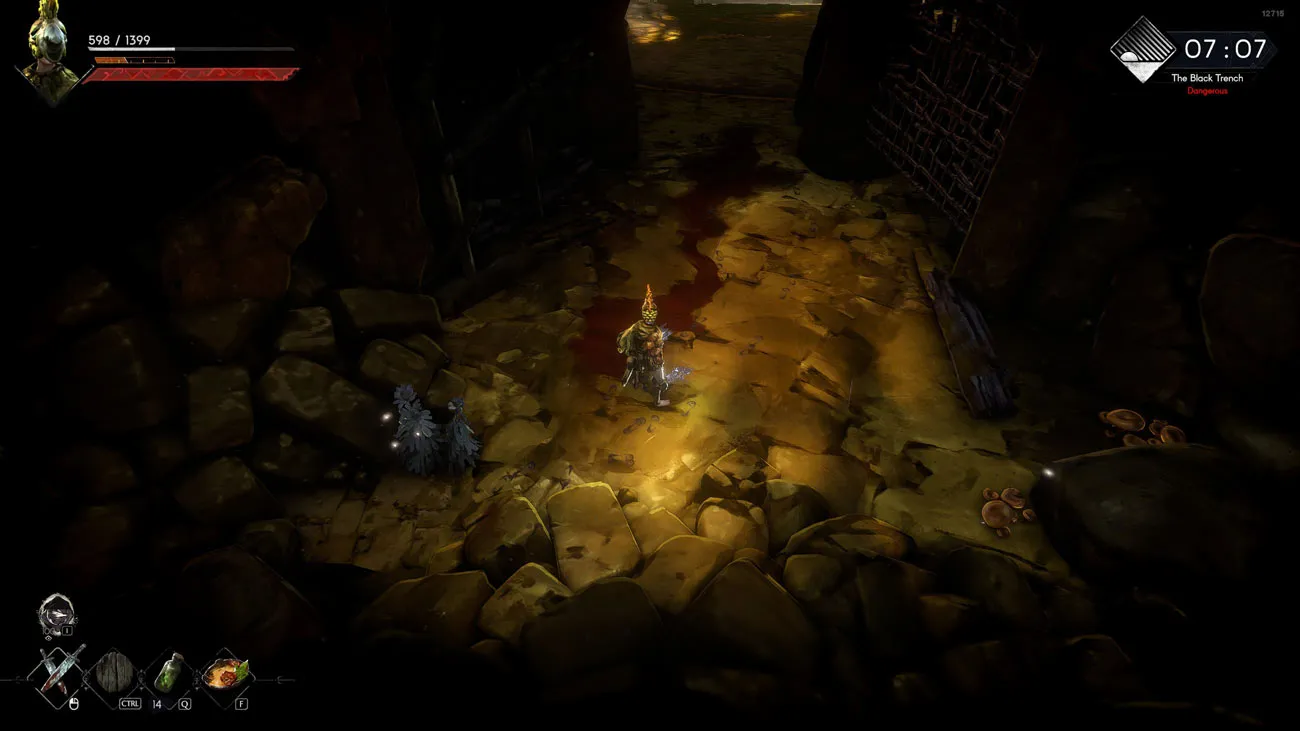
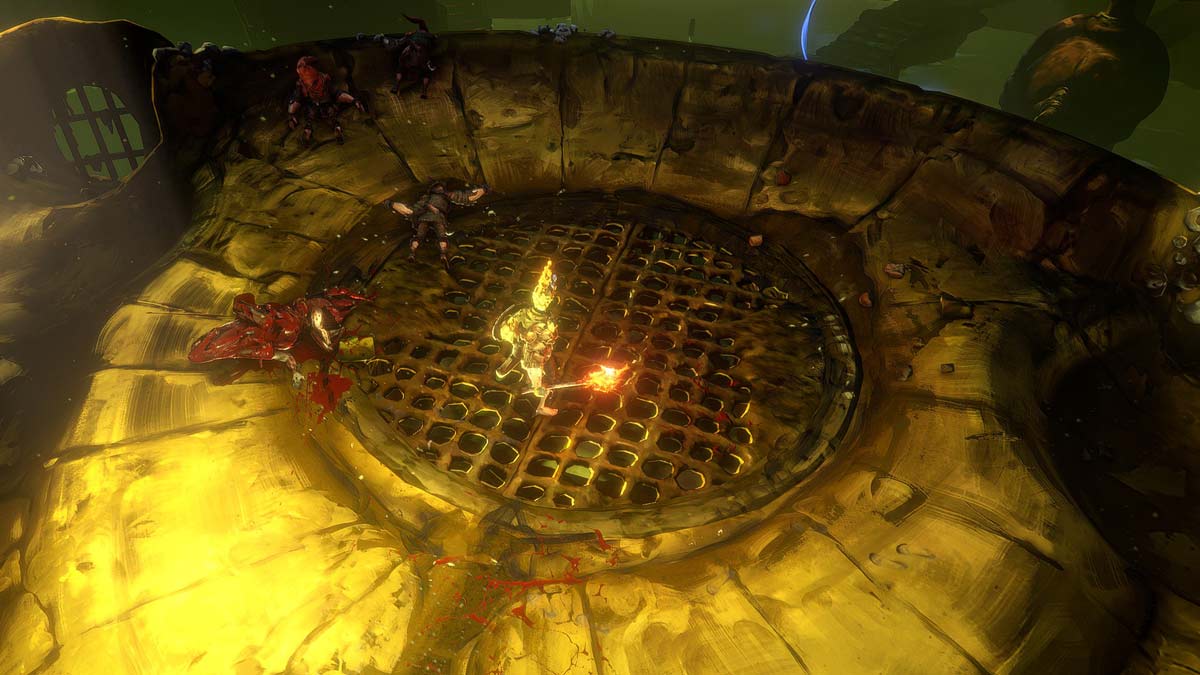
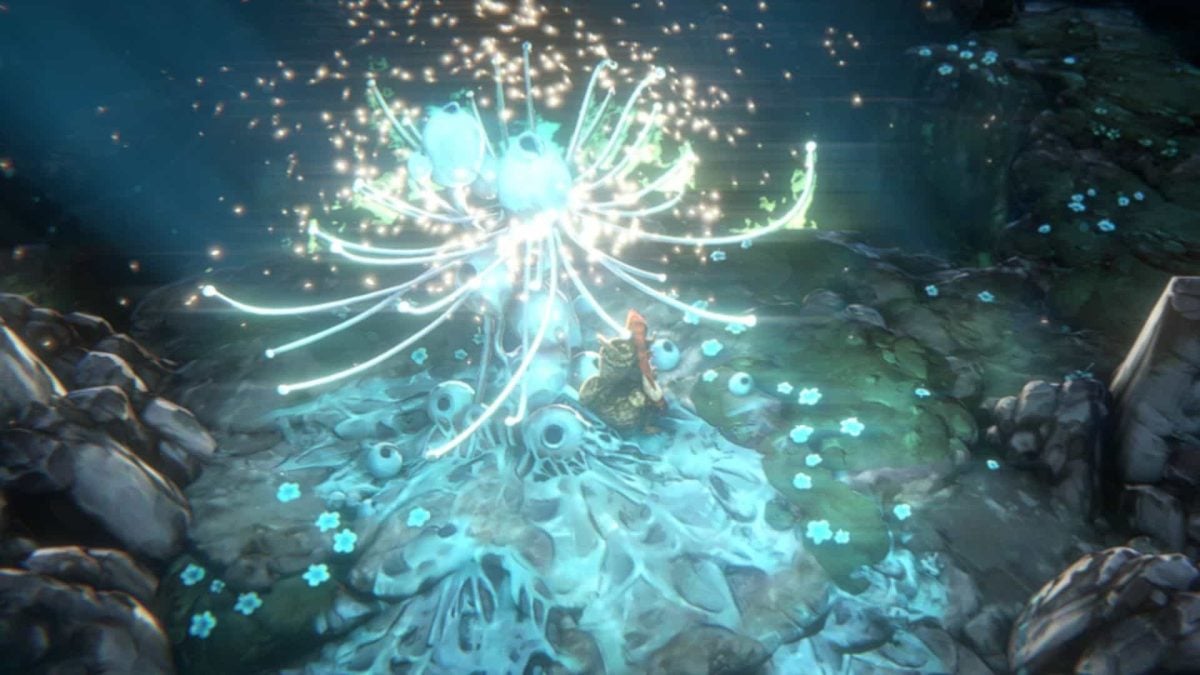
Go back to the first Cerim Whisper and activate the sewer level next to it to extend the bridge. Follow the path north, and you’ll eventually face Darak a second time. Bring your best weapons and food items to this fight since there are two phases to it. And be prepared to dodge his heavy swings and plague attacks.







Published: Apr 25, 2024 01:25 pm