Final Fantasy XIV offers various kinds of experience to the fans—from story content to fun mini-games, as well as more challenging content for the players who want to polish their skills.
The hardest content available in the game right now are Savage and Unreal duties, while Extreme trials serve as a fitting introduction to those challenging bosses.
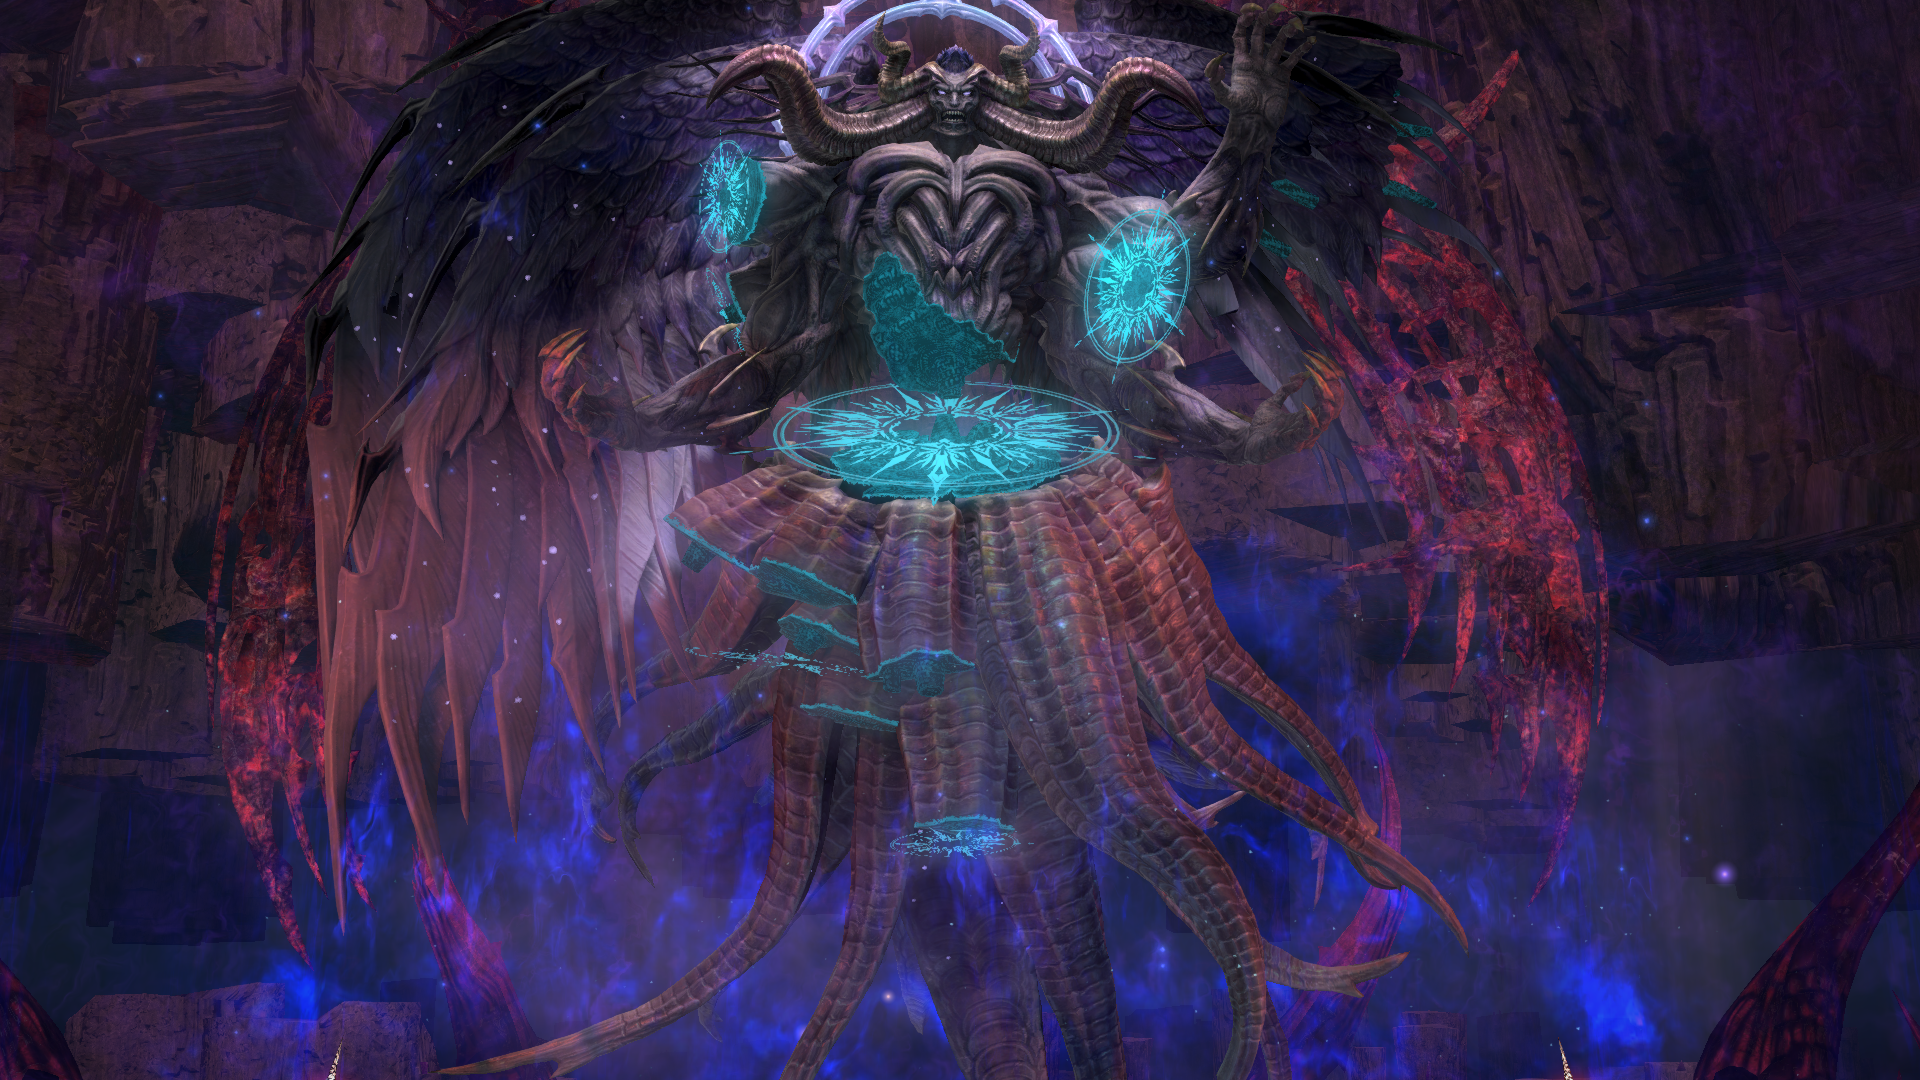
The Minstrel’s Ballad: Zodiark’s Fall is one of two Extreme trials introduced alongside the latest expansion Endwalker, the other one being Hydaelyn’s Call. Since the second one is harder, it’s recommended to start with Zodiark’s Fall.
On top of offering several hours worth of learning, practicing, and farming, the duty rewards the best gear in the game in patch 6.0 and the Lynx of Divine Darkness mount. If you haven’t already, here’s a guide on how to unlock the duty.
The duty isn’t as hard as Savage and Unreal content, because players can succeed without knowing its mechanics well. If one player knows which areas are safe, they can lead the others. Group-wise, there are only two stack mechanics.
On the other side, it still challenges the players’ skills on their chosen job with tank-busters, raid-wide attacks, and an Enraged phase where the group wipes if the boss isn’t defeated in time.
Here is the guide of The Minstrel’s Ballad: Zodiark’s Fall, featuring the explanation of his attacks in order.
Zodiark’s Fall Extreme trial guide in Endwalker
- Kokytos: Everyone’s HP goes down to 1.
- Paradeigma: Summons birds. Stay with the group under one bird to avoid AoE damage while stacking for the next attack.
- Styx: Five hits that must be soaked by the whole group.
- Ania: Tank-buster, the tanks must switch because of a debuff inflicted on the target. It has a large radius, so the target must get away from the group.


- Exoterikos: When the form tethered on the side is a purple triangle, avoid it by standing on the closest corner. When it’s a red square, stand on the opposite side of the platform.
- The first Exoterikos is always a triangle. Go close to the triangle and watch the boss closely: he’ll create either a triangle or a square between his arms. If it’s a triangle, go close to him. If it’s a square, get on the opposite side. Both mechanics will resolve simultaneously.
- Paradeigma and Algedon:
- Watch the boss closely before going to the safe space. He’ll head to one direction, either facing the southwest or southeast corners. He’ll wipe anyone on his way in a straight line, so identify the safe bird and stand on its outer half, close to the corner of the platform.
- Phobos: Group-wide attack and significant damage over time. Heal accordingly. If you have a White Mage, ask them to drop Liturgy of the Bell at this moment since it’s ideal for this attack.
- Exoterikos and Astral Flow:
- Astral Flow rotates the platform to 90 degrees and spawns two snakes. The snakes will rotate with the platform and will deal damage in a straight line, like in the normal trial.
- To survive, identify where the snakes will rotate and Exoterikos’ safe spot. It’s one of the trickiest parts of the fight, so don’t worry if you don’t get it instantly.
- Ania: Another tank-buster.
- Paradeigma and Adikia:
- Adikia is the same attack as in normal mode: the boss punches both sides of the platform. Hide under his head while avoiding the snakes’ attacks.
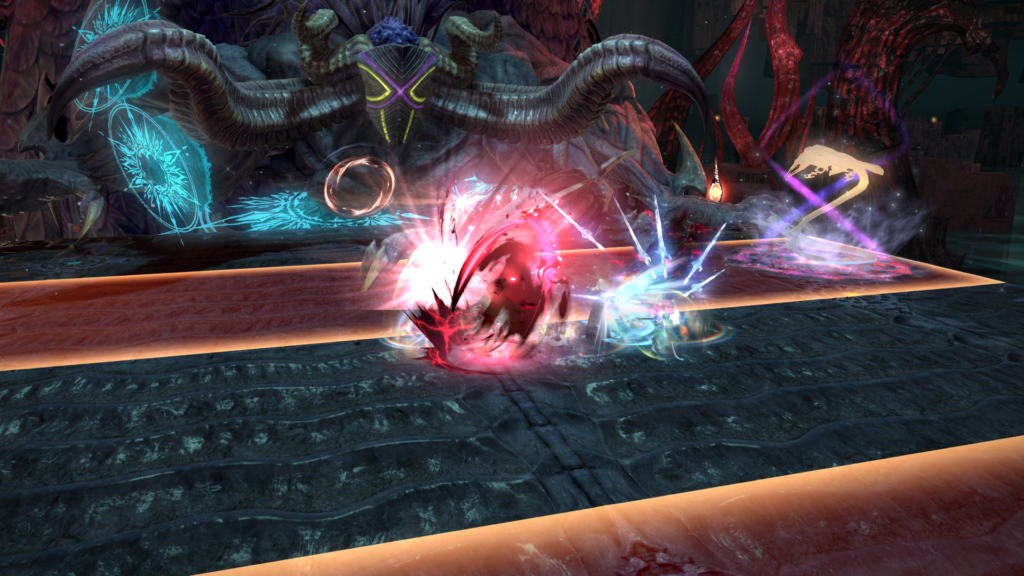
- Darkness rises: Four violet orbs appear as a DPS check. Destroy them all before Zodiark’s Power gauge reaches 100 percent or you’ll wipe.
- After a while, forms will be created in front of the boss. The green diamonds will deal damage on a straight line, so avoid them. The other form can be either a triangle (where small safe spots will be near the boss) or a square (go far from the boss). On the screenshot shown above, the safe spot will be right under the side of each triangle, nearly at the edge of the platform, and away from the center.
- He’ll do this attack twice. Each player who will receive damage in this phase will fill the gauge, so it can easily result on a wipe if you’re not careful.
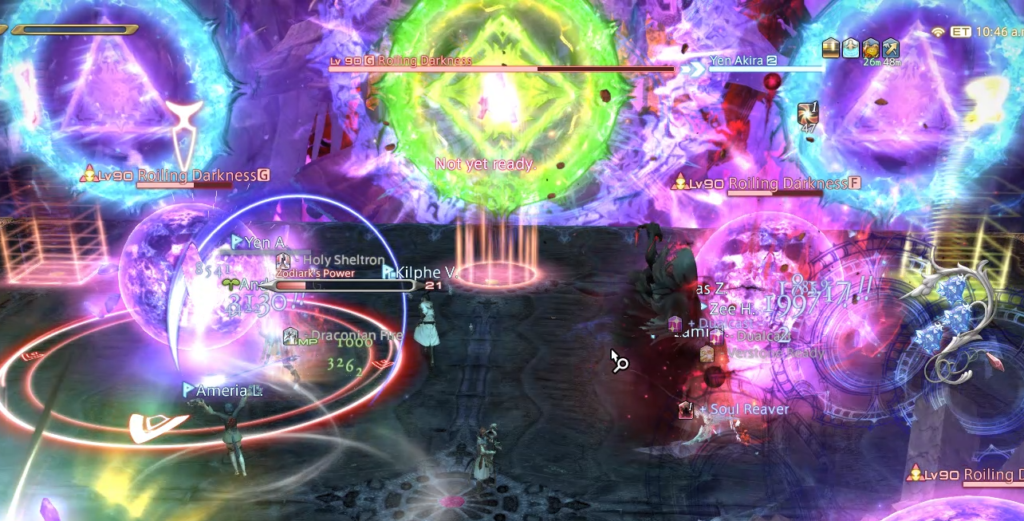
- Astral Eclipse:
- This the other tricky part of the fight, same as normal mode. The boss will head in three directions, which will represent three consecutive attacks. The platform will be divided in nine smaller squares, like a tic-tac-toe. Look far behind the boss to see stars representing the platform. The empty squares are the safe spots.
- Think of it like a mirror: if the safe spot is on the top line, it will be the top line behind you. In the screenshot shown above, the safe spot on the stars’ bottom line is the spot marked as D. Don’t hesitate to put letters and numbers on each spot to better identify where to go. It’s better to wait before heading to the safe spot, because if the second one is too far away, you won’t get there in time. Only the tanks can survive a hit.
- Esoteric Rays
- Immediately after, the boss will create three diamond forms in front of him. Look at him to see which ones will appear first, since they’ll be the first ones to deal damage in a straight line. Go in front of the last diamond that appeared, then switch when the first ones resolve.
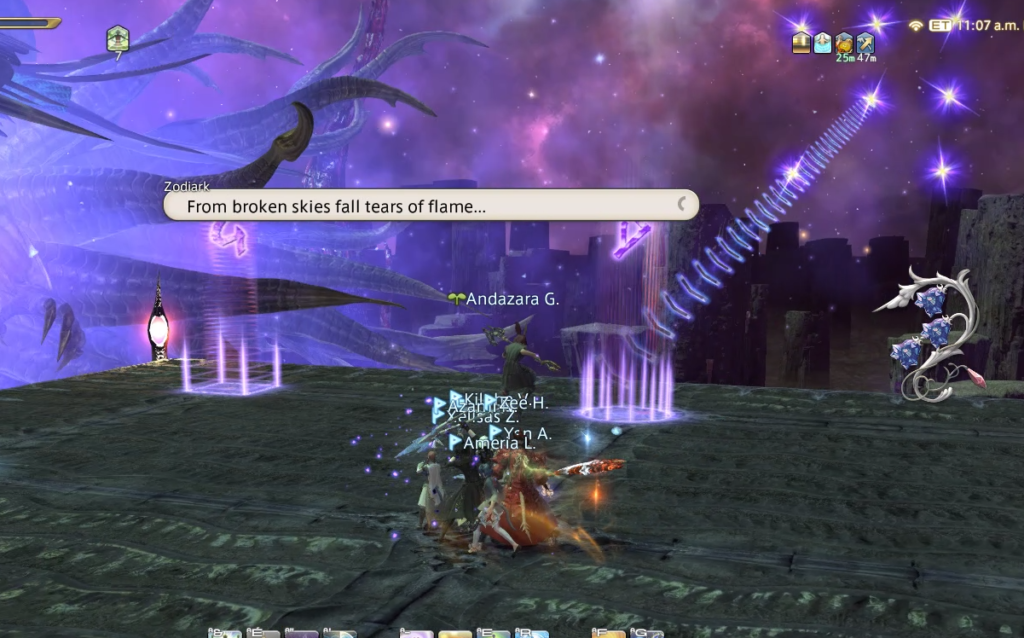
- Paradeigma and Astral Flow + Fire Line:
- It’s counter-intuitive, but head under the Behemoths, because they will be replaced by the birds once the platform rotates. Identify in which direction the fire will turn. If you’re under the line of fire, stand right behind it. If it’s on the other side, stand on the further half from the fire.
- Ania: Tank-buster.
- Exoterikos and Algedon: Triangle or square form and line attack from northwest or northeast (stand in the safe corner).
- Paradeigma and Astral Flow:
- This one is harder to predict than the previous one because snakes will replace Behemoths. You must identify the safe half under the bird to avoid the snakes that will deal damage in a straight line after they rotated.
- Healers, be prepared: if someone fails at that moment, you must top them off straight away because Styx will resolve right afterwards.
- Styx: Stack and heal.
- Trimorphos Exoterikos: Three successive Exoterikos attacks.
- Adikia: It will resolve shortly after the previous attack, so you’ll have to run fast.
- Astral Eclipse: Same mechanic.
- Ania: Tank-buster.
- Exoterikos and Astral Flow with snakes
- First, identify the safe spot from Exoterikos (triangle or square). Then, the safe spot from snake attacks. Lastly, adjust your position according to the flame line’s rotating direction.
- Phlegethon: AoE areas will spawn three times under the feet of certain players. Dodge accordingly.
- Styx: Stack and heal.
- Exoterikos and Triple Esoteric Ray: Square/triangle and two successive waves of diamond hits. The safe spot will be divided by half, so you’ll have to adjust.
- Paradeigma: Birds and behemoths, fire lines. Stand under the behemoth, on the half safe from fire.
- Phobos: Stack and heal the DoT effect.
- The next attacks will continue in succession until you beat the boss or it gets in Enraged mode. If he does, it means your group didn’t deal enough damage in a given time and you’ll wipe.


Published: Dec 11, 2021 02:39 pm