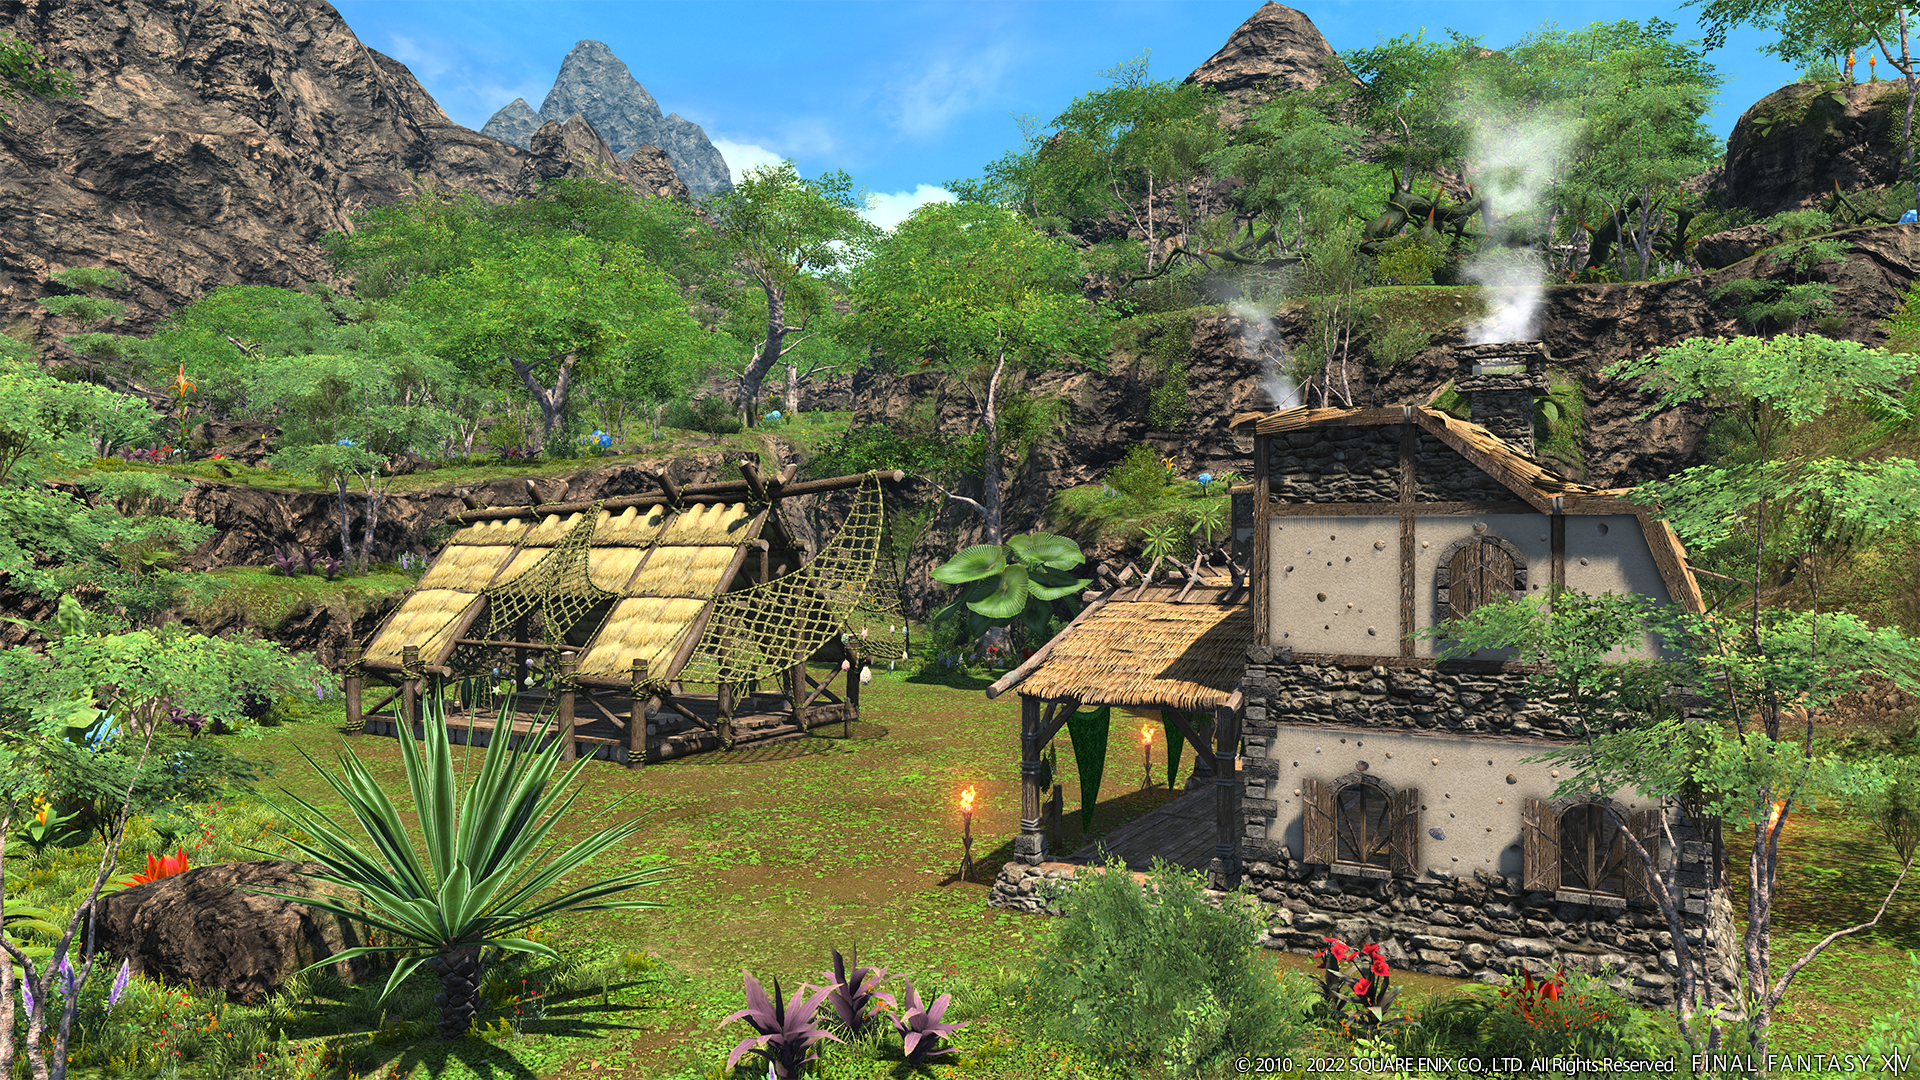
Island Sanctuaries in Final Fantasy XIV are meant as a place for weary Warriors of Light to rest and relax. But those who want their island maxed out will have some work to do to maximize their profits and earn enough Cowries to get the mounts and glam they want.
Workshops are the best way to gain Seafarer’s Cowries. Considering just one of the mounts gained by Seafarer’s Cowries costs 12,000 of them, players will want to maximize their workshops to get as many as they can to get all of the rewards they want.
Island Sanctuary Workshop basics
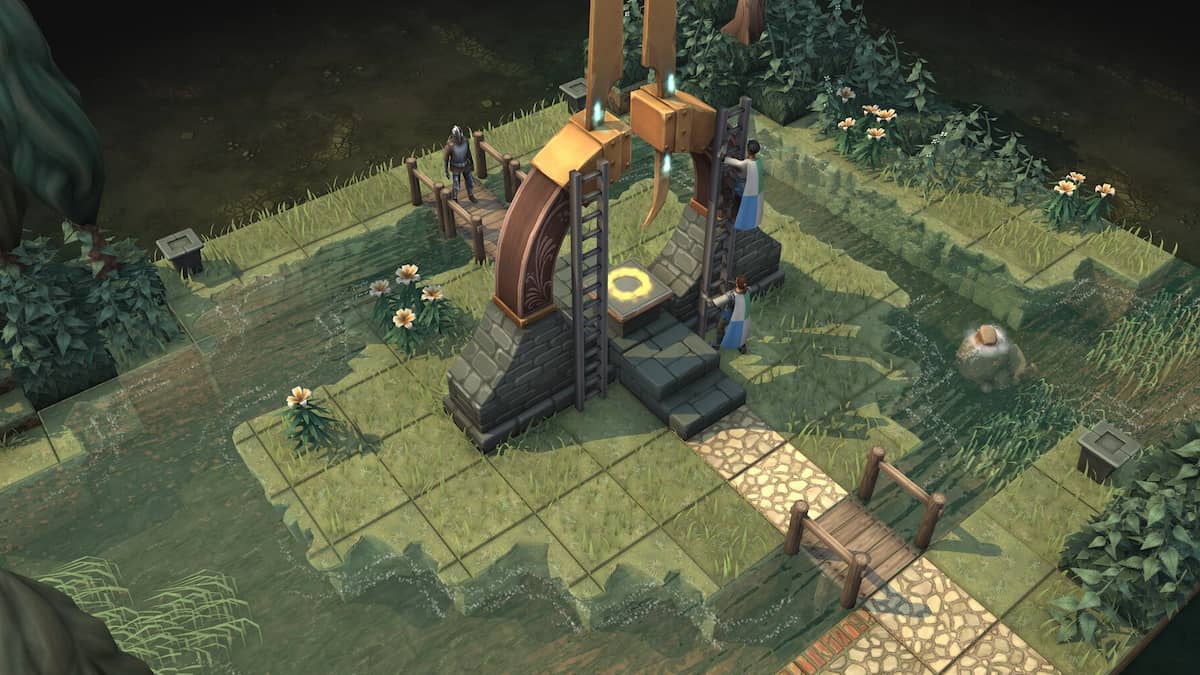
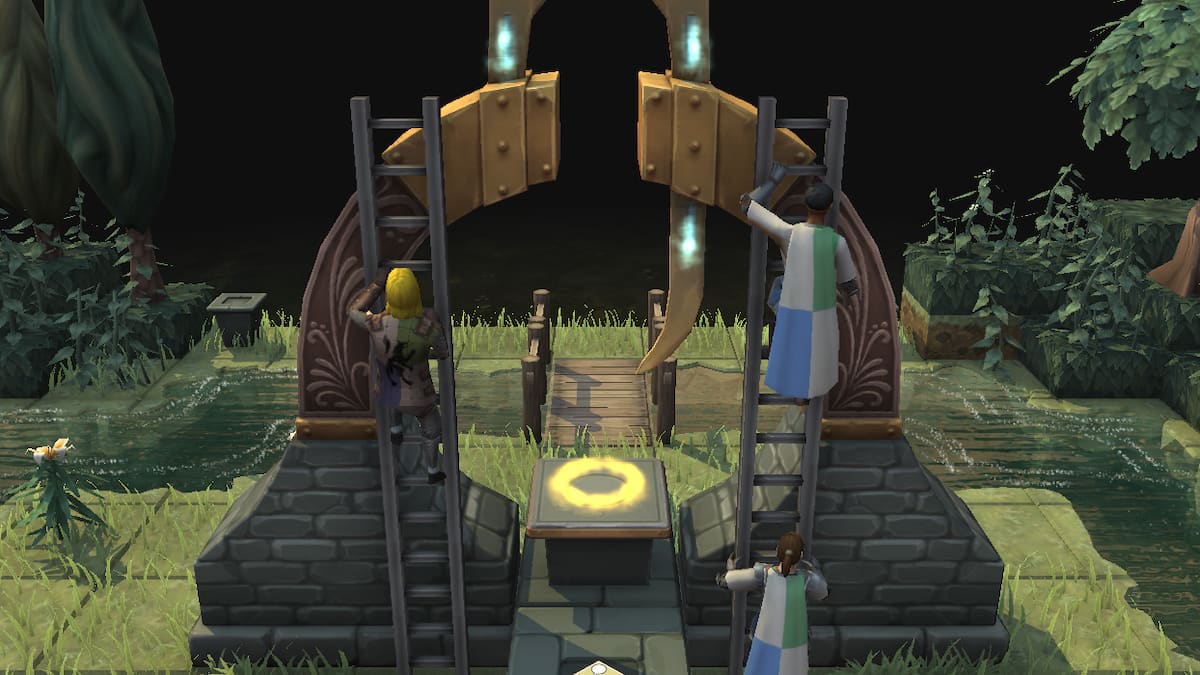
Building an Island Sanctuary Workshop doesn’t take too much, but it does take some Cowries to get started once you start expanding your island. You’ll only need the Seafarer’s Cowries to expand the land. You won’t need them to actually construct buildings.
To construct a Workshop, click on the Logboard in front of the empty plot of land and then select a Workshop from the list once you have all of the required materials. The first two buildings on the island won’t take any time to complete, but once you start expanding your island and building onto empty plots of land on the extensions, you’ll have to wait some real-life hours before the property will finish construction.
Players can have up to three Workshops, as noted by the three panels in the Workshop Agenda. Each Workshop you have constructed will show in the panel, allowing you to create an agenda of handicrafts. The Taskmaster will automatically sell your handicrafts for you as long as you have the materials required to craft the item when it comes time.
Gathering supplies and managing a surplus of materials
Players will spend a lot of time gathering things on the islands, especially as they rank up their Sanctuaries and gain access to more tools. You can see everything in your Isleventory under the various tabs to see what you have or what you need. In the Cozy Cabin is an Exporter who will show you the surplus of items based on what you have scheduled in your Workshop.
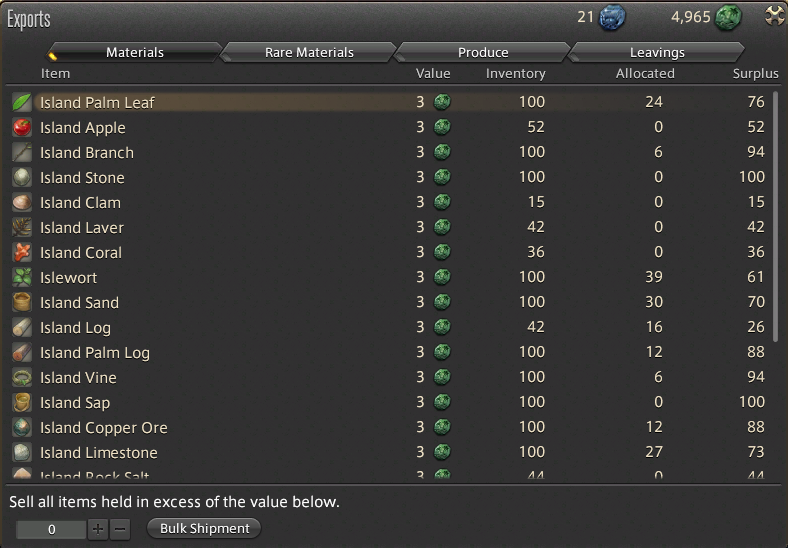
If you don’t have enough items for the Workshop Agenda, the surplus will show a negative value highlighted in red. You can also check how many items are allocated for them under the allocated section.
One strategy for managing the item flow for the Workshop is to schedule the entire season. Each season is one week long, and players can schedule the workshop a week ahead as well. Once you schedule everything, you can head to the Exporter and check to see if you have enough items to cover the handicrafts scheduled. You can also review the materials needed in the Isleworks Agenda by clicking the clam icon.
If you have a negative value in your surplus, you can head out to your island and gather that material so that you have enough of it to make your handicrafts. Just be sure that if you are building things to keep checking to make sure that you aren’t in a negative value, or else you will make your mammets cry. As the game states in the Isleworks beginner’s guide, “don’t be the Warrior of Light that made a mammet cry.”
Setting up an Isleworks Agenda at the Island Sanctuary Workshop
To set up your agenda for the selected cycle, click on the plus sign at the beginning of the day. Players should try to maximize their day by scheduling the full 24 hours. This will get the most out of your workers and maximize your Seafarer’s Cowrie gains.
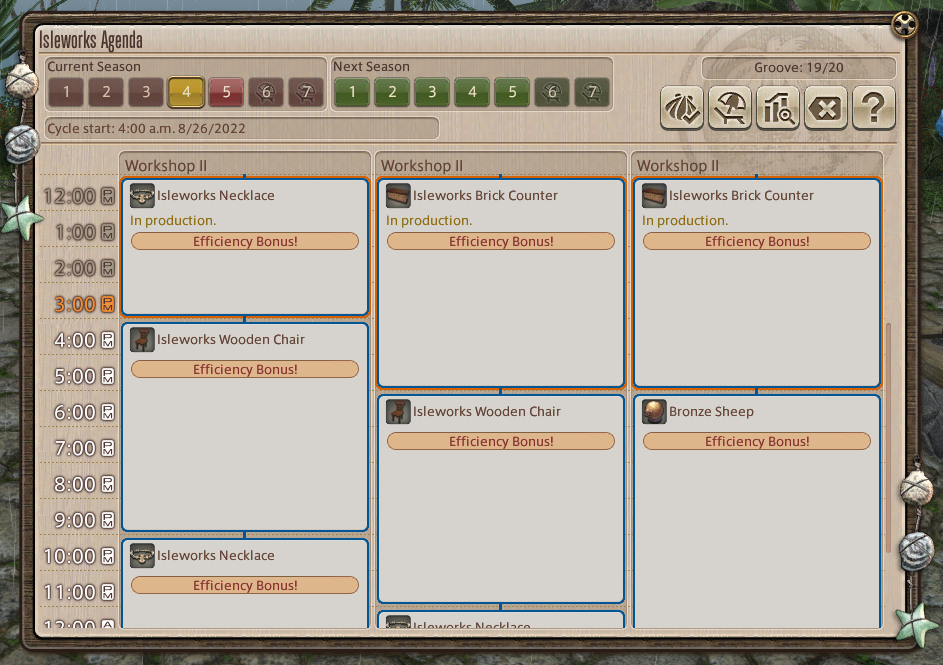
Players will want to set their agendas for the efficiency bonus. To do that, schedule handicrafts that are within the same category as the one you started with. For example, the Isleworks Potion is in the Concoctions category. The Isleworks Firesand is in the Concoctions and Unburied Treasures category. To chain your bonus, you can craft the Potion, then the Firesand, and then you can craft anything from either the Concoctions or Unburied Treasure category to continue your bonus.
Agendas can be saved as a preset if you want to use them multiple times across all three of your workshops. Right-click the column you want to use as a preset and select “Register Preset.” You can then right-click on an open agenda and use that preset for that column later in your agenda.
Efficiency bonuses, supply and demand, and Groove
Players will want to look out for efficiency bonuses throughout the day. This resets each cycle, so the first handicraft of each day will never have the efficiency bonus on it. This will increase your Groove, which is triggered the more efficiency bonuses are chained together.
Groove is reset at the beginning of each season. A good strategy to increase your Groove quickly is to chain a bunch of four-hour handicrafts together to get the Groove bonus as fast as you can. The max Groove players can gain is 35, meaning it can be maxed out by day three. The higher the Groove, the more bonus to profits. The maximum number of Groove is determined by how many landmarks you have built.
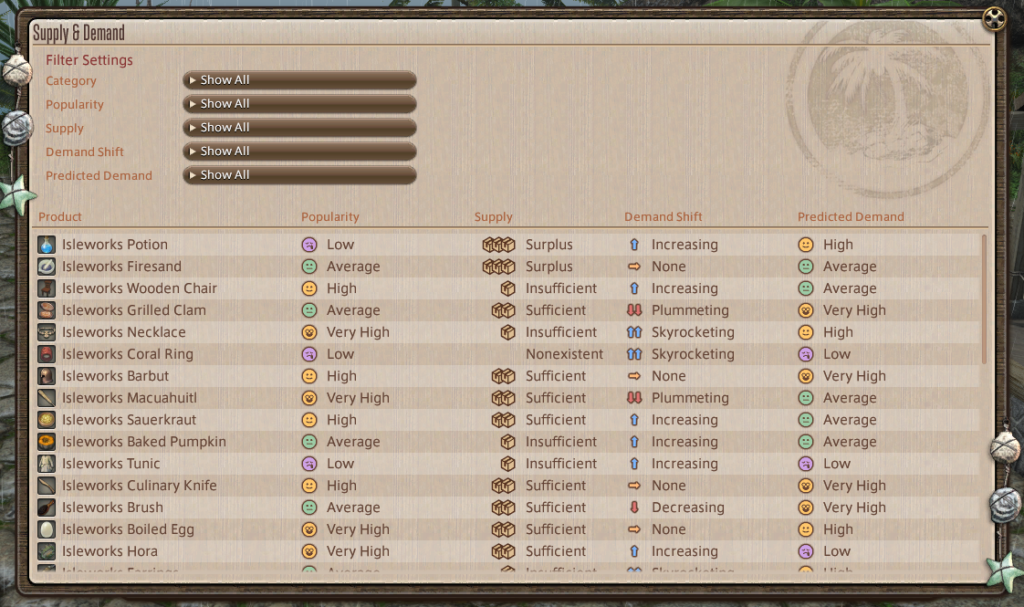
Supply and demand is a tricky panel to read. Each column has a product, popularity, supply, demand shift, and predicted demand. The product’s popularity will determine how much the item will sell for. The more popular it is, the higher it will sell, and the popularity of an item resets each cycle.
The guide in the game is contradictory about whether popularity resets per season or per cycle. In the guide, it says that “popularity may change at the beginning of a new season, but it will remain constant throughout that season.” Then, under supply, the guide says “the popularity of handicrafts may change each cycle according to both commercial trends in Limsa Lominsa and the type/amount of items you sell from your island.”
This problem is supposedly due to a translation issue from the Japanese version of the game to the English version. Popularity actually changes each season/week, according to those who can read both Japanese and English.
Supply works the same way. The less abundant the item, the more it will sell for. The supply shifts each day, and it is influenced by the handicrafts you sold the day before. If you produce too much of the same product, it will become “Overflowing.”
Check the chart each day to figure out what crafts will net you the most amount of Cowries. The chart can be filtered by category, popularity, supply, demand shift, and predicted demand.
Once you have your workshop set up for two weeks, you can sit back and let your mammets do the work for you while you go out and gather things for your island and upgrade your Sanctuary to be the hideaway of your dreams.


Published: Aug 26, 2022 04:55 pm