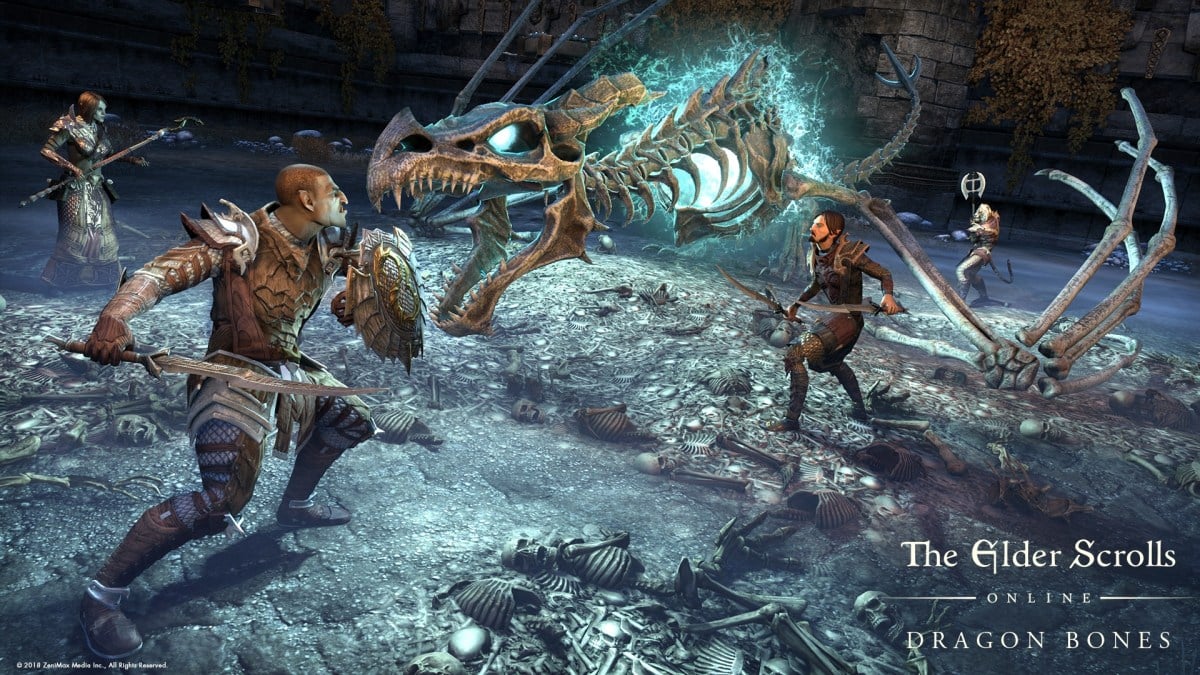
When starting out in Tamriel, you have to pick which class you’ll play as, and —if you have the Elsweyr DLC— you can choose to be a Necromancer, the class that can manipulate corpses and play around with the vitality of their enemies.
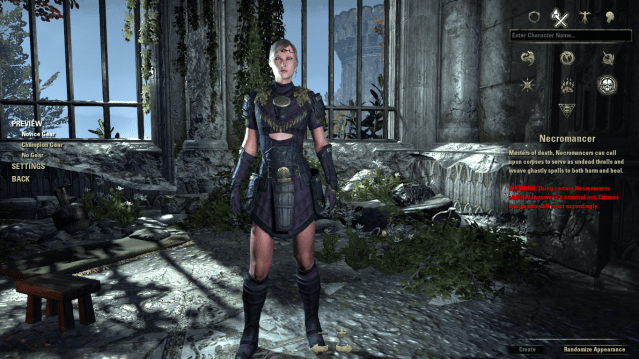
First, pick a role you would like to play to decide which race is the best for a Necromancer character. Khajit is the best race for Magicka DPS characters, but Dark Elves make better Stamina Necromancers. High elves are the best healers, and Imperials are the best tanks for this class.
Related: All Telvanni Peninsula CE Treasure Map locations in The Elder Scrolls Online (ESO): Necrom
How classes work in ESO
A great part of the game is to consider roleplay, so you can play any class with any role build if it will make an interesting character. You’ll notice that the differences lie in the skill lines available for each of them.
All classes have three skill lines that allow you to choose what Ultimate, active, and passive skills your character can use. The three Necromancer skill lines are Bone Tyrant, Grave Lord, and Living Death.
Necromancers are known for ignoring death itself and raising those who have fallen for their own benefit. In ESO, Necromancers can use destructive and healing spells and even reanimate allies.
The Ultimate and active skills are the attacks you can use during battle, while the passives are effects you can get after triggering a condition. After you gain experience, you can morph that skill to make it stronger. Each skill will give you two options for a better version, but you can only choose one.
I recommend choosing one skill from each skill tree when starting a new character so you can handle yourself better at the early game stage. And give priority to skills that can make a combo one after another.
In this guide, we’ll explain how each skill works based on the game’s description. We also simplified the descriptions to make it easier for beginners to understand.
Related: All Nightblade abilities for Elder Scrolls Online (ESO)
All Necromancer Ultimates, Active, and Passive skills in ESO
Necromancer’s Grave Lord skill-line in ESO
Grave Lord’s Ultimate skill
- Frozen Colossus: Unleash a frostbitten Flesh Colossus to pulverize enemies in the area. The Colossus smashes the ground three times, increasing the damage done to enemies.
- Morphs
- Glacial Colossus: The same, but the final smash stuns all enemies hit for four seconds.
- Pestilent Colossus: The same, but dealing Disease Damage instead of Frost Damage and the Colossus deals more damage after each smash.
- Morphs
Grave Lord’s Active skills
- Flame Skull: Lob an explosive skull at an enemy.
- Morphs
- Ricochet Skull: The same, but it deals more damage and the third skull will bounce up to two times to other nearby enemies.
- Venom Skull: The same, but the skulls deal Poison Damage. While slotted, casting any Necromancer ability while you are in combat will count towards the third cast.
- Blastbones: Summon a flaming skeleton from the ground. The skeleton runs after the target and explodes when it gets close to them. Creates a corpse on death.
- Morphs
- Blighted Blastbones: The same, but it deals Disease Damage instead of Flame Damage and also reduces the target’s healing received and Health Recovery.
- Stalking Blastbones: The same, but it deals more damage, and every second the skeleton spends chasing its target increases the damage of the explosion.
- Morphs
- Boneyard: Desecrate the ground at the target location. Consumes a corpse on cast to deal more damage. An ally standing in the graveyard can deal Frost Damage to enemies in the area and healing for the damage done.
- Morphs
- Avid Boneyard: The same, but it deals more damage, and you can also benefit from the area effect.
- Unnerving Boneyard: The same, but it deals more damage and reduces Physical and Spell Resistance of enemies.
- Morphs
- Skeletal Mage: Unearth a skeletal mage from the dirt to fight by your side. The mage attacks the closest enemy damaging all other enemies nearby. Creates a corpse on death.
- Morphs
- Skeletal Arcanist: The same, but it deals more damage and to all the enemies nearby..
- Skeletal Archer: The same, but it summons anarcher instead of a mage that deals Physical damage. It deals less damage than the mage, but each time the archer deals damage, its next attack will do more damage than the previous attack.
- Morphs
- Shocking Siphon: Violently drain the last spark of life from a corpse, damaging all enemies around the corpse and between you and the corpse.
- Morphs
- Detonating Siphon: The same, but it deals Disease Damage instead of Shock Damage and when the siphon ends, it causes the corpse to explode, dealing additional damage to all enemies around the corpse.
- Mystic Siphon: The same, but you also gain extra Health, Magicka, and Stamina Recovery while siphoning the corpse.
- Morphs
Grave Lord Passive skills
- Reusable Parts: When your Blastbones, Skeletal Mage, or Spirit Mender dies, the cost of your next Blastbones, Skeletal Mage, or Spirit Mender is reduced.
- Death Knell: Increases your Critical Strike Chance against enemies under 25 percent Health for each Grave Lord ability slotted.
- Dismember: While a Grave Lord ability is active, your Spell and Physical Penetration are increased.
- Rapid Rot: Increases your damage done with damage over time.
Necromancer’s Bone Tyrant skill-line in ESO
Bone Tyrant Ultimate skill
- Bone Goliath Transformation: Become a horrific Bone Goliath, increasing your Max Health and immediately restoring Health. While transformed, your damaging Light Attacks and Heavy Attacks restore Health.
- Morphs
- Pummeling Goliath: The same, but you turn into a Pummeling Goliath instead of a Bone one, plus your Bash attacks can hit multiple targets in front of you and deal Physical Damage.
- Ravenous Goliath: The same, but you turn into a Ravenous Goliath instead of a Bone one and you deal Magic Damage to nearby enemies every second and heal for the same amount.
- Morphs
Bone Tyrant’s active skills
- Death Scythe: Slice into your enemy’s life force. You heal for each enemy hit.
- Morphs
- Hungry Scythe: The same, but after dealing damage, you heal a certain amount of Health every two seconds over 10 seconds.
- Ruinous Scythe: The same, but it deals Bleed Damage to enemies, applies the Hemorrhaging status effect, and sets them Off Balance for seven seconds.
- Morphs
- Bone Armor: Wrap yourself in hardened bone, increasing your Physical Resistance and Spell Resistance. Creates a corpse when the effect completes.
- Morphs
- Beckoning Armor: The same, but while active, enemies that strike you with ranged attacks will be pulled toward you once every two seconds and become taunted if they are not already taunted.
- Summoner’s Armor: The same, but while active, reduce the cost of Blastbones, Skeletal Mage, and Spirit Mender by 15 percent.
- Morphs
- Bitter Harvest: Sap the lingering life from fresh corpses, granting you two Ultimate and healing every second for two seconds per corpse consumed. While slotted, your damage taken is also reduced.
- Morphs
- Deaden Pain: The same, but your damage taken is further reduced by 10 percent.
- Necrotic Potency: The same, but it grants you more Ultimate per corpse.
- Morphs
- Bone Totem: Violently drain the last spark of life from a corpse, damaging all enemies around the corpse and between you and the corpse.
- Morphs
- Agony Totem: The same, but the duration is increased and allies can activate the Pure Agony synergy, causing enemies to take Magic Damage over five seconds and increase their damage taken.
- Remote Totem: The same, but the totem can be summoned up to 28 meters away and costs less.
- Morphs
- Grave Grasp: Violently drain the last spark of life from a corpse, damaging all enemies around the corpse and between you and the corpse.
- Morphs
- Empowering Grasp: The same, but grants Empower to allies and enhances the damage and healing of your summons.
- Ghostly Embrace: The same, but the duration of all negative effects applied is increased.
- Morphs
Bone Tyrant’s passive skills
- Death Gleaning: Whenever an enemy you are in combat with dies within 28 meters of you, restore 666 Magicka and Stamina.
- Disdain Harm: Reduce the damage you take from damage over time abilities by 15 percent while you have a Bone Tyrant ability active.
- Health Avarice: Increase your Healing Received by two percent for each Bone Tyrant ability slotted.
- Last Gasp: Increase your Max Health by 1250.
Necromancer’s Living Death skill-line in ESO
Living Death Ultimate skill
- Reanimate: Bring your allies back from the brink of death, resurrecting up to three allies at the target location.
- Morphs
- Animate Blastbones: The same, but you consume up to three other corpses in the area and summon a Blastbones for each corpse consumed.
- Renewing Animation: The same, but you restore Magicka and Stamina for each ally you attempt to resurrect.
- Morphs
Living Death’s active skills
- Render Flesh: Sacrifice your own power to repair damaged flesh, healing you or an ally in front of you but reducing your healing received and Health Recovery.
- Morphs
- Blood Sacrifice: The same, but consumes a corpse near you when cast to heal a second target.
- Resistant Flesh: The same, but you grant the target Spell and Physical Resistance equal to half the amount healed for three seconds.
- Morphs
- Expunge: Embrace the power of death, removing up to two negative effects from yourself. While slotted, the cost of all your abilities is reduced.
- Morphs
- Expunge and Modify: The same, but restores Magicka and Stamina for each negative effect removed.
- Hexproof: The same, but the amount of negative effects removed is increased.
- Morphs
- Life amid Death: Release residual fragments of fallen souls at the target location, healing you and your allies. Consumes a corpse on cast to continue to heal you and your allies in the area.
- Morphs
- Enduring Undeath: The same, but it heals more, and you can consume up to five additional corpses on cast, with each corpse extending the duration of the heal over time by five seconds.
- Renewing Undeath: The same, but it heals more plus it removes up to three negative effects.
- Morphs
- Spirit Mender: Conjure a ghostly spirit to do your bidding and stay by your side for a while. The spirit heals you or the lowest Health ally around you every two seconds. Creates a corpse on death.
- Morphs
- Intensive Mender: The same, but the duration is reduced while the healing is more than doubled.
- Standard of Might: The same, but it heals more and 10 percent of the damage you take is transferred to the spirit instead while active.
- Morphs
- Restoring Tether: Siphon the last remnants of life from a corpse, healing over 12 seconds to yourself and all allies between you and the corpse. While slotted, your healing output is also increased.
- Morphs
- Braided Tether: The same, but it heals more and also heals allies around you.
- Mortal Coil: The same, but it heals only a bit more, and you also restore Magicka and Stamina every two seconds while siphoning the corpse.
- Morphs
Living Death’s passive skills
- Curative Curse: While you have a negative effect on you, your healing output is increased by 8 percent.
- Near-Death Experience: While you have a Living Death ability slotted, your Critical Strike Chance with all healing abilities is increased by up to 20 percent in proportion to the severity of the target’s wounds.
- Corpse Consumption: When you use an ability on a corpse, you generate 10 Ultimate. This effect can occur once every 16 seconds.
- Undead Confederate: While you have a Blastbones, Skeletal Mage, or Spirit Mender active, your Health, Magicka, and Stamina Recovery is increased by 200.


Published: Jul 1, 2023 11:29 am