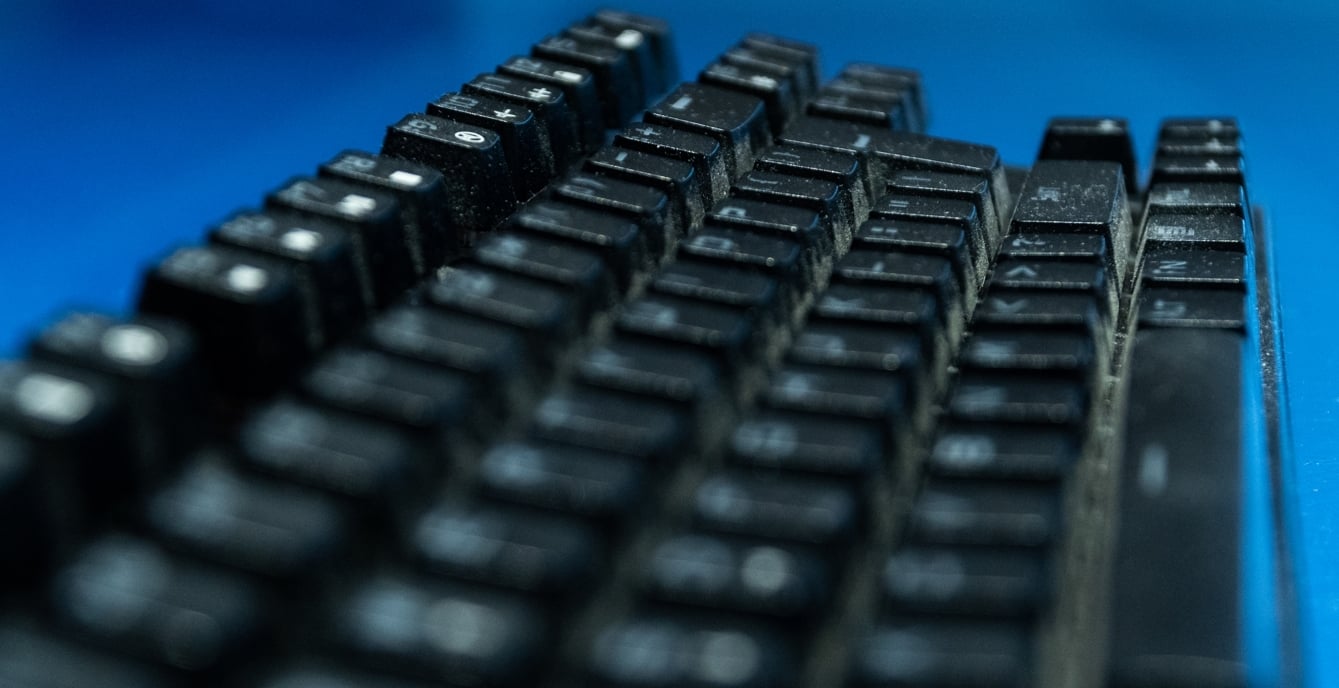
Mechanical keyboards are the standard for any serious gamer. To preserve the quality and functionality of a mechanical keyboard, frequent light cleaning is encouraged, and deep cleaning is recommended a few times a year. Regular cleaning reduces grime, oil, and dust buildup and extends a keyboard’s longevity life. Before cleaning, check your keyboard manufacturer’s website for more specific cleaning instructions.
Here are the best practices for cleaning a mechanical keyboard.
Light cleaning

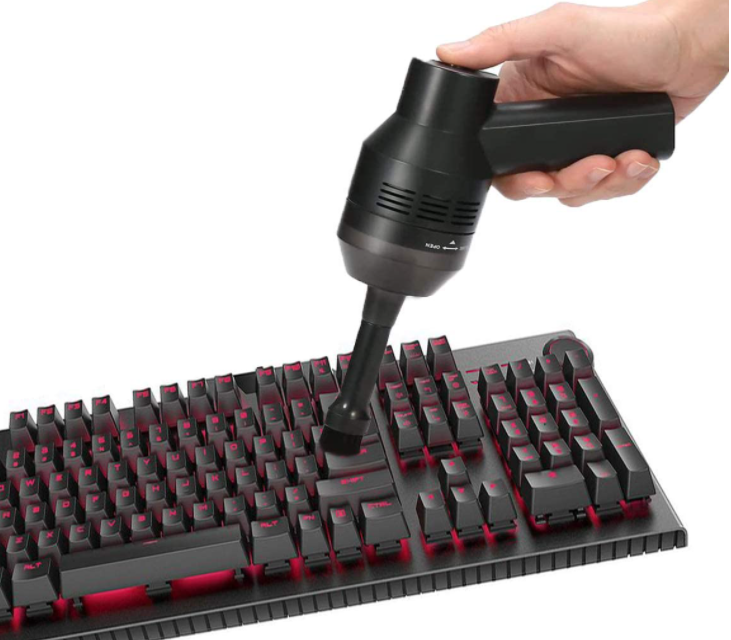
To practice regular light cleaning, you will need a handheld vacuum cleaner or a standing vacuum and a microfiber cloth or pipe cleaners.
For decades, people have used canned or compressed air to clean keyboards. However, this process can cause your keyboard to become damaged or remain as dirty as it was before. Canned air comes out very cold, which may lead to condensation on your keyboard and the switches. The resulting condensation clumps up dust and bacteria, degrading the quality of your switches. Canned air also does not remove dust or particles but simply moves them around. This is why a vacuum and microfiber cloth are your best options for cleaning.
- First and foremost, unplug your keyboard. Most ports are on the back of the board.
- This is for the safety of yourself and the board itself.
- Run the handheld vacuum or hose tube attachment of your vacuum gently between the keys, but be careful to not push too hard.
- Anti-static vacuums are a good choice because they are designed to lessen any potential damage to electronics.
- While a regular, standing vacuum cleaner’s tube attachment can get the job done, using a handheld vacuum cleaner to remove dust is a quick and easy way to clean your keyboard.
- Wipe the exposed areas of your keyboard case with a slightly damp microfiber cloth.
- Do not use an overly wet cloth.
- You may also use a pipe cleaner to clean between the keycaps by sliding the sides of the pipe cleaner through the spaces between the keycaps. Pipe cleaners will not clean as thoroughly as a microfiber cloth, though.
- Dry the board with a separate, dry microfiber cloth directly after wiping.
While some resources claim a paper towel is acceptable, paper towels often leave behind residue, dust particles, and small scratches on the surface of the keyboard.
Deep cleaning

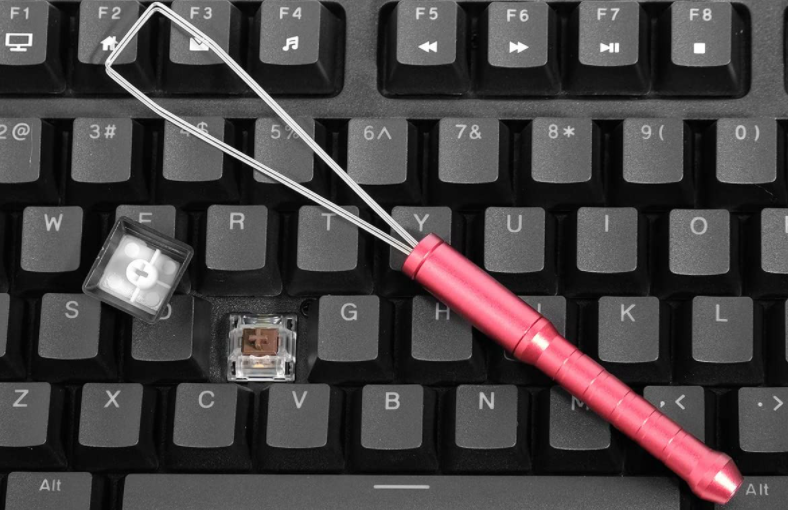
To completely deep clean your keyboard, you will need a keycap puller, medium or large-sized bowl, denture tablets or dish soap, a towel, Q-tips or a firm bristle brush, a vacuum cleaner, and two microfiber cloths.
- Once again, your first step is to unplug your keyboard.
- After unplugging your keyboard, use a keycap puller to remove all the keycaps.
- Keycap pullers are inexpensive tools that allow you to remove keycaps safely and easily.
- Fill a medium or large-sized bowl with warm water and denture tablets.
- Dish soap works in place of denture tablets.
- Dump the removed keycaps into the bowl and let them soak for about five to six hours.
- When they are finished soaking, lay the keycaps out on a dry towel and let the keycaps dry naturally.
- Do not replace the keycaps until they are completely dry.
- Meanwhile, turn your keyboard upside down over a trashcan to lightly shake out any large particles.
- Carefully scrub the keyboard plate with a small bristle brush or a Q-tip.
- This will not completely get rid of dust and particles, but it can loosen the dust enough to thoroughly clean the plate in the next step.
- Use a handheld vacuum cleaner or the tube attachment on a full-size standing vacuum to clean the plate.
- Be careful to not push down on the exposed switches. An anti-static vacuum cleaner is the safest choice for this step. Anti-static vacuums are a safe choice because they are designed to lessen any potential damage to electronics.
- If there is any remaining dust and grime, use a somewhat damp microfiber cloth to gently wipe down the plate.
- Immediately dry with another microfiber cloth.
- While you can use a paper towel, it is not recommended. Paper towels can create small scratches and leave particles behind.
- Once your keyboard’s plate is clean and the keycaps have completely dried, replace the keycaps on your keyboard.
Dealing with spills

While there isn’t a whole lot anyone can do about spilling a latte or beer on a keyboard, there is an emergency practice you can use if the liquid is something light like water or plain tea.
- Unplug your keyboard immediately.
- Pick up your keyboard and turn it sideways and upside down over a sink or trash can and gently shake to remove any excess liquid that hasn’t drained out.
- Remove all the keycaps and place in a bowl full of warm water with denture tablets or dish soap. Let them soak for five to six hours.
- Let the keycaps air dry completely on a towel. Once the keycaps are totally dry, replace them on the board.
- Use a microfiber cloth to wipe the keyboard dry.
- To be safe, allow the keyboard to also dry naturally for about two days.
It is important that the keyboard, especially components like the switches, is absolutely dry before attempting to plug it back in. If nothing got fried during the spill, your keyboard might still be functional.


Published: Jul 19, 2021 02:51 pm