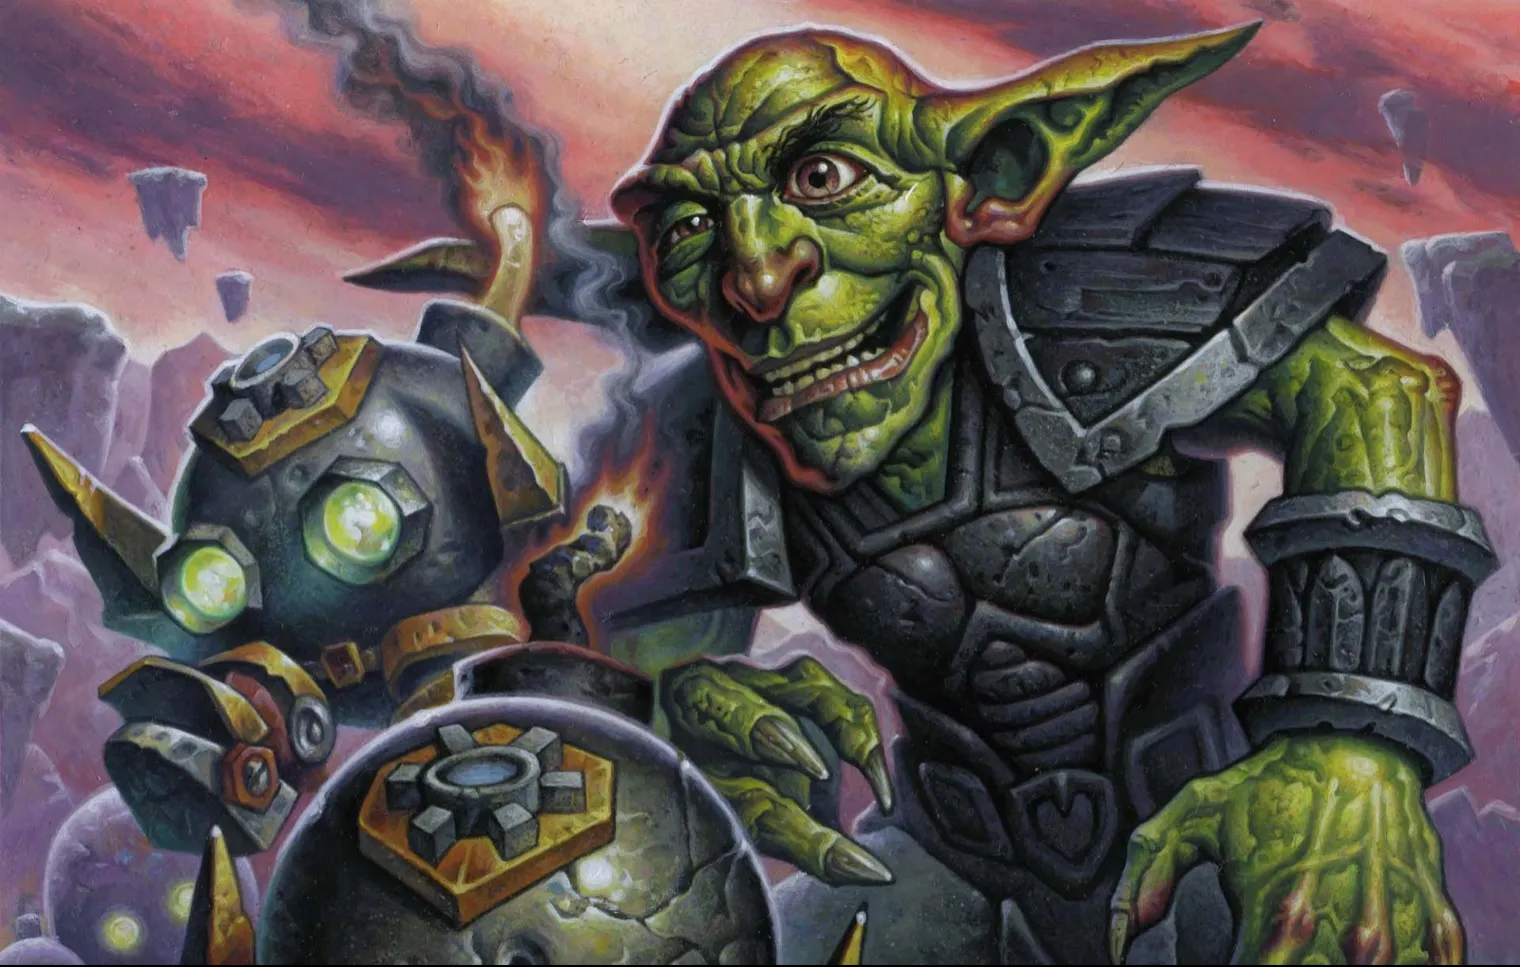
While most of the Boomsday puzzles are tough in their own right, the final Dr. Boom challenges are the toughest of the tough. You need to have Mirror, Clearing, Survival, and Lethal skills that are primed and ready to go.
Blast Dr. Boom
Puzzle 1: Of Pirates and Patrons
Hope you paid attention during the Patron days. Open with Super Soldier into Frothing Berserker, then equip Fiery War Axe and play both Dread Corsairs. Trade both Corsairs into the Belcher and hit the 1/2 slime with a 3/2 Patron. Cast Whirlwind and Slam a 3/3 Patron. Attack with everything.
Puzzle 2: Erratic Explosive
Play Wild Pyromancer and buff it with Power Word: Tentacles to give it some health. Drop Haunted Creeper, cast Recharge, and play Defile to bounce Spud M.E. around. Divine Spirit your Wild Pyromancer, cast the second Defile, and then Holy Smite Spud M.E.
Puzzle 3: Never Go Full Northshire
The final two puzzles here are quite similar, and they’re all about giving your opponent Northshire Clerics. First, Power Word: Shield a Northshire Cleric. Next, use Lab Recruiter to shuffle Northshire Cleric into your deck. Play Wild Pyromancer and ping Lab Recruiter with Elven Archer.
Cast Battery Pack into Fungal Enchanter to draw three Clerics. Drop all of the Clerics, Binding Heal a damaged minion, and cast The Swap. Treachery your last Northshire Cleric to give it to your opponent and cast Circle of Healing.
Puzzle 4: Full Northshire
Undercover Reporter your Northshire Cleric to put them on top of your deck. Ping one of your minions with Elven Archer, then Power Word: Shield the Elven Archer and play Northsire Cleric. Use your hero power on the damaged minion to draw.
Play a Northshire Cleric and cast Battery Pack before using The Swap. Run out Wild Pyromancer and use Treachery on the last Cleric to both damage the board and give your opponent more draw. Drop down Fungal Enchanter and use Binding Heal on the Undercover Reporter. Cast Circle of Healing and wait it out.
Mirror Dr. Boom
Puzzle 1: Cruel Souls
Copy Abomination with Prince Taldaram so there are two on the board. Play Kidnapper on Sea Giant, then run Kidnapper into Abomination and attack Cruel Dinomancer into a Sea Giant. Attack the other 8/6 Sea Giant with your Abomination before Soulfiring the final Sea Giant.
Puzzle 2: Ride the Wave
Attack with Archmage Benedictus. This will trigger Freezing Trap and bring him back to your hand. From there, play Archmage’s Insight and Recycle an Ultrasaur. Run Polluted Hoarder and Radiant Elemental into Hoarding Dragon. Play a coin to cast Archbishop Benedictus, and then attack your Ice Rager into Loot Hoarder. Cast Healing Wave on the last Ultrasaur and trade Auchenai Soulpriest into Reckless Rocketeer.
Puzzle 3: Hello Darkness
Start by casting both Archmage’s Insight and Boots of Haste. With the discounts, use Betrayal on Dire Mole. Hit Howlfiend with Toxic Arrow, then Naturalize Howlfiend and cast Vanish. Play Gloves of Mugging into Novice Engineer (which draws candles and triggers The Darkness). Ping the engineer with your hero power and play Faceless Manipulator, copying The Darkness.
Puzzle 4: The Ray of Roasting
Start by stealing Glinda Crowskin with Shadow Madness. Use Prince Taldaram to copy Aviana, putting a 1 mana Taldaram into your hand. Play two 1 mana Taldarams, targeting Mal’ganis each time. Now that the demon lord is buffed, play Kun the Forgotten King to get your mana back and cast Ray of Roasting.
Clear Dr. Boom
Puzzle 1: A Storm of Souls
Play both Radiant Elementals and Test Subject. With the discounts, use Vivid Nightmare on the Test Subject. Topsy Turvy the 0/1 Subject and Vivid Nightmare Gelbin’s Coil. Topsy Turvy a Radiant Elemental, Holy Smite a Test Subject, and then Shadow Word: Pain a 2/3 Radiant Elemental. To get rid of the last minions, cast Holy Smite on a Possessed Villager, a Gelbin’s Coil, Smite the 3/2 Radiant Elemental, and then the last Coil.
Puzzle 2: Plugging Away
Start by playing Tundra Rhino, giving your beasts charge. Cast Windfury on two Cave Hydras, then coin out the last Windfury on the Tundra Rhino. Attack the non-Windfury Hydra into the middle Mekgineer Thermaplugg. Run a Novice Engineer into the middle Thermaplugg and then attack a Cave Hydra into the Leper Gnome between the two Thermapluggs on the right side of the board.
Hit the 9/3 Thermaplugg with a Novice Engineer and then attack one of the 9/2’s with your damaged Cave Hydra. Attack the Leper Gnome Closest to the remaining Thermaplugg with Cave Hydra. Kill the middle Leper Gnome with Tundra Rhino before running your Hydra into Thermaplugg. Send Tundra Rhino into Thermaplugg and trade the Novice Engineer into the final Leper Gnome.
Puzzle 3: The Test
This is another doozy of a puzzle that is all about proper sequencing. As with the first Boom Clear, you open with Radiant Elemental and then Vivid Nightmare on a Test Subject. Next, kill the 0/1 with Shadow Word: Pain and cast Inner Fire on Radiant Elemental to get it out of your hand. Vivid Nightmare the same Subject you cast the first one on and kill the 0/1 with Shadow Word: Pain. Play Vivid Nightmare on Radiant Elemental to get more discounts.
Use Shadow Word: Pain to kill every Test Subject on the board except for the one you cast the Nightmares on (that has to stay alive). Play Battery Pack to get crystals, then play both Divine Spirit and Vivid Nightmare on Test Subject. Kill the 0/1 with Shadow Word: Pain and drop down Kobold Geomancer.
Play Sergeant Sally and hit her with Divine Spirit. Copy Kobold twice with two Vivid Nightmares, the Shadow Word: Pain the Test Subject and Divine Spirit Sergeant Sally again. Cast Confuse to give the Cairne’s 4 health and Sally four attack. Play a Vivid Nightmare on Sergeant Sally and cast Spirit Lash to blow up the board.
Puzzle 4: Warlock’s Apprentice
This is the biggest Defile puzzle out there. First play Demonfire Ultrasaur, doing one damage to the board in the process. Play Moatlurker on either end of the board (so that it is out of the way) and use it to eat your Wild Pyromancer. Now cast Arcane Anomaly and hit Jade Golem with Demonfire.
You next need to Ratcatcher your Fearsome Doomguard and play Bloodfury Potion the Summoning Portal. To line everything up, play Void Terror next to the Moat Lurker so that it only ears the lurker and cast Defile.
Survive Dr. Boom
Puzzle 1: Mal’ganis and Me
Crazed Alchemist the Turret Sentinel and play Unlicensed Apothecary. Drop down Soul Repressor and eat it with Ratcatcher to get Mal’ganis into play.
Puzzle 2: Sharing is Caring
For this one, you want to maximize spells. Play Lorewalker Cho, then copy it with Zola, then play the copy.
Cast Mark of the Lotus and then play Earthen Scales on Zola. Play Battery Pack and cast Azalina Soulthief to take your opponent’s hand. Run out both Mark of the Lotuses and play Earthen Scales on Zola. To get the life you need, Battery Pack and cast another Earthen Scales on Zola.
Puzzle 3: The Path to Victory
Start with Oaken Summons. Then, magnetize Zilliax onto the Steel Rager. Use Rusty Horn to give the Turret Sentinel taunt and attack it with the Rager. With the new mana, play Earthen Scales on Steel Rager. To solve, cast Branching Paths, gaining armor both times.
Puzzle 4: Doomed!
Cast Demonic Research and use Phasing Portal to put Mal’ganis on the bottom of your deck. Sacrificial Pact two Worthless Imps and use the extra life to cast Doom! Play Witchwood Imp and Soul Repressor. Eat the repressor with Carnivorous Cube, which drops Voidlord into play.
Once that happens, kill the lord with Dark Pact and cast Doom! to draw the rest of the cards in your deck. Play Flame Imp on the outside of the two Repressors and then eat both Repressors with the Void Terror to drop down Mal’ganis.
Puzzle 5: Copy Cats
Start by playing both Red Mana Wyrm and Ixlid, Fungal Lord. Cast Battery Pack and put down Djinn of Zephyrs. Play Battery Pack into Savage Roar (buffing everything’s attack) and the hero power into another Battery Pack. To solve, play Gloop Sprayer in between Djinn of Zephyrs and cast Earthen Scales on the now buffed Mana Wyrm.
Puzzle 6: Fungal Frugality
Go against your intuition and start with Explosive Sheep. Then play Ixlid, Fungal Lord and buff him with Barkskin. Hero power and play Battery Pack to get your mana back. Drop down Spiritsinger Umbra and Mistress of Mixtures. Use Voodoo Doll on the Explosive Sheep and play Plated Beetle.


Published: Sep 10, 2018 01:56 pm