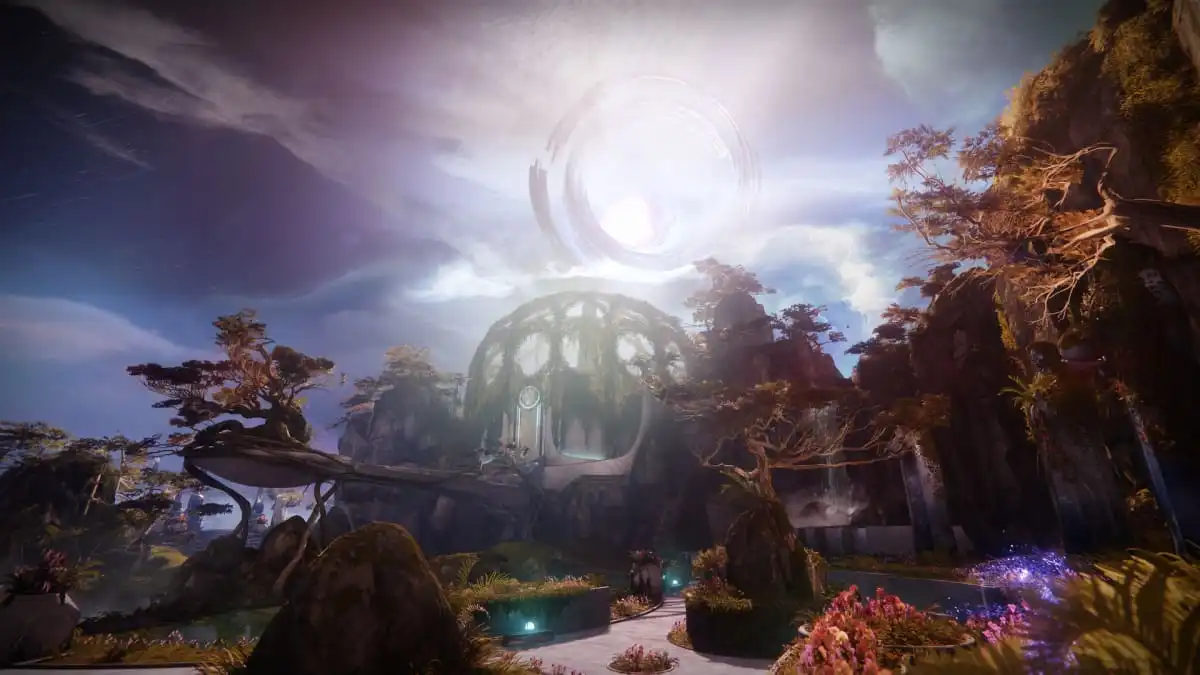
Destiny 2‘s Shattered Realm: Forest of Echoes sends players deep into the Ascendant Plane, in a twisted version of an area resembling the European Dead Zone (EDZ). The activity has its fair share of secrets, from Trivial Mysteries to Ascendant Anchors, and players can spend a long time pouring over every nook and cranny.
If you’re looking to skip the chase, however, here are the 10 Ascendant Anchors we’ve found in Shattered Realm: Forest of Echoes. Since there’s substantial overlap between the locations of Ascendant Anchors and Trivial Mysteries, we recommend reading this alongside our Trivial Mystery guide.
Forest of Echoes returned to the rotation after Debris of Dreams and Ruins of Wrath, giving players a chance to try out their Safe Passage and True Sight powers to find even more Ascendant Anchors. This guide will not cover them, however.
Ascendant Anchor one: Forest
The first Anchor is right by the beginning of the phase, after you drop down from the platforms and touch land on the Forest of Echoes. You might miss it if you focus too much on the Taken, though.
Ascendant Anchor two: Behind the Catacombs
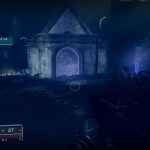
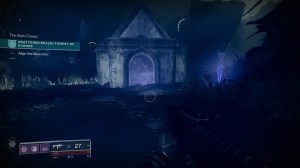
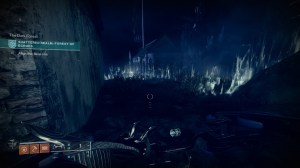
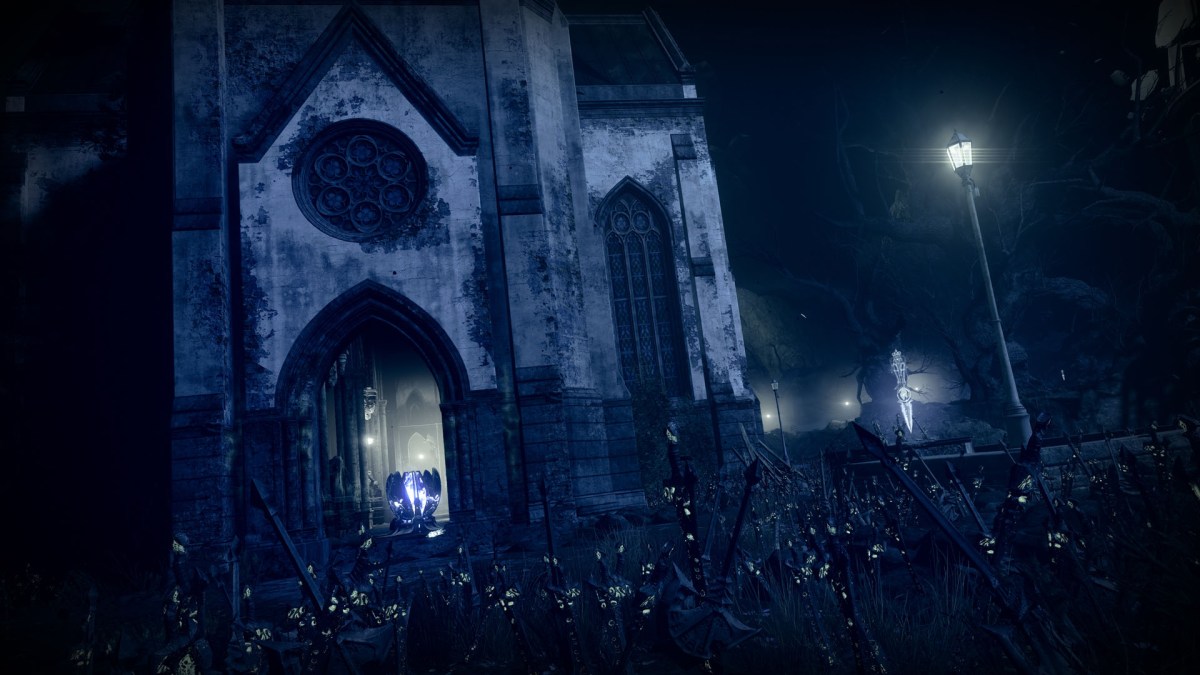
The second Ascendant Anchor is located just behind the Catacombs near the church. You’ll find a building with a Barrier Breach token nearby, and while you won’t be able to use it before activating the beacon, you can go around it to find another Ascendant Anchor.
Ascendant Anchor three: Inside the Church
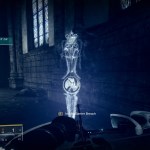
After you’ve activated the first beacon, you’ll get a message that the Ley Lines reignite old technology—meaning you can finally use the Barrier Breach totems. Go to the other end of the church, trigger the Barrier Breach, and rush to the barrier on top. Use the pillars and beams for extra height if necessary, especially if you’re on Warlock. It’s a tight time window, but it’s doable.
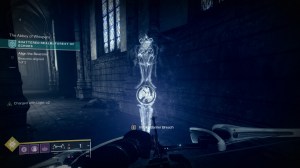
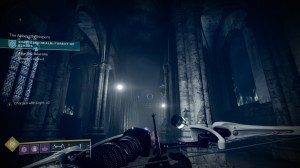
Ascendant Anchor four: Outside of Ruins
Leave the church and take the rightmost exit to see an Anchor on the ledges that lead to the Ruins, right outside the entrance with the Taken flames. Grab the anchor and go inside for another Trivial Mystery as long as you can activate Barrier Breach through the wall.
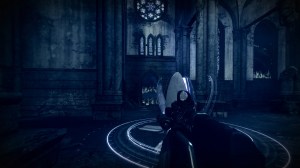
Ascendant Anchor five: Inside the Catacombs
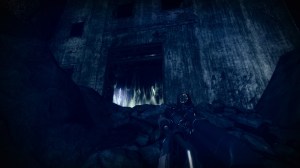
Now that you can use the tokens, head back to the Catacombs and go inside this time, with a little help from the nearby Barrier Breach token. Kill the Taken and look for an Ascendant Anchor on the lower floor, inside a tunnel on the left side. Keep following the tunnel for an extra secret chest and Trivial Mystery.
Ascendant Anchor six: Cavern (The Descent)
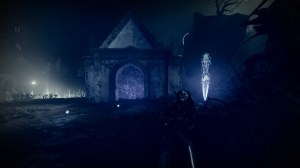
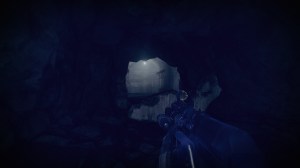
After taking the Anchor in the Catacombs, head back through the entrance and go straight ahead until you see a cavern on the right. Use Barrier Breach to break through the barrier and kill the Taken enemies. The top floor has a chest and a Trivial Mystery on the left side, but there’s an Ascendant Anchor on a pedestal on the lower floor. Take them both and head back the way you came in.
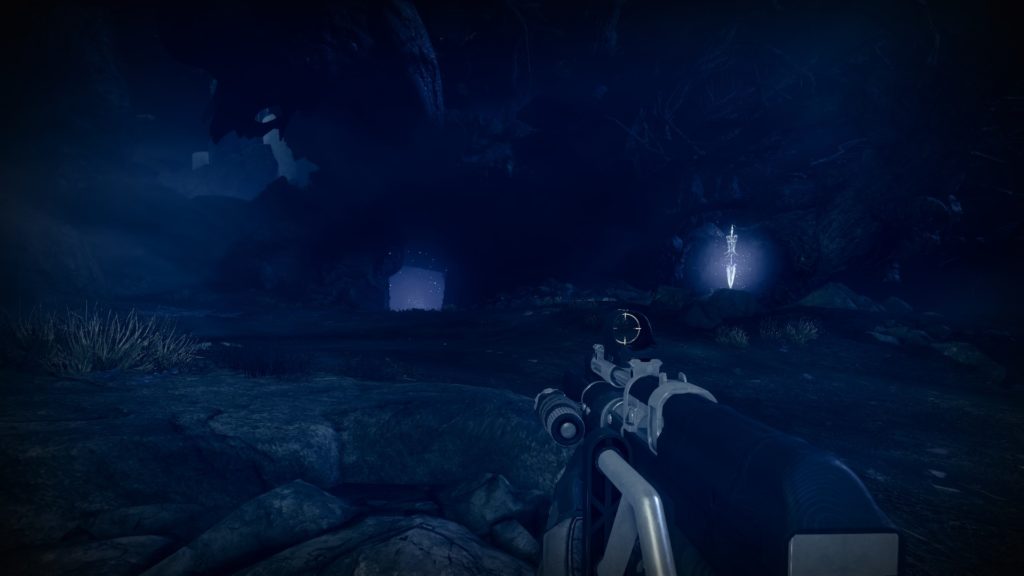
Ascendant Anchor seven:
You can spot the beam of this Ascendant Anchor as you’re making your way to the ruined square with statues. Head inside, kill the Taken enemies, and look to a destroyed building on the right side to find another Anchor.

Ascendant Anchor eight: The Mill
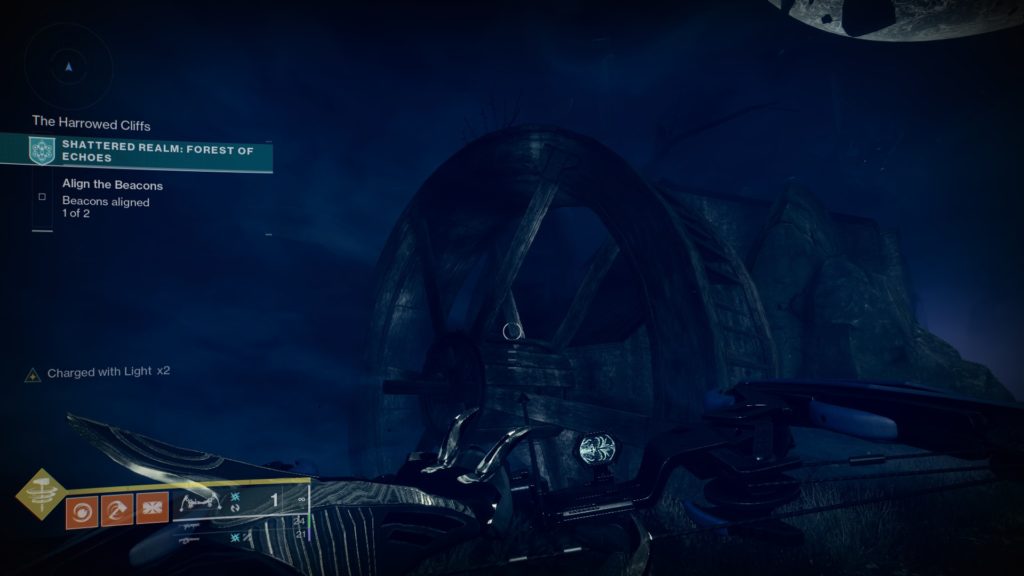
Continue along the mission to reach the second beacon. You’ll spot an abandoned mill, complete with a wheel that houses the eighth Ascendant Anchor in this part of Shattered Realm. The wheel will continue to move, however, so you will need to stay on your feet and keep pressing that forward input while holding down Interact. There’s a Trivial Mystery inside the Mill, so climb onto the rooftop and use a Barrier Breach after you’re done.
Ascendant Anchor nine: Harrowed Cliffs
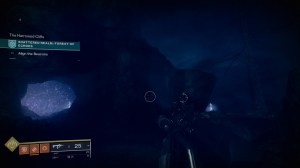
The ninth Ascendant Anchor is on a platform across from a barrier entrance after the second beacon. If you grabbed the Trivial Mystery inside the Mill, you can use the Barrier Breach to head inside the cavern, but it’s a significantly short window.
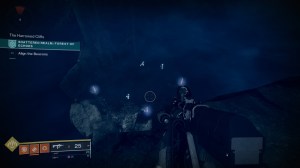
The safest way to get to the platform is to jump on a nearby ledge and climb up the cavern with the barrier instead of going through it. From there, you can leap into the platform with the Ascendant Anchor, then use the Barrier Breach totem to cross the gap and find the Trivial Mystery.
Ascendant Anchor 10: Sunken Caves
Just like for the last Trivial Mystery, you’re going to backtrack to the ruined courtyard with the statues from Ascendant Anchor seven instead of heading into the portal. From there, hug the left side (if you have your back to the portal) and you’ll spot a True Sight beacon. Drop down to a ledge below and follow the path past a totem to reach the Sunken Caves, with an Ascendant Anchor on the left side and a barrier-locked Trivial Mystery.






Published: Aug 31, 2021 03:48 pm