Destiny 2’s Lightfall campaign takes heavy inspiration from 1980s action movies, so it’s to be expected that the Neomuna collectibles would fit the theme. As part of its numerous secrets, Neomuna has a few collectible Cloud Strider action figures up for grabs, which they can collect for the They’re Not Dolls triumph.
The Action Figures follow the model for Europa’s penguins and the Throne World’s Lucent Moths, where players must pick them up in specific locations, then bring them back to the hub for that location. In this case, guardians must gather them throughout Neomuna and bring them back to Strider’s Gate. Based on previous collectibles, action figures will also have a time gate, with two new ones appearing each week. To check their locations, head inside the apartment on Strider’s Gate, located below the balcony and on the right side of the zone. This should give you a general hint about their location, but you’ll still need to explore that area on your own—and in some cases, even watch out for secrets.
If you’re looking to start your collection and put a dent in the They’re Not Dolls triumph, here are the locations for the Action Figures in Lightfall. We’ve listed these action figures based on the order they became available. We recommend picking them up in clusters: Zephyr Concourse/Esi Terminal/Irkalla Complex, Límíng Harbor/Radiosonde/Maya’s Retreat, and Ahimsa Park/Typhon Imperator. You can save the one in Strider’s Gate for last.
First Action Figure: below a stairway in central Ahimsa Park
Whether you enter Ahimsa Park from Strider’s Gate or Límíng Harbor, you’ll spot a large building in the center of the area. There are two entrances: through a door on the right side (from the Strider’s Gate entrance) or through a tunnel on the left. Once you’ve set foot in the building, look for this Action Figure below some stairs, nested on the rocky surface.


Second Action Figure: Hidden deep within Irkalla Complex (Zephyr Concourse)
The Witch Queen‘s Lucent Moths required players to travel all over Savathûn’s Throne World. This Action Figure will have players roaming around Neomuna—more specifically, the Irkalla Complex, located deep within Zephyr Concourse.
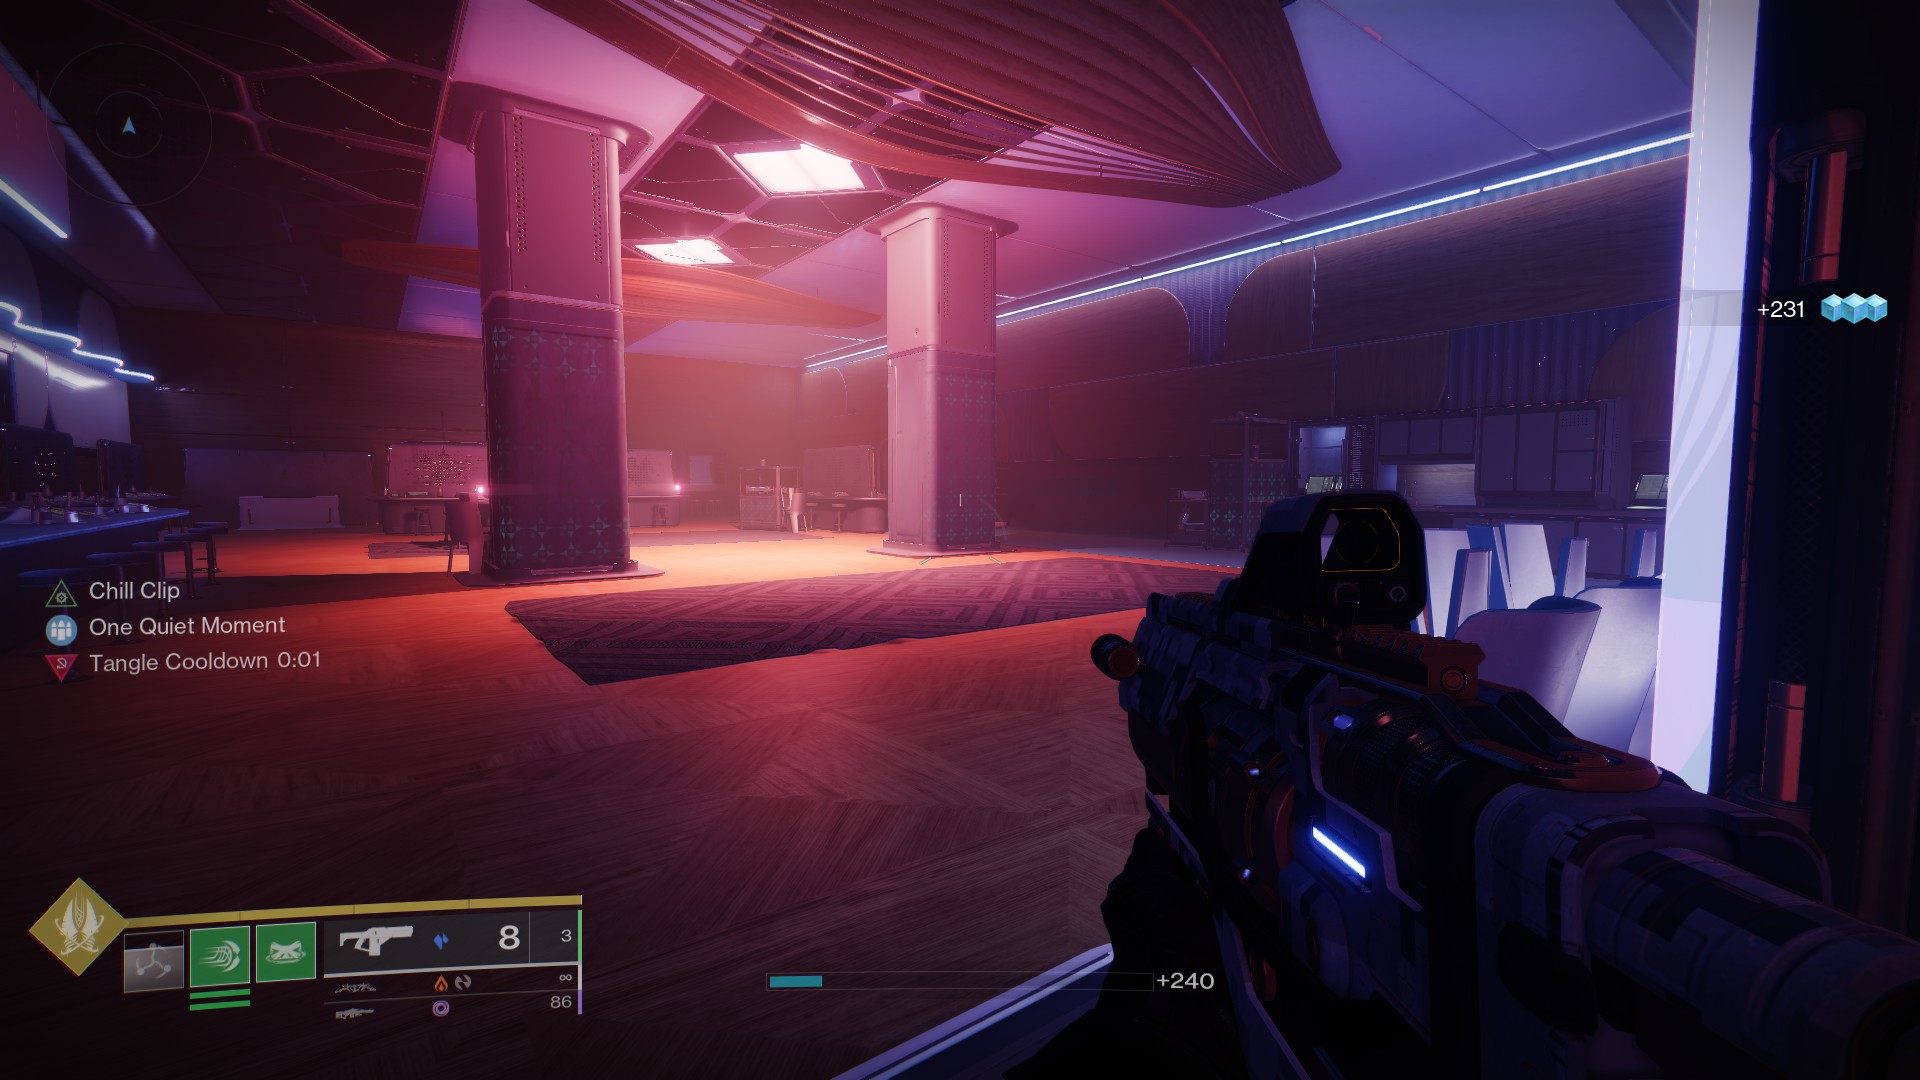
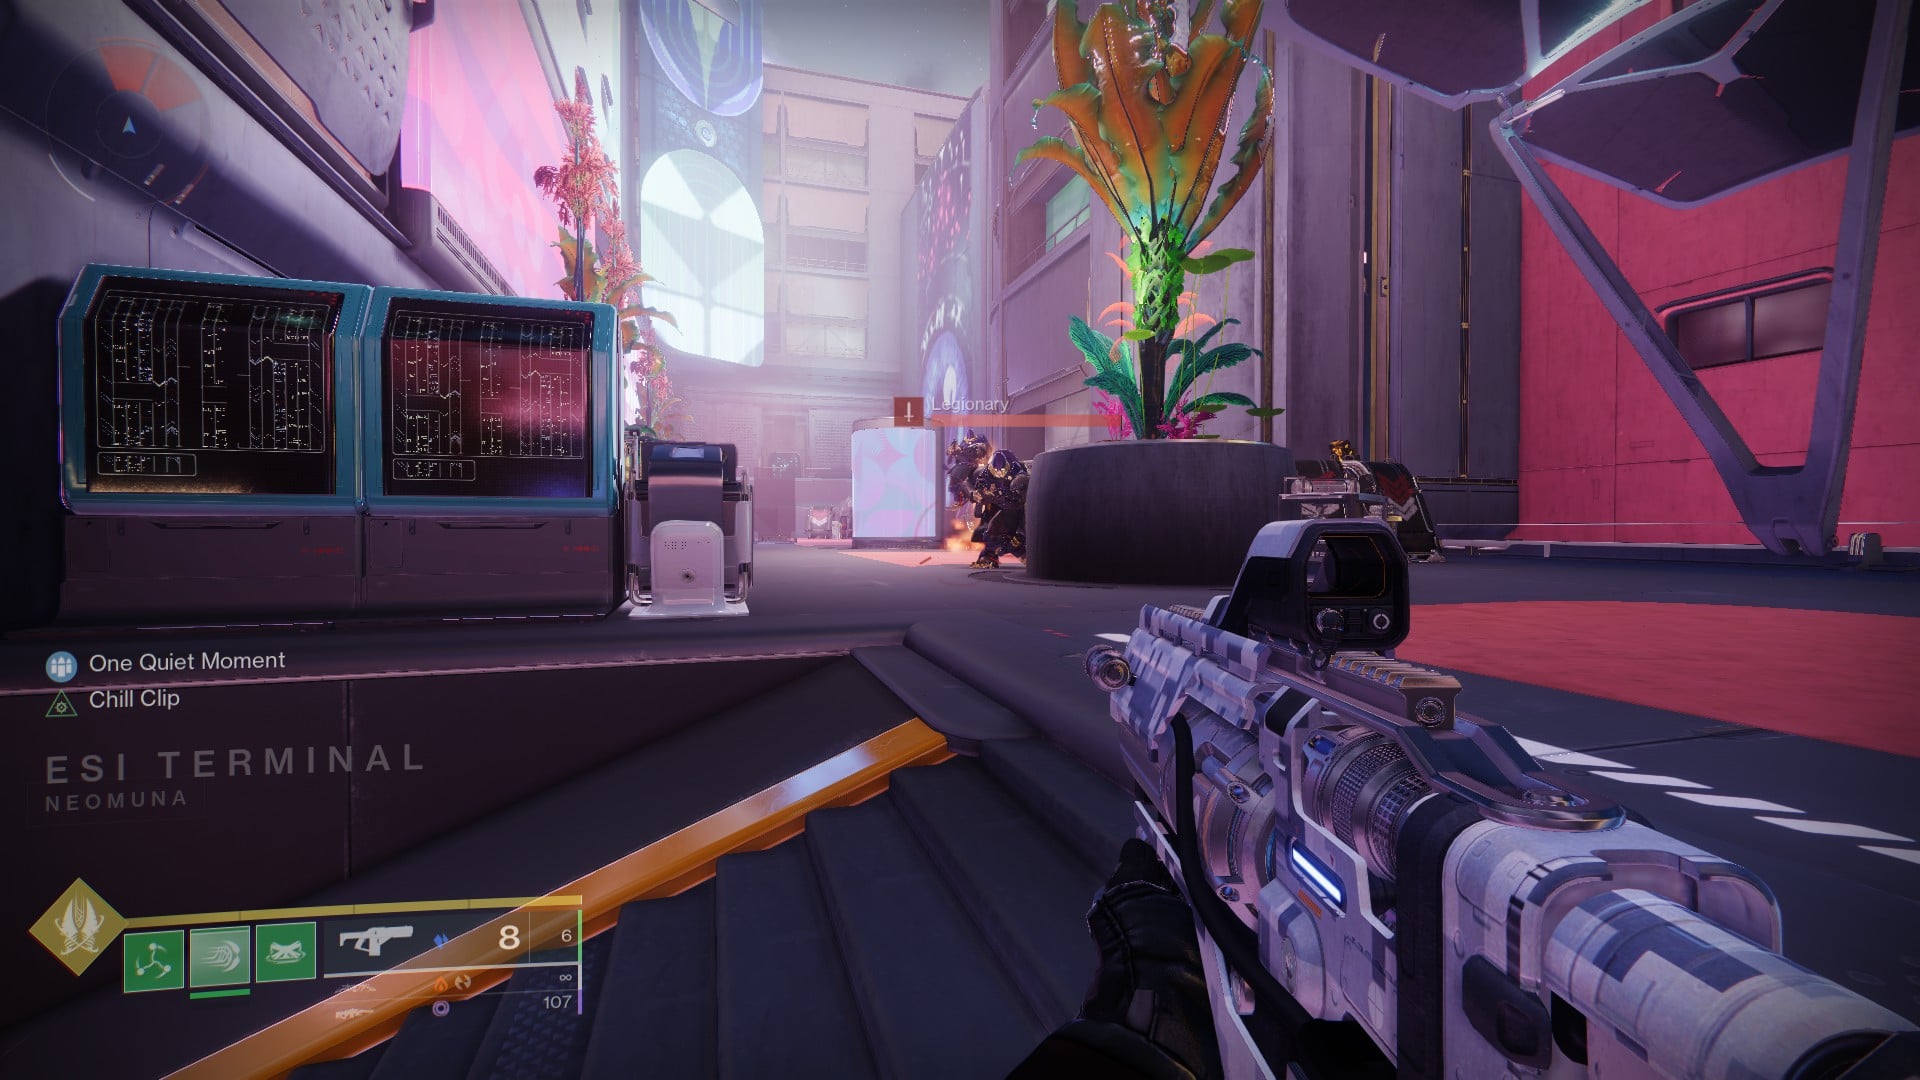
Head into Zephyr Concourse from Strider’s Gate, then make a right and enter the building that leads to ESI Terminal. This entrance is on the top of some walkways patrolled by enemy Cabal, but you can see its location on the map.


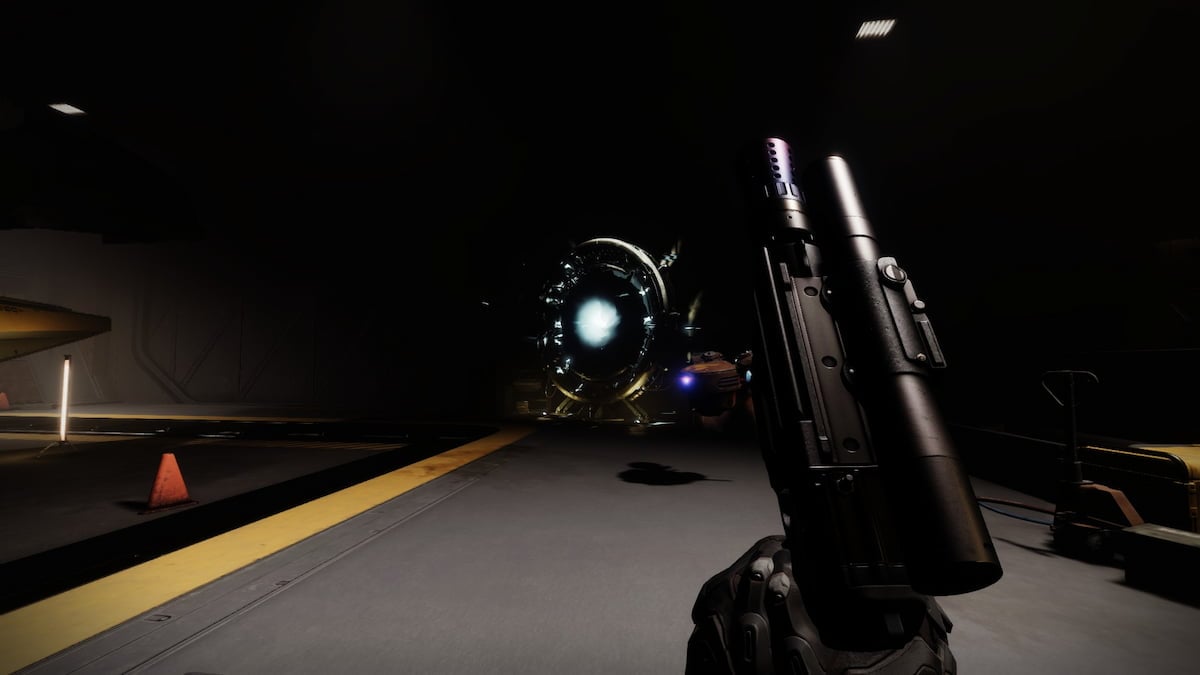
From there, head straight until you reach an area called Esi Terminal, then make a left. Stay on the same path until the area changes to Irkalla Complex, then jump past the balconies until you reach a portal (like the ones in Savathûn’s Throne World). This will teleport you across from where you came in, just outside a fortress where an important part of the campaign takes place.


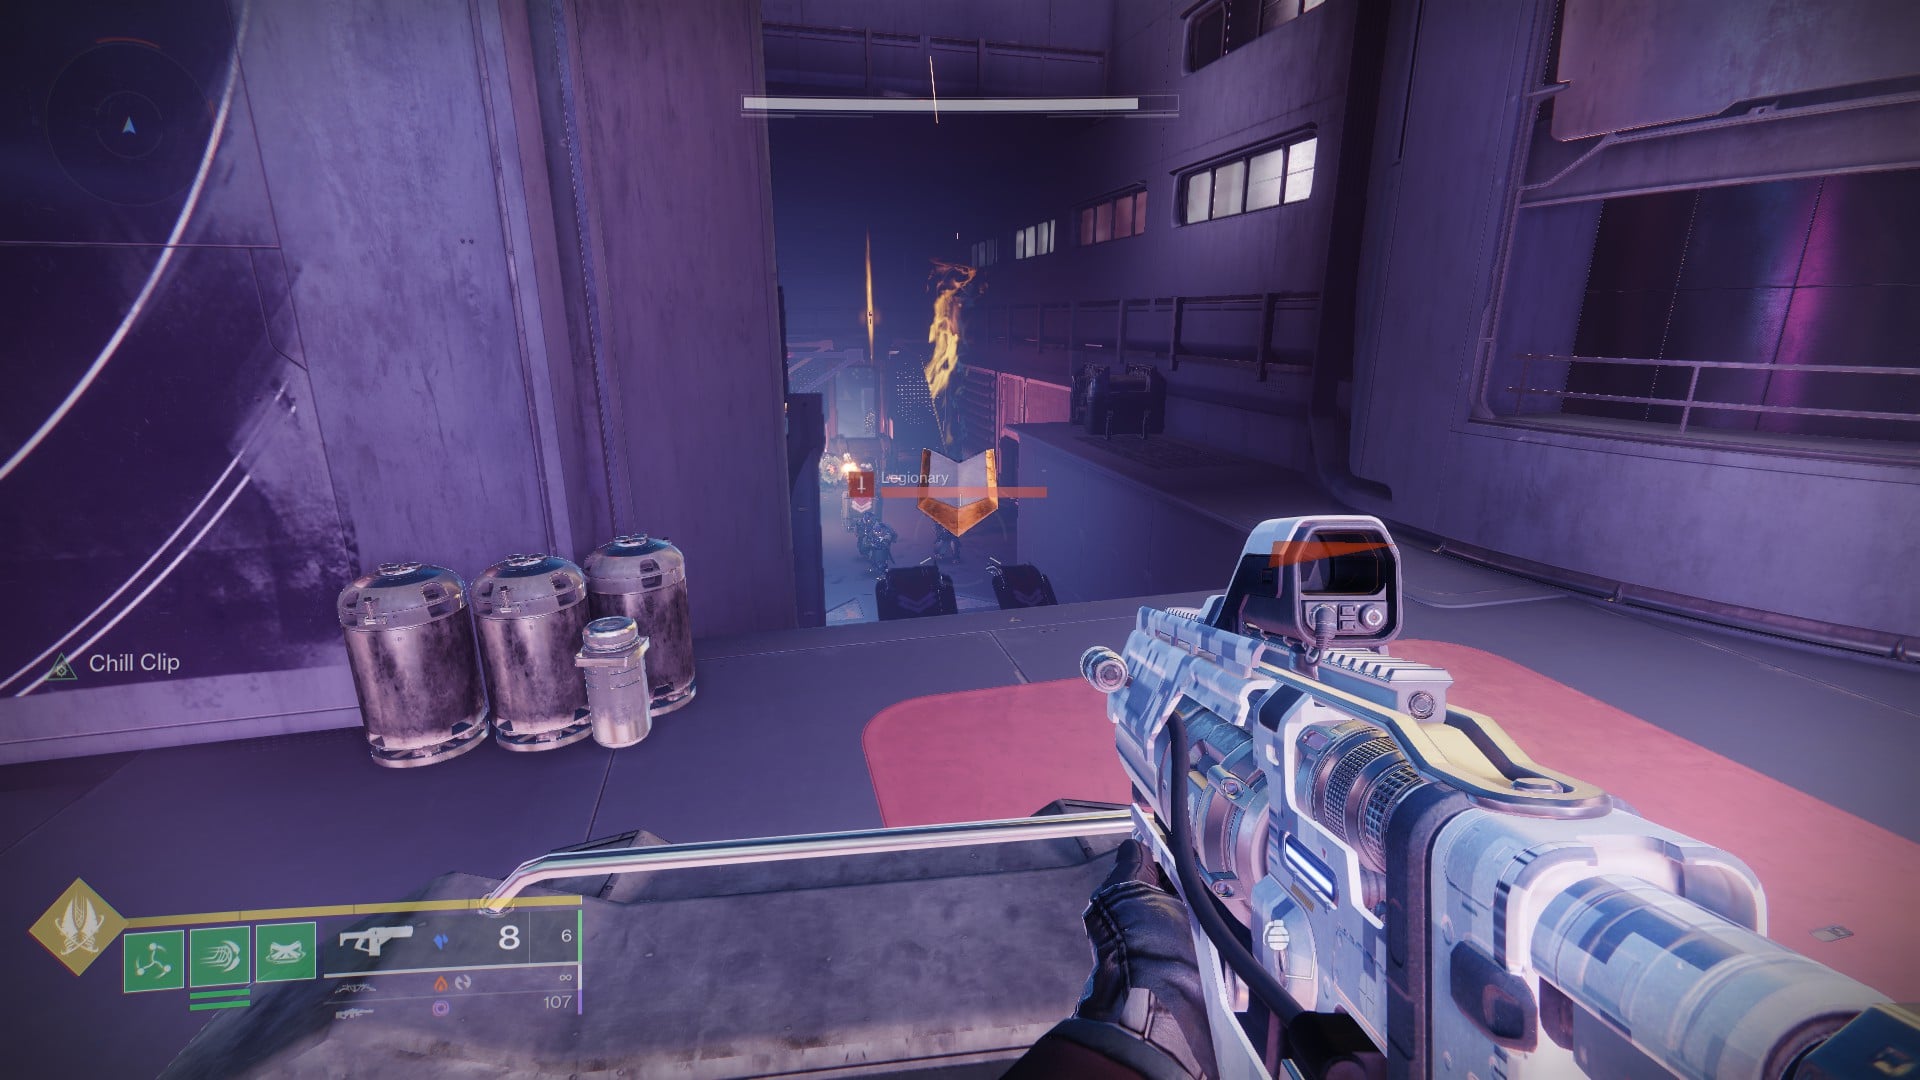
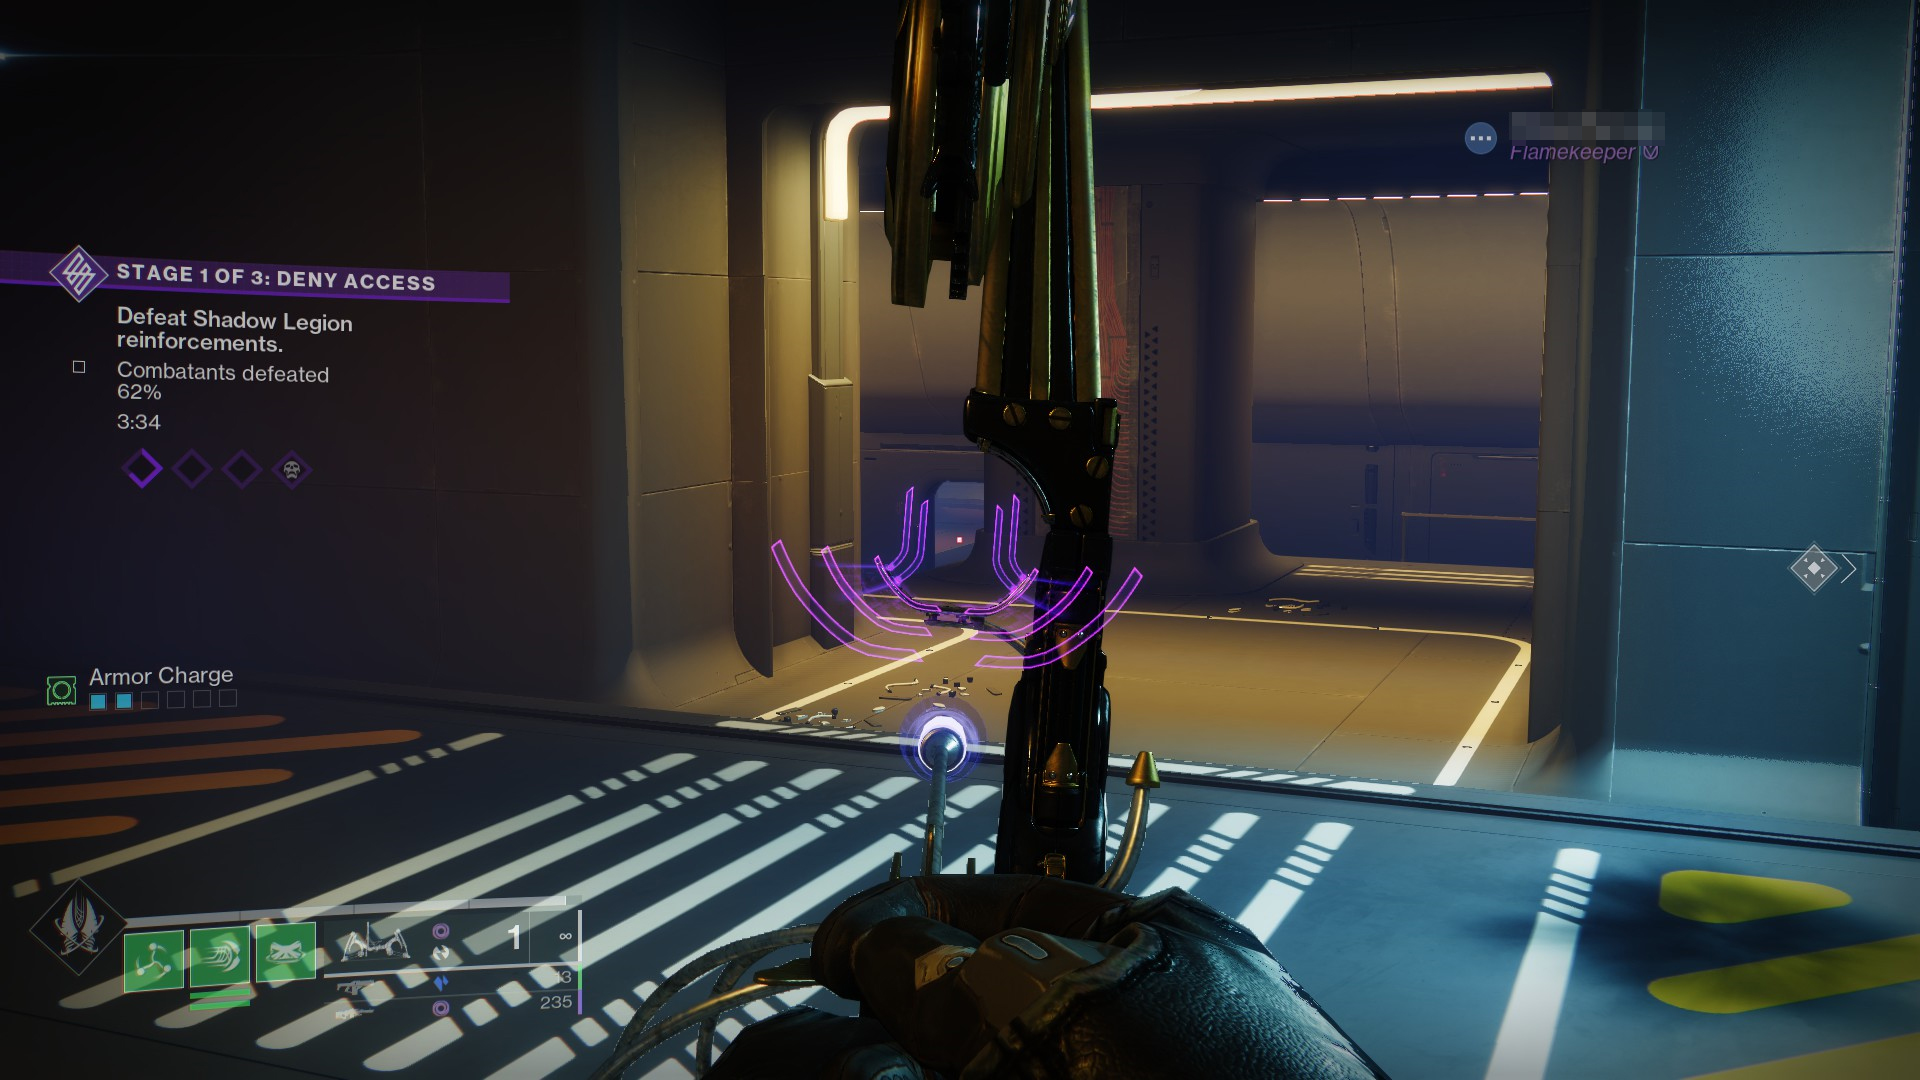
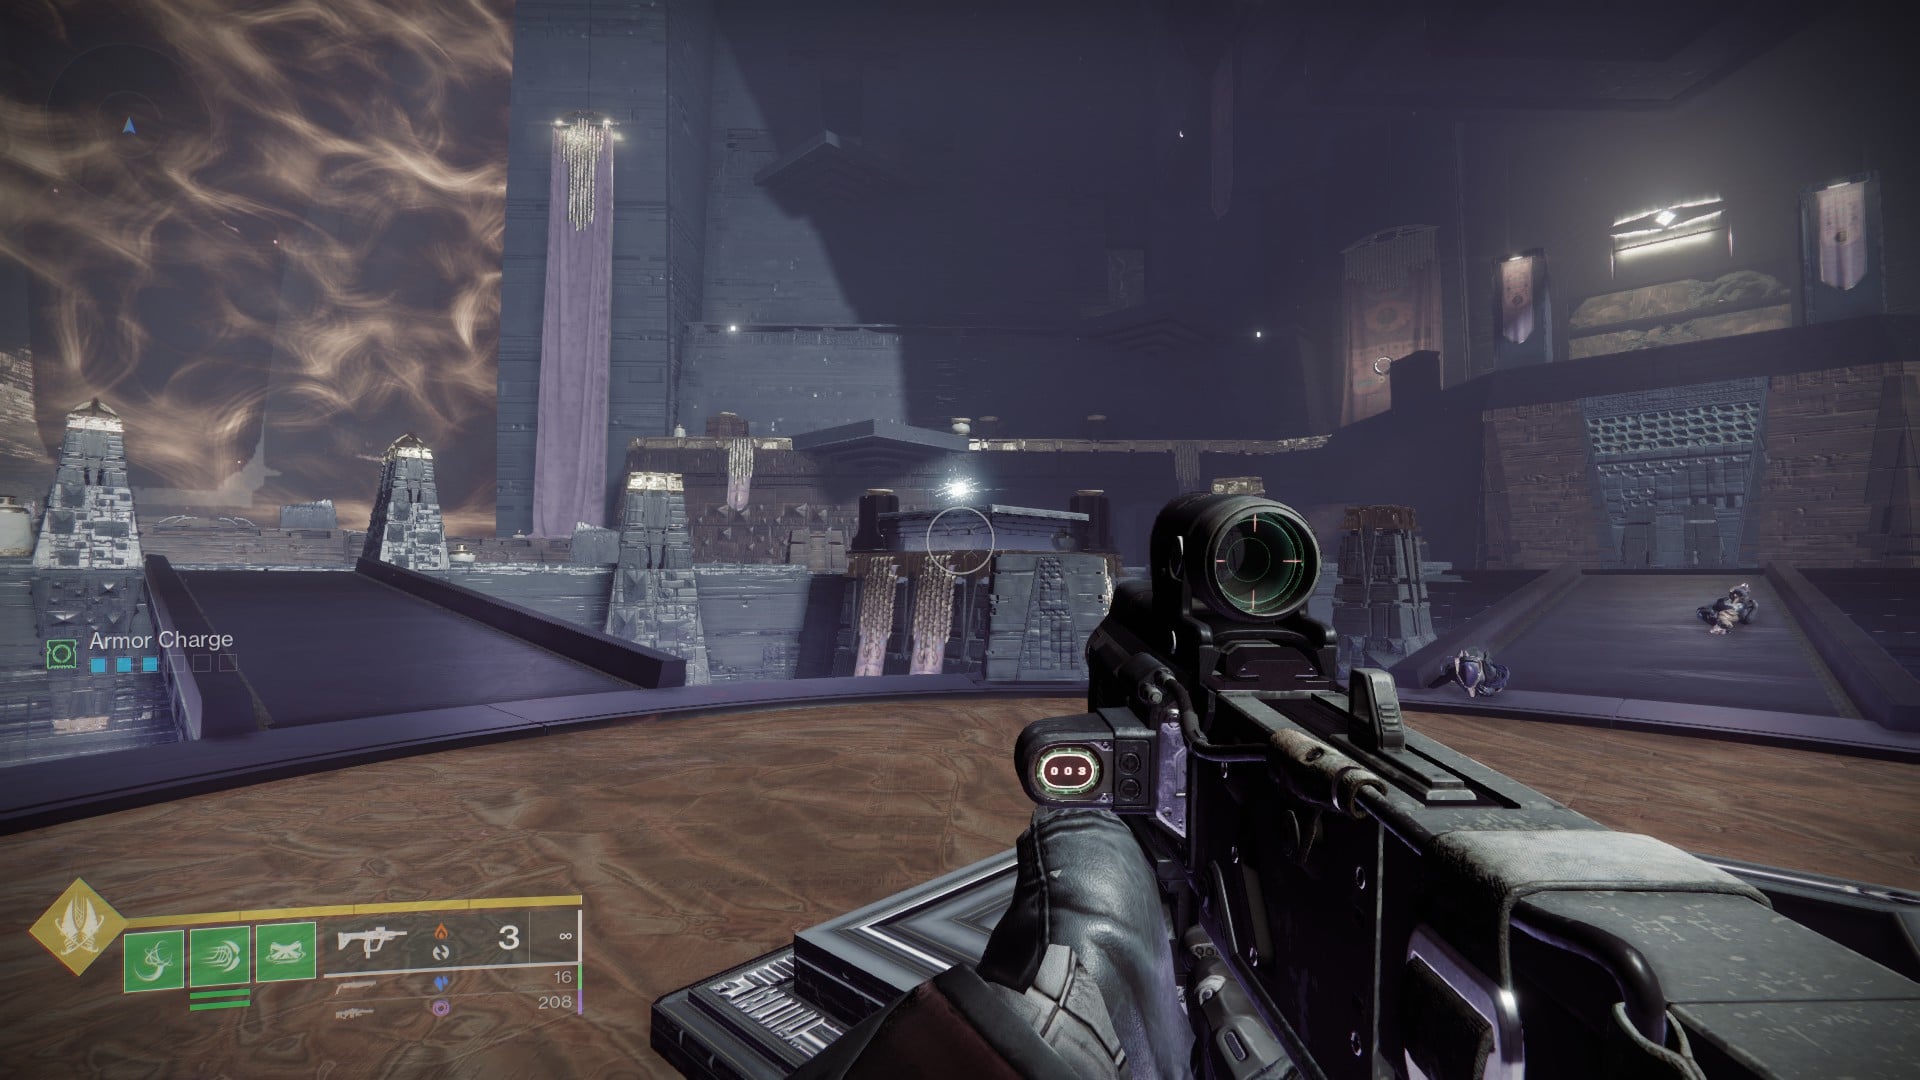
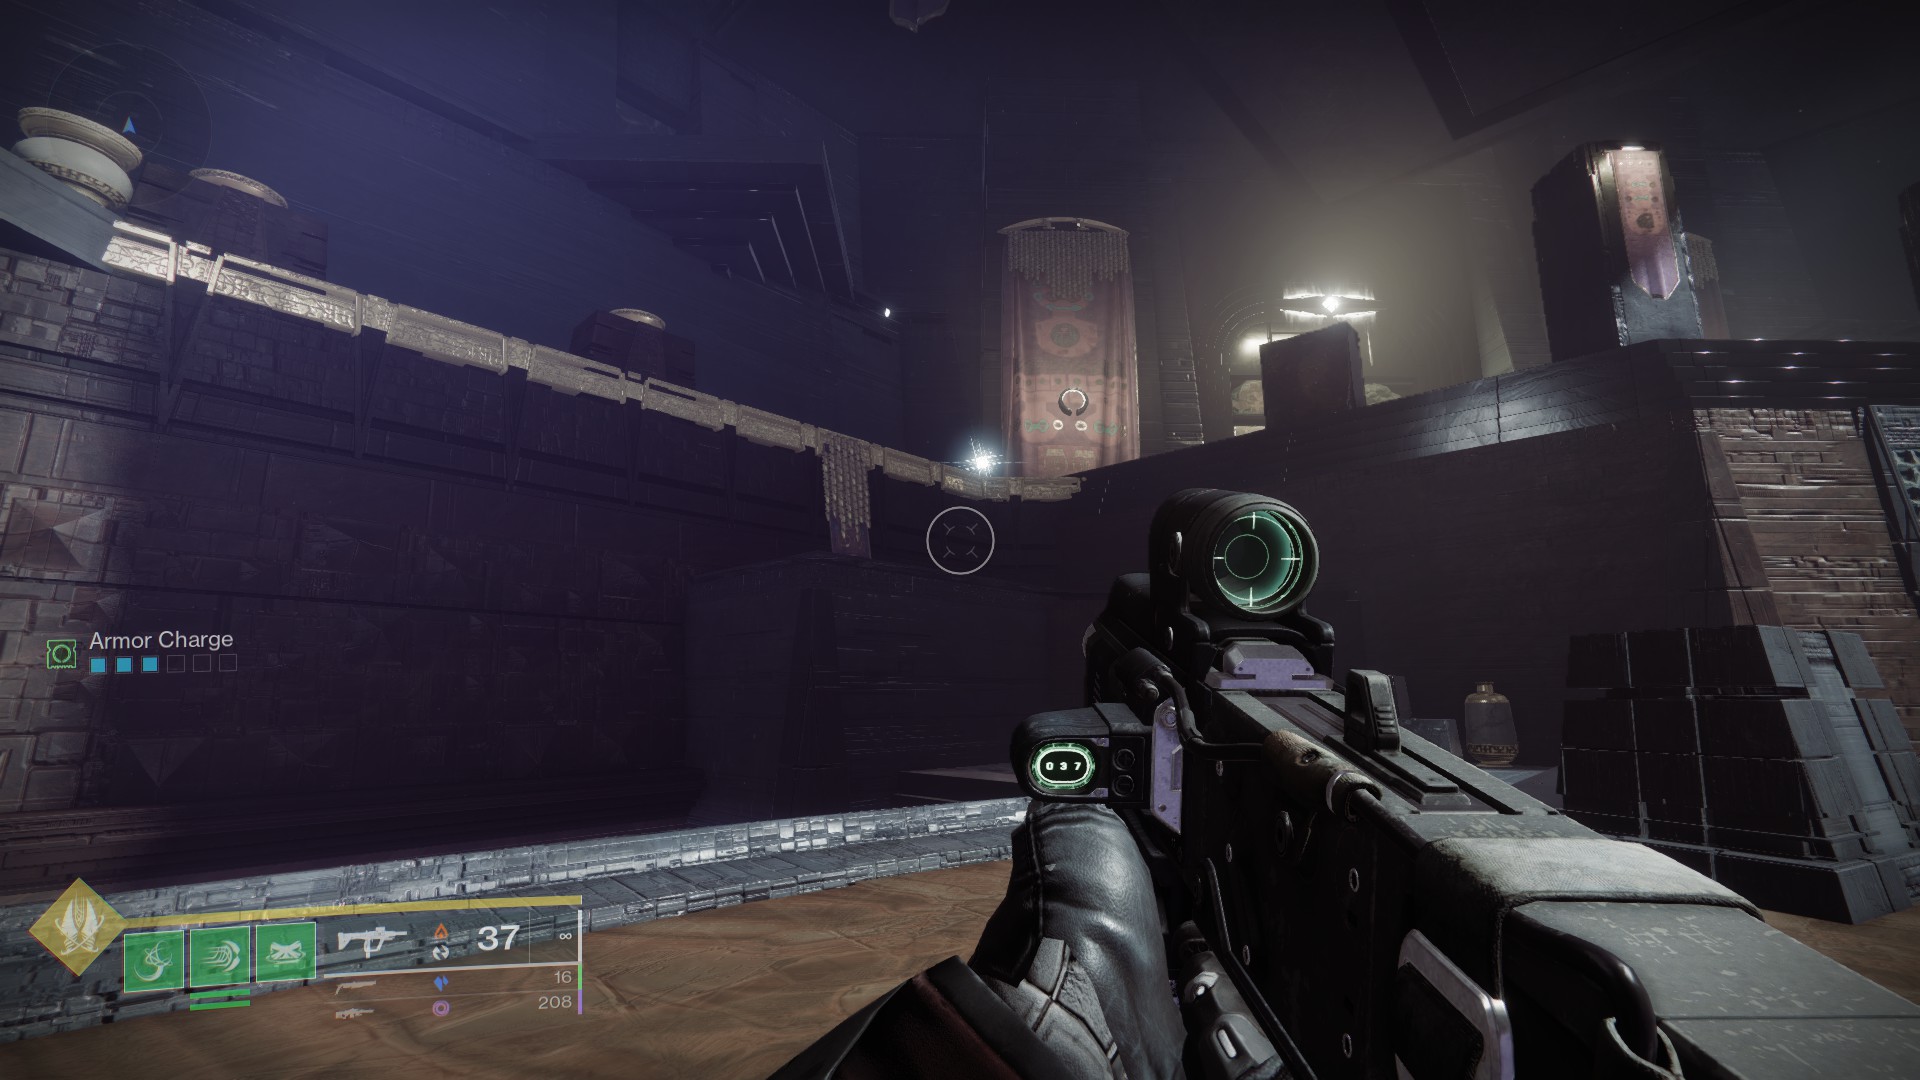
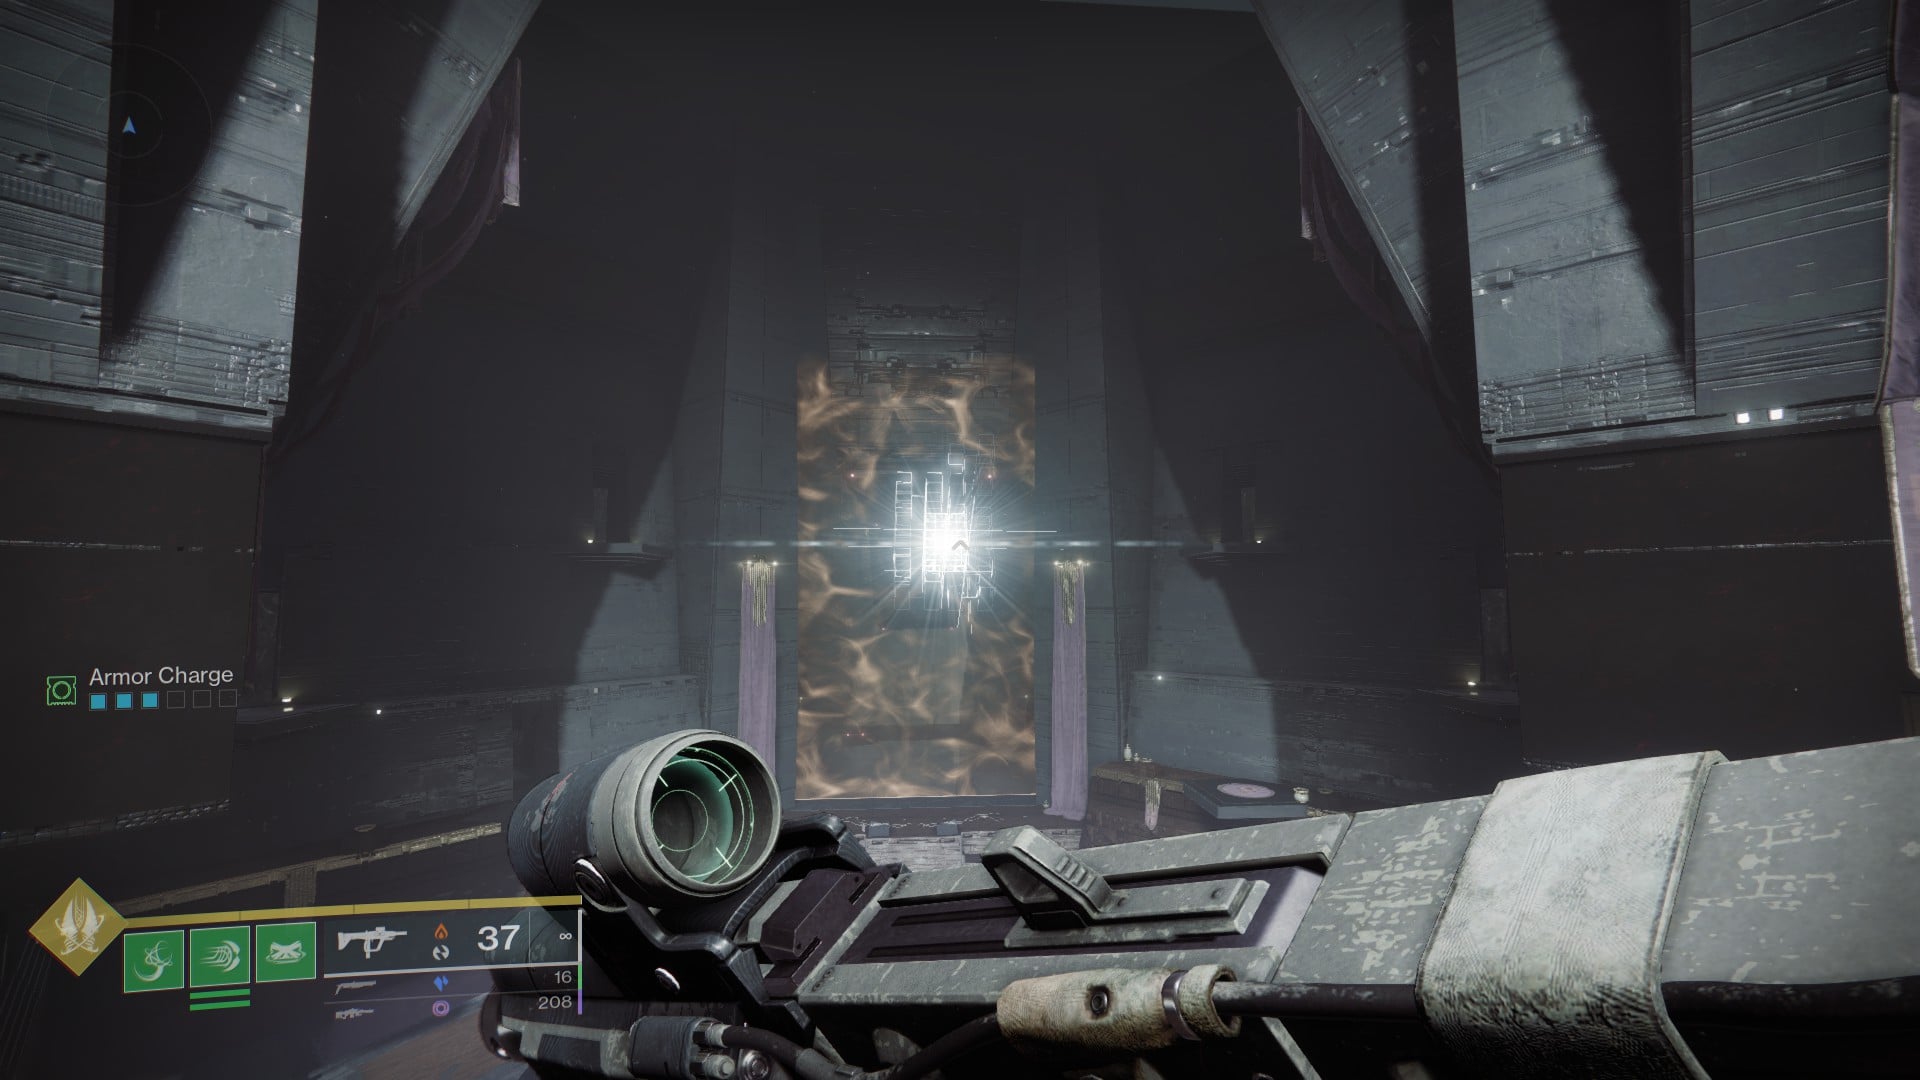
Once you’ve breached the walls (which are conveniently destroyed), look to your left to spot a wall with a vent flowing near it and by some high-tech boxes on the ground. Climb onto the ledge using the pipes and boxes for a height boost, then climb again above a cooling duct to reach the top of the wall, where you can find three decommissioned cannons.


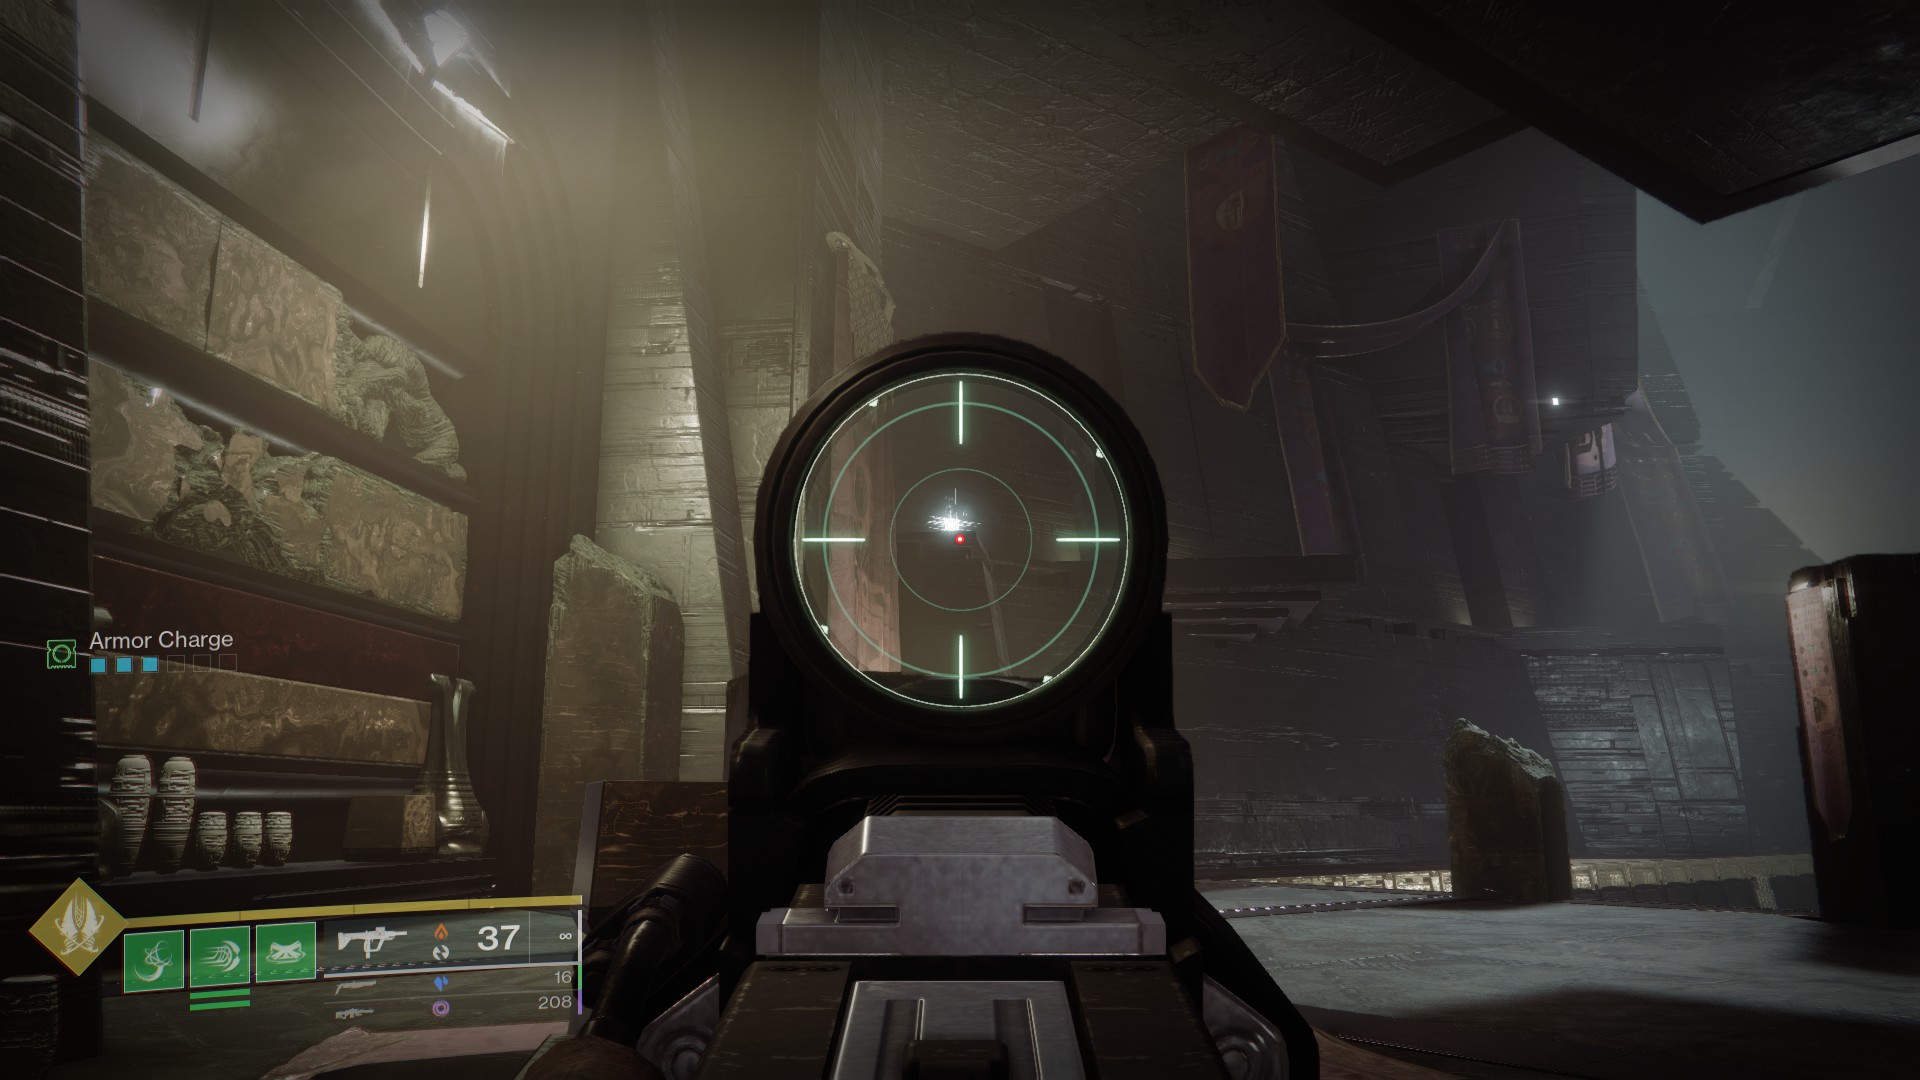
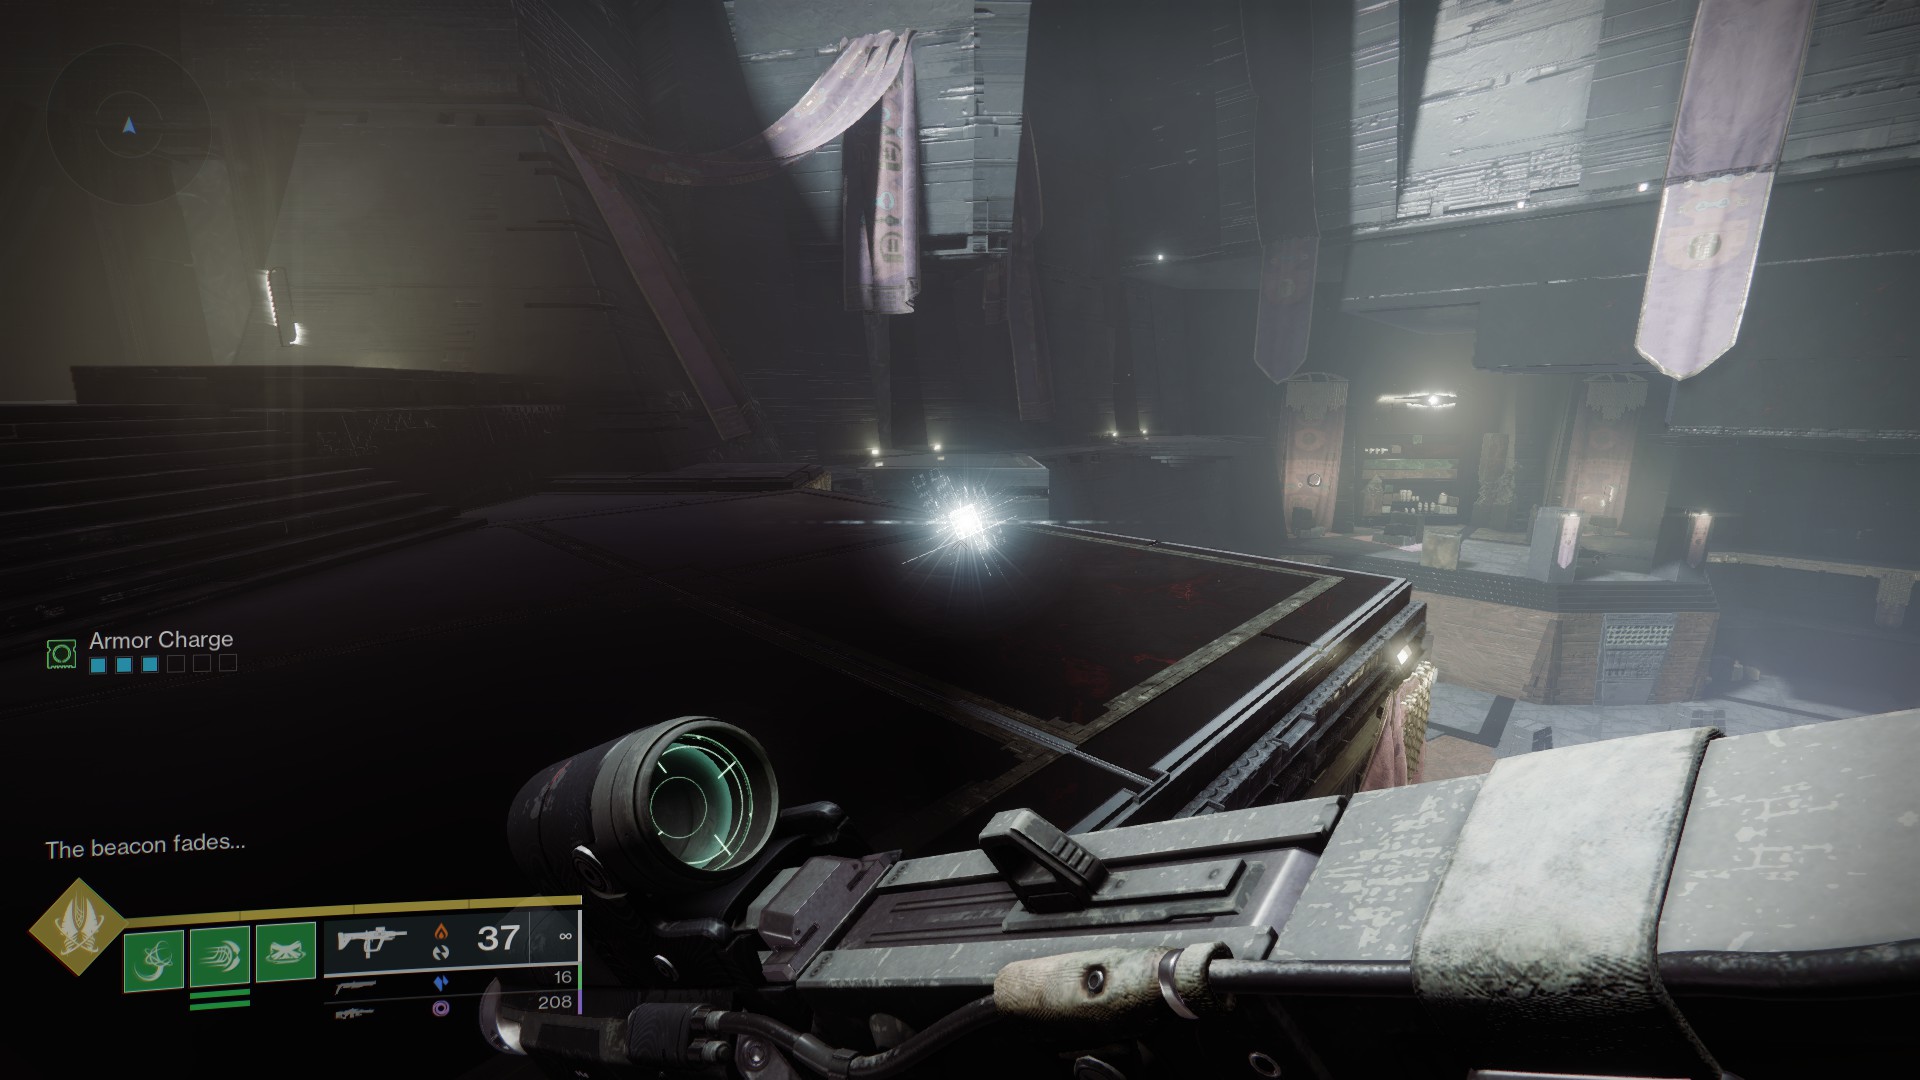
Climb on top of the first cannon near you, then walk until the edge. Aim your weapon around where the artillery battery would be aiming and you’ll spot a Resonant Splinter in the distance. Shoot it, then repeat the process for the next two cannons: stand on the edge, look for the Resonant Splinter, and destroy it. Once you shoot all three, an Action Figure will appear out of thin air at your feet, as found by content creator Esoterickk.


Third Action Figure: on a juice bar in Zephyr Concourse
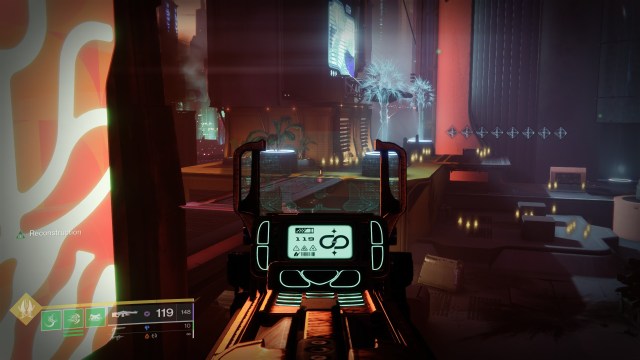
Zephyr Concourse’s most contested juice bar is home to a secret. You’ve likely wandered past this location as you roam through the concourse, and odds are you’ve been mauled by Cabal right by this charming open-air juice bar. Starting on week two, though, you can activate a data pad in the bar, which will summon waves of Cabal enemies called Patrons. Keep them from touching the bar and you’ll spawn the next action figure in your collection.


Fourth Action Figure: in the caves on Maya’s Retreat
You’ve set foot in Maya’s Retreat quite a bit during the campaign and the post-Lightfall missions, and if you’re looking to find all Action Figures, it’s time to pay it another visit. You’ll need to light up three braziers located in three different caves.
From the Límíng Harbor landing zone, take the route to Maya’s Retreat, which should be accessible through a crevice on the rock northwest of where you spawn. From there, continue past the man-made walkway until you reach a cave system. Look to the far end of the cave and on the left to find an unlit brazier. Activate it to stoke the flame, then turn around and head back to the entrance of the cave.


From the entrance to the cave (and with your back to it), look for a small ledge on your right. Hop onto it, then follow it until the end and look for a cave entrance below you, across a small jump. This is where you’ll find the second brazier. Watch your head when going into this spot, though, since you can bump into the nearby rocks and you may fail to get back.


After the second brazier, go to the end of the (tiny) cave and look for a ledge across from you. Hop onto it, then look across the large cap to spot a brazier in the distance. Having a Strand grapple greatly helps here. If you’ve lit all three, the action figure should appear right by the last brazier.


Fifth action figure: in a bar in Esi Terminal
Return to Zephyr Concourse, then take the passageway on the west side of the area, leading into Esi Terminal. Once the area actually changes into Esi Terminal, take a left, then head into the right hallway. During the campaign, this is where you have to find a Strand node to destroy one of Calus’ Suppressor Fields.
Once you’re inside, take the first door on your left, which leads you to a small bar. Look for a door on the right side, then look for an Activate prompt on a nearby sink. Much like in the juice bar in Zephyr Concourse, you have a minigame ahead of you: you’ll need to find “dishes” and dunk them in the sink. Of course, plenty of Immune Cabal enemies called Sous Chef will try to get in the way. Suspend them if they’re giving you too much trouble. Once you’ve dunked all “dishes,” you’ll unlock the next Action Figure you need.

Sixth action figure: By a counter in Límíng Harbor
From the Límíng Harbor landing zone, look to your left to spot the building that leads to Radiosonde. Enter it, then look to your right to spot a counter with an Activate prompt. Interact with it, then fend off the incoming Vex to unlock the next Action Figure for your collection. If you’re lucky, another guardian might have gotten that done for you, allowing you to just grab the Action Figure without much of a hassle.

Seventh Action Figure: Deep within Radiosonde
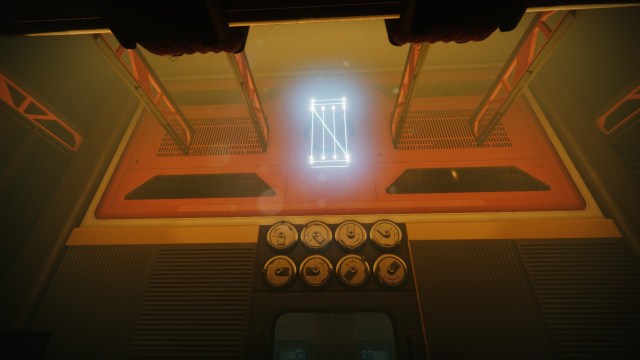
Head all the way to the end of Radiosonde, where you talk to Nimbus and Osiris in the post-campaign. Once you’re in the right spot, look for an orange console with an Activate prompt, which will spawn a series of lights above the knobs by the door.
The puzzle text gives you a hint of what you need to do: “Mark time by a golden screen, and set it with unconventional dials.”
You can’t change the position of the knobs, but you can shoot them. Each golden knob points in a direction, similar to an analog clock. The lights above them indicate the order you have to shoot: counting the lines gives you a number, so you must shoot the knob that shows the corresponding time. For instance, the first knob is pointing straight down, which means six o’clock. If the lights show six lines, it means you need to shoot that one.
Here is the correct order:
- Nine o’clock (second button on the bottom)
- Two o’clock (fourth button on the bottom)
- Eleven o’clock (fourth button on the top)
- Three o’clock (first button on the bottom)
- Five o’clock (second button on the top)
- Seven o’clock (third button on the bottom)
- Twelve o’clock (third button on the top)
- Six o’clock (first button on the top)
Eighth Action Figure: in the Typhon Imperator, where you nearly destroy the Radial Mast
Head into the Typhon Imperator from Ahimsa Park and make your way through the ship until you reach the area with the Radial Mast in the campaign. Though the path can be labyrinthian, it’s basically the only way. After the small jumping puzzle, make sure to enter the portal in the room with the stairs to come out where you need to be.
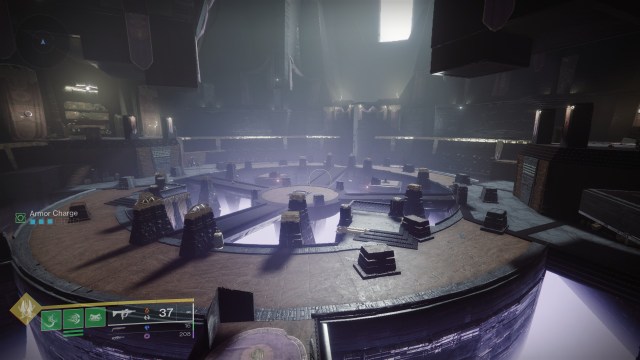
Clear the enemies, then look for a plate on your right, where you fought off some enemies in the campaign. There will be an Activate prompt by the wall with the vases near the plate, which will spawn a series of Vex cubes like the ones required for NODE.OVRD.AVALON.
You’ll have to run through a small course collecting all cubes, and you have a limited amount of time to grab them all. Whenever you grab a cube, it will also somewhat point you toward the next one.
Start off by grabbing the first one ahead of you, then drop down to find two more cubes ahead of you. After you’ve collected the third cube (in the middle of the room), look slightly to your left to spot another cube in the area where you dunked the orbs in the campaign. A cube will spawn above you and to the right, so grab it and move on to spot another cube on a ledge above you. From there, grab a cube on the end of the ledge you’re on, then jump across a small gap to find another cube. From there, jump toward the middle of the room to grab a floating Vex cube, then drop down to find the last one in the center of the room.


If you’ve grabbed them all within the allotted time, this Action Figure will spawn by some cables near the door you use to escape in the campaign.
Ninth Action Figure: inside the room in Strider’s Gate
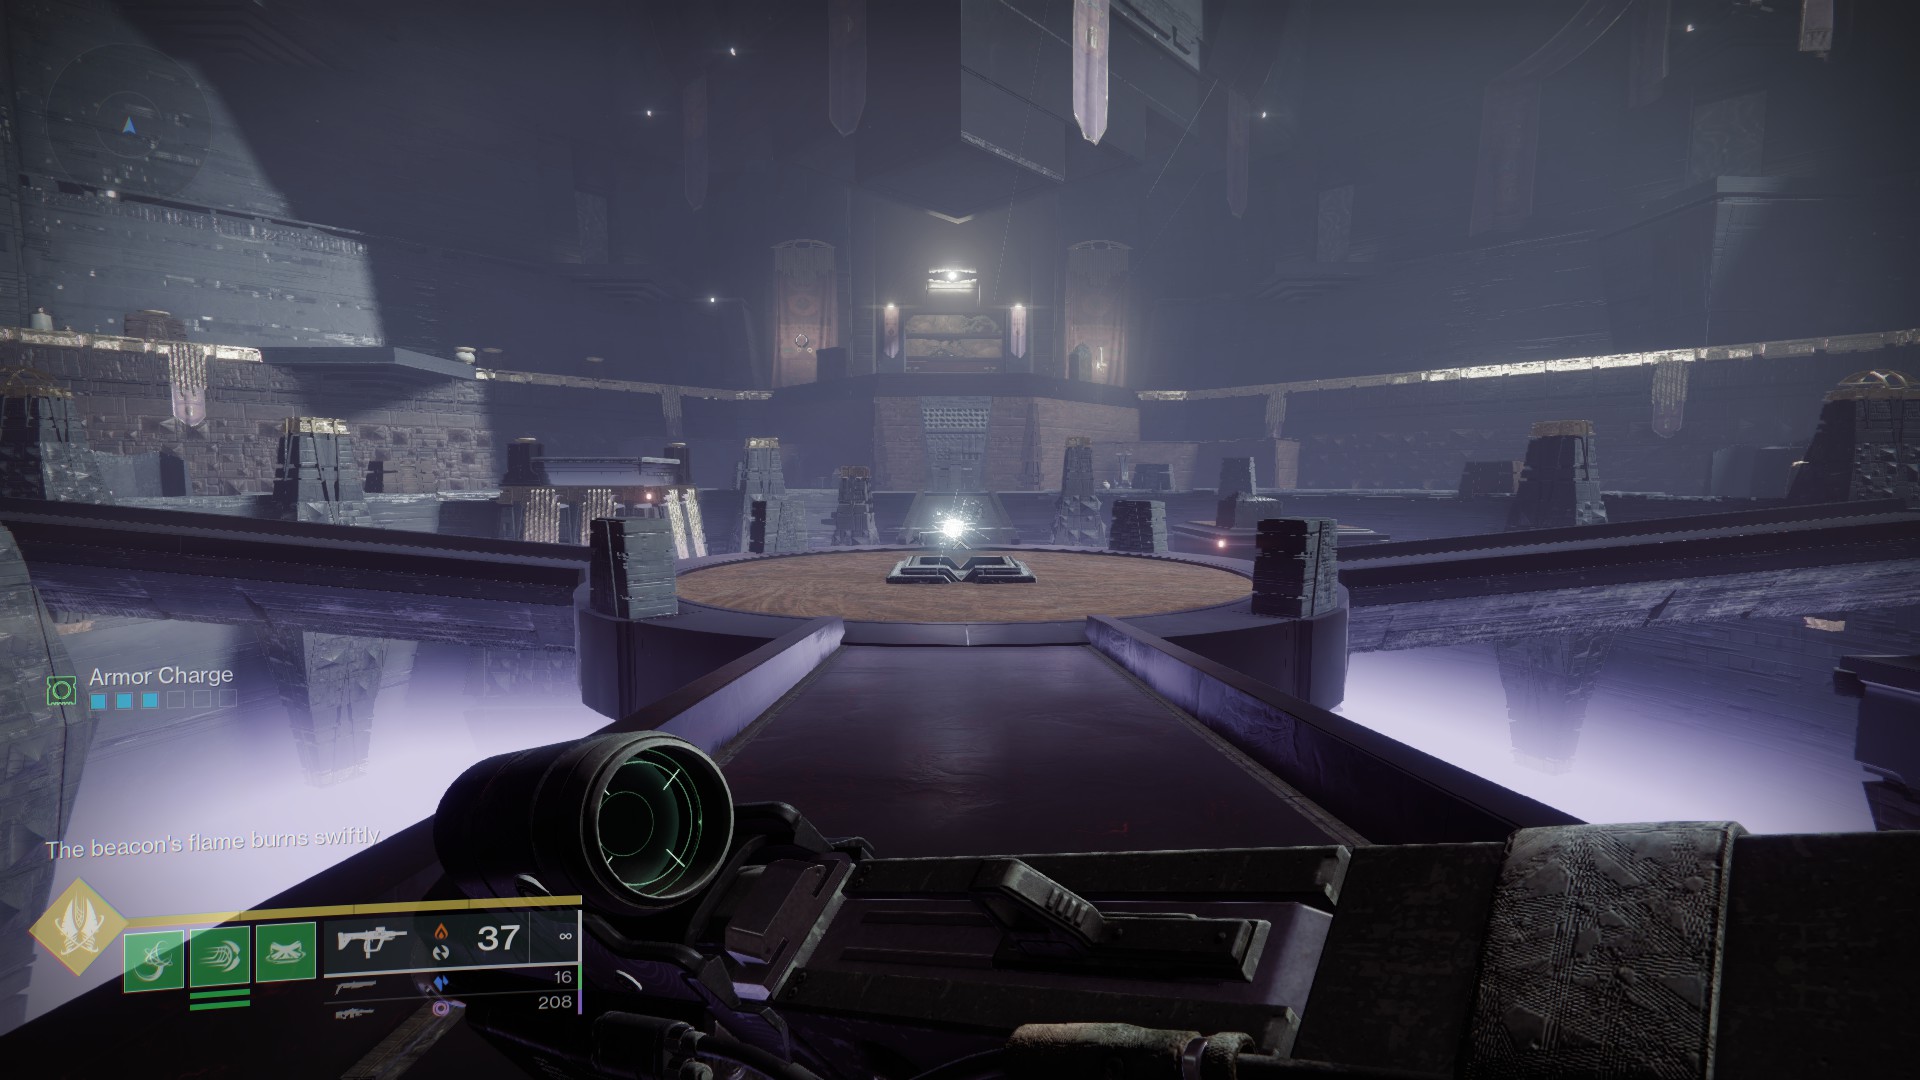
You can find this one at any time, but it’s easier to grab it when you’re placing down the Action Figures you just tracked down. This requires you to finish a shooting gallery-like minigame, or if you’re lucky, you might just walk in on someone who finished it for you.
Head to the area where you dunk the action figures, then look for the weightlifting equipment. The second machine to the right of it has an Activate prompt, which will transport you to a shooting gallery. You’ll need to shoot all the red lanterns and Vex crystals within the allotted time, as shown by content creator 360GameTV.
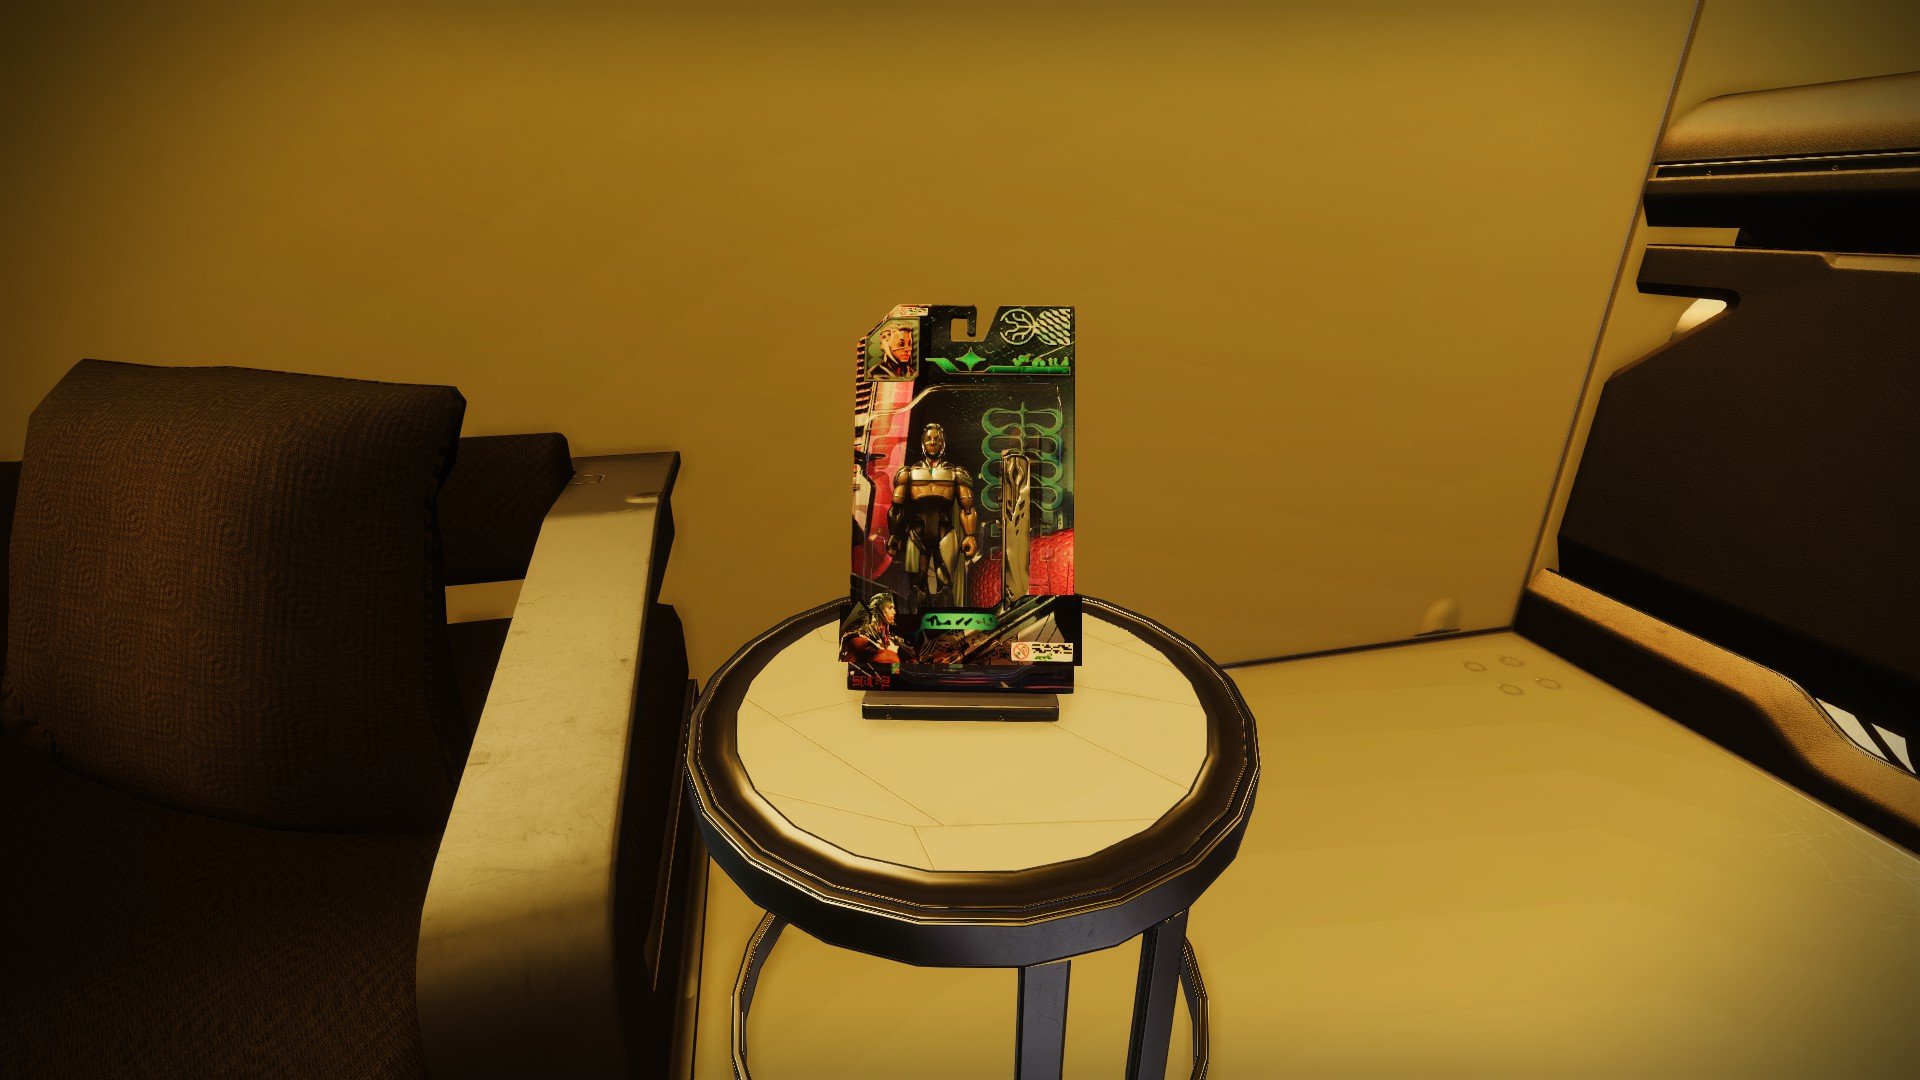
Once you’re done, look for the green arcade machine to the left of the weightlifting equipment to find the last Action Figure propped up against the machine.
How to place the Action Figures in Strider’s Gate
After you’ve collected an Action Figure, you’ll need to return it to its rightful spot in Strider’s Gate. Head to the landing zone, then look for a building down and on the right. This neon building has some holographic plants by the entrance.


Drop down, then enter through the door to unveil a small apartment where you can place the Action Figures.
Each has its own location, but you’ll find them by following markers on your HUD.


Published: Mar 23, 2023 12:48 am